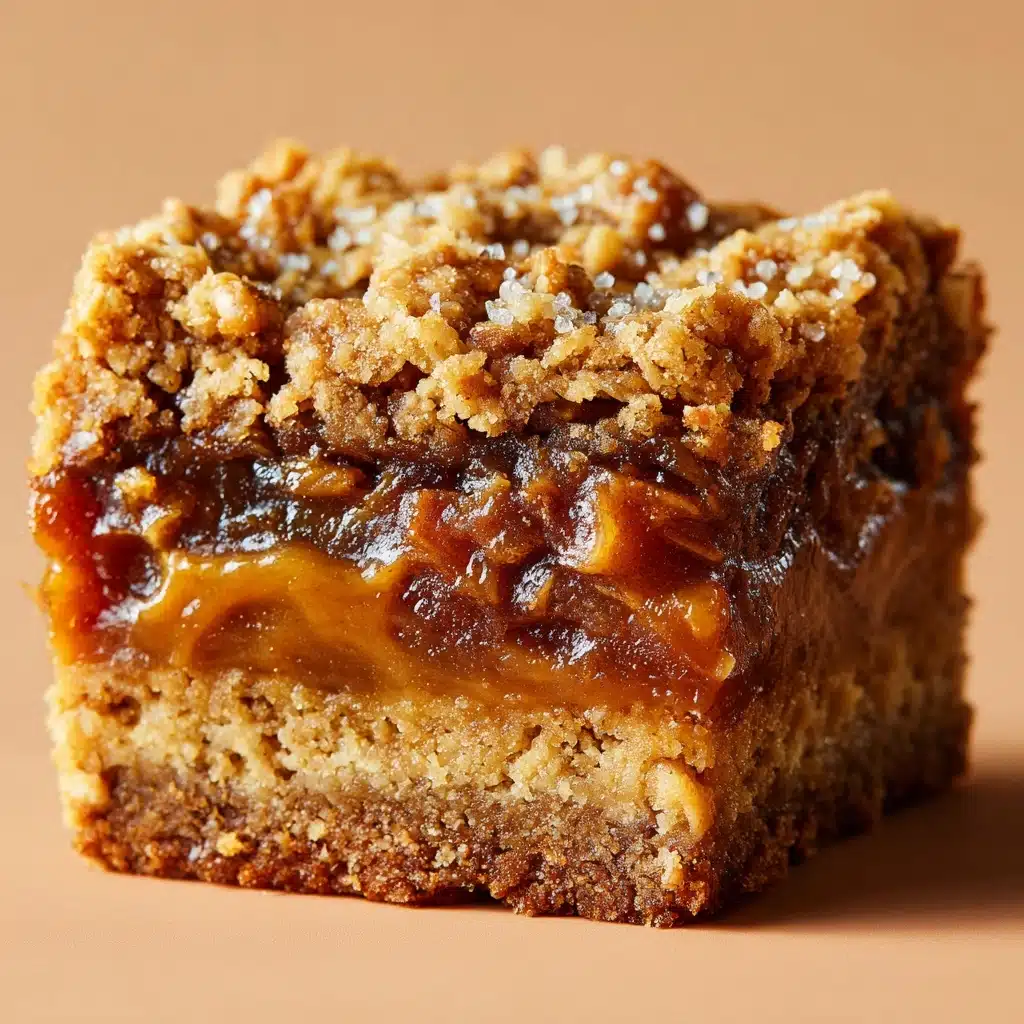
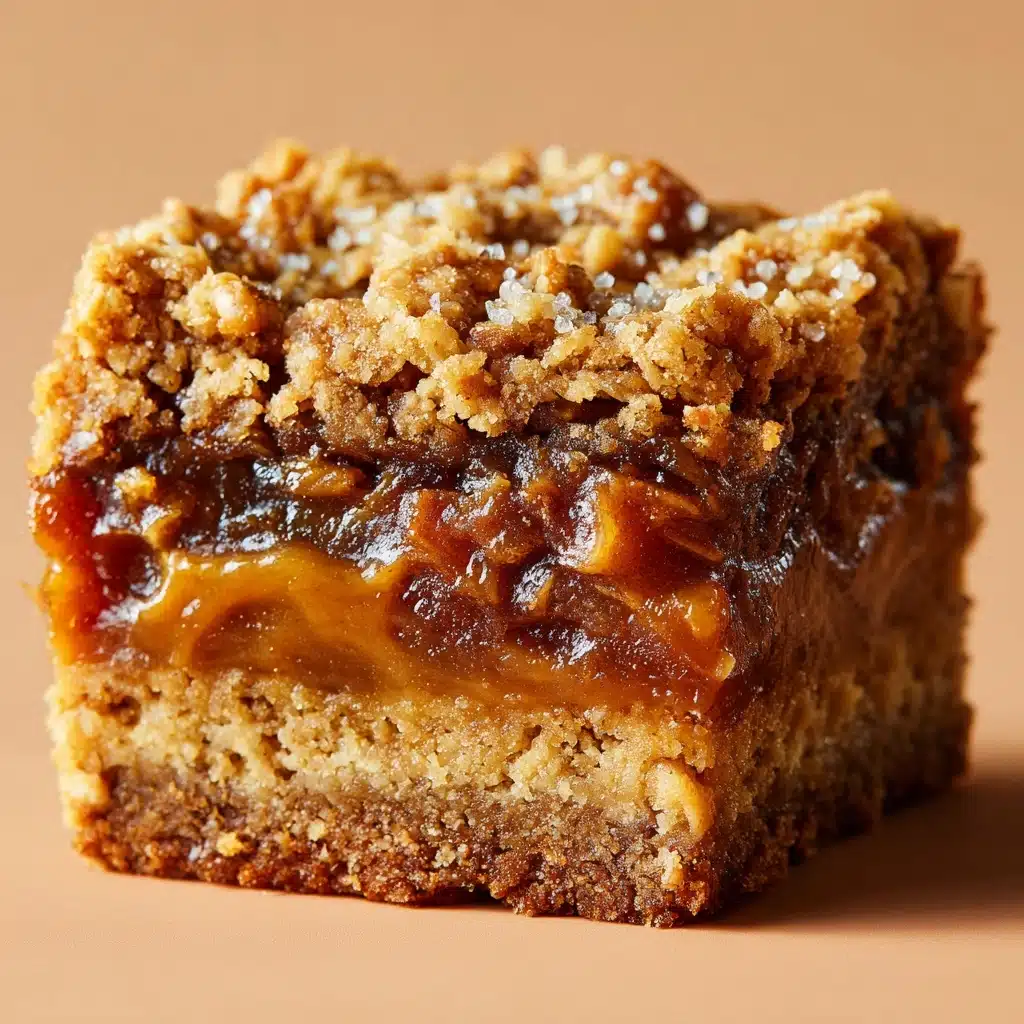
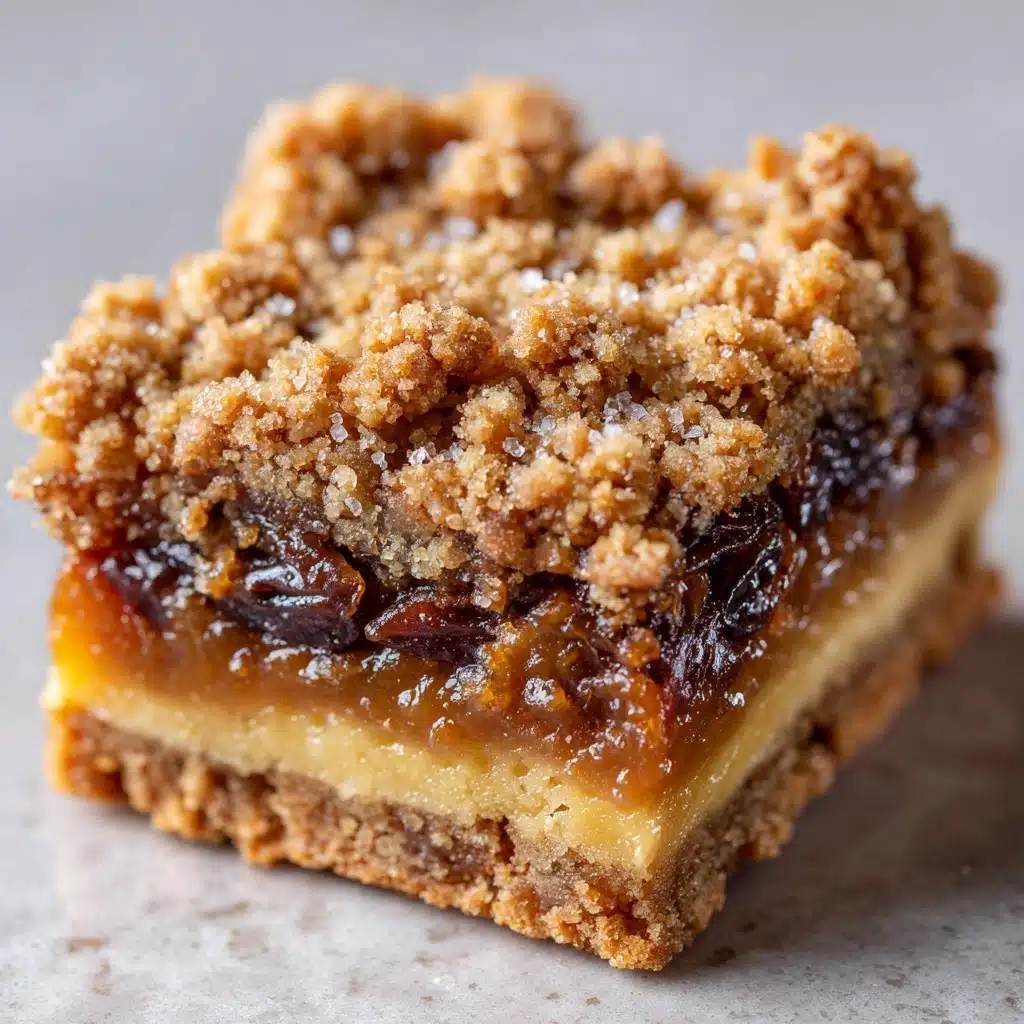
Sink your fork into pure decadence with The Best Carmelitas – a gooey, chocolate-caramel oat bar that’s dangerously easy to love. This tempting dessert layers chewy brown sugar oats, ribbons of silky caramel, and melty chocolate into one jaw-dropping treat that’s both nostalgic and impossibly crave-worthy. If you’re after a show-stopper for parties, potlucks, or just a cozy night in, The Best Carmelitas are about to become your new favorite sweet fix.
Ingredients You’ll Need
You only need a handful of pantry staples to make these legendary bars, but each ingredient plays a starring role. Think buttery oats for chew, rich brown sugar for depth, and a luscious caramel-chocolate center that seals the deal. Let’s break it down, so you know exactly why The Best Carmelitas work their magic.
- All-Purpose Flour: The structure of the bars lives here; it gives Carmelitas their perfect density and holding power.
- Old-Fashioned Oats: Adds that irresistible chewy bite and rustic texture—don’t substitute quick oats for the best results.
- Brown Sugar (packed): Brings a warm, molasses sweetness and makes the crust beautifully rich and fudgy.
- Baking Soda: Helps with just the right amount of lift, keeping everything from turning out overly dense.
- Salt: A pinch balances all the sweetness—don’t skip it!
- Unsalted Butter (melted): Guarantees richness and keeps those oats tender and flavorful.
- Semi-Sweet Chocolate Chips: Melty pockets of chocolate become the heart of each bar.
- Caramel Sauce (store-bought or homemade): The gooey highlight in every bite—choose your favorite for maximum satisfaction.
- All-Purpose Flour (for thickening caramel, optional): Handy if your caramel sauce is a little runny, to keep layers tidy and set.
How to Make The Best Carmelitas
Step 1: Prep Your Pan
Start by preheating your oven to 350°F (175°C). Grab an 8×8-inch baking pan and line it with parchment paper, letting a couple inches hang over the sides for easy lifting later. This simple trick means no more crumbled bars when you’re ready to slice The Best Carmelitas.
Step 2: Create the Oatmeal Crust
In a medium bowl, stir together the flour, oats, brown sugar, baking soda, and salt until well mixed. Pour in the melted butter and work it through gently—your hands are fair game here! The mixture will be crumbly yet moist, perfect for pressing into a base.
Step 3: Par-Bake the Bottom Layer
Take about half of the oat mixture and press it firmly into the bottom of your prepared pan, making sure it reaches the corners. Bake this crust for 10 minutes; it’ll start to set, creating a solid foundation for the oozy caramel and chocolate layers to come.
Step 4: Thicken the Caramel (If Needed)
If you’ve opted for a thinner, homemade caramel sauce, now’s the time to whisk in 2 tablespoons of flour. This quick trick helps the caramel hold its own inside the bars, so The Best Carmelitas slice neatly and don’t run all over the plate.
Step 5: Assemble the Layers
Remove the crust from the oven and, while it’s still warm, sprinkle on the chocolate chips in an even layer. Drizzle the caramel sauce all over the chocolate, reaching every delicious corner. Then, crumble the remaining oat mixture over the top, letting bits of caramel and chocolate peek through.
Step 6: Bake to Perfection
Return the pan to the oven for 18 to 20 minutes, or until the topping is lightly golden and the caramel is bubbling up along the edges. Your kitchen will smell absolutely irresistible—which is precisely how The Best Carmelitas announce they’re ready.
Step 7: Cool, Chill, and Slice
Patience here makes all the difference. Cool The Best Carmelitas completely in the pan, then pop them in the fridge for at least 1–2 hours. This step ensures picture-perfect bars that slice clean, with defined layers of crumble, chocolate, and gooey caramel in every single bite.
How to Serve The Best Carmelitas

Garnishes
For extra pizzazz, shower the top with flaky sea salt right after baking for a sweet-salty upgrade, or dust with a touch of powdered sugar just before serving. A little drizzle of melted chocolate or extra caramel over the cut bars never fails to impress, either!
Side Dishes
While The Best Carmelitas are a star on their own, they play well alongside a scoop of vanilla ice cream or a cloud of softly whipped cream. If you’re serving them for a special occasion, some fresh berries on the side add a welcome pop of color and tang.
Creative Ways to Present
Cut into classic bars for grab-and-go ease, or use a round biscuit cutter for a bakery-worthy shape. Stack three mini squares and skewer them with a pretty cocktail stick for a genius dessert kebab! You can even serve warm, gooey squares in individual ramekins for pure comfort food extravagance.
Make Ahead and Storage
Storing Leftovers
Store any leftover Carmelitas in an airtight container at room temperature for up to 3 days, or in the fridge for up to a week. They’re sturdy enough for lunchboxes, road trips, and midnight snacking, so keep them handy!
Freezing
The Best Carmelitas freeze like a dream. Wrap individual bars tightly in plastic or parchment, then store them in a freezer-safe container for up to 2 months. When a craving hits, just pull out as many as you need.
Reheating
To reignite that just-baked taste, pop a bar into the microwave for about 10–15 seconds. The chocolate and caramel will turn perfectly gooey again, making every bite melt-in-your-mouth delicious.
FAQs
Can I use quick oats instead of old-fashioned oats?
Old-fashioned oats give The Best Carmelitas their signature chewy texture, while quick oats tend to create a softer, less sturdy bar. Stick with old-fashioned oats if you can for that classic mouthfeel.
Is homemade caramel sauce better than store-bought?
Both work beautifully! Homemade caramel brings a fresh, buttery depth, while store-bought is the ultimate shortcut for busy days. If using homemade, just be sure to thicken it if it’s on the runny side so The Best Carmelitas hold their shape.
Can I add nuts to the bars?
Absolutely! For a nutty twist, add ½ cup of chopped pecans or walnuts between the chocolate and caramel layers. They add fantastic crunch and earthy flavor without overpowering the star ingredients.
Why do I need to chill the bars before cutting?
Chilling helps the caramel and chocolate layers set up completely, so your bars slice neatly instead of turning into a gooey mess. It’s worth the wait, I promise!
How do I make clean cuts for serving?
Use a sharp knife, and for extra clean edges, wipe the blade between cuts. Chilling The Best Carmelitas first makes slicing so much easier, and you’ll be rewarded with bakery-style bars every time.
Final Thoughts
If you’re after a treat that wows every crowd and comforts any heart, The Best Carmelitas are waiting for you. Gather those simple ingredients, follow these easy steps, and let the compliments roll in—seriously, you’ll want to make these again and again!
PrintThe Best Carmelitas Recipe
Indulge in the decadent and rich flavors of these irresistible Carmelitas, a delightful layered dessert featuring a buttery oat crust, gooey caramel, and chocolate chips. Perfect for satisfying your sweet tooth cravings!
- Prep Time: 10 minutes
- Cook Time: 30 minutes
- Total Time: 2 hours 40 minutes (including cooling)
- Yield: 16 bars 1x
- Category: Dessert
- Method: Baking
- Cuisine: American
- Diet: Vegetarian
Ingredients
For the Crust:
- 1 cup all-purpose flour
- 1 cup old-fashioned oats
- 3/4 cup brown sugar (packed)
- 1/2 teaspoon baking soda
- 1/4 teaspoon salt
- 3/4 cup unsalted butter (melted)
For the Filling:
- 1 cup semi-sweet chocolate chips
- 3/4 cup caramel sauce (store-bought or homemade)
- 2 tablespoons all-purpose flour (for thickening caramel, optional)
Instructions
- Preheat the oven: Preheat the oven to 350°F (175°C) and line an 8×8-inch baking pan with parchment paper, leaving some overhang for easy removal.
- Mix the crust: In a medium bowl, mix together flour, oats, brown sugar, baking soda, and salt. Stir in the melted butter until the mixture is crumbly and fully moistened.
- Prepare the base: Press half of the mixture into the bottom of the prepared pan to form an even crust. Bake for 10 minutes.
- Thicken the caramel: If using homemade or thin caramel sauce, whisk in the 2 tablespoons of flour to thicken.
- Layer and bake: Sprinkle chocolate chips over the warm crust, drizzle caramel sauce on top, and crumble the remaining oat mixture over it. Bake for 18–20 minutes until golden.
- Cool and serve: Cool in the pan, refrigerate for 1–2 hours, then slice into bars. Serve chilled or at room temperature.
Notes
- For a nutty twist, add ½ cup chopped pecans or walnuts between the chocolate and caramel layers.
- These bars freeze well—wrap individually and store in an airtight container for up to 2 months.
Nutrition
- Serving Size: 1 bar
- Calories: 260
- Sugar: 20g
- Sodium: 95mg
- Fat: 14g
- Saturated Fat: 8g
- Unsaturated Fat: 5g
- Trans Fat: 0g
- Carbohydrates: 32g
- Fiber: 1g
- Protein: 2g
- Cholesterol: 25mg


