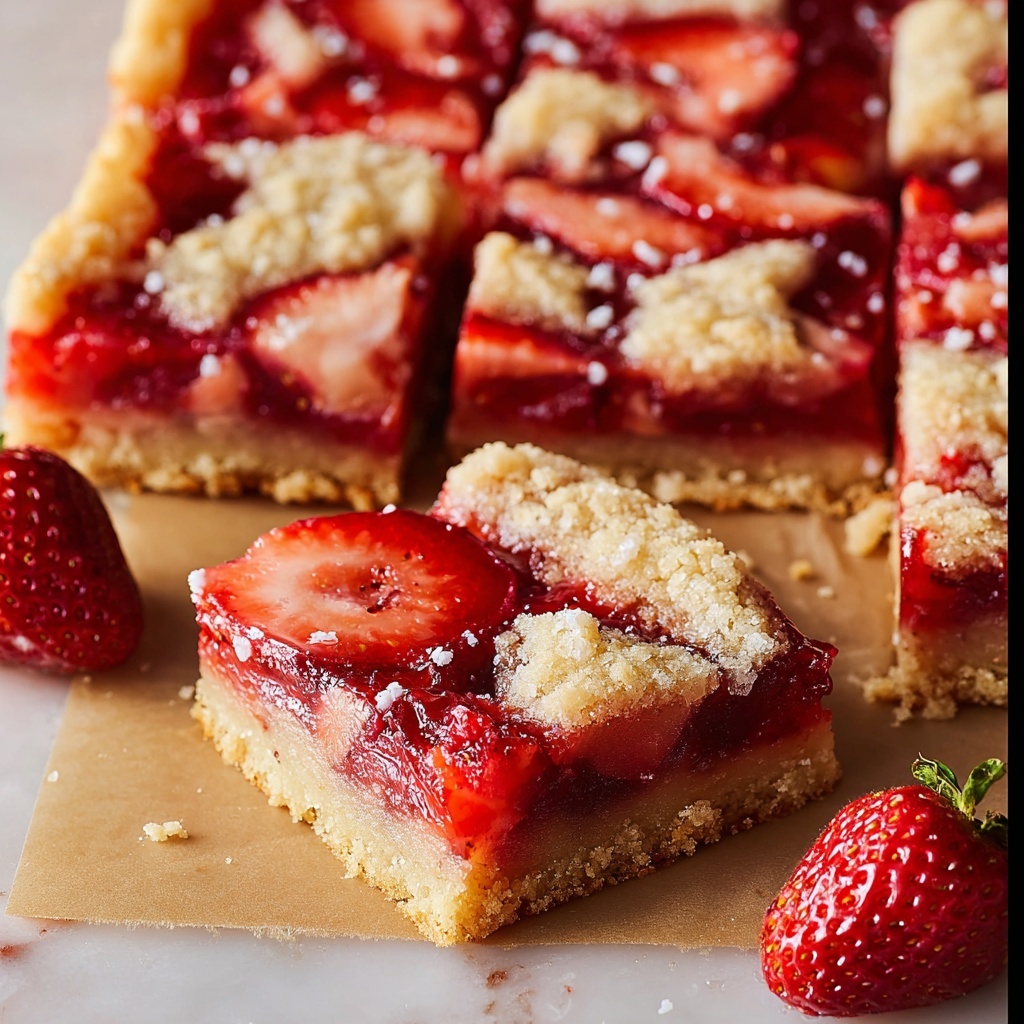
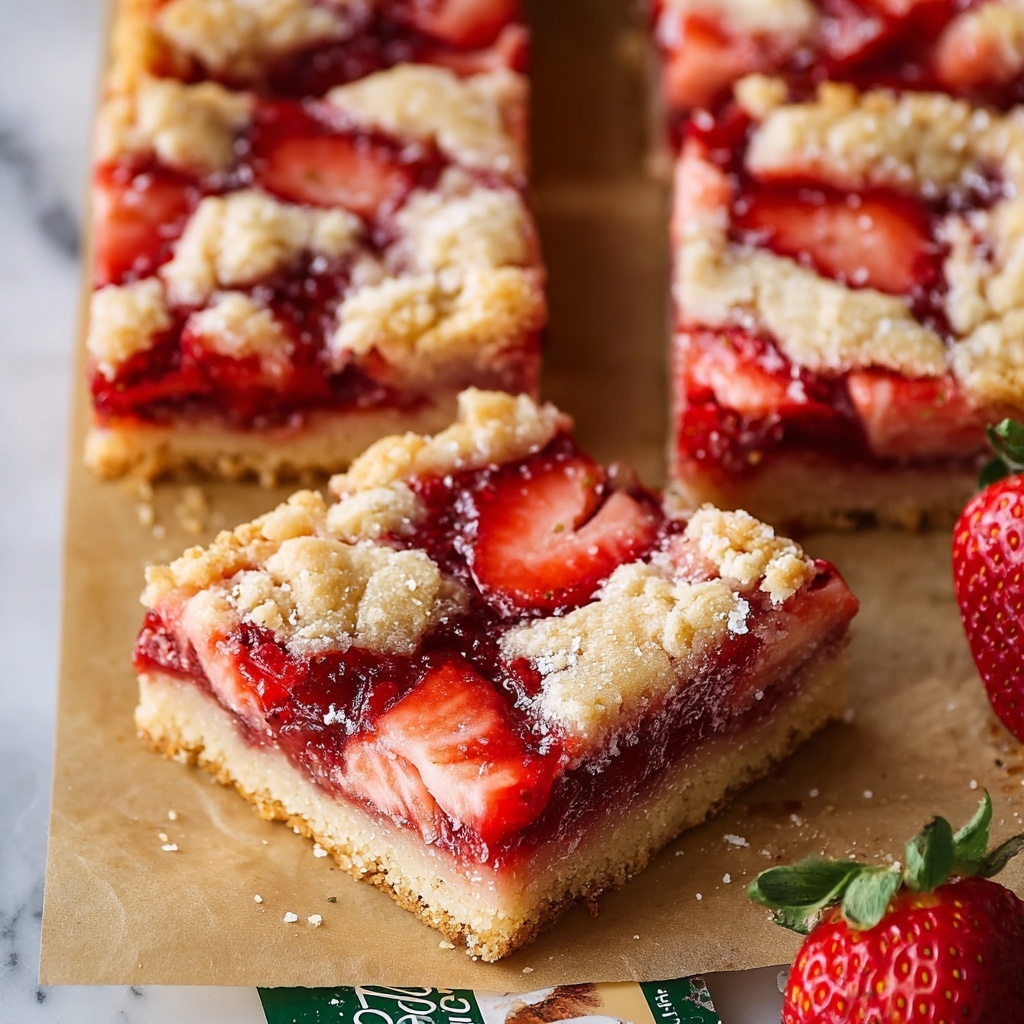
If you’re looking for a dessert that perfectly balances sweet, tangy, and buttery flavors all in one bite, this Strawberry Pie Bars Recipe is about to become your new favorite treat. Imagine tender, buttery crust layered with a luscious strawberry filling that’s bursting with freshness and a hint of lemon zest. These bars are as simple to make as they are irresistible to eat, making them the perfect crowd-pleaser for summer picnics, potlucks, or just a joyful weekend baking session. Each square offers a delightful blend of textures—from the crisp crumb topping to the juicy strawberry interior—making every bite so satisfying you’ll want to share, though you might just keep them all to yourself!
Ingredients You’ll Need
The magic of this Strawberry Pie Bars Recipe truly starts with wholesome, straightforward ingredients that come together to create layers of flavor and texture. Each component plays a vital role, from the buttery crust to the bright, fruity filling.
- 3 cups all-purpose flour: This forms the sturdy yet tender base and topping that keeps everything together.
- 1 ½ cups granulated sugar: Adds the perfect sweetness to both the crust and filling.
- ¼ teaspoon salt: Enhances all the flavors and balances the sweetness beautifully.
- Zest of 1 large lemon: Injects a fresh, citrusy brightness that lifts the strawberries.
- ½ cup unsalted butter, cold and cubed: Key to a flaky, buttery crust and crumbly topping texture.
- 3 large eggs, slightly beaten: Binds the crust and adds richness.
- 4 cups fresh strawberries, halved: The star of the show, bursting with natural sweetness and juiciness.
- 1 tablespoon fresh-squeezed lemon juice: Adds acidity that balances the fruit’s sweetness perfectly.
- 1 tablespoon cornstarch: Thickens the filling so it sets nicely without getting soggy.
- ¾ cup granulated sugar: Sweeter touch just for the strawberry filling, making it irresistibly luscious.
How to Make Strawberry Pie Bars Recipe
Step 1: Preheat and Prepare Your Pan
Start by heating your oven to 350°F (175°C). Line a 9×13-inch baking dish with parchment paper and leave extra overhanging edges. This simple prep step will make it a breeze to lift the bars out for clean cutting and serving.
Step 2: Make the Crust and Topping
In a stand mixer on low speed, combine your flour, sugar, salt, and fragrant lemon zest until well mixed. Then, add the cold butter cubes and mix until the butter forms little pea-sized pieces—the key to that beautifully crumbly texture. Finally, pour in the beaten eggs and mix until the dough just comes together into a crumbly blend that’s soft but holds its shape.
Step 3: Form the Base
Take two-thirds of this delicious dough and press it evenly into the bottom of your prepared baking dish. This base acts as a sturdy yet tender platform for the sweet strawberry filling and crumbly topping to shine atop.
Step 4: Prepare the Strawberry Filling
In a large bowl, gently toss those fresh halved strawberries with lemon juice, cornstarch, and the ¾ cup sugar. This mixture thickens as it bakes, so be gentle to keep the berries intact but well coated with that tangy, sweet blend.
Step 5: Assemble Your Bars
Spread the strawberry mixture evenly over the crust in the pan. Then crumble the remaining dough over the top like a buttery blanket. This layered setup is what gives these bars their signature balance of texture and flavor.
Step 6: Bake
Pop your assembled pan in the oven and bake it for 45 to 50 minutes. The bars are done when the crumb topping turns a gorgeous golden brown and the strawberry filling is bubbling up with sweet juices sealed in.
Step 7: Cool and Serve
Patience is key here! Let your bars cool completely before lifting them out using that parchment overhang. Once cooled, slice into generous squares and get ready to dig into a beautifully balanced dessert.
How to Serve Strawberry Pie Bars Recipe
Garnishes
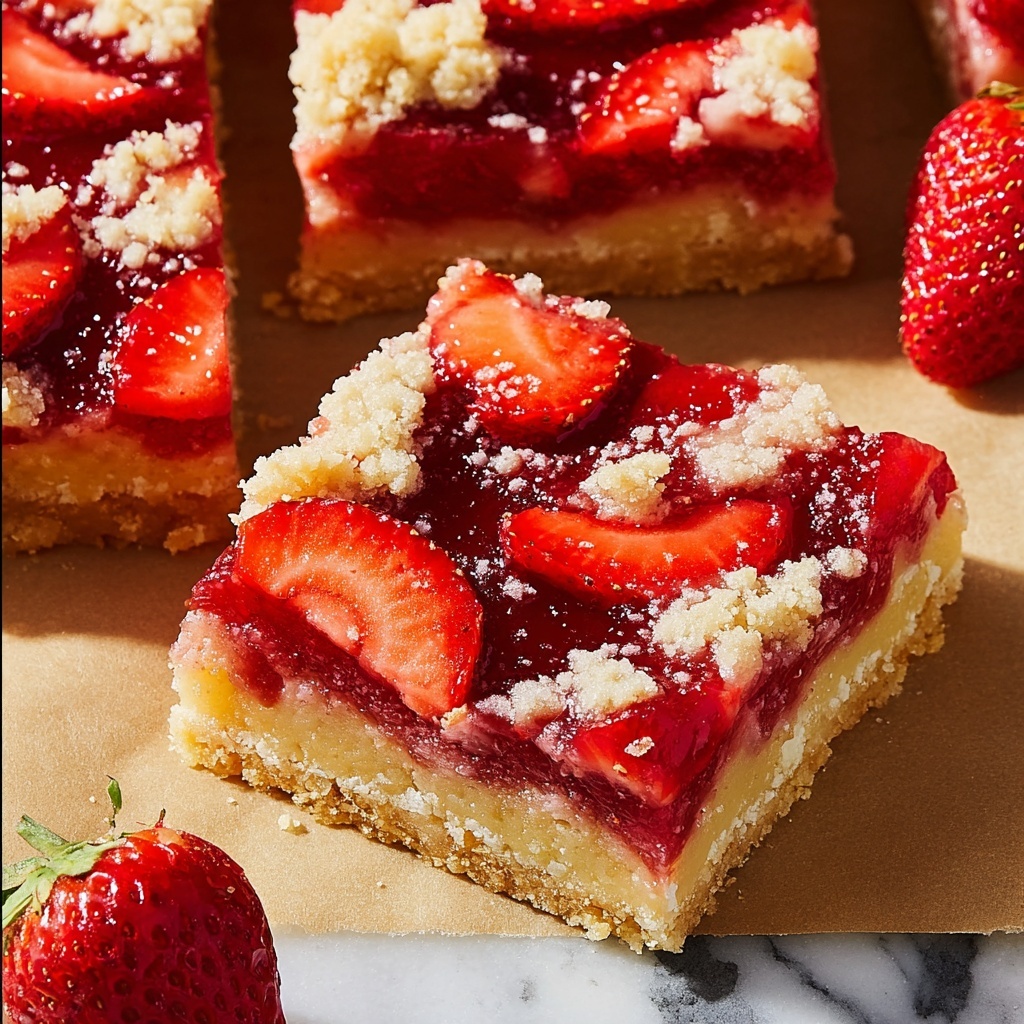
To elevate your strawberry bars, sprinkle them with a light dusting of powdered sugar or add a dollop of freshly whipped cream. A few fresh mint leaves or thin lemon slices on the side add a lovely aroma and hint of color that invites people to indulge.
Side Dishes
These strawberry pie bars pair wonderfully with a scoop of vanilla ice cream or alongside a crisp green salad for a summer brunch. They even complement a cup of hot tea or chilled sparkling lemonade for a refreshing contrast.
Creative Ways to Present
Want to make these bars extra special? Serve them on a beautiful wooden board with fresh strawberries scattered around or stack them in rustic layers for a charming dessert display. You can also drizzle a little honey or a berry glaze over the top to add shine and extra flavor.
Make Ahead and Storage
Storing Leftovers
If you have leftovers, store your strawberry pie bars in an airtight container in the refrigerator for up to 4 days. Their flavors actually meld and improve after a day as the filling sets fully and the crust stays moist but firm.
Freezing
To keep your bars fresh longer, wrap them tightly in plastic wrap and aluminum foil before freezing. They’ll stay delicious for up to 3 months. Thaw overnight in the fridge before serving for the best texture.
Reheating
For warm, freshly baked vibes, simply reheat individual bars in a microwave for 20-30 seconds or pop them in a preheated oven at 325°F (160°C) for about 10 minutes. This melts the buttery topping back to its perfect crumbly state.
FAQs
Can I use frozen strawberries for this recipe?
While fresh strawberries are ideal for the juiciness and texture, you can use thawed frozen strawberries. Just make sure to drain any excess liquid to avoid a soggy crust.
How do I prevent the crust from getting soggy?
Pressing the dough firmly for the crust and using cornstarch in the filling both help keep the crust crisp. Also, baking until the filling bubbles helps the fruit thicken properly.
Can I substitute lemon zest with lemon extract?
You can, but fresh lemon zest provides a brighter and fresher citrus note. If you use extract, add it sparingly, about ½ teaspoon, to avoid overpowering the other flavors.
Is it possible to make these bars gluten-free?
Yes! Substitute all-purpose flour with a gluten-free baking blend that measures cup-for-cup, and keep an eye on the texture as it may vary slightly but should still be delicious.
How do I make these bars vegan?
Replace butter with vegan margarine or coconut oil and swap eggs for flax eggs (1 tablespoon ground flaxseed + 3 tablespoons water per egg). The texture will be slightly different but just as tasty!
Final Thoughts
This Strawberry Pie Bars Recipe is a true treasure for anyone who loves fresh fruit desserts with a homemade touch. It’s versatile, straightforward, and downright delicious—perfect for sharing or savoring solo. Once you try making these bars, they’ll surely become a staple in your baking repertoire, ready to brighten up any season or celebration. So grab your ingredients, roll up your sleeves, and let this delightful recipe fill your kitchen with warmth and the most inviting strawberry aroma.
Print
Strawberry Pie Bars Recipe
- Prep Time: 15 minutes
- Cook Time: 45 minutes
- Total Time: 1 hour
- Yield: 24 servings
- Category: Dessert
- Method: Baking
- Cuisine: American
- Diet: Vegetarian
Description
Delight in these luscious Strawberry Pie Bars featuring a buttery crumb crust, a vibrant fresh strawberry filling, and a golden crumble topping. Perfect for summer gatherings or as a sweet treat any time of year, these bars combine tart lemon zest and juice with the natural sweetness of ripe strawberries for an irresistible dessert.
Ingredients
Crust & Topping
- 3 cups all-purpose flour
- 1 ½ cups granulated sugar
- ¼ teaspoon salt
- Zest of 1 large lemon
- ½ cup unsalted butter, cold and cubed
- 3 large eggs, slightly beaten
Filling
- 4 cups fresh strawberries, halved
- 1 tablespoon fresh-squeezed lemon juice
- 1 tablespoon cornstarch
- ¾ cup granulated sugar
Instructions
- Preheat & Prep: Preheat your oven to 350°F (175°C). Line a 9×13-inch baking dish with parchment paper, ensuring there is an overhang on the sides for easy removal of the bars once cooled.
- Make the Crust & Topping: In a stand mixer fitted with a paddle attachment, combine the all-purpose flour, 1 ½ cups granulated sugar, salt, and lemon zest on low speed. Add the cold, cubed butter and mix until the mixture resembles pea-sized crumbs. Then, add the beaten eggs and continue mixing until the dough becomes crumbly but holds together when pressed.
- Form the Base: Take two-thirds of the crumbly dough and press it evenly into the prepared baking dish to form a firm, even crust layer.
- Prepare the Filling: In a large bowl, combine the halved strawberries, fresh lemon juice, cornstarch, and ¾ cup granulated sugar. Gently toss until all the strawberries are well coated in the mixture.
- Assemble: Pour and evenly spread the strawberry filling over the crust layer. Crumble the remaining third of the dough evenly over the strawberry filling to create a crumbly topping.
- Bake: Place the baking dish in the preheated oven and bake for 45 to 50 minutes, or until the topping is golden brown and the filling is bubbling around the edges.
- Cool & Serve: Remove the bars from the oven and allow them to cool completely in the pan. Use the parchment paper overhang to lift the bars out of the dish, then cut into 24 squares and serve.
Notes
- For best results, use fresh, ripe strawberries for a sweet and vibrant filling.
- Ensure the butter is cold when mixing into the flour to achieve a crumbly, tender crust.
- You can substitute lemon zest with a teaspoon of vanilla extract for a different flavor profile.
- Letting the bars cool fully before cutting helps maintain clean edges.
- Store leftovers in an airtight container at room temperature for up to 2 days or refrigerate for up to 5 days.


