
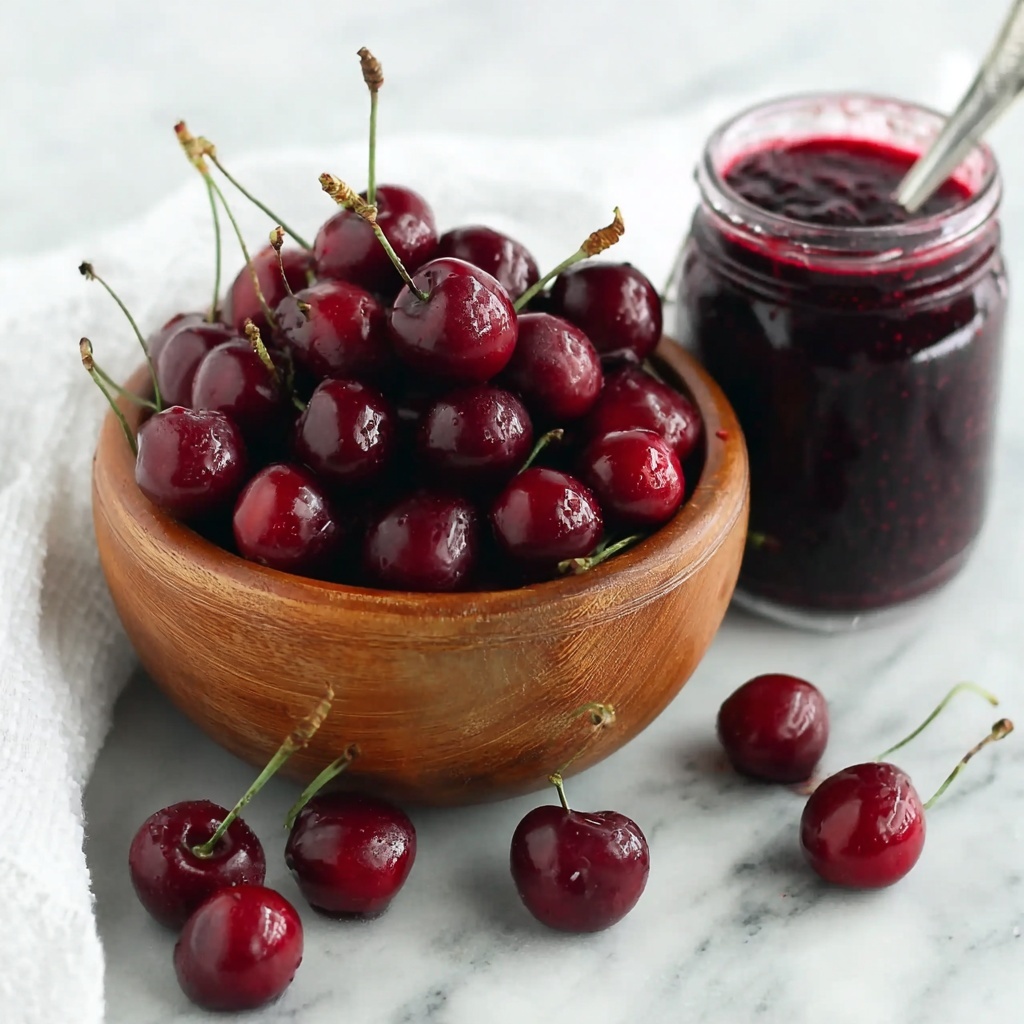
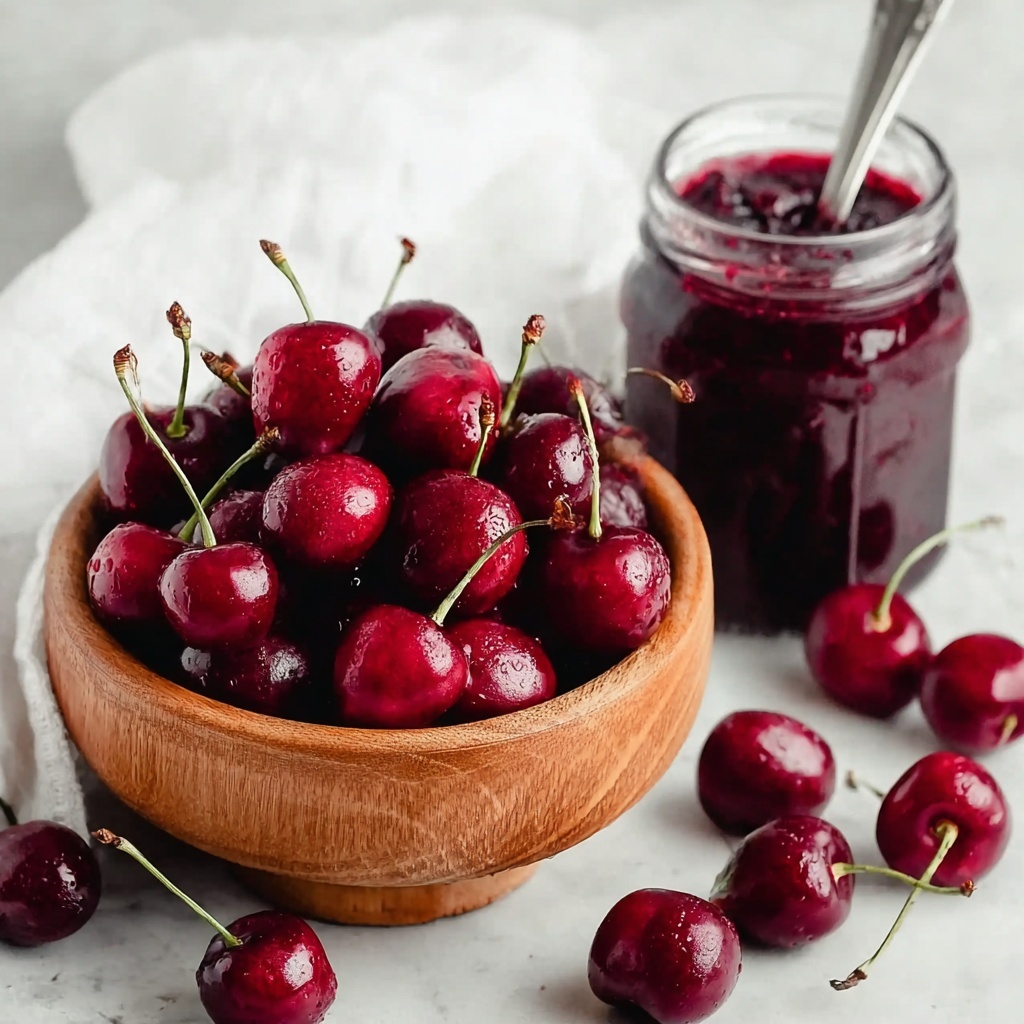
If you’re looking for a delightful way to capture the sweet essence of summer cherries in a jar, this Small Batch Cherry Jam Recipe is an absolute must-try. Bursting with vibrant flavor and just the right touch of tartness, this jam is perfect for spreading on toast, mixing into yogurt, or gifting to friends. Made with just a handful of simple ingredients, it’s both approachable for beginners and deeply satisfying for seasoned home cooks who want fresh, homemade jam without committing to a huge batch. Trust me, once you try this recipe, your mornings will get a little sweeter and your pantry a whole lot happier.
Ingredients You’ll Need
This Small Batch Cherry Jam Recipe calls for only three essential ingredients that work together beautifully to create a luscious, colorful spread. Each plays a vital role in getting that perfect jam texture and flavor explosion you’ll love.
- Sweet cherries (2½ cups / 400 g): Choose fresh or frozen cherries, pitted and halved, which provide natural sweetness and vibrant red color.
- Granulated sugar (1 cup / 200 g): The perfect amount to balance the cherries’ tartness while helping the jam to set properly.
- Lemon juice (2 tablespoons / 30 ml): Adds brightness and just enough acidity to enhance the cherries’ flavor and aid in preservation.
How to Make Small Batch Cherry Jam Recipe
Step 1: Combine Ingredients
Start by adding your prepared cherries, granulated sugar, and fresh lemon juice into a medium-sized pot. This blend sets the stage for the magic of jam making to begin, where the natural juices of the cherries start to mingle with the sugar and citrus, creating that perfect sweet-tart balance.
Step 2: Heat and Dissolve Sugar
Place your pot over medium heat and stir occasionally. Your goal here is to gently dissolve the sugar so it blends seamlessly with the cherry juices. Watch as the mixture transforms into a vivid dark red syrup — a beautiful sign that the flavors are melding perfectly. Fresh cherries will take about 5 minutes, while frozen ones need a bit more time, roughly 10 minutes, to achieve this.
Step 3: Boil and Thicken
Turn the heat up to bring the mixture to a rolling boil that you can’t stir down. This intense bubbling will help the jam thicken properly. Keep stirring as needed to prevent burning and allow the jam to reach 220°F (105°C). If you don’t have a thermometer handy, a classic test is to drop a bit of jam on a cold plate—if it holds its shape and doesn’t run, it’s ready to move on.
Step 4: Blend the Jam
Remove the pot from the heat and use an immersion blender to break up the larger cherry pieces. Just a few brief pulses will do, giving you a nice spreadable texture with bits of fruit still there to enjoy with every bite. Tilting the pot helps keep the blender fully submerged and prevents splashing.
Step 5: Jar and Chill
Carefully pour your hot cherry jam into clean jars, seal them tightly, and pop them in the refrigerator. Patience is key here—letting the jam chill overnight allows it to thicken to the perfect consistency, making it even more irresistible by morning.
How to Serve Small Batch Cherry Jam Recipe
Garnishes
A sprinkle of fresh mint leaves or a light dusting of powdered sugar on top of your jam-topped toast can elevate the look and flavor, adding a refreshing touch that complements the rich cherry notes perfectly.
Side Dishes
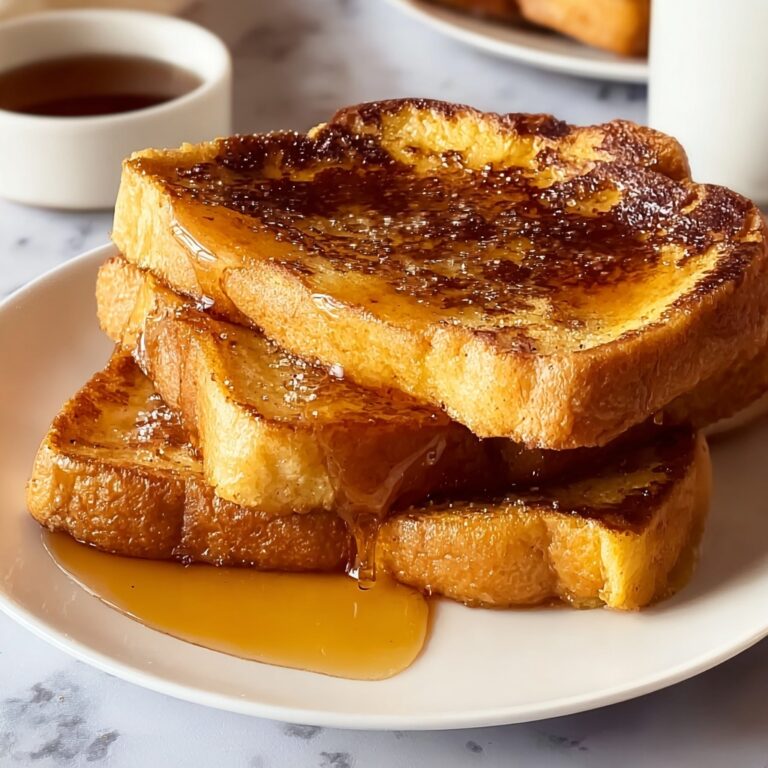
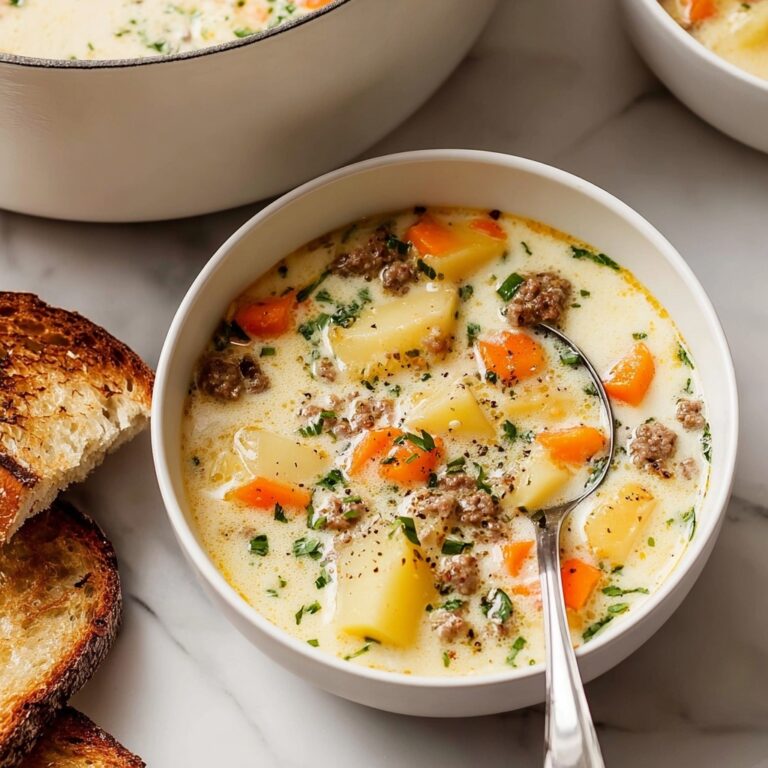
This cherry jam pairs beautifully with freshly baked biscuits, crusty bread, or pancakes. It also makes a wonderful companion to simple cheese platters—imagine the sweet contrast against creamy brie or sharp cheddar.
Creative Ways to Present
Try swirling this Small Batch Cherry Jam Recipe into your morning oatmeal or Greek yogurt for a burst of freshness. You can even use it as a glaze for grilled chicken or pork to surprise your taste buds with a hint of sweetness and tang.
Make Ahead and Storage
Storing Leftovers
Keep your cherry jam refrigerated in an airtight jar where it will stay fresh for up to two weeks. The flavor often deepens after a few days, so it just keeps getting better!
Freezing
Want to hold onto your Small Batch Cherry Jam Recipe longer? Pour the jam into freezer-safe containers, leaving some space for expansion. Frozen jam maintains its fantastic flavor for up to three months and thaws quickly when you want to enjoy it.
Reheating
If your jam has gelled a little too much in the fridge or freezer, simply warm a small amount gently in a saucepan or microwave. Stirring while reheating will help it loosen up without losing that luscious cherry goodness.
FAQs
Can I use frozen cherries for this Small Batch Cherry Jam Recipe?
Yes! Frozen cherries work wonderfully and are actually a great option when fresh cherries are out of season. Just remember that they’ll take slightly longer to cook down and dissolve, typically about 10 minutes during the initial heating step.
Do I need a candy thermometer to make this jam?
While having a candy thermometer helps to precisely reach the right temperature for thickening, you can also use the cold plate test. If a bit of jam placed on a chilled plate gels and does not run, your jam is ready without any special equipment.
Is this recipe safe for canning?
This Small Batch Cherry Jam Recipe is perfect for refrigerated storage but is not formulated for traditional water bath canning. For longer shelf life, keep the jam refrigerated or freeze it.
Can I adjust the sweetness?
Absolutely! The sugar amount can be tweaked slightly to taste, but keep in mind that sugar also acts as a preservative and affects the jam’s set. Reduce it too much and your jam might be runnier and have a shorter shelf life.
How long does it take for the jam to set properly?
After cooking, the jam will continue to thicken as it cools. Leaving it in the fridge overnight is best to achieve the perfect spreadable consistency and fully developed flavor.
Final Thoughts
There’s something truly special about making your own jam, especially when it’s as vibrant and delicious as this Small Batch Cherry Jam Recipe. It’s simple, rewarding, and brings a little homemade magic to your kitchen. Whether you’re treating yourself or sharing with loved ones, this jam is bound to become a treasured favorite. Give it a go—you won’t look back!
Print
Small Batch Cherry Jam Recipe
- Prep Time: 10 minutes
- Cook Time: 25 minutes
- Total Time: 8 hours 35 minutes (including cooling and setting time)
- Yield: 14 servings
- Category: Condiment
- Method: Stovetop
- Cuisine: American
Description
This Small Batch Cherry Jam recipe makes a deliciously sweet and tangy jam using fresh or frozen sweet cherries. Perfect for preserving a taste of summer, it requires just a few ingredients and a bit of patience to cook the cherries down to a thick, flavorful spread. The jam is blended to a smooth consistency and is ready to enjoy after chilling overnight.
Ingredients
Ingredients
- 2½ cups (400 g) halved and pitted sweet cherries, fresh or frozen
- 1 cup (200 g) granulated sugar
- 2 Tablespoons (30 ml) lemon juice, from about one lemon
Instructions
- Combine Ingredients: In a medium pot, add the prepared halved and pitted cherries, granulated sugar, and freshly squeezed lemon juice.
- Heat and Dissolve Sugar: Place the pot over medium heat and stir occasionally until all the sugar is completely dissolved and the syrup becomes a deep dark red color. This takes about 5 minutes if using fresh cherries or about 10 minutes if using frozen cherries.
- Boil and Thicken: Increase the heat to bring the mixture to a rolling boil that cannot be stirred down. Allow it to boil for 8 to 10 minutes, stirring as needed, until the jam thickens and reaches 220°F (105°C). To test readiness, drop a little jam onto a cold plate; if it runs, continue cooking for a minute or two and test again. Once it stays in place on the plate, the jam is ready.
- Blend the Jam: Remove the pot from heat. Using an immersion blender, pulse the mixture for several short bursts until there are no large cherry pieces left, keeping the blender head submerged by tilting the pan if necessary.
- Jar and Chill: Pour the hot jam carefully into clean jars, seal them tightly, and place in the refrigerator. The jam will thicken as it cools. For best results, allow it to set overnight before serving.
Notes
- Use fresh cherries in season for the best flavor, or frozen cherries if fresh are unavailable.
- Ensure jars are thoroughly cleaned and sterilized to prolong shelf life in the refrigerator.
- The jam can be stored refrigerated for up to 3 weeks.
- If you prefer a chunkier jam, blend less or skip the blending step.
- Always test the jam’s setting point on a cold plate to avoid over or undercooking.
