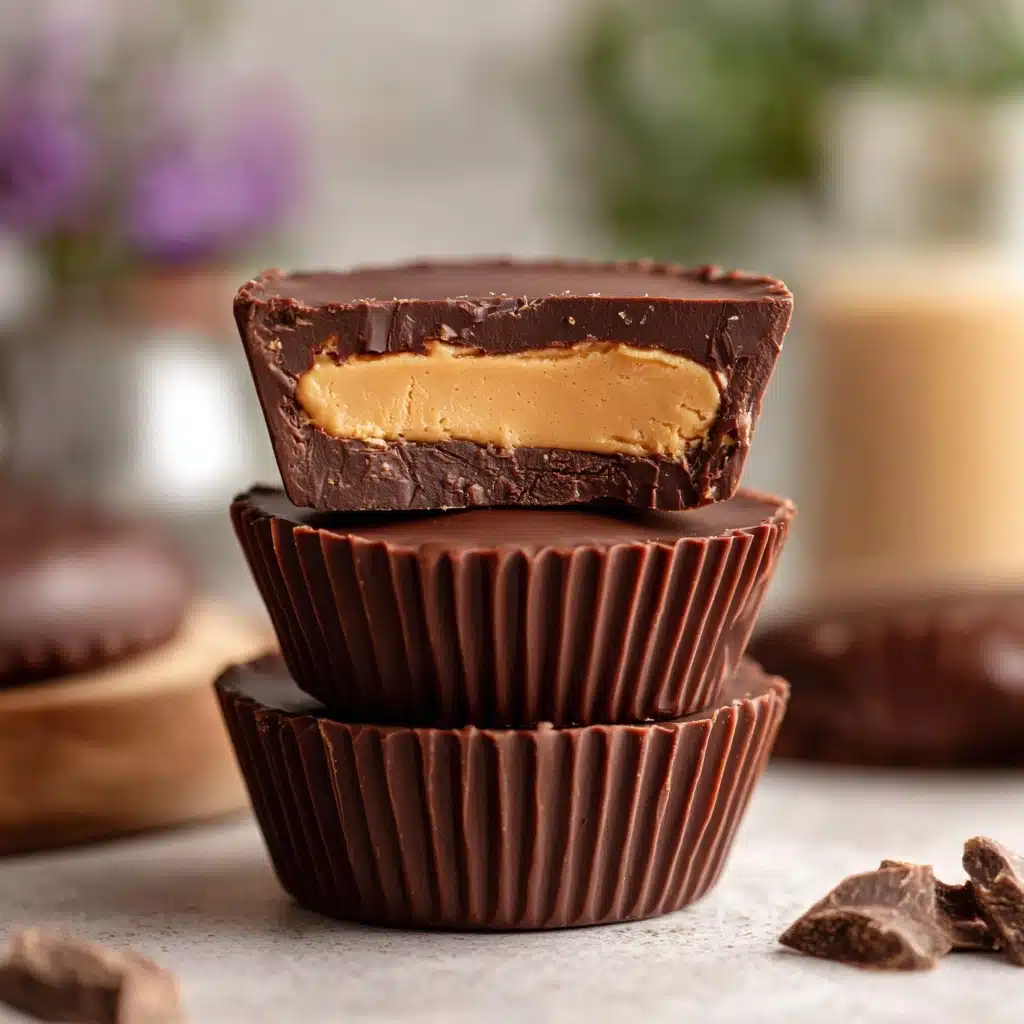
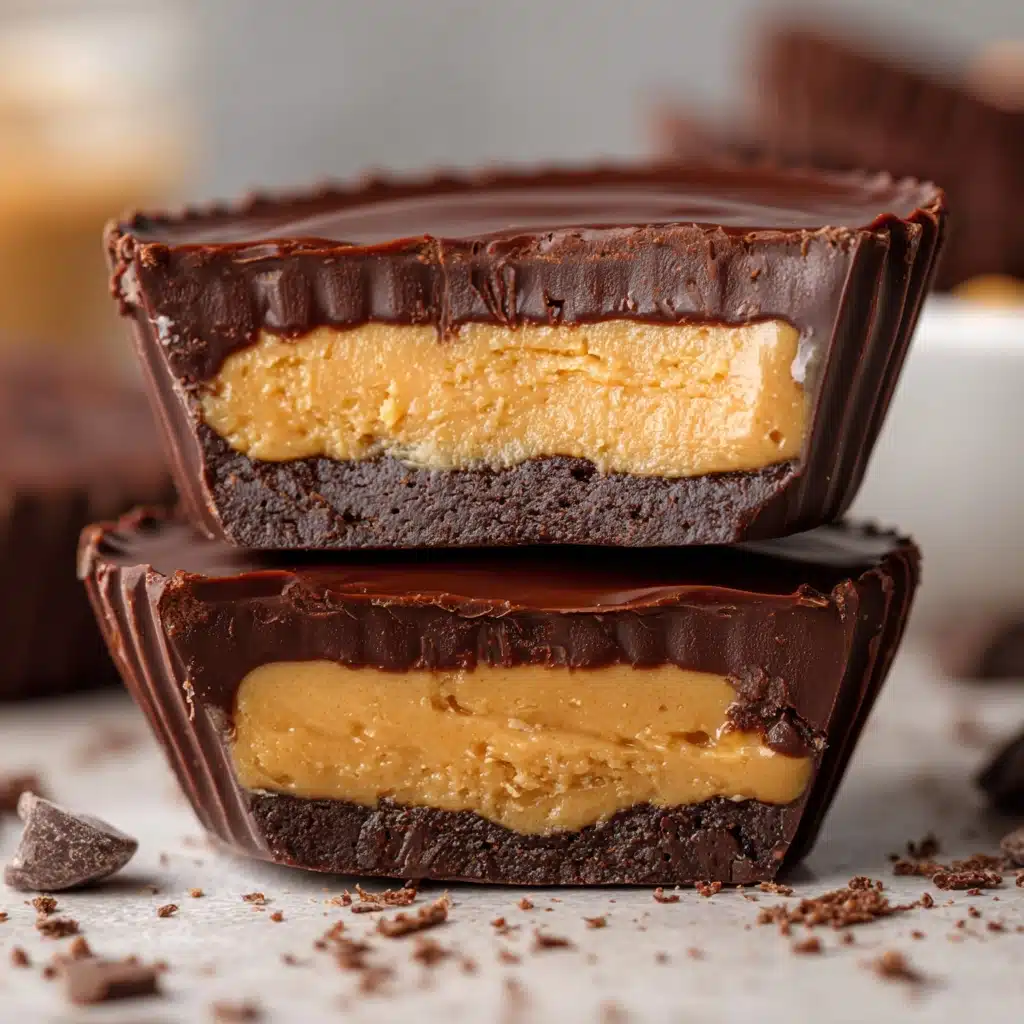
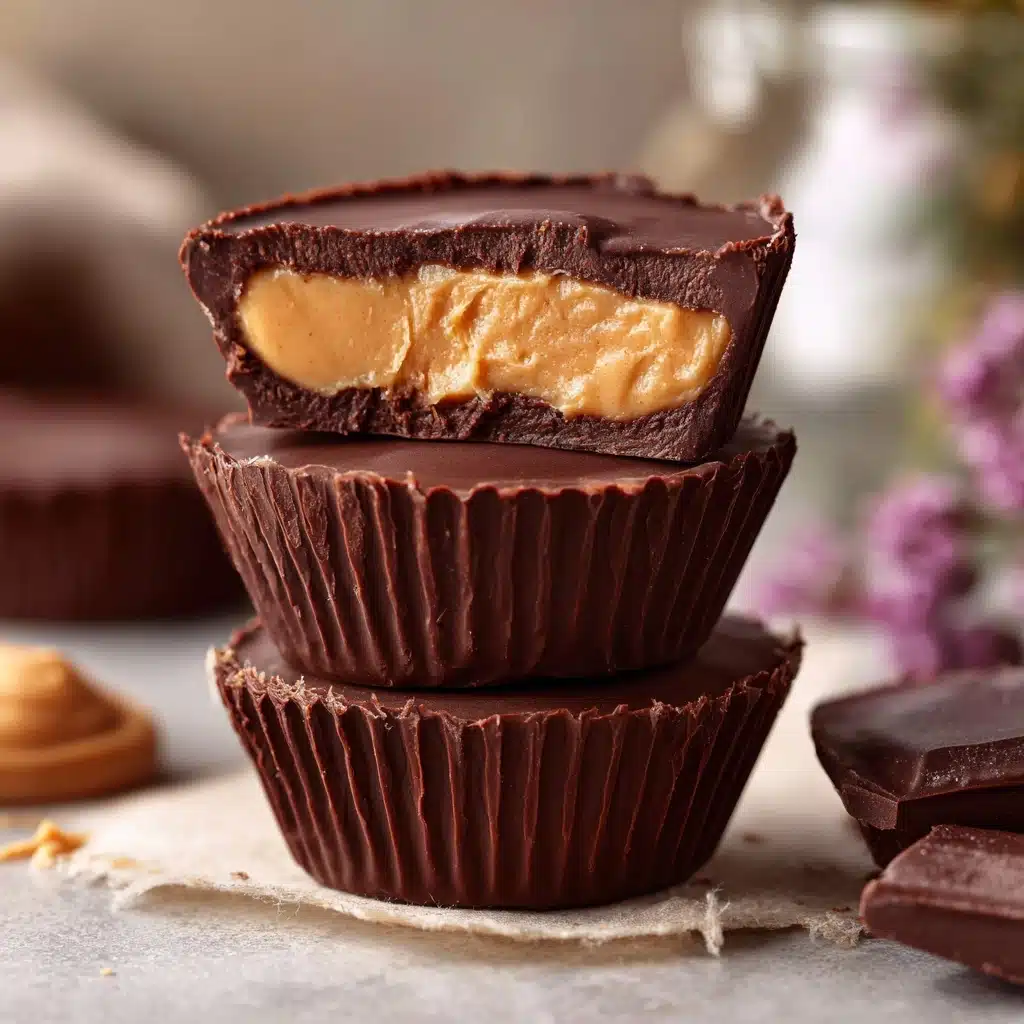
If you’re searching for the ultimate treat that balances nutrition and pure chocolatey-peanut butter bliss, Protein Peanut Butter Cups are about to become your new obsession. These no-bake wonders are irresistibly creamy, delightfully rich, and surprisingly easy to whip up. Whether you’re reaching for a post-workout snack or craving something sweet after dinner, these homemade cups satisfy every craving while delivering a protein punch. Once you’ve tasted these, store-bought cups just won’t cut it!
Ingredients You’ll Need
What makes Protein Peanut Butter Cups so fantastic is that the magic comes from just a handful of powerhouse ingredients. Each one brings something special: creaminess, sweetness, a silky smooth texture, or that snap of dark chocolate. Gather the following – you’ll see every component matters here!
- Peanut Butter: Go for natural (smooth or crunchy) to get that deep, nutty flavor and the right texture for the filling.
- Coconut Oil: When melted, it blends seamlessly with the peanut butter and helps keep the filling creamy and set.
- Protein Powder: Vanilla or chocolate—either adds a boost of protein and a subtle sweetness to every bite.
- Honey or Maple Syrup: Your choice brings natural sweetness and helps bind the filling—plus, you can tweak the flavor to your taste.
- Vanilla Extract: Just a splash makes the peanut butter mixture aromatic and warm.
- Salt: A pinch is all you need to enhance all those delicious flavors.
- Dark Chocolate Chips: For the ultimate chocolatey shell; they melt down beautifully and give that signature snap.
How to Make Protein Peanut Butter Cups
Step 1: Line Your Pan
Start by lining a mini muffin tin with paper liners. This not only makes it easy to pop your Protein Peanut Butter Cups out once they’ve set but also creates those classic ridged edges that look like the real deal. Pro tip: paper liners keep things mess-free and make cleanup a breeze!
Step 2: Make the Creamy Protein Filling
In a medium mixing bowl, combine peanut butter, melted coconut oil, protein powder, honey or maple syrup, vanilla extract, and salt. Stir, stir, stir until it’s luscious and completely smooth! This mix should be thick but creamy—if it looks too runny, add a sprinkle more protein powder; too stiff, a dab more coconut oil.
Step 3: Melt the Chocolate
Pop your dark chocolate chips into a microwave-safe bowl. Microwave in 30-second bursts, stirring well between each round, until the chocolate is silky, glossy, and fully melted. Take care not to overheat, so you get a shiny shell that doesn’t seize up.
Step 4: Build the First Chocolate Layer
Spoon about 1 teaspoon of melted chocolate into the base of each muffin liner, swirling it gently to cover the bottom. Once that’s done, slide the pan into the freezer and chill for 5 minutes so the bottom layer sets just enough for the next step.
Step 5: Add the Protein Peanut Butter Filling
Remove the tin from the freezer and place about 1 teaspoon of your luscious peanut butter-protein blend onto each chilled chocolate base. Press down gently to flatten, ensuring an even spread and that signature two-layer look when you bite in later.
Step 6: Top with More Chocolate and Chill
Finish things off with another teaspoon of melted chocolate over the filling, smoothing so each cup is sealed and covered. Once all are done, return the tray to the freezer for at least 30 minutes, until everything is firm and snappable.
How to Serve Protein Peanut Butter Cups

Garnishes
For an eye-catching finish, sprinkle a pinch of flaky sea salt on top right before the chocolate sets. Chopped roasted peanuts, a drizzle of melted peanut butter, or even a dusting of cocoa powder take these Protein Peanut Butter Cups from everyday snack to show-stopping treat.
Side Dishes
While these cups totally shine on their own, pairing them with something fresh like sliced strawberries or crisp apple wedges brings a nice contrast. For a protein-packed dessert board, serve alongside Greek yogurt or fresh berries. They also make a satisfying sweet finish to a light lunch or post-gym smoothie.
Creative Ways to Present
Try stacking them up on a platter for a homemade candy tower, or package a few in cute jars or treat bags for the ultimate edible gift. For special occasions, use decorative mini cupcake wrappers or press a few colored sprinkles into the top before chilling for festive flair.
Make Ahead and Storage
Storing Leftovers
Just pop any extra Protein Peanut Butter Cups into an airtight container and store them in the fridge. They’ll stay fresh, firm, and flavorful for up to a week—though honestly, they might not last that long!
Freezing
These cups freeze beautifully. Arrange them in a single layer (or with parchment in between) in a sealed container and keep them in the freezer for up to three months. They thaw quickly at room temp, but you can also enjoy them slightly frozen for an extra-snappy texture.
Reheating
No need for microwaves or ovens here! If you want them a little softer, let your Protein Peanut Butter Cups rest at room temperature for five to ten minutes. They’ll return to melty, creamy perfection in no time.
FAQs
Can I use a different nut butter?
Absolutely! Almond butter, cashew butter, or even sunflower seed butter work just as well. Each will bring its own unique flavor and make these cups allergy-friendly for everyone.
Which protein powder works best for Protein Peanut Butter Cups?
Both whey and plant-based protein powders work beautifully here. Vanilla or chocolate flavors blend in seamlessly, but unflavored powder is great if you like pure peanut-butter goodness.
Can I make Protein Peanut Butter Cups vegan?
Yes! Use plant-based protein powder, maple syrup instead of honey, and dairy-free chocolate chips. The results are every bit as decadent and totally plant-based.
How can I make these cups lower in sugar?
Opt for sugar-free or low-sugar protein powder, use a natural nut butter with no added sugars, and a sugar-free syrup if needed. Dark chocolate chips with a higher cacao percentage (70 percent or more) have the least sugar and the deepest chocolate flavor.
Do I need special equipment?
Not at all! Just a mini muffin tin, paper liners, and a couple of mixing bowls do the trick. Even the chocolate is easily melted in the microwave, no fancy double boiler required.
Final Thoughts
If you’re ready to take your snacking to the next level, whip up a batch of Protein Peanut Butter Cups—they’re as fun and satisfying to make as they are to eat. I can’t wait for you to experience the magic of this easy, protein-packed treat. Don’t be surprised if they become a regular in your fridge!
PrintProtein Peanut Butter Cups Recipe
Indulge in these homemade Protein Peanut Butter Cups that are not only delicious but also packed with protein. These no-bake treats are perfect for a post-workout snack or a guilt-free dessert option.
- Prep Time: 15 minutes
- Cook Time: 0 minutes
- Total Time: 45 minutes
- Yield: 12 peanut butter cups 1x
- Category: Snack, Dessert
- Method: No Bake
- Cuisine: American
- Diet: Vegetarian
Ingredients
Peanut Butter Mixture:
- 1/2 cup natural peanut butter (smooth or crunchy)
- 1/4 cup coconut oil, melted
- 1/4 cup protein powder (vanilla or chocolate)
- 2 tablespoons honey or maple syrup
- 1/2 teaspoon vanilla extract
- 1/4 teaspoon salt
Chocolate Layer:
- 1 cup dark chocolate chips
Instructions
- Prepare the Peanut Butter Mixture: Line a mini muffin tin with paper liners. In a medium bowl, combine peanut butter, melted coconut oil, protein powder, honey, vanilla extract, and salt. Stir until smooth and well combined.
- Melt the Chocolate: In a microwave-safe bowl, melt the dark chocolate chips in 30-second intervals, stirring between each, until fully melted.
- Assemble the Cups: Spoon about 1 teaspoon of melted chocolate into the bottom of each muffin liner. Freeze for 5 minutes to set. Remove from freezer and add about 1 teaspoon of the peanut butter mixture on top of the chocolate layer in each cup, pressing lightly to flatten. Top with another teaspoon of melted chocolate to cover the peanut butter layer.
- Chill and Serve: Freeze for at least 30 minutes until firm. Store the peanut butter cups in an airtight container in the refrigerator.
Notes
- Use sugar-free or low-sugar protein powder for a lower sugar version.
- Substitute almond butter for peanut butter if preferred.
- These make great post-workout snacks or healthy treats.
Nutrition
- Serving Size: 1 peanut butter cup
- Calories: 150
- Sugar: 4g
- Sodium: 55mg
- Fat: 12g
- Saturated Fat: 3g
- Unsaturated Fat: 8g
- Trans Fat: 0g
- Carbohydrates: 7g
- Fiber: 2g
- Protein: 6g
- Cholesterol: 0mg


