
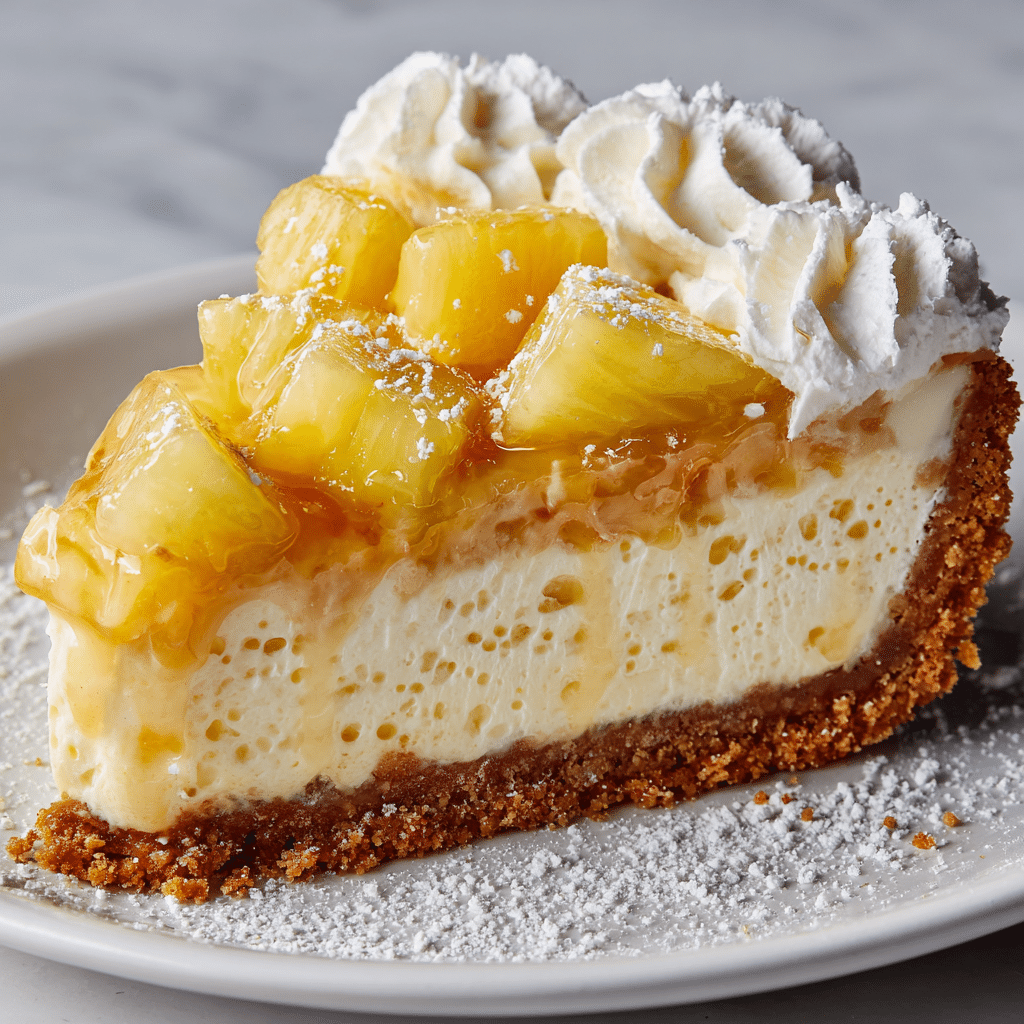
Get ready to meet your new favorite showstopper dessert: Pineapple Right Side Up Cheesecake. Imagine everything you cherish about a classic pineapple upside-down cake—candied fruit, sweet brown sugar, and vibrant tropical flavor—all nestled atop (or should I say beneath?) an ultra-creamy New York-style cheesecake. Each bite offers buttery graham cracker, caramelized pineapple, a hint of cherry, and velvety filling. This decadent treat is a jaw-dropping centerpiece for any summer gathering or special occasion, and surprisingly simple to assemble. Your friends are going to beg you for the recipe!

Ingredients You’ll Need
It’s truly amazing how a few kitchen staples and pantry favorites create something this dazzling. Every ingredient in Pineapple Right Side Up Cheesecake brings a pop of flavor, a perfect texture, or a signature color. Here’s what you’ll need—and a few helpful tips, so your cheesecake turns out perfectly every time.
- Graham cracker crumbs: These provide the classic, crunchy base that balances out the creamy cheesecake layer beautifully.
- Granulated sugar: Adds just the right touch of sweetness to both the crust and the rich filling.
- Unsalted butter (melted): Binds the crust while lending buttery richness, and is also key for caramelizing the top.
- Pineapple rings in juice: Make sure to drain and pat dry so your layers stay crisp and flavorful, not soggy.
- Light brown sugar: Melts into a caramel glaze for that iconic pineapple upside-down flavor.
- Cream cheese (softened): The heart of any cheesecake, it must be smooth and at room temperature for best results.
- Large eggs: Give the filling structure and that dreamy, custardy texture we all love.
- Vanilla extract: Enhances the cheesecake’s flavor, making the fruity, tropical notes pop.
- Sour cream: Adds a tangy twist and extra creaminess to the filling.
- All-purpose flour: Just a tablespoon helps set the cake, keeping everything sliceable and luscious, never runny.
- Maraschino cherries: Not just for looks—these deliver a playful, sweet contrast right in the center of the ring!
How to Make Pineapple Right Side Up Cheesecake
Step 1: Prep the Pan
Start by preheating your oven to 325°F. Lightly grease a 9-inch springform pan, then line the bottom with parchment paper. This simple step guarantees a smooth release and flawless presentation—no sticking, no crumbling, just neat slices every time.
Step 2: Build the Graham Cracker Crust
In a medium bowl, combine the graham cracker crumbs, 1/4 cup granulated sugar, and 1/2 cup of melted butter. Stir until the crumbs are evenly moistened and resemble damp sand. Press this mixture firmly into the bottom of your prepared pan to form a solid, even layer. The crust acts as the sturdy-yet-buttery foundation for everything that comes next.
Step 3: Add the Caramelized Pineapple Layer
Mix the light brown sugar and 1/4 cup melted butter together in a small bowl. Pour this mixture over the crust, using a spatula to gently spread it to the edges. Now, artfully arrange the pineapple rings over the brown sugar layer, nestling a maraschino cherry into the center of each ring. Make sure the pineapples are well-dried—this keeps the caramel topping thick and luscious rather than watery.
Step 4: Whip Up the Cheesecake Filling
In a large bowl, beat the softened cream cheese until completely smooth and free of lumps—this is your moment for patience, as a dreamy texture starts here. Add the remaining 1 cup granulated sugar and blend well. Then add the eggs, one at a time, beating on low and scraping down the sides after each addition to ensure a perfectly homogeneous batter. Mix in the vanilla, sour cream, and flour until just combined.
Step 5: Assemble and Bake
Pour the creamy filling over the pineapple-cherry arrangement, gently smoothing the top. Bake for 60 to 70 minutes; it’s done when the center is mostly set but still has the slightest wobble. This delicate jiggle is your cue for a silky-smooth finish, never dry or overbaked.
Step 6: Cool and Chill
Turn off the oven, crack the door, and let the cheesecake rest gently for an hour. This slow cooling process helps prevent cracks on top. Once it’s come to room temperature, refrigerate for at least four hours (or overnight if you can wait that long!). Chilled Pineapple Right Side Up Cheesecake slices cleanly and tastes even better after the flavors meld.
Step 7: Release, Slice, and Serve
Carefully run a thin knife around the inside edge of the pan before unclasping the springform. Gently lift the cake onto a serving platter and marvel at those glistening pineapple rings and cherries! Slice with a warm, sharp knife for the prettiest pieces, and enjoy every blissful bite.
How to Serve Pineapple Right Side Up Cheesecake
Garnishes
To make those golden rings and bright cherries pop even more, scatter a handful of toasted coconut, a sprinkle of powdered sugar, or a drizzle of reserved pineapple juice. You can even tuck a few extra maraschino cherries around the edge for a festive touch—every slice becomes a miniature centerpiece!
Side Dishes
Pineapple Right Side Up Cheesecake plays beautifully with a simple scoop of vanilla ice cream, a bowl of luscious whipped cream, or a platter of fresh berries. For a tropical spin, serve with a fruit salad brimming with mango, kiwi, and extra pineapple. Light, tangy accompaniments make this rich dessert shine even brighter.
Creative Ways to Present
Looking for wow factor? Slice the cheesecake into wedges and fan them on a brightly colored platter. Or, use mini springform pans for individual cheesecakes—each topped with one perfect pineapple ring and cherry. You can even layer squares into parfait glasses with extra crust crumbs and whipped topping for a playful twist on tradition.
Make Ahead and Storage
Storing Leftovers
Store any leftover Pineapple Right Side Up Cheesecake in an airtight container in the refrigerator. It stays fresh and delicious for up to five days—just remember to keep it well-covered to prevent the fruit from drying out and to lock in all that wonderful creaminess.
Freezing
If you want to plan even further ahead, this cheesecake freezes beautifully. Wrap individual slices tightly in plastic wrap and then foil, or store the whole cake (minus garnishes) in a sturdy freezer-safe container. Thaw overnight in the fridge before serving—no one will guess it’s been frozen!
Reheating
Cheesecake is best enjoyed chilled or at cool room temperature, so there’s no need to reheat. If you prefer a softer texture, let slices rest at room temp for about 20 minutes before serving, but avoid microwaving, as this can affect the texture and melt those gorgeous pineapple rings.
FAQs
Can I use fresh pineapple instead of canned?
Absolutely! Just make sure to slice the pineapple thinly and pat it completely dry. Canned pineapple has a softer texture and is less acidic, so if using fresh, you might want to simmer the rings briefly in a little sugar syrup to soften them and mellow their bite.
What’s the best way to avoid a soggy crust?
Dry, well-drained pineapple is key here! You can even set the pineapple rings on paper towels after draining them. Also, be sure to bake the cheesecake soon after assembling, so the fruit doesn’t have extra time to release juice into the crust.
Can I make Pineapple Right Side Up Cheesecake gluten-free?
Of course! Swap out regular graham crackers for your favorite gluten-free version and use a one-for-one gluten-free flour blend in place of the all-purpose flour. You won’t lose any of the flavor or creamy texture.
Why does my cheesecake crack on top?
Cracks can happen if the filling is overmixed or if it cools too quickly. For best results, follow the slow cooling instructions and avoid opening the oven door during baking. If a crack does appear, don’t fret—the pineapple and cherries will camouflage it perfectly!
Can I prepare this dessert a day ahead?
In fact, Pineapple Right Side Up Cheesecake tastes even better after it’s chilled overnight. Making it a day ahead lets the flavors mingle and makes every slice extra clean and pretty. Just add garnishes right before serving for a fresh, festive look.
Final Thoughts
This Pineapple Right Side Up Cheesecake is pure sunshine—tangy, creamy, and spectacularly pretty. It’s easier than it looks and guaranteed to turn heads at your next gathering. Give it a try and see for yourself why this dessert will become a household tradition!
PrintPineapple Right Side Up Cheesecake Recipe

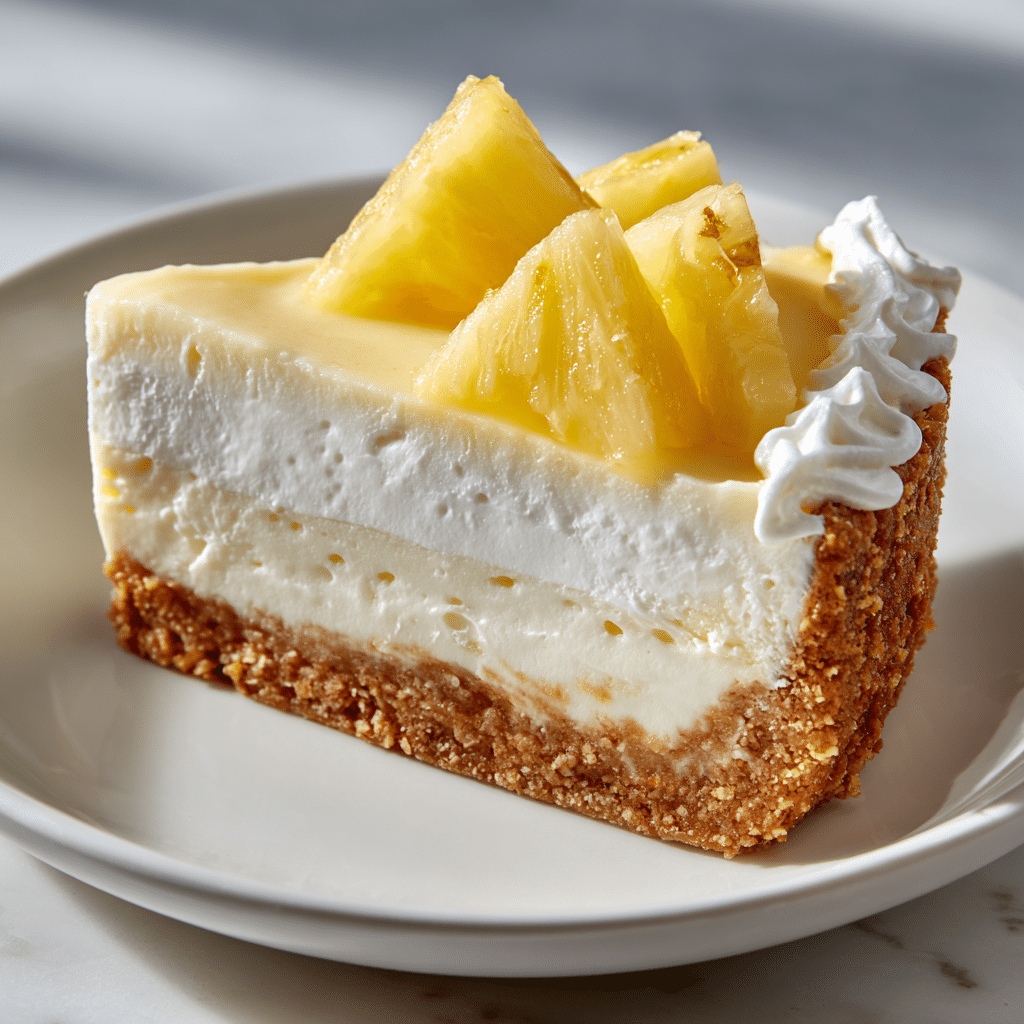
Indulge in a delightful twist on the classic cheesecake with this Pineapple Right Side Up Cheesecake. Creamy cheesecake sits atop a graham cracker crust, topped with sweet pineapple rings and cherries for a tropical flair.
- Prep Time: 25 minutes
- Cook Time: 1 hour 10 minutes
- Total Time: 6 hours
- Yield: 12 slices 1x
- Category: Dessert
- Method: Baking
- Cuisine: American
- Diet: Non-Vegetarian
Ingredients
Graham Cracker Crust:
- 1 1/2 cups graham cracker crumbs
- 1/4 cup granulated sugar
- 1/2 cup unsalted butter, melted
Pineapple Topping:
- 2 cans (20 oz each) pineapple rings in juice, drained and patted dry
- 1/2 cup packed light brown sugar
- 1/4 cup unsalted butter, melted (for topping)
- Maraschino cherries for garnish
Cheesecake Filling:
- 3 packages (8 oz each) cream cheese, softened
- 1 cup granulated sugar
- 3 large eggs
- 1 teaspoon vanilla extract
- 1/2 cup sour cream
- 1 tablespoon all-purpose flour
Instructions
- Preheat the oven: Preheat the oven to 325°F (163°C). Grease a 9-inch springform pan and line the bottom with parchment paper.
- Prepare the crust: Mix graham cracker crumbs, 1/4 cup sugar, and melted butter. Press into the pan.
- Make the topping: Combine brown sugar and melted butter. Spread over the crust. Arrange pineapple rings on top, placing a cherry in the center of each.
- Prepare the filling: Beat cream cheese until smooth. Add sugar, eggs, vanilla, sour cream, and flour. Mix until smooth.
- Bake: Pour the filling over the pineapples. Bake for 60–70 minutes until set but slightly jiggly.
- Cool and chill: Let the cheesecake cool in the oven with the door cracked, then refrigerate for at least 4 hours or overnight.
- Serve: Release from the pan, slice, and enjoy!
Notes
- Ensure pineapples are well-drained to prevent sogginess.
- Make ahead for easier slicing and enhanced flavor.
Nutrition
- Serving Size: 1 slice
- Calories: 480
- Sugar: 35g
- Sodium: 280mg
- Fat: 30g
- Saturated Fat: 18g
- Unsaturated Fat: 10g
- Trans Fat: 0g
- Carbohydrates: 43g
- Fiber: 1g
- Protein: 6g
- Cholesterol: 110mg
