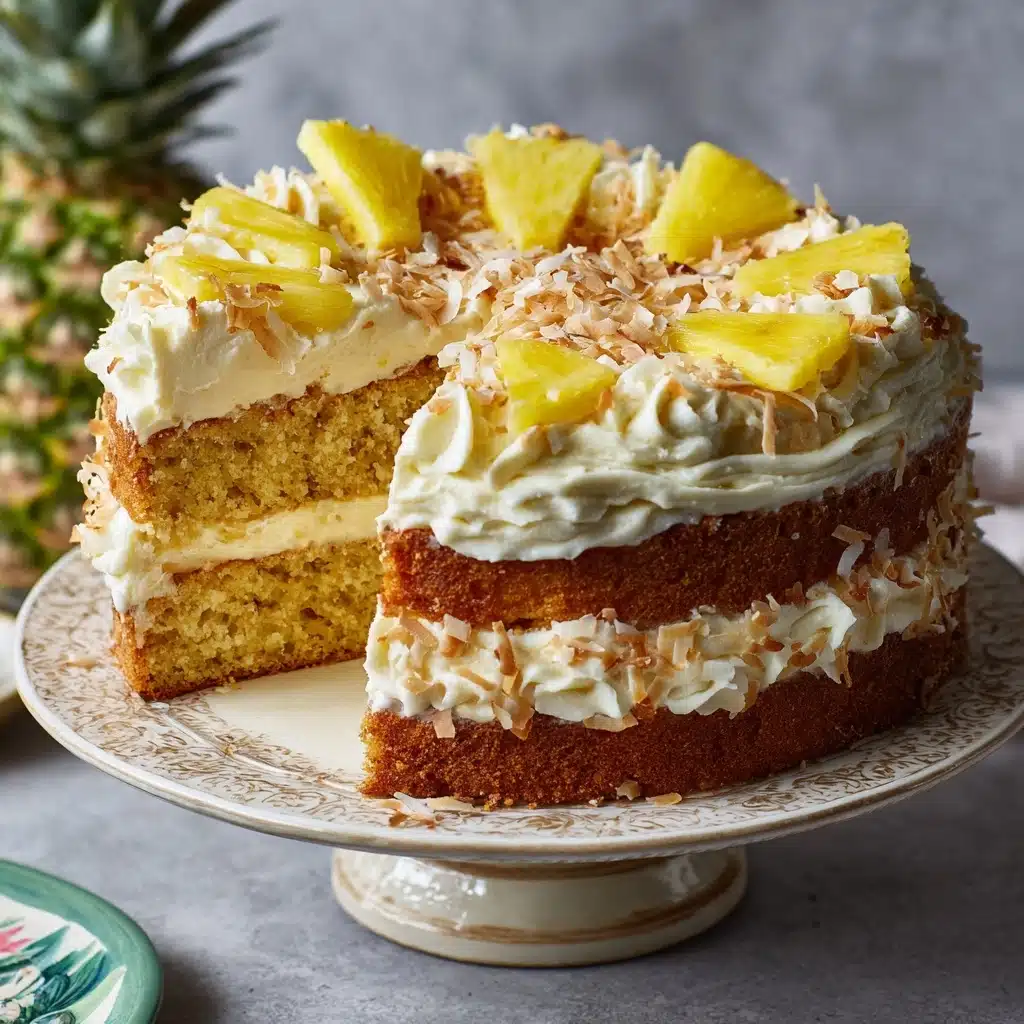
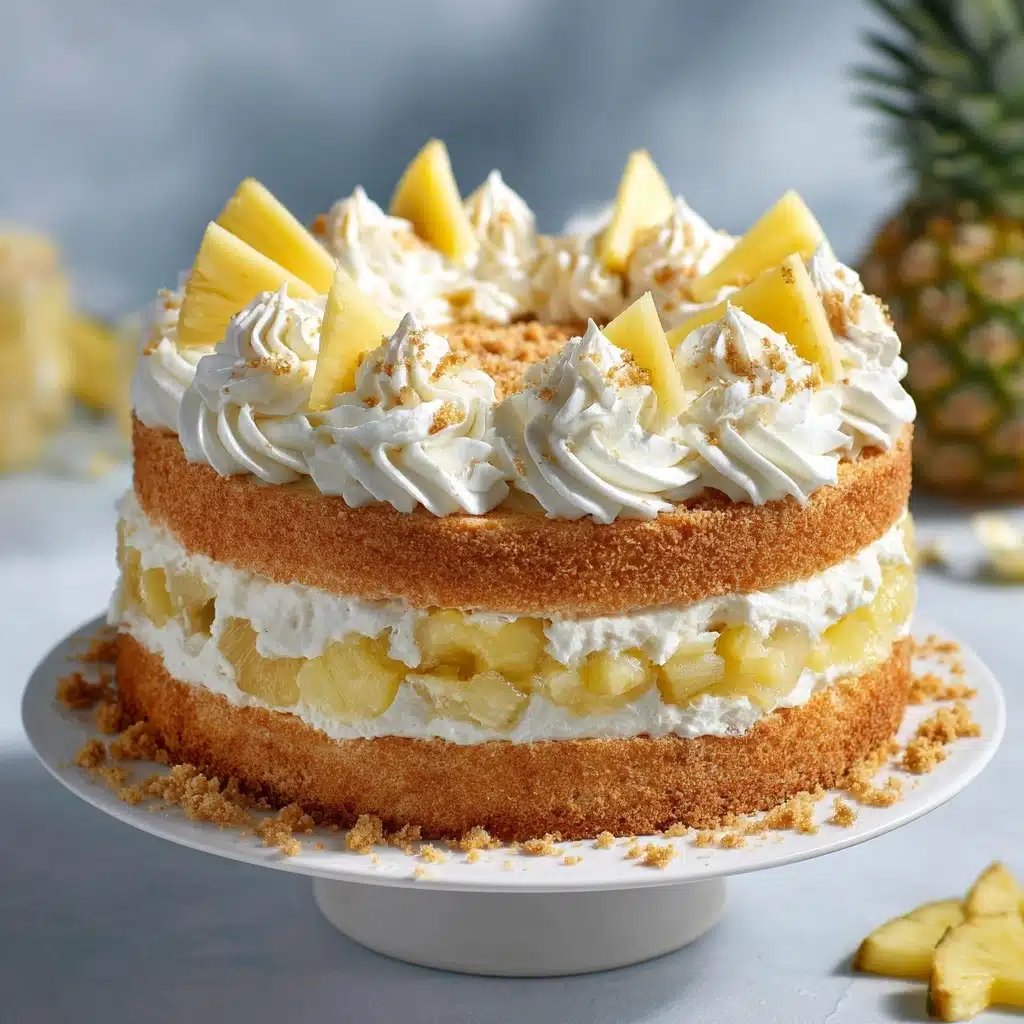
If you’re searching for the perfect easy-to-make treat bursting with sunny flavor, Pineapple Dream Dessert is pure paradise in every bite. This no-bake classic combines a buttery graham cracker crust with a lusciously creamy, pineapple-studded filling. Each layer delivers a hit of nostalgia and comfort, making it the ideal chill-and-serve dessert for family get-togethers, summer parties, or just when you want a sweet escape. I’ve made this more times than I can count, and let me tell you—there’s always someone coming back for seconds!
Ingredients You’ll Need
The magic of this Pineapple Dream Dessert is how every ingredient brings something wonderful; from the crunch of the crust to the tropical tang of pineapple, each element enhances the next. Gather these simple items, and you’re already half-way to a dreamy treat everyone will adore.
- Graham cracker crumbs: This forms the perfectly sandy, buttery base that holds everything together and adds a toasty flavor.
- Unsalted butter (melted and softened): Melted for the crust, softened for the filling—its silky richness is essential in both layers.
- Granulated sugar: Just a touch in the crust for sweet crunch and balance.
- Cream cheese (8 oz, softened): The heart of the creamy filling, providing tang and velvety texture.
- Powdered sugar: Ensures the filling is melt-in-your-mouth sweet and smooth—never gritty.
- Whipped topping (8 oz, thawed): Folded into the filling for airiness, this brings lightness and volume.
- Crushed pineapple (20 oz, well drained): Adds fresh, vibrant bursts of fruit flavor—be sure to drain thoroughly for the best set!
How to Make Pineapple Dream Dessert
Step 1: Make the Graham Cracker Crust
Start by combining your graham cracker crumbs, melted butter, and a bit of granulated sugar in a medium bowl. Mix until it’s the texture of wet sand—delicious, golden, and perfect for pressing into the bottom of your 9×9-inch baking dish. Take your time pressing the crust down firmly and evenly; this helps it hold together for easy slicing later.
Step 2: Whip the Cream Cheese Filling
In a separate bowl, beat the softened cream cheese together with the softened butter until the mixture is ultra-smooth and creamy. Take a moment to scrape down the sides so everything is silky. Then, gradually add the powdered sugar, mixing until no lumps remain. This creates a rich base that will taste like a cheesecake cloud.
Step 3: Fold in Whipped Topping and Pineapple
Now it’s time to gently fold in the thawed whipped topping, taking care not to deflate that lovely fluffiness. Gently mix until smooth and light, then add the well-drained crushed pineapple. Stir just until everything is combined, and every scoop promises a burst of pineapple.
Step 4: Assemble and Chill
Spread that dreamy pineapple-cream mixture right over the prepared graham cracker crust. Smooth the top with a spatula so it’s as lovely as it is delicious. Cover tightly and refrigerate for at least four hours, or overnight if you plan ahead. For the best Pineapple Dream Dessert texture, patience is a virtue—the chilling brings it all together!
Step 5: Slice and Serve
When you’re ready, remove from the refrigerator and slice into nine generous squares. Serve them cold, with or without extra toppings—either way, get ready for cheers from anyone lucky enough to snag a slice.
How to Serve Pineapple Dream Dessert

Garnishes
Top your Pineapple Dream Dessert with a flourish! A dollop of whipped topping, a sprinkle of toasted coconut, or even a maraschino cherry creates an irresistible presentation. You could also try a light dusting of finely crushed graham cracker crumbs for extra crunch on top. Garnishes add not just flavor, but a festive finish.
Side Dishes
Since this dessert is luscious and cool, it pairs well with simple sides like fresh berries, a light fruit salad, or even a fizzy citrus mocktail. These fresh, bright flavors refresh your palate and highlight the tropical notes in every creamy bite.
Creative Ways to Present
Try spooning the Pineapple Dream Dessert into individual jars for picnic-perfect portions, or layer it in trifle dishes for a party centerpiece. For something special, create parfaits with alternate layers of crust and pineapple filling, topped with a tiny umbrella—the options are limited only by your imagination!
Make Ahead and Storage
Storing Leftovers
Any leftovers can be covered tightly and kept in the fridge for up to three days. The crust will stay pleasantly firm, while the filling remains cool and creamy. For the freshest results, avoid lingering uncovered as the fridge air can dry out the topping.
Freezing
If you’d like to enjoy Pineapple Dream Dessert later, you can freeze it! Simply wrap the entire (unsliced) dessert tightly in plastic wrap, then aluminum foil. Freeze for up to a month, and thaw overnight in the fridge before serving. Note that thawed texture may be slightly softer but still totally scrumptious.
Reheating
There’s no need to reheat—Pineapple Dream Dessert is meant to be enjoyed chilled. Just remove it from the fridge, slice, and serve straight away for that refreshing, creamy goodness every time.
FAQs
Can I use fresh pineapple instead of canned?
Fresh pineapple can work in a pinch, but make sure it’s very finely chopped and extra well-drained, as the extra liquid could make the filling too runny. The classic recipe uses canned for consistent texture and flavor.
What’s the best way to drain crushed pineapple?
Pour it into a fine mesh sieve and press gently with the back of a spoon. You can also place it between paper towels and press out excess juice—this is the secret to preventing a watery dessert.
Can I make Pineapple Dream Dessert gluten-free?
Absolutely! Swap the standard graham crackers for your favorite gluten-free alternative. All the other ingredients in this recipe are naturally gluten-free—just double-check your whipped topping if you’re especially sensitive.
How far in advance can I make it?
You can easily prepare the dessert a day ahead, which actually allows the flavors to meld and the filling to fully set. This makes Pineapple Dream Dessert the ultimate make-ahead treat for busy hosts.
Is there a lower sugar version?
You can experiment with sugar alternatives in the crust and filling, or reduce the sugar quantities—just keep in mind that the pineapple itself adds natural sweetness. Taste as you go to get the balance right for you.
Final Thoughts
There’s something so irresistibly nostalgic and joyful about Pineapple Dream Dessert—it’s just the kind of treat that makes any occasion feel a little bit sunnier. I hope you’ll try this recipe and share it with your favorite people. Dive in, have a slice, and let the tropical magic begin!
PrintPineapple Dream Dessert Recipe
Pineapple Dream Dessert is a delightful no-bake treat that combines the tropical sweetness of pineapple with a creamy, decadent filling atop a crunchy graham cracker crust. It’s a refreshing and easy dessert perfect for any occasion, especially during the warmer months.
- Prep Time: 15 minutes
- Cook Time: 0 minutes
- Total Time: 4 hours 15 minutes (including chilling time)
- Yield: 9 servings 1x
- Category: Dessert
- Method: No-Bake
- Cuisine: American
- Diet: Non-Vegetarian
Ingredients
Graham Cracker Crust:
- 1 1/2 cups graham cracker crumbs
- 1/2 cup unsalted butter, melted
- 1/4 cup granulated sugar
Creamy Pineapple Filling:
- 1 package cream cheese (8 oz), softened
- 1/2 cup unsalted butter, softened
- 1 cup powdered sugar
- 1 container whipped topping (8 oz), thawed
- 1 can crushed pineapple (20 oz), well drained
Instructions
- Graham Cracker Crust: In a medium bowl, mix graham cracker crumbs, melted butter, and granulated sugar until well combined. Press the mixture firmly into the bottom of a 9×9-inch baking dish to form the crust.
- Creamy Pineapple Filling: In a separate bowl, beat the softened cream cheese and softened butter together until smooth and creamy. Gradually mix in powdered sugar until fully incorporated. Fold in the whipped topping until light and fluffy. Gently fold in the drained crushed pineapple.
- Assembly: Spread the pineapple cream mixture evenly over the graham cracker crust. Cover and refrigerate for at least 4 hours, or overnight, until set. Slice and serve chilled.
Notes
- You can top with extra whipped topping or toasted coconut for added texture.
- Make sure the pineapple is well drained to prevent a watery dessert.
Nutrition
- Serving Size: 1 square
- Calories: 340
- Sugar: 24g
- Sodium: 180mg
- Fat: 23g
- Saturated Fat: 13g
- Unsaturated Fat: 8g
- Trans Fat: 0g
- Carbohydrates: 30g
- Fiber: 1g
- Protein: 2g
- Cholesterol: 50mg


