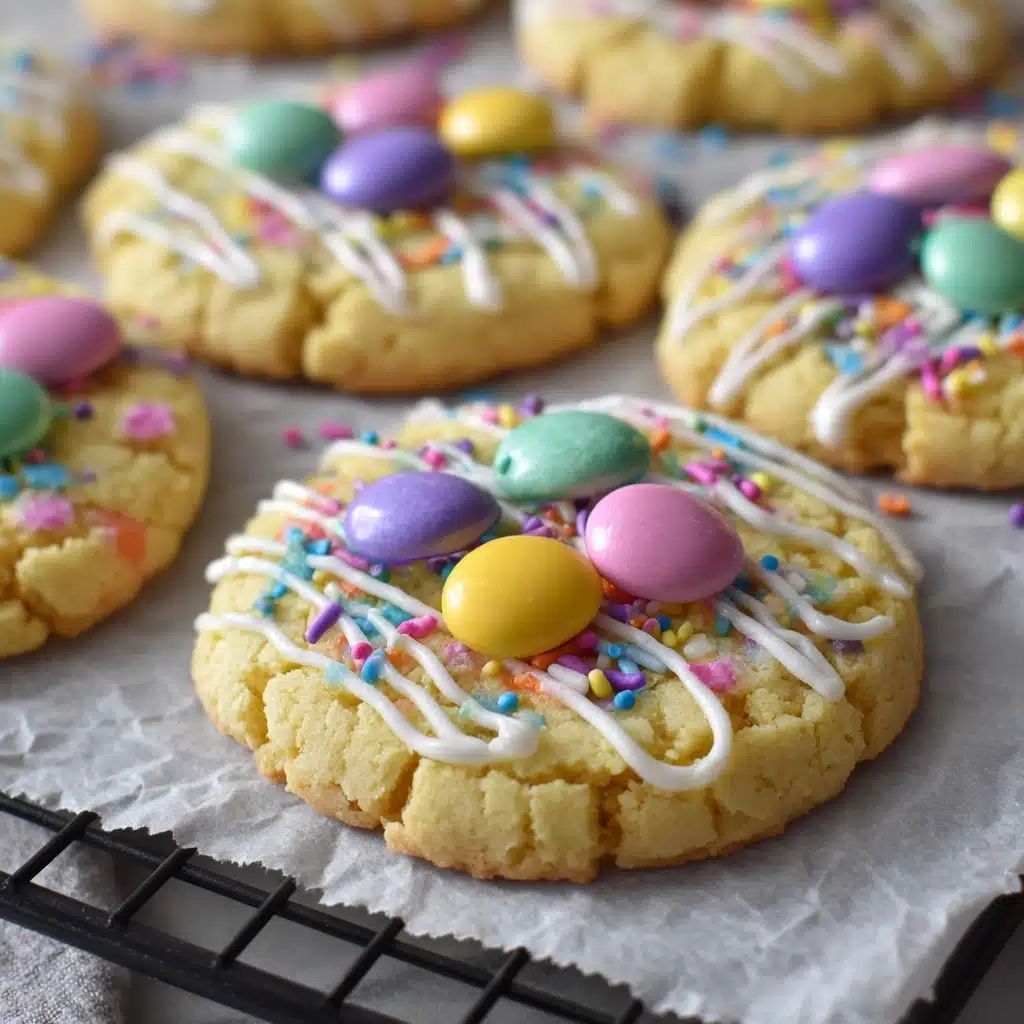
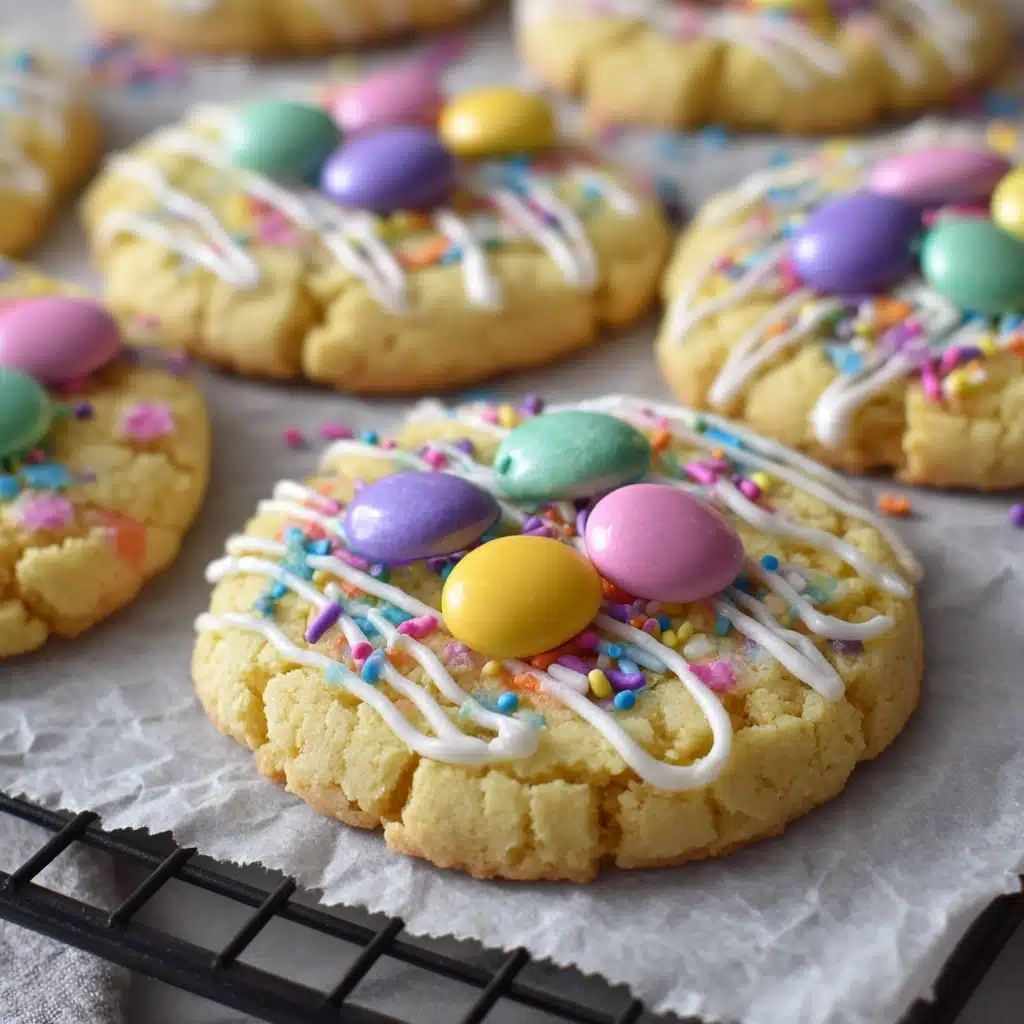
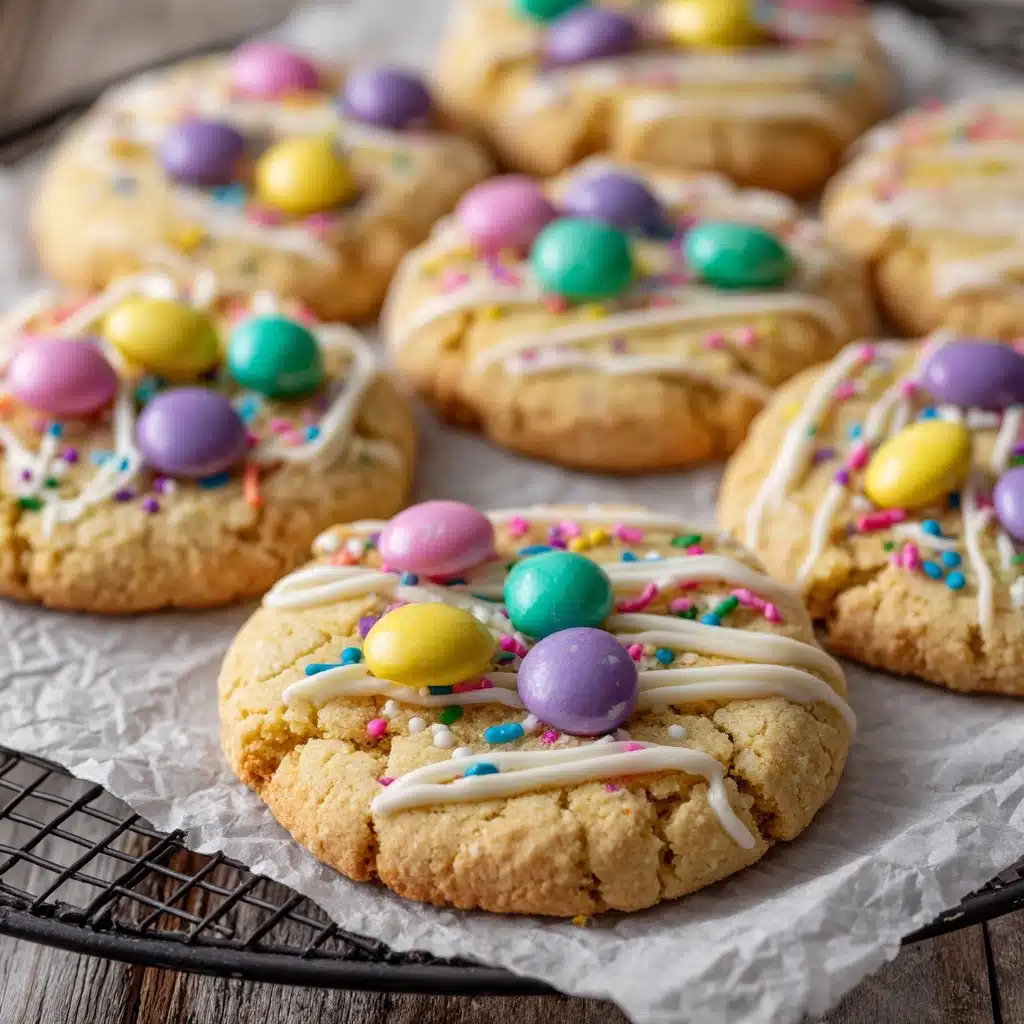
If there’s a dessert designed to light up any gathering and put genuine smiles on faces of all ages, it’s these Pastel Candy-Centered Butter Cookies. Imagine a buttery, tender cookie bursting with melt-in-your-mouth flavor, each one crowned with jewel-toned candies that peek out from golden tops. They’re as pretty as they are delicious, balancing classic vanilla taste with that irresistible chocolate crunch at the center. These cookies aren’t just baked goods; they’re little bites of nostalgia perfect for birthdays, picnics, or whenever you crave a treat that looks like joy itself.
Ingredients You’ll Need
Baking these cookies calls for simple pantry staples, yet every ingredient brings something essential to the table. From lush butter and sweet vanilla to those magical pastel candies, each part ensures your Pastel Candy-Centered Butter Cookies are soft, flavorful, and downright beautiful.
- Unsalted butter (1 cup, softened): This is what gives the cookies their decadent melt-in-your-mouth texture—make sure it’s room temperature for easy blending.
- Granulated sugar (¾ cup): The sweet backbone of our dough, creating a delicate, not-too-sweet crumb.
- Large egg (1): Binds everything together and adds moisture so your cookies stay soft.
- Vanilla extract (1 tsp): Enhances all the other flavors and fills your kitchen with the coziest aroma.
- All-purpose flour (2¼ cups): The base of the cookie, giving just the right structure for soft, thick centers.
- Salt (¼ tsp): Balances sweetness and boosts flavor—don’t skip it!
- Baking powder (½ tsp): Lifts the dough ever-so-slightly, ensuring your cookies aren’t dense.
- Pastel chocolate candies (½ cup): Those pastel pops (think M&Ms or similar) make every bite fun and colorful—plus, who can resist chocolate?
How to Make Pastel Candy-Centered Butter Cookies
Step 1: Preheat and Prepare
Start by setting your oven to 350°F (175°C) and line your baking sheets with parchment paper. This simple step means your Pastel Candy-Centered Butter Cookies will lift off cleanly without any burnt bottoms—plus, clean-up is much easier!
Step 2: Cream the Butter and Sugar
In a large mixing bowl, beat your softened butter and granulated sugar together until the mixture turns light, creamy, and fluffy. This aerates the butter, laying the perfect foundation for a delicate texture in every cookie.
Step 3: Add Egg and Vanilla
Next, crack in the egg and pour in the vanilla extract. Beat until everything is fully incorporated. You’ll notice the dough looks glossy and holds together—it’s your signal to move forward.
Step 4: Combine the Dry Ingredients
In a separate bowl, whisk together the all-purpose flour, salt, and baking powder. This step ensures the leavener gets evenly dispersed, so every batch of Pastel Candy-Centered Butter Cookies bakes up nice and even.
Step 5: Form the Dough
Add your dry ingredients gradually to the wet mixture, mixing by hand or on low speed. As soon as a soft dough forms, you’re good to go. If your kitchen’s warm, just pop the dough in the fridge for 30 minutes to prevent spreading.
Step 6: Shape and Decorate
Scoop out tablespoon-sized portions of dough and roll each into a ball with your palms. Nestle 2 or 3 pastel chocolate candies into the center of each one—gently press them in so they look like little gems.
Step 7: Bake
Arrange the cookie dough balls on your prepared baking sheet, leaving about two inches between each. Bake for 10 to 12 minutes, or until the edges turn lightly golden but the centers remain soft and pale—a hallmark of perfectly baked Pastel Candy-Centered Butter Cookies.
Step 8: Cool and Enjoy
Let the cookies cool on the sheet for about five minutes before transferring them to a wire rack. This quick rest firms them up for easy handling, and helps the chocolate candies set prettily on top. Now comes the best part: enjoy!
How to Serve Pastel Candy-Centered Butter Cookies

Garnishes
For a festive finishing touch, sprinkle a few extra pastel candies or colorful sprinkles right after baking. The warmth of the cookies will help them stick, giving each treat even more eye-catching charm—and maybe just a little extra crunch!
Side Dishes
These cookies are irresistible with a tall glass of cold milk, but don’t stop there. Try serving them with fresh berries or a scoop of vanilla ice cream for an extra-special dessert. A cup of hot tea or coffee also makes a cozy match for Pastel Candy-Centered Butter Cookies.
Creative Ways to Present
Turn your cookies into a showstopper by arranging them on a vintage platter lined with pastel napkins. For parties, stack them in clear cellophane bags tied with ribbons for take-home favors. Or layer them in a cookie jar on your counter, because nothing welcomes guests like seeing Pastel Candy-Centered Butter Cookies front and center!
Make Ahead and Storage
Storing Leftovers
If you have any cookies left (it’s a big “if”), keep them in an airtight container at room temperature for up to 5 days. They’ll stay soft and the candies will keep their colors bright. Avoid storing with other types of cookies, as their flavors and textures can transfer.
Freezing
You can freeze Pastel Candy-Centered Butter Cookies with excellent results. For best freshness, place cooled cookies in a zip-top bag or freezer-safe container, separating layers with parchment paper. They’ll keep for up to 2 months and are fantastic for preparing ahead of holidays or parties.
Reheating
To recapture that just-baked magic, let frozen cookies thaw at room temperature, then pop them in a 275°F oven for 4-5 minutes. This revives the soft, buttery warmth and makes the candies slightly gooey—like fresh Pastel Candy-Centered Butter Cookies again.
FAQs
Can I use different types of candy in these cookies?
Absolutely! While pastel chocolate candies are classic, feel free to experiment with mini peanut butter cups, caramel bits, or even chopped chocolate bars for a personalized twist on Pastel Candy-Centered Butter Cookies.
Is it necessary to chill the cookie dough?
If your dough feels sticky or your kitchen is warm, chilling helps prevent overly flat cookies. Otherwise, you can usually bake straight away if things feel cool and manageable. Chilling simply gives more control over the final shape.
Can I make the dough ahead and bake later?
Yes! Prepare the dough, cover, and refrigerate for up to 48 hours. When ready, bring to room temperature for about 15–20 minutes, shape, add candies, and bake fresh Pastel Candy-Centered Butter Cookies in a snap.
How do I keep the candies from cracking while baking?
To minimize cracks, press candies in gently and avoid placing them too close to the edges of each dough ball. If you’re extra cautious, you can pop the candies in after a few minutes of baking so the dough sets first.
Are these cookies good for gifting?
They are perfect for gifting! Their cheerful look and crowd-pleasing flavor make Pastel Candy-Centered Butter Cookies a thoughtful homemade present for holidays, birthdays, or just to brighten someone’s day.
Final Thoughts
If you’re looking for a treat to add joy and color to any occasion, you can’t go wrong with Pastel Candy-Centered Butter Cookies. They’re as fun to bake as they are to share, and have an unbeatable combination of buttery richness and chocolatey crunch. Go ahead—gather your ingredients and make them part of your next little celebration.
PrintPastel Candy-Centered Butter Cookies Recipe
These Pastel Candy-Centered Butter Cookies are a delightful treat, perfect for any occasion. These soft, buttery cookies are filled with colorful pastel chocolate candies that add a pop of sweetness to every bite.
- Prep Time: 15 minutes
- Cook Time: 12 minutes
- Total Time: 27 minutes
- Yield: 24 cookies 1x
- Category: Dessert
- Method: Baking
- Cuisine: American
- Diet: Vegetarian
Ingredients
Cookie Dough:
- 1 cup unsalted butter, softened
- 3/4 cup granulated sugar
- 1 large egg
- 1 tsp vanilla extract
- 2 1/4 cups all-purpose flour
- 1/4 tsp salt
- 1/2 tsp baking powder
Toppings:
- 1/2 cup pastel chocolate candies or candy-coated chocolates (such as M&Ms or similar)
Instructions
- Preheat the oven: Preheat the oven to 350°F (175°C).
- Cream butter and sugar: In a large bowl, cream together butter and sugar until light and fluffy.
- Add egg and vanilla: Beat in the egg and vanilla extract until fully incorporated.
- Mix dry ingredients: In a separate bowl, whisk together flour, salt, and baking powder.
- Combine wet and dry ingredients: Gradually add the dry ingredients to the wet mixture, mixing until a soft dough forms.
- Shape the cookies: Scoop tablespoon-sized portions of dough, roll into balls, and place on a parchment-lined baking sheet.
- Add toppings: Press 2–3 pastel candies gently into the center of each cookie.
- Bake: Bake for 10–12 minutes or until edges are lightly golden.
- Cool and serve: Allow cookies to cool on the baking sheet for 5 minutes before transferring to a wire rack.
Notes
- For a festive touch, use pastel-colored sprinkles in addition to candies.
- Chill dough for 30 minutes if the kitchen is warm to help maintain shape.
Nutrition
- Serving Size: 1 cookie
- Calories: 125
- Sugar: 8 g
- Sodium: 30 mg
- Fat: 6 g
- Saturated Fat: 4 g
- Unsaturated Fat: 1.5 g
- Trans Fat: 0 g
- Carbohydrates: 15 g
- Fiber: 0.3 g
- Protein: 1.2 g
- Cholesterol: 20 mg


