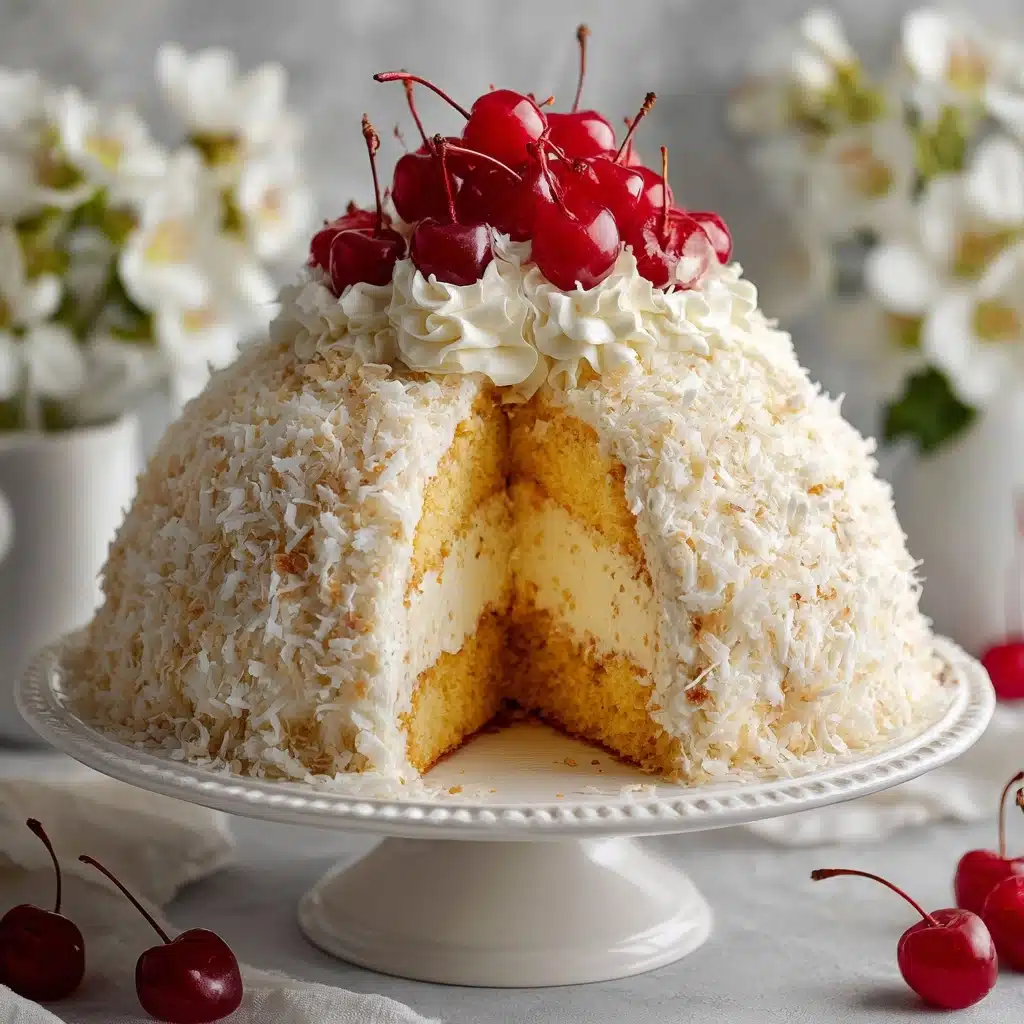
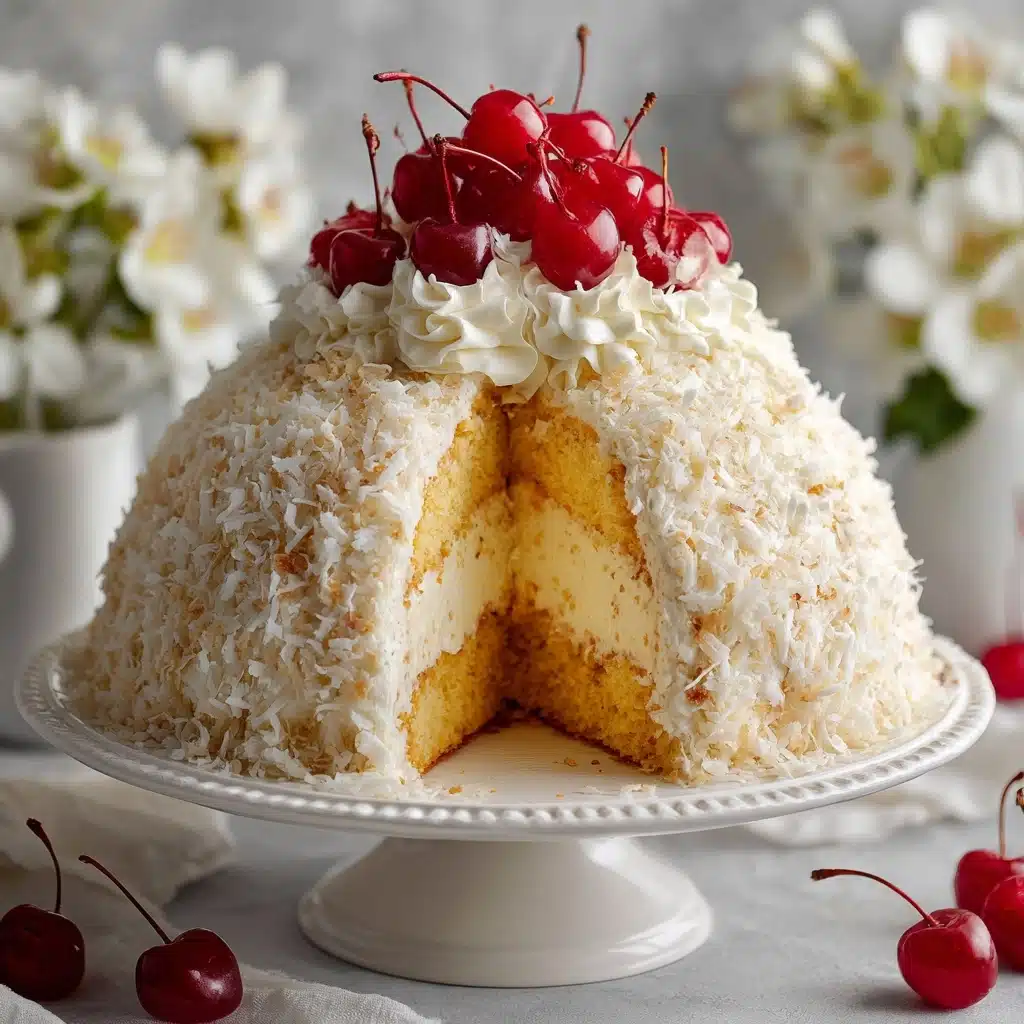
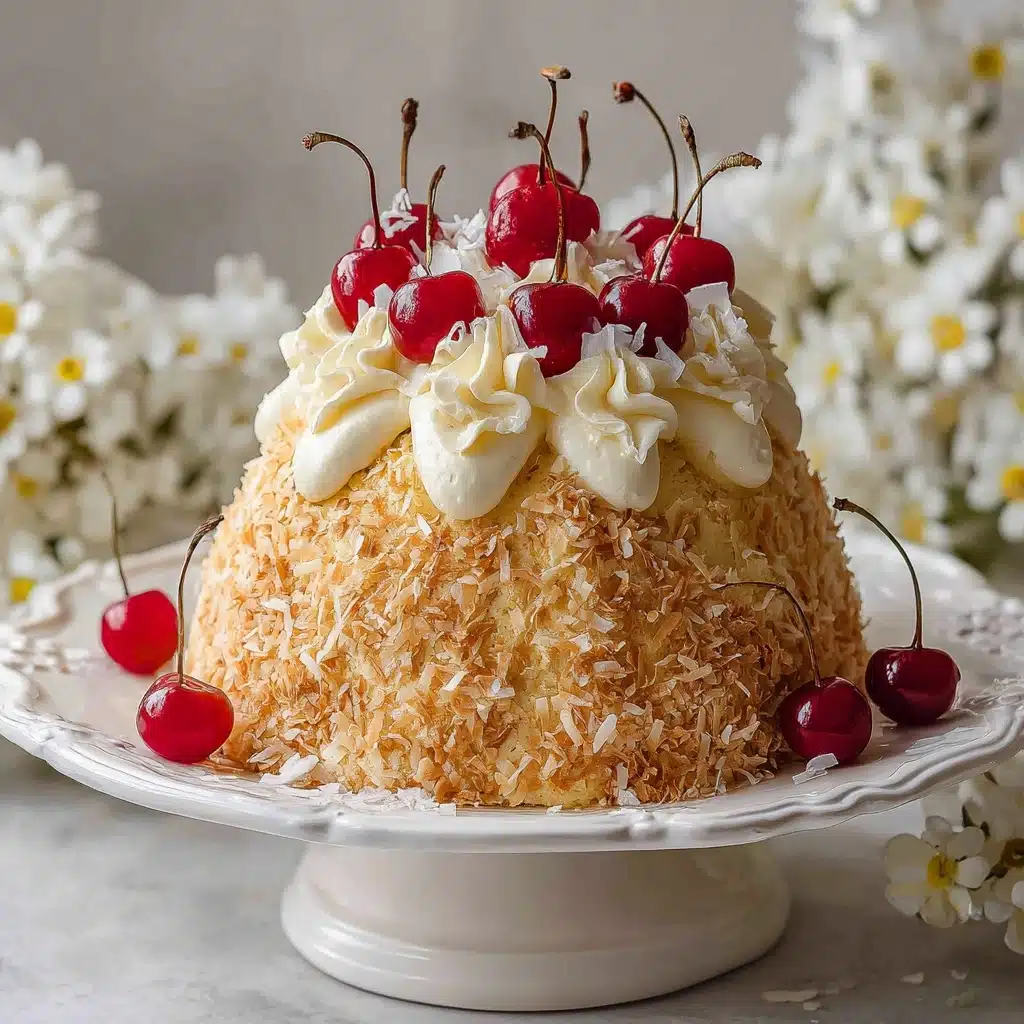
If you’re searching for a celebration-worthy treat that’s as nostalgic as it is delightful, look no further than Old-Fashioned Snowball Cake. This charming dessert combines tender chocolate cake, dreamy cream cheese-pudding filling, a generous blanket of fluffy coconut, and cool, creamy layers that transport you right back to grandma’s kitchen. Each bite whispers “party time” and the make-ahead ease ensures you’re able to enjoy every moment alongside your guests.
Ingredients You’ll Need
The magic of Old-Fashioned Snowball Cake lies in its humble yet harmonious ingredients. Each component brings a special touch: from the rich chocolate base to the pillow-soft whipped topping and freshly shredded coconut that makes every forkful feel like a snowy day treat.
- Chocolate cake mix: Grab your favorite box—easy, reliable, and makes a failproof foundation for all the luscious layers.
- Eggs, oil, and water: These bring the cake mix to life with perfect moisture and structure—don’t skip the specifics on the package.
- Cream cheese: Use full-fat and make sure it’s softened for a silky-smooth filling that’s impossible to resist.
- Powdered sugar: Adds just the right amount of sweetness and helps everything blend up fluffy and light.
- Whipped topping (like Cool Whip): This is our shortcut to a creamy, airy filling without whipping skills required!
- Sweetened shredded coconut: It’s the star of the show! Expect melt-in-your-mouth texture and beautiful snowy coverage.
- Instant vanilla pudding mix: Lends a lovely vanilla note and extra creaminess to the filling.
- Cold milk: Helps the pudding set up thick and luscious; cold is key here for the right consistency.
How to Make Old-Fashioned Snowball Cake
Step 1: Bake the Chocolate Cake
Preheat your oven and prepare the cake mix just as directed on the package, making sure to use two 8- or 9-inch round cake pans lined and greased for easy release. Once you’ve spread the batter evenly, bake until a tester comes out clean and the tops spring back gently at a touch. Let the layers cool completely—patience here pays off!
Step 2: Whip Up the Creamy Filling
In a medium bowl, beat together your softened cream cheese and powdered sugar until the mixture is completely smooth, with no lumps. Gently fold in the whipped topping; don’t overmix, as you want to keep things fluffy and light. In a separate bowl, whisk the instant pudding mix with cold milk until thick, then fold it into your cream cheese mixture for a rich, billowy filling.
Step 3: Assemble the Cake
Place the first cooled cake layer on your prettiest cake stand or serving plate. Heap on half of that dreamy cream filling and spread right to the edges. Gently set the second cake layer on top and, using a spatula, coat the entire top and sides with the remaining filling, making sure it’s completely covered and even.
Step 4: Coat with Coconut
Now for the fun—and slightly messy—part! Take handfuls of sweetened shredded coconut and gently press it all over the top and sides of the cake, making sure every inch is covered in its snowy, pillowy glory. If you want extra festivity, tint half your coconut pink with a drop of food coloring before applying.
Step 5: Chill and Serve
Transfer your snowy masterpiece to the fridge and let it chill for at least two hours. This allows the flavors to meld, and the cake to set for perfect slices. Serve cold for maximum nostalgia and flavor.
How to Serve Old-Fashioned Snowball Cake

Garnishes
A dusting of extra coconut on the serving platter or a sprinkle of chocolate shavings on top turns Old-Fashioned Snowball Cake into a true showstopper. A few maraschino cherries placed on top add color and vintage flair.
Side Dishes
Pair each snowy slice with a scoop of vanilla ice cream, a handful of fresh berries, or even a mug of hot cocoa. The contrast of creamy cake and cold ice cream, or tart fruit and sweet coconut, is simply irresistible.
Creative Ways to Present
For parties, try slicing the cake into small squares and serving in cupcake liners for an easy-to-grab treat. You can even tint the coconut into pastel colors for baby showers, birthdays, or holidays, making each Old-Fashioned Snowball Cake uniquely festive.
Make Ahead and Storage
Storing Leftovers
Keep leftovers covered in the fridge for up to three days. The coconut helps maintain moisture, so your cake stays dreamy and soft from the first bite to the last.
Freezing
Want to make Old-Fashioned Snowball Cake in advance? You can freeze the fully assembled cake (wrap it tightly in plastic wrap and foil), or freeze individual slices for grab-and-go treats. Thaw overnight in the fridge before serving for best texture.
Reheating
Since this is a chilled cake, there’s no need to reheat! Simply transfer slices from the fridge to the plate and serve cold. If you’ve frozen the cake, let it thaw gently in the refrigerator until perfectly soft.
FAQs
Can I make Old-Fashioned Snowball Cake a day ahead?
Absolutely! In fact, making it a day in advance allows the flavors time to marry and makes for even cleaner slices. Store it well-covered in the fridge until you’re ready to serve.
Can I use homemade whipped cream instead of Cool Whip?
Homemade whipped cream can be substituted, but keep in mind it tends to be less stable than whipped topping and may deflate if stored for more than a day. If you prefer homemade, whip your cream stiff and gently fold it into the filling.
How do I make the coconut stick to the cake?
The creamy filling acts as perfect glue! Just gently pat handfuls of coconut all over while the filling is fresh and soft. If you’re having trouble with the sides, tilt the cake slightly and apply coconut upward.
Can I make this cake gluten-free?
Definitely! Simply use a gluten-free chocolate cake mix, making sure all other ingredients (like pudding and whipped topping) are gluten-free certified. The Old-Fashioned Snowball Cake will be just as delicious and festive.
Why should the cake be served cold?
Serving Old-Fashioned Snowball Cake cold enhances its creamy texture and helps all the flavors meld together. The coconut stays fresh, and the structure of the cake and filling holds up beautifully for neat, satisfying slices.
Final Thoughts
If you’re looking for a dessert that’s pure joy to make, serve, and eat, Old-Fashioned Snowball Cake is your ticket to sweet, snowy bliss. It’s a tribute to celebrations past, and a surefire way to create new delicious memories—so don’t hesitate to whip up this classic for your next gathering and watch the smiles appear!
PrintOld-Fashioned Snowball Cake Recipe
Indulge in the nostalgic charm of this Old-Fashioned Snowball Cake, a delightful treat featuring layers of moist chocolate cake filled with a fluffy cream cheese and vanilla pudding mixture, all covered in sweet shredded coconut. Perfect for special occasions or a sweet ending to any meal.
- Prep Time: 20 minutes
- Cook Time: 30 minutes
- Total Time: 2 hours 50 minutes (includes chilling)
- Yield: 12 servings 1x
- Category: Dessert
- Method: No-Bake (Assembly), Baking
- Cuisine: American
- Diet: Vegetarian
Ingredients
For the Cake:
- 1 box (about 15.25 oz) chocolate cake mix (plus eggs, oil, and water as directed)
For the Filling:
- 1 (8 oz) package cream cheese, softened
- 1/2 cup powdered sugar
- 1 (8 oz) tub whipped topping (like Cool Whip)
- 1 (3.4 oz) box instant vanilla pudding mix
- 1 1/2 cups cold milk
For Topping:
- 2 cups sweetened shredded coconut
Instructions
- Prepare the Cake: Prepare the chocolate cake mix according to package directions and bake in two 8- or 9-inch round cake pans. Let cakes cool completely.
- Make the Filling: In a medium bowl, beat cream cheese and powdered sugar until smooth. Stir in the whipped topping until well blended.
- Prepare the Pudding: In another bowl, whisk together the vanilla pudding mix and cold milk until thickened, about 2 minutes. Fold the pudding into the cream cheese mixture.
- Assemble the Cake: Place one cake layer on a serving plate. Spread half of the cream filling over the top. Add the second cake layer and cover the top and sides with the remaining filling.
- Add the Topping: Press shredded coconut evenly over the entire cake until fully coated.
- Chill and Serve: Chill the cake for at least 2 hours before serving.
Notes
- For extra flair, tint the coconut pink with a few drops of food coloring.
- This cake is best served cold and keeps well in the fridge for up to 3 days.
Nutrition
- Serving Size: 1 slice
- Calories: 390
- Sugar: 30g
- Sodium: 370mg
- Fat: 20g
- Saturated Fat: 12g
- Unsaturated Fat: 6g
- Trans Fat: 0g
- Carbohydrates: 48g
- Fiber: 2g
- Protein: 4g
- Cholesterol: 45mg


