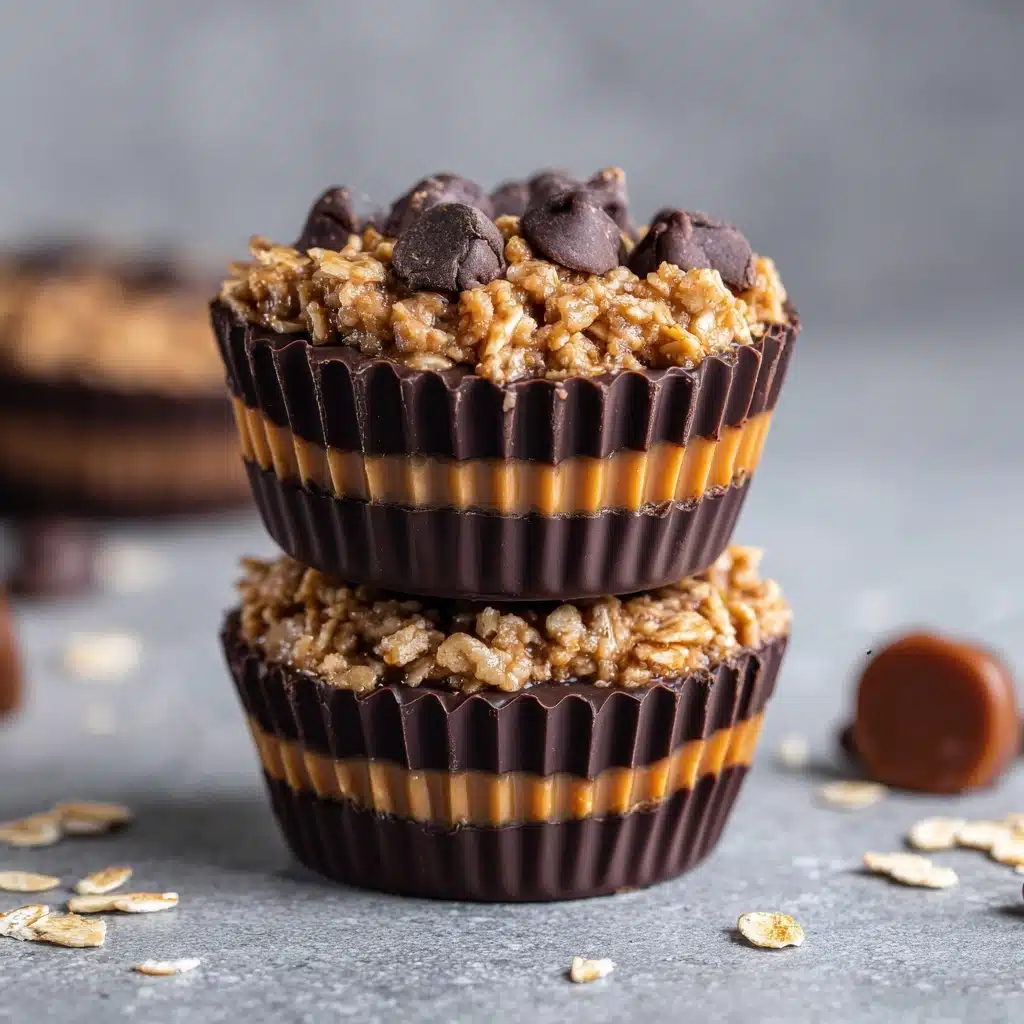
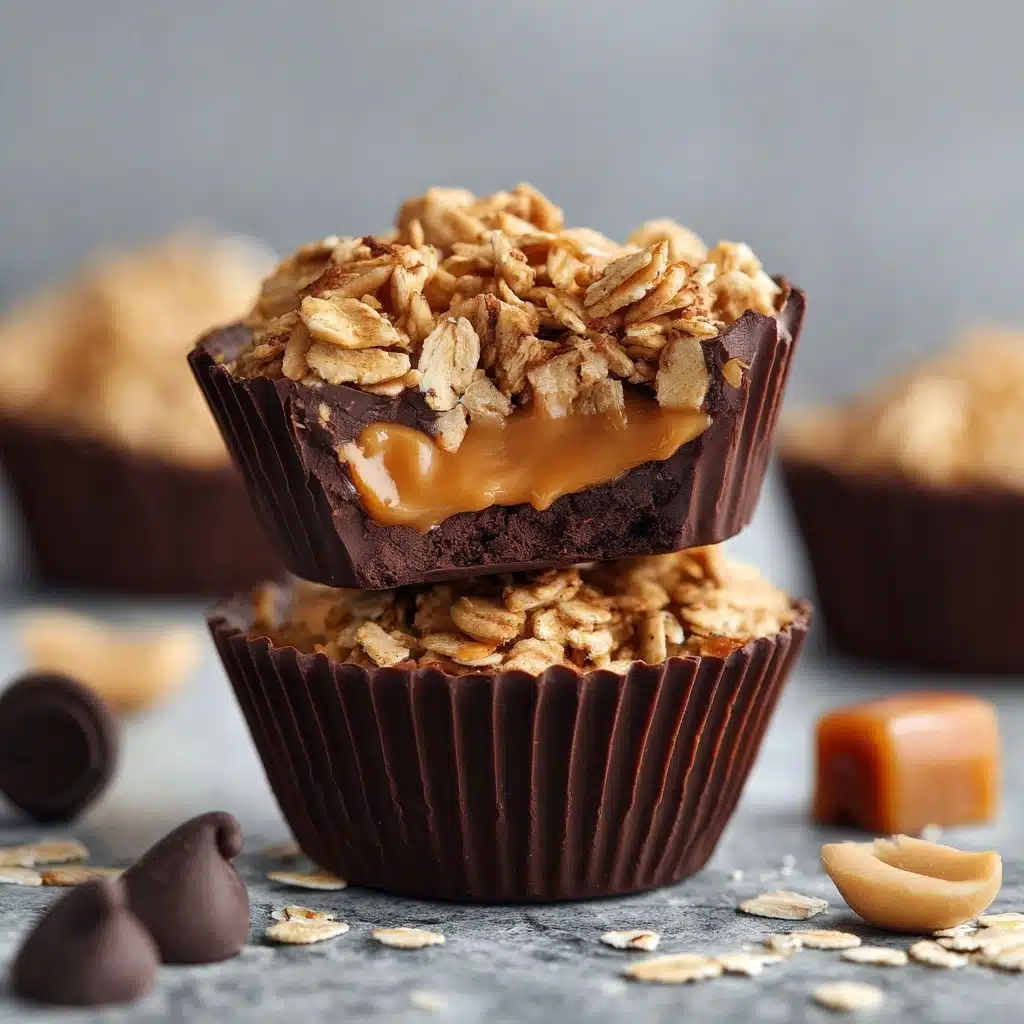
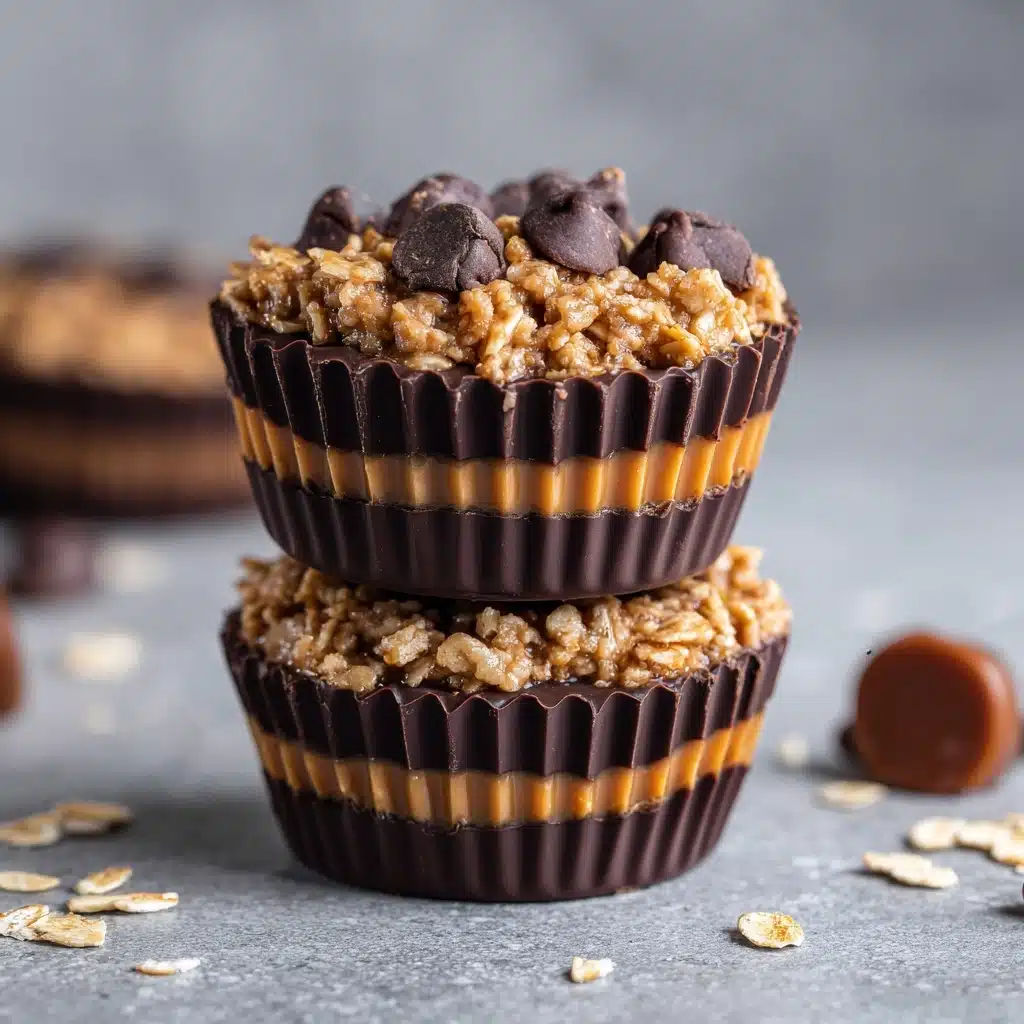
If you’re on the hunt for a treat that’s equal parts wholesome, portable, and downright addictive, allow me to introduce you to No-Bake Peanut Butter Granola Cups. These cups pack big peanut butter flavor, a crave-worthy chewy-crunchy bite, and the kind of simple ingredients you can always feel good about. Ready in a flash and gobbled up nearly as quickly, they’re the kind of snack you’ll want on repeat—whether you’re fueling your day or treating yourself just because. Trust me, No-Bake Peanut Butter Granola Cups are about to become your new kitchen staple.
Ingredients You’ll Need
You only need a handful of pantry-friendly ingredients to whip up these beauties, and each one brings something special to the table! Whether it’s the sticky sweetness of the honey, the cozy flavor of vanilla, or the irresistible chocolate hit, every ingredient adds its own touch to the rich, satisfying magic of No-Bake Peanut Butter Granola Cups.
- Old-fashioned rolled oats: Tender and slightly chewy, oats give these cups their heartiness and a nutrient-rich base.
- Creamy peanut butter: The star of the show—it adds savory richness, creamy texture, and lush peanut flavor.
- Honey or maple syrup: Natural sweetness holds everything together and adds glossy shine (plus a hint of unique flavor).
- Salt: Just a pinch balances the sweetness and amps up the flavors so each bite pops.
- Vanilla extract: Adds comforting, aromatic warmth that makes these cups feel like a real treat.
- Mini chocolate chips or chopped dark chocolate (optional): For chocolate lovers, these give the perfect burst of melty decadence in every bite.
- Paper or silicone muffin liners: These make removing your granola cups a breeze and keep cleanup simple.
How to Make No-Bake Peanut Butter Granola Cups
Step 1: Prep Your Muffin Tin
Start by lining a 12-cup muffin tin with either paper or silicone liners—this little step ensures your No-Bake Peanut Butter Granola Cups pop out easily later, and it gives you that irresistible grab-and-go snack vibe. Plus, it means effortless cleanup!
Step 2: Mix the Peanut Butter and Sweetener
In a medium microwave-safe bowl, combine the creamy peanut butter with honey or maple syrup. Pop it in the microwave for about 20–30 seconds until warmed through, which turns everything nice and pourable. Give it a good stir so it’s all silky-smooth—this is what will hold your granola cups together.
Step 3: Stir in Vanilla and Salt
Once your peanut butter mixture is melted and dreamy, mix in the vanilla extract and salt. This tiny extra step adds so much depth, making every bite of your No-Bake Peanut Butter Granola Cups sing with balanced flavor.
Step 4: Add the Oats
Add in the rolled oats and use a sturdy spoon to mix until every oat is coated in peanut buttery goodness. The mixture should be thick but easy to scoop—this is the secret to perfectly chewy granola cups!
Step 5: Fold in Chocolate (If Using)
Let your mixture cool for a few minutes (otherwise, your chocolate will melt right away). Once it’s just slightly warm, gently fold in the chocolate chips or chopped chocolate for those fantastic pockets of sweetness in each cup.
Step 6: Fill and Pack the Muffin Cups
Spoon the mixture evenly into your lined muffin cups. Using your fingertips or the back of a spoon, press it down firmly—this step makes sure your No-Bake Peanut Butter Granola Cups hold their adorable cup shape, even after chilling.
Step 7: Chill Until Firm
Transfer the muffin tin to your fridge and let the cups chill out for at least one hour. This helps everything set and makes the cups easy to peel out of the liners while keeping their satisfying texture intact.
How to Serve No-Bake Peanut Butter Granola Cups
Garnishes
Top your No-Bake Peanut Butter Granola Cups with a flurry of extra mini chocolate chips, a drizzle of melted peanut butter, or even a sprinkle of flaky sea salt. Not only does it make each cup look irresistible, but it also adds a little extra oomph to the flavor and crunch.
Side Dishes
Pair your granola cups with a glass of icy cold milk, a dollop of Greek yogurt, or some fresh fruit for a rounded and satisfying snack. They also shine alongside a smoothie or tucked onto a brunch platter for a sweet-meets-salty contrast.
Creative Ways to Present
If you want to notch up the wow-factor, try stacking the cups on a tiered dessert stand or nestling them into a mason jar for grab-and-go gifting. For parties, arrange your No-Bake Peanut Butter Granola Cups with pops of colorful fruit and nuts for a snack board that’s as gorgeous as it is tasty.
Make Ahead and Storage
Storing Leftovers
Keep any leftover No-Bake Peanut Butter Granola Cups in an airtight container in your fridge. They’ll stay perfectly chewy and fresh for about a week, making them an amazing grab-and-go snack whenever cravings hit.
Freezing
These granola cups freeze beautifully! Place them in a freezer-safe bag or container, separated by parchment or wax paper, and pop them in the freezer for up to two months. Thaw in the fridge overnight, or just let them sit on the counter for a few minutes before enjoying.
Reheating
No need to warm these up—No-Bake Peanut Butter Granola Cups are best enjoyed straight from the fridge or at room temperature. If they’ve been in the freezer, simply thaw as described and savor that chilled, fudgy texture.
FAQs
Can I use quick oats instead of rolled oats?
Yes, you can swap in quick oats if that’s what you have on hand! Just know the texture will be a bit softer and the cups may be a little less chewy compared to using old-fashioned rolled oats.
What can I substitute for peanut butter?
Almond butter or sunflower seed butter both work wonderfully in this recipe, especially if you need a peanut-free option or want to vary the flavor. Make sure whatever alternative you choose is creamy and unsweetened for best results.
Are No-Bake Peanut Butter Granola Cups gluten-free?
If you choose certified gluten-free rolled oats, your granola cups will be totally gluten-free. Always double-check your ingredients if you’re serving someone with allergies.
Can I add extra mix-ins?
Absolutely! Feel free to add your favorite nuts, seeds, coconut flakes, or dried fruit for even more taste and texture. Just be careful not to overload the base mixture or the cups might not stick together as nicely.
How long do these keep at room temperature?
While they’re perfectly fine for a few hours at room temperature (hello, lunchboxes!), it’s best to store No-Bake Peanut Butter Granola Cups in the fridge or freezer for longer freshness and to help them hold their shape.
Final Thoughts
If you’re craving a treat that’s easy, endlessly customizable, and just downright fun to make, you can’t go wrong with No-Bake Peanut Butter Granola Cups. Whip up a batch, share them with friends (if you’re willing!), and watch them disappear. Give these a try—you’ll be hooked after the first bite!
PrintNo-Bake Peanut Butter Granola Cups Recipe
These No-Bake Peanut Butter Granola Cups are a delightful treat that combines the creamy goodness of peanut butter with nutritious oats, sweet honey, and a hint of chocolate. Easy to make and perfect for a quick snack or dessert!
- Prep Time: 10 minutes
- Cook Time: 0 minutes
- Total Time: 1 hour 10 minutes
- Yield: 12 cups 1x
- Category: Snack
- Method: No-Bake
- Cuisine: American
- Diet: Vegetarian, Gluten-Free option
Ingredients
Main Ingredients:
- 1 1/2 cups old-fashioned rolled oats
- 1/2 cup creamy peanut butter
- 1/4 cup honey or maple syrup
- 1/4 teaspoon salt
- 1/2 teaspoon vanilla extract
Optional:
- 1/3 cup mini chocolate chips or chopped dark chocolate
- paper or silicone muffin liners
Instructions
- Prepare the Base: Line a 12-cup muffin tin with liners.
- Mix the Peanut Butter Mixture: In a medium microwave-safe bowl, combine peanut butter and honey. Microwave until warm, then mix in vanilla extract and salt.
- Add Oats and Chocolate: Stir in rolled oats until coated. Fold in chocolate chips if desired.
- Fill Muffin Cups: Divide mixture among cups, press down firmly.
- Chill and Serve: Refrigerate for at least 1 hour, then enjoy!
Notes
- You can substitute almond butter or sunflower seed butter for peanut butter.
- Add-ins like chia seeds, shredded coconut, or dried fruit work well too.
Nutrition
- Serving Size: 1 cup
- Calories: 170
- Sugar: 8g
- Sodium: 80mg
- Fat: 10g
- Saturated Fat: 2g
- Unsaturated Fat: 7g
- Trans Fat: 0g
- Carbohydrates: 17g
- Fiber: 2g
- Protein: 5g
- Cholesterol: 0mg

