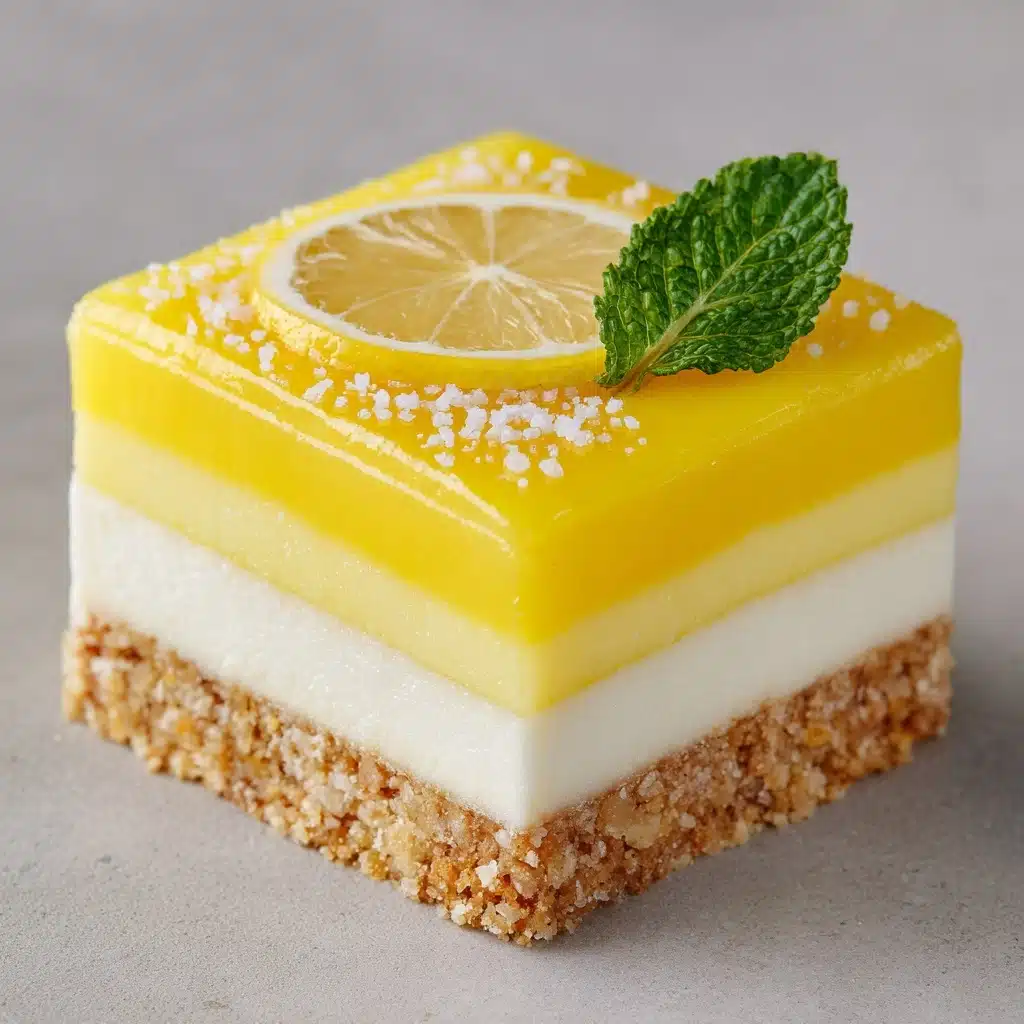
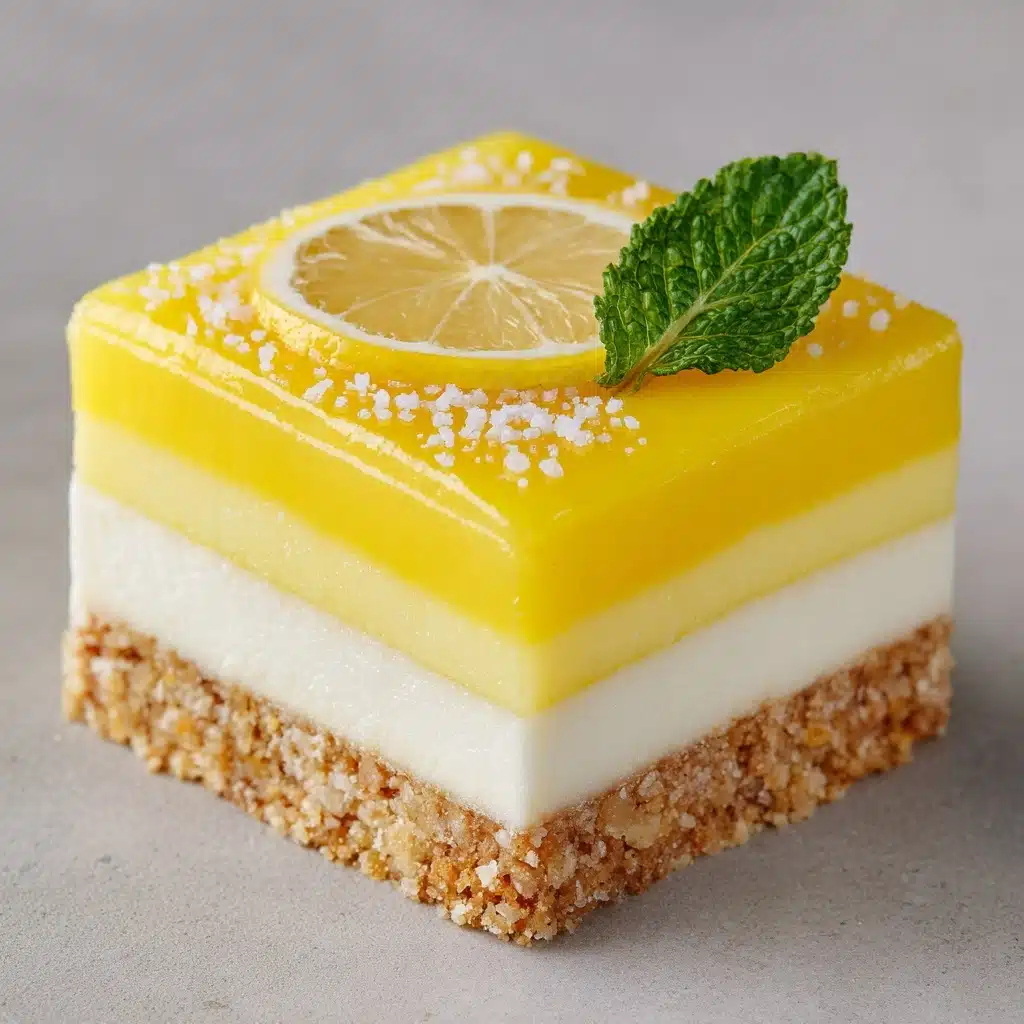
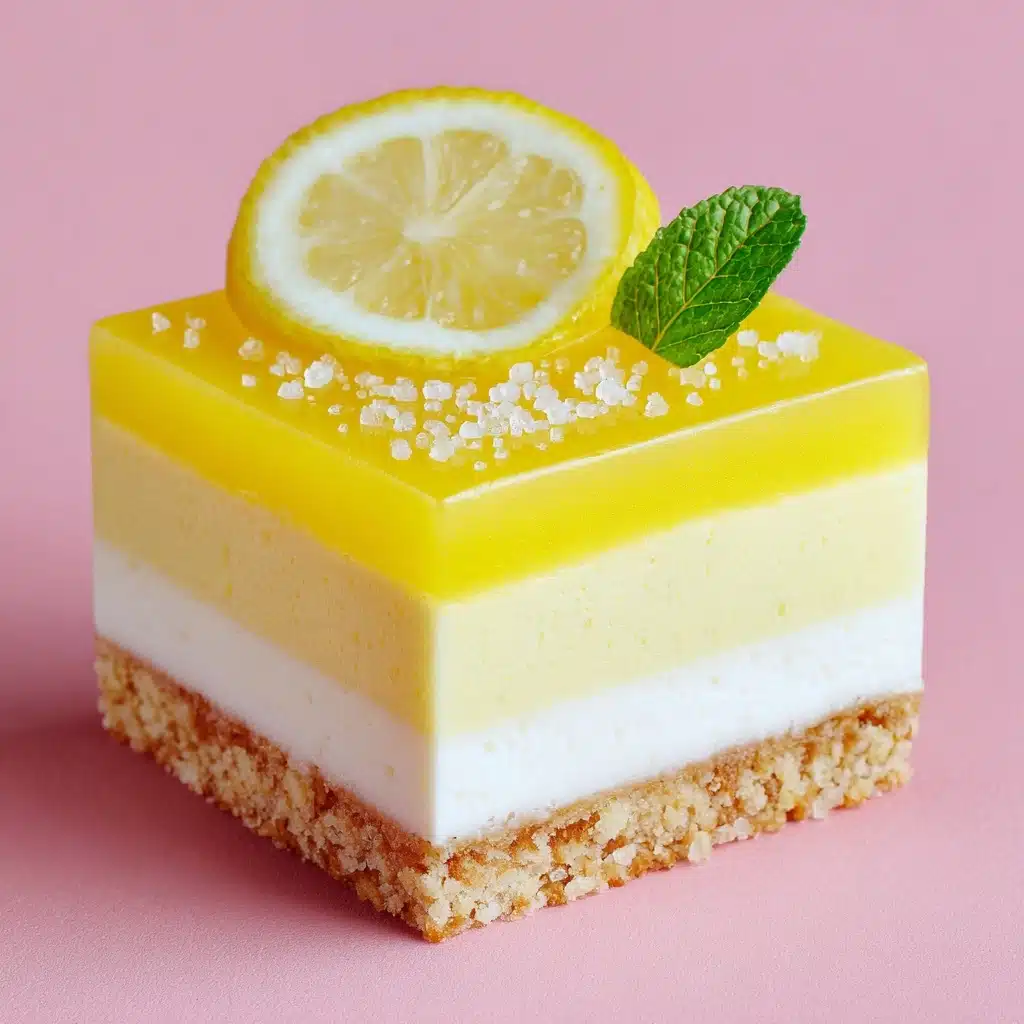
Imagine a dessert so bright, creamy, and downright irresistible that you’ll want to make space in your fridge just for it. The No-Bake Lemon Curd Dream Slice is a sunshine-filled treat that’s as easy as it is impressive. It boasts a buttery cookie crust, a cloud-like cream cheese filling, and a glossy top layer of lemon curd that tastes like summer on a plate. If you’re searching for a dessert that brings big citrus flavor with minimal effort, look no further—this one’s going straight to the top of your favorites list!
Ingredients You’ll Need
Simplicity is the real beauty here—each ingredient in the No-Bake Lemon Curd Dream Slice has a special role, delivering buttery crunch, luscious creaminess, or tangy citrus zing. Gather these essentials for a recipe that’s greater than the sum of its parts!
- Graham cracker crumbs (or digestive biscuit crumbs): These create a sturdy, sweet, and slightly nutty base that holds up beautifully under all that creamy filling.
- Unsalted butter, melted: Rich melted butter binds the crumbs for a crust that’s flavorful and easy to press into the pan.
- Granulated sugar: A touch of sweetness in the crust balances the tangy lemon layers above.
- Cream cheese, softened: For the dreamiest filling, cream cheese adds pillowy softness and a slight tang that melds perfectly with the lemon.
- Heavy cream: Whipped to fluffy peaks, heavy cream makes the filling light, airy, and decadently smooth.
- Powdered sugar: This dissolves effortlessly into the cream, giving the filling subtle sweetness without any grittiness.
- Vanilla extract: Just a splash enhances the creamy base and warms up the citrus notes.
- Lemon curd (store-bought or homemade): This is the zesty heart of the dessert, adding bold lemon flavor and vibrant color.
- Lemon zest for garnish: A final flourish of fresh zest brings fragrance, a pop of color, and that incredible just-zested taste.
How to Make No-Bake Lemon Curd Dream Slice
Step 1: Make and Chill the Crust
Start by mixing your graham cracker (or digestive biscuit) crumbs, melted butter, and granulated sugar in a medium bowl. Use a fork to really incorporate the butter, making sure every crumb is coated so the mixture holds together when pressed. Line an 8×8-inch baking dish with parchment—it makes for easy lifting later! Firmly press the crumb mixture into an even layer, paying extra attention to the corners, then chill the crust in your refrigerator for 20 minutes to set. This step guarantees your No-Bake Lemon Curd Dream Slice has a perfect, sliceable base.
Step 2: Whip Up the Cream Cheese Filling
While the crust chills, beat your softened cream cheese in a large bowl until it’s ultra-smooth and creamy—no lumps allowed. In a separate bowl, whip the heavy cream with powdered sugar and a splash of vanilla extract until stiff peaks form. Folding the whipped cream gently into the cream cheese keeps the filling light and cloudlike, giving the final dessert that irresistible, airy texture. This filling is the heart of the slice and delivers a delicate balance of tang and sweetness against the citrusy lemon curd.
Step 3: Assemble the Layers
Scoop the cream cheese mixture onto your chilled crust and spread it evenly with an offset spatula or the back of a large spoon, making sure you reach all the way to the edges for pretty, neat squares. Next, spoon the lemon curd over the creamy layer and carefully spread it into an even sheet. Take your time with this part: a gentle hand keeps the layers clean and defined. The bright, gleaming curd is the showstopper, so make it shine!
Step 4: Refrigerate and Set
It’s time to let the fridge do the work! Cover your pan (plastic wrap or foil is perfect) and refrigerate for at least four hours—or overnight if you can wait. This patient chill is what sets each layer and allows all those flavors to meld, resulting in perfectly set squares that slice like a dream.
Step 5: Garnish and Slice
Just before serving, sprinkle the top with fresh lemon zest for that gorgeous aroma and eye-catching color. Use a sharp knife (wiping between cuts) to get clean, beautiful squares. Each piece of No-Bake Lemon Curd Dream Slice should reveal a crisp buttery base, pillowy cream cheese layer, and a shining crown of lemon curd destined to impress everyone around your table.
How to Serve No-Bake Lemon Curd Dream Slice

Garnishes
A generous scatter of lemon zest is classic and fragrant, but you can really have some fun here. Try a few fresh berries—like raspberries or blueberries—for a pop of color and juicy sweetness, or add a dollop of whipped cream to up the indulgence. Edible flowers or thin lemon slices also make the No-Bake Lemon Curd Dream Slice stand out beautifully on any dessert tray.
Side Dishes
While it’s perfect all on its own, pairing the slice with a pot of hot tea or a refreshing glass of iced green tea really amplifies its citrus notes. For summer gatherings, try serving alongside fresh berry salads or even a scoop of vanilla or coconut ice cream—these flavors complement the lemon so well.
Creative Ways to Present
Think beyond the classic square! Try cutting the No-Bake Lemon Curd Dream Slice into diamonds, bars, or even circles with a cookie cutter. Layer small squares with berries in parfait glasses for an eye-catching mini trifle effect, or serve bite-sized pieces at parties for easy, elegant finger food. The vibrant layers make a beautiful statement, no matter how you serve them.
Make Ahead and Storage
Storing Leftovers
If you manage to have leftovers, store your No-Bake Lemon Curd Dream Slice covered in the refrigerator for up to three days. Keep the slices in an airtight container or tightly wrapped in plastic to prevent them from absorbing any fridge odors and to keep that luscious texture intact.
Freezing
Need to make ahead for a special event? You absolutely can freeze this dessert! Slice and separate layers with pieces of parchment, then seal in a freezer-safe box for up to a month. Thaw in the refrigerator overnight before serving. The filling stays creamy and the lemon layer remains vibrant—an ideal make-ahead solution.
Reheating
There’s no need to reheat the No-Bake Lemon Curd Dream Slice—this treat is meant to be served beautifully chilled. If you’ve frozen it, just allow plenty of time for it to fully defrost in the fridge so each layer is at its best, soft and creamy from the very first bite.
FAQs
Can I use a different type Dessert
Definitely! Digestive biscuits, vanilla wafers, or a rich shortbread make delicious bases for the No-Bake Lemon Curd Dream Slice. Choose your favorite and prepare in the same way—each option brings a slightly different personality to the dessert.
Is it possible to make this dessert dairy-free?
Yes! There are now excellent dairy-free cream cheese and whipped topping alternatives available, plus vegan butter. Swap these in place of the dairy ingredients and you’ll still end up with a silky, satisfying lemon slice.
Can I make my own lemon curd for this recipe?
Absolutely! Homemade lemon curd gives a fresh, vibrant zing, but store-bought works wonderfully in a pinch. If you have a favorite curd recipe, use it here to make your No-Bake Lemon Curd Dream Slice even more special.
How do I get neat slices without the layers mixing?
For the cleanest slices, use a sharp knife dipped in hot water and wiped dry between each cut. This prevents the tangy lemon curd from dragging into the creamy layer below, showing off those beautiful, distinct strata.
Can I add berries or other flavors to the filling?
Of course! Gently folding in fresh berries, swirling in a little raspberry jam, or even adding a dash of coconut extract can personalize your No-Bake Lemon Curd Dream Slice. Just be careful not to overload the cream filling, so it stays light and luscious.
Final Thoughts
If you’re ready to brighten up your dessert routine, you simply must give the No-Bake Lemon Curd Dream Slice a spot on your table. It’s refreshingly simple, stunning to serve, and bursting with tangy-sweet flavor that always leaves guests asking for seconds. Go on, give it a try—you’ll adore every sunny, creamy bite!
PrintNo-Bake Lemon Curd Dream Slice Recipe
Indulge in the creamy, tangy, and luscious No-Bake Lemon Curd Dream Slice. With a buttery graham cracker crust, a velvety cream cheese layer, and a zesty lemon curd topping, this dessert is a dream come true.
- Prep Time: 25 minutes
- Cook Time: 0 minutes
- Total Time: 4 hours 25 minutes
- Yield: 12 slices 1x
- Category: Dessert
- Method: No-Bake
- Cuisine: American, European-inspired
- Diet: Non-Vegetarian
Ingredients
Graham Cracker Crust:
- 2 cups graham cracker crumbs
- 1/2 cup unsalted butter, melted
- 1/4 cup granulated sugar
Cream Cheese Filling:
- 1 package (8 oz) cream cheese, softened
- 1 cup heavy cream
- 1/2 cup powdered sugar
- 1 teaspoon vanilla extract
Lemon Curd Topping:
- 1 cup lemon curd (store-bought or homemade)
- Lemon zest for garnish
Instructions
- Prepare the Graham Cracker Crust: In a medium bowl, combine graham cracker crumbs, melted butter, and granulated sugar. Press firmly into the bottom of an 8×8-inch baking dish lined with parchment paper. Chill for 20 minutes.
- Make the Cream Cheese Filling: Beat the cream cheese until smooth. Whip the heavy cream with powdered sugar and vanilla until stiff peaks form. Fold whipped cream into the cream cheese until fluffy.
- Assemble the Slice: Spread the cream cheese mixture over the chilled crust. Spoon lemon curd on top and spread evenly. Refrigerate for at least 4 hours.
- Garnish and Serve: Garnish with lemon zest before slicing into squares.
Notes
- For a lighter version, use Greek yogurt for half of the cream cheese.
- Try a shortbread cookie crust for a richer taste.
- Store covered in the refrigerator for up to 3 days.
Nutrition
- Serving Size: 1 slice
- Calories: 280
- Sugar: 20 g
- Sodium: 160 mg
- Fat: 18 g
- Saturated Fat: 11 g
- Unsaturated Fat: 6 g
- Trans Fat: 0 g
- Carbohydrates: 26 g
- Fiber: 0 g
- Protein: 3 g
- Cholesterol: 55 mg


