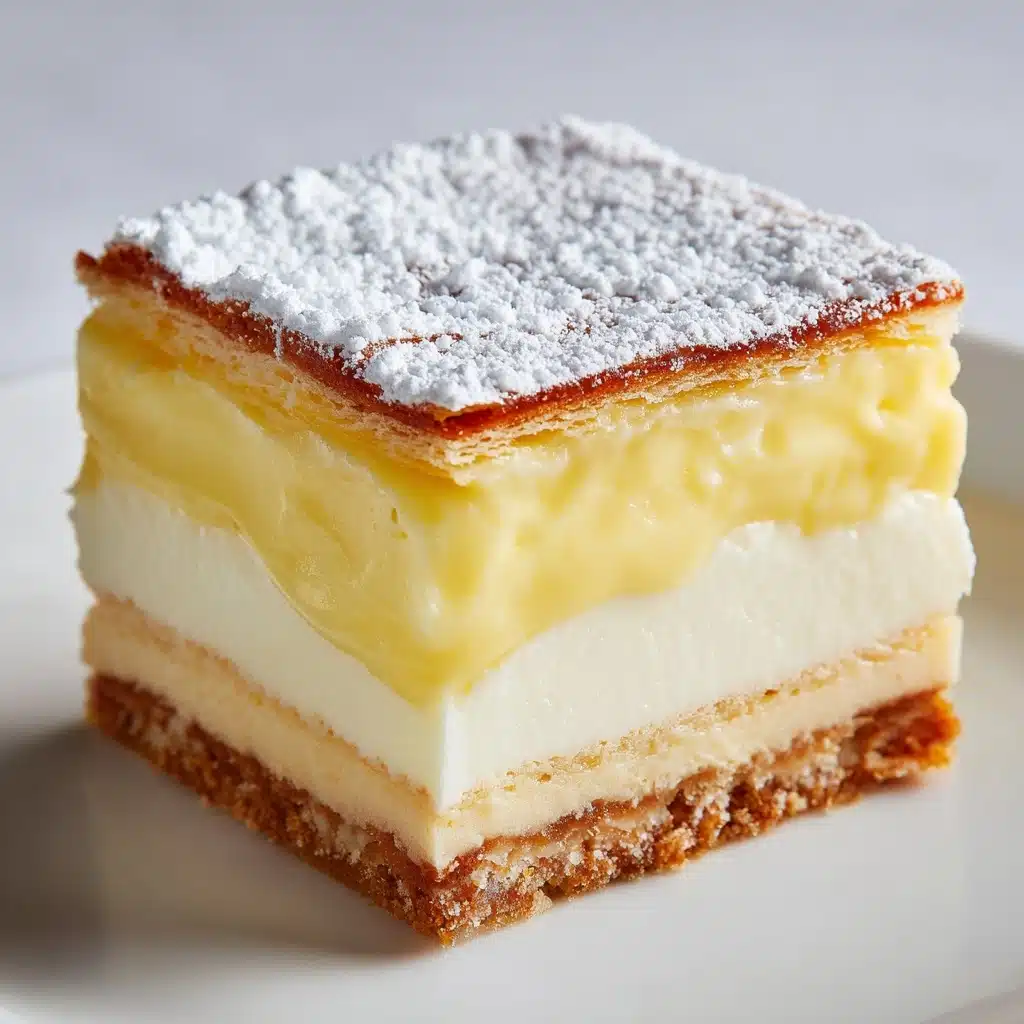
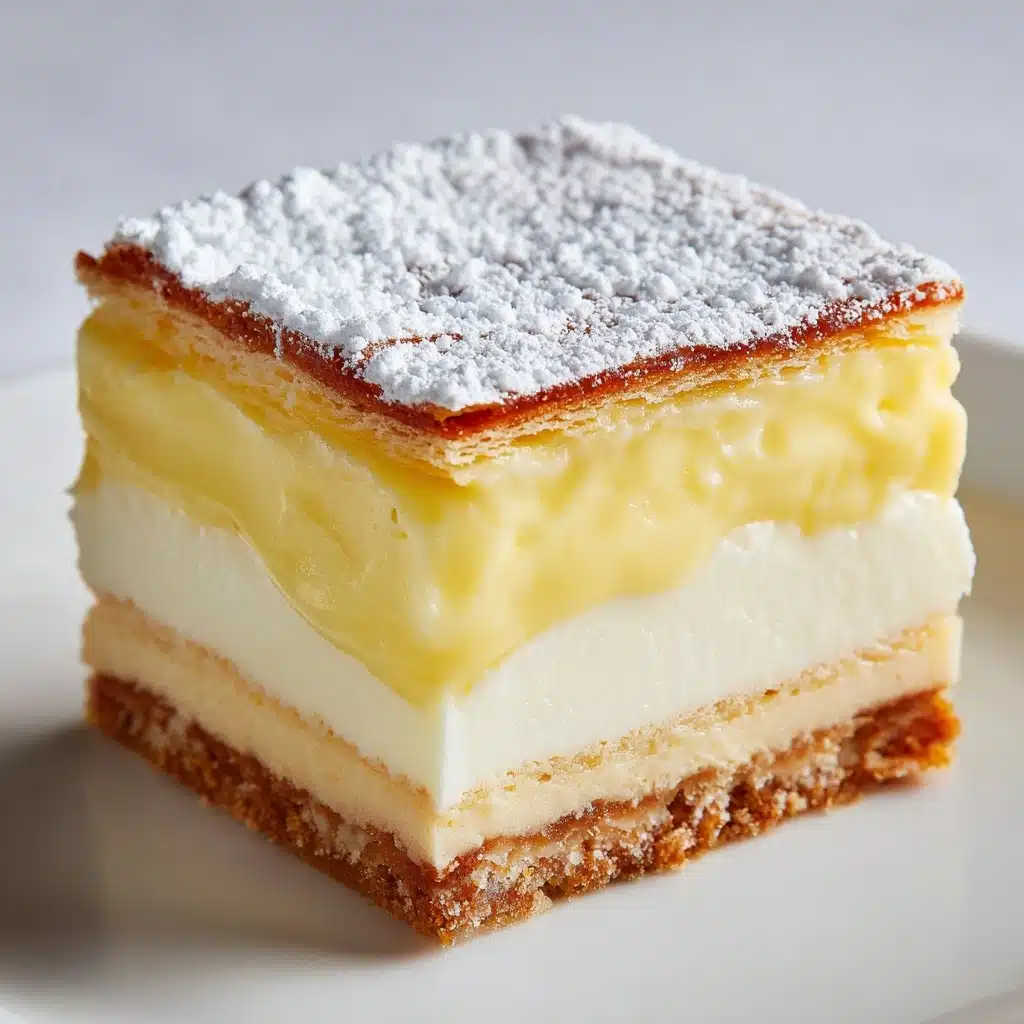
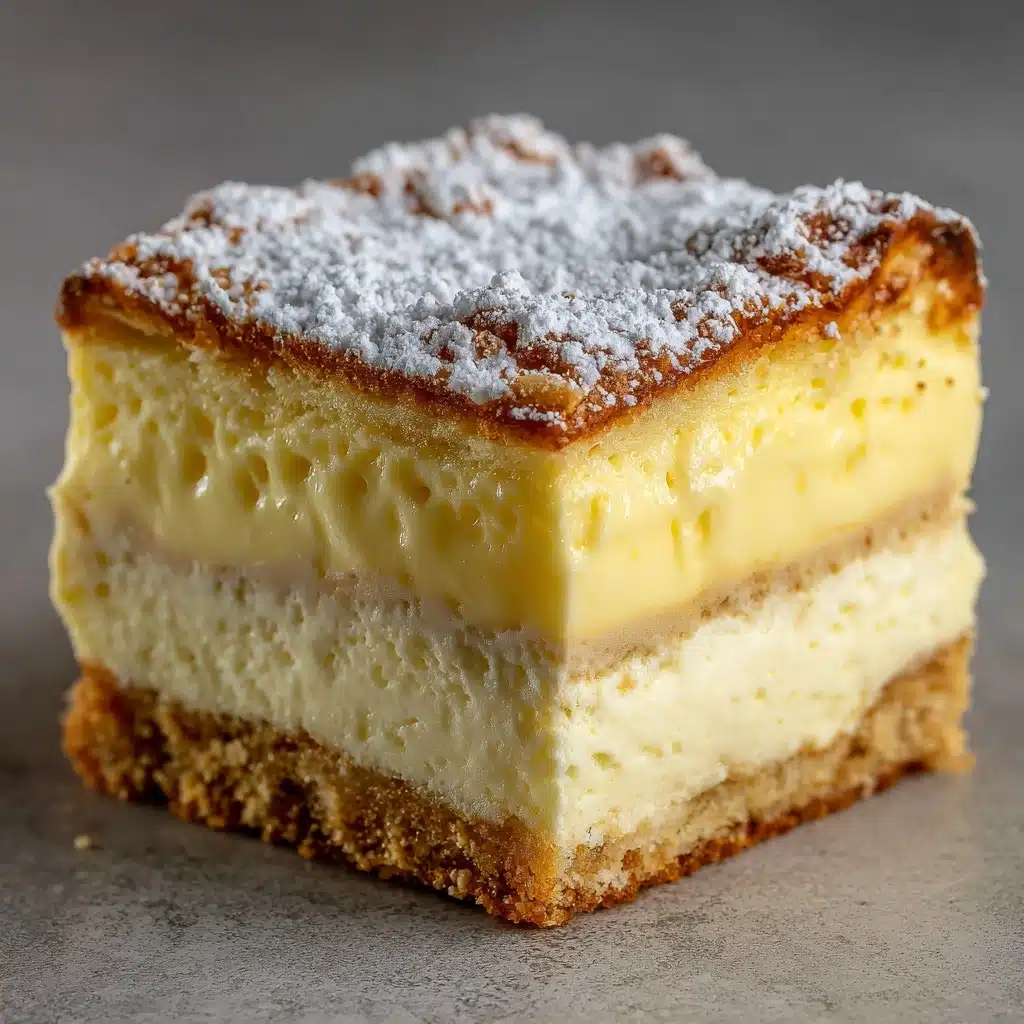
If you love creamy desserts that are both nostalgic and easy to whip up, the No-Bake Custard Slice is about to become your new go-to treat. Every bite delivers the dreamiest layers of velvety vanilla custard nestled between tender graham crackers, without ever turning on your oven. This recipe is especially close to my heart—not only because it’s a guaranteed crowd-pleaser, but because it’s the perfect blend of simplicity and pure indulgence. Whether for a family gathering or just a little weeknight sweetness, the No-Bake Custard Slice shines with its silky texture and classic flavors, all with minimal fuss.
Ingredients You’ll Need
This No-Bake Custard Slice relies on a handful of everyday ingredients, each playing a crucial role in building those signature flavors and textures. The beauty is in the simplicity—when each element is at its best, the result is absolutely irresistible.
- Graham crackers or plain rectangular biscuits: These form the reliably crisp, golden layers that hold the slice together and soak up just the right amount of custard.
- Whole milk: Delivers creamy richness and works as the main liquid for a custard that sets beautifully without being too firm.
- Heavy cream: Adds luscious body, making the custard extra silky and decadent.
- Granulated sugar: Balances the flavor and helps create that perfect sweet spot in the custard.
- Cornstarch: The essential thickener so your custard slice cuts cleanly and holds its shape once chilled.
- Unsalted butter: Rounds out the flavor and brings a silky finish to the custard as it cools.
- Vanilla extract: The heart and soul of any custard—go for pure extract to really elevate the classic vanilla notes.
- Salt: Just a pinch wakes up every flavor and prevents the dessert from tasting flat.
- Powdered sugar: For that delicate, snowy finish on top that makes each square look utterly irresistible.
How to Make No-Bake Custard Slice
Step 1: Prep Your Pan
Start by lining an 8×8-inch square baking dish with parchment paper. Let the parchment hang over the sides, like little handles—this is your secret weapon for lifting out the finished slice cleanly later on!
Step 2: Create Your Biscuit Base
Arrange a single, even layer of graham crackers or plain rectangular biscuits along the bottom of your lined dish. You may need to trim a few to snuggle them in perfectly—with each layer, you’re building the No-Bake Custard Slice’s signature structure.
Step 3: Whisk the Custard
In a medium saucepan, whisk together the milk, heavy cream, sugar, cornstarch, and salt. Place it over medium heat and keep whisking. After 8 to 10 minutes, you’ll feel the mixture thicken and see it start to bubble—this is when the magic happens!
Step 4: Add Butter and Vanilla
Remove the saucepan from the heat and immediately stir in the butter and vanilla extract. Whisk until everything is velvety smooth and deeply aromatic—the custard should look shiny and thick at this point.
Step 5: Assemble the Layers
Pour the custard right over your biscuit base, spreading it evenly with a spatula. Then gently cover the custard with another layer of graham crackers, pressing lightly so they settle into the custard just a bit.
Step 6: Chill to Set
Place the pan in the fridge and let it chill for at least 4 hours. This patience pays off, as chilling allows the No-Bake Custard Slice to firm up into those perfect, cuttable layers.
Step 7: Finish and Serve
Once set, use the parchment paper overhang to lift the slice out onto a cutting board. Dust the top generously with powdered sugar before slicing into neat squares. Serve them chilled for ultimate creaminess.
How to Serve No-Bake Custard Slice

Garnishes
A lovely shower of powdered sugar is classic, but you can also elevate your No-Bake Custard Slice with a little whipped cream or a sprinkle of toasted coconut for added flair. Fresh berries like raspberries or sliced strawberries also add a pop of color and tartness.
Side Dishes
Pair this creamy dessert with a cup of strong coffee or a pot of black tea. If you’d like something a bit fancy, serve it alongside a small bowl of macerated berries for contrast, or a scoop of fruity sorbet to refresh the palate.
Creative Ways to Present
Cut the No-Bake Custard Slice into little rectangles or diamonds for a pretty dessert tray, or stack squares artfully with a drizzle of berry sauce for an elegant plated look. For a playful twist, layer in a swirl of raspberry or apricot jam between the biscuits and custard before chilling.
Make Ahead and Storage
Storing Leftovers
Keep any extra No-Bake Custard Slice tightly wrapped or in an airtight container in the refrigerator. It will stay fresh and delicious for up to 3 days—if it lasts that long!
Freezing
While you can freeze the slice in individual portions, keep in mind the texture of the custard may change slightly once thawed, becoming a bit softer. If freezing, wrap each piece well with plastic and foil, then thaw overnight in the fridge before serving.
Reheating
There’s no need to reheat this sweet treat—No-Bake Custard Slice is best served chilled straight from the fridge. If it’s a little too firm, just let it sit at room temperature for about ten minutes before enjoying.
FAQs
Can I use a different type Dessert
Absolutely! Try using digestive biscuits, Marie biscuits, or any plain, crisp cookie you have on hand. Just avoid ones with heavy fillings or coatings, as simple biscuits let the custard shine.
Is it possible to make this dairy-free?
Yes, you can swap the whole milk and heavy cream for your favorite unsweetened plant-based milk (like almond or oat) and a dairy-free cream. Use vegan butter and check that your biscuits are dairy-free too.
How do I know when the custard is thick enough?
The custard is ready when it coats the back of a spoon, holds a line when you drag your finger through it, and you see it bubble in the pan. It should feel thicker than a traditional pudding but not quite as stiff as gelatin.
Can I add fruit or other flavors?
Definitely! Layer in thin slices of banana or spread a bit of apricot or raspberry jam between the biscuit and custard layers. A pinch of lemon zest in the custard also adds a bright, refreshing note.
Can I double the recipe for a crowd?
For sure—just use a 9×13-inch pan and double every ingredient. The setting time remains the same, though you might want to chill it overnight to ensure neat slices.
Final Thoughts
There you have it—everything you need to craft the perfect No-Bake Custard Slice right at home. It’s easy, stunning, and full of comforting flavors that everyone will love. Give it a try and see just how magical a few simple ingredients can become!
PrintNo-Bake Custard Slice Recipe
Indulge in this delightful No-Bake Custard Slice, featuring layers of creamy custard sandwiched between graham crackers and topped with a dusting of powdered sugar. A simple yet satisfying dessert that’s perfect for any occasion.
- Prep Time: 15 minutes
- Cook Time: 10 minutes
- Total Time: 4 hours 25 minutes
- Yield: 9 slices 1x
- Category: Dessert
- Method: No-Bake
- Cuisine: Australian-Inspired
- Diet: Non-Vegetarian
Ingredients
Graham Cracker Layer:
- 2 packets graham crackers or plain rectangular biscuits
Custard Filling:
- 2 cups whole milk
- 1/2 cup heavy cream
- 1/2 cup granulated sugar
- 1/4 cup cornstarch
- 1 tablespoon unsalted butter
- 2 teaspoons vanilla extract
- 1/4 teaspoon salt
Additional:
- powdered sugar for dusting
Instructions
- Line the Baking Dish: Prepare an 8×8-inch square baking dish with parchment paper, leaving extra for easy removal.
- Layer the Biscuits: Arrange a single layer of graham crackers or biscuits in the dish.
- Prepare the Custard: Cook milk, cream, sugar, cornstarch, and salt until thickened. Stir in butter and vanilla.
- Assembly: Pour custard over the biscuit layer, add another layer of biscuits, and refrigerate for 4 hours.
- Serve: Dust with powdered sugar, cut into squares, and enjoy chilled.
Notes
- Enhance with whipped cream or jam for added flavor.
- Store leftovers in the refrigerator for up to 3 days.
Nutrition
- Serving Size: 1 slice
- Calories: 220
- Sugar: 15g
- Sodium: 160mg
- Fat: 9g
- Saturated Fat: 5g
- Unsaturated Fat: 3g
- Trans Fat: 0g
- Carbohydrates: 32g
- Fiber: 0g
- Protein: 3g
- Cholesterol: 30mg


