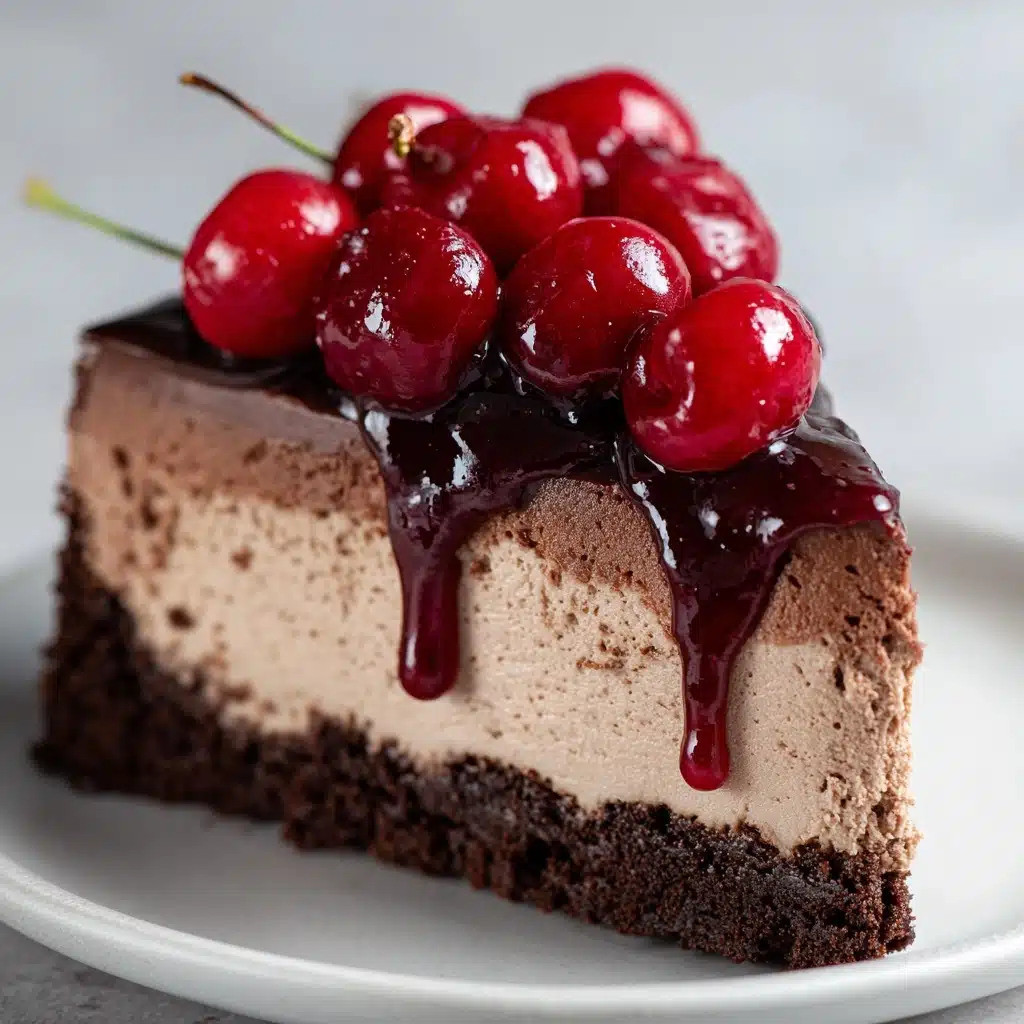
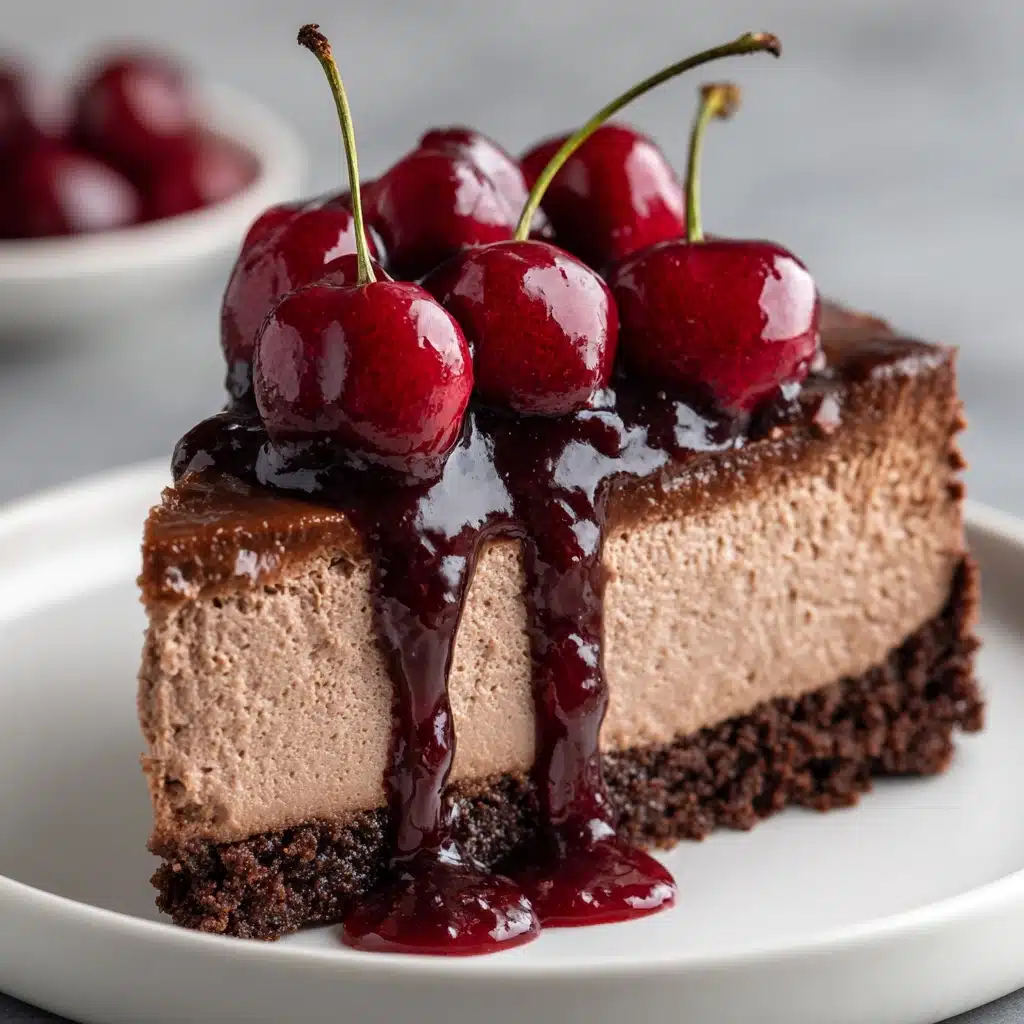
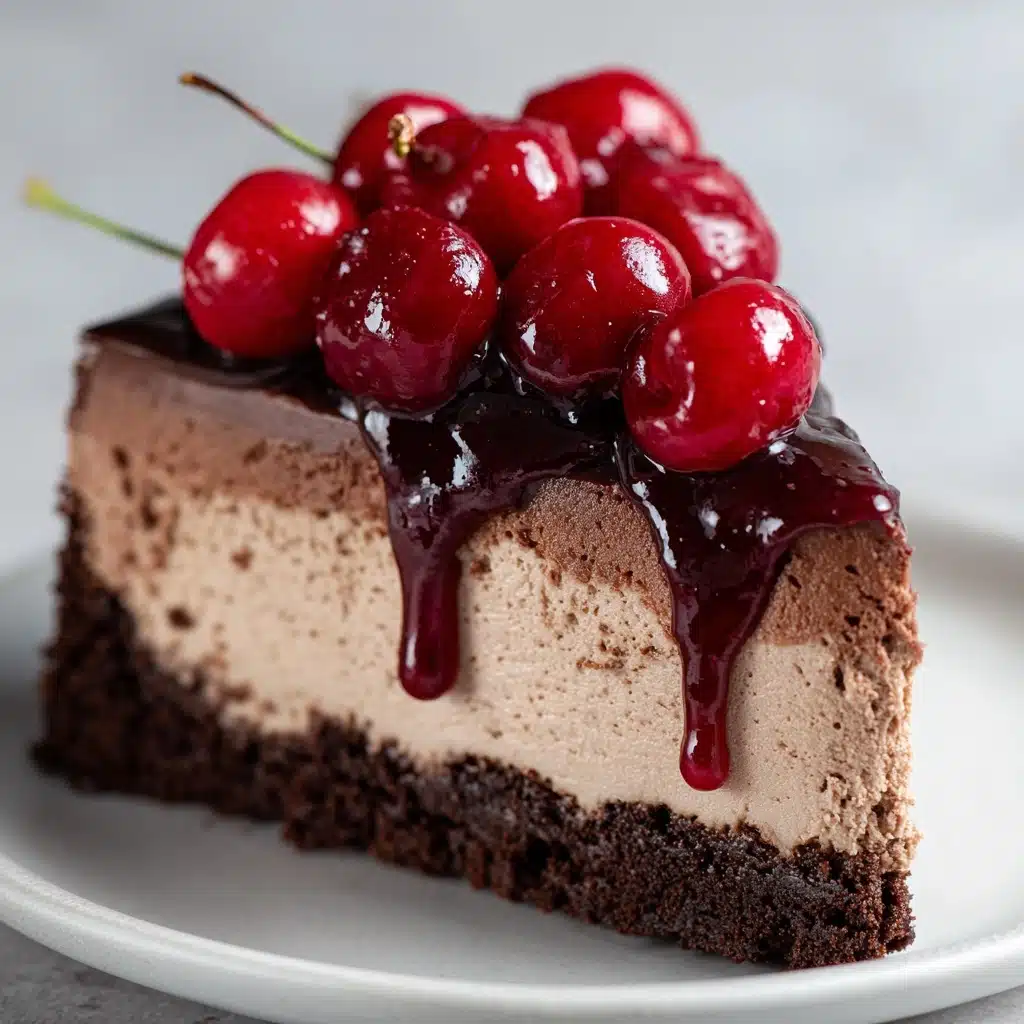
If you’re searching for the kind of dessert that makes you look like a superstar host without breaking a sweat, this No-Bake Cherry Chocolate Cheesecake is your answer. It’s the ultimate dreamy combination of creamy cheesecake, rich chocolate, and luscious cherry topping — all without even turning on your oven! Whether you’re planning a potluck, a family dinner, or just craving an impressive sweet treat, this recipe delivers a crowd-pleasing experience with minimal effort.
Ingredients You’ll Need
Every element in this recipe has an important role — from the crunchy base to the fluffy filling and that gorgeous cherry crown. Each ingredient brings something special, turning a handful of pantry staples into pure chocolate-cherry bliss. Here’s the lineup you’ll need to whip up your No-Bake Cherry Chocolate Cheesecake.
- Chocolate cookie crumbs: These create a deep, chocolatey crust; use Oreos for extra richness (remember to crush them finely!).
- Melted butter: This binds your crumbs together, ensuring a firm, sliceable base with a hint of indulgence.
- Cream cheese: The backbone of our cheesecake filling; it must be softened for that ultra-smooth, creamy texture.
- Powdered sugar: Adds a touch of sweetness and blends effortlessly into the filling for a perfectly smooth bite.
- Vanilla extract: Just a splash gives lovely warmth and depth, complementing both the cherries and chocolate.
- Whipped topping: Lightens up the filling, making it fluffy and airy — the secret to our melt-in-your-mouth result.
- Semi-sweet chocolate chips: Melted and cooled, these turn the cheesecake decadently chocolatey; feel free to use dark chocolate for bolder flavor.
- Cherry pie filling: The showstopping top layer, adding sweet-tart flavor and that irresistible glossy finish.
How to Make No-Bake Cherry Chocolate Cheesecake
Step 1: Build the Chocolate Crust
Start by mixing the chocolate cookie crumbs with the melted butter in a medium bowl until every crumb is glistening and can easily hold together when pressed. Pour this mixture into your 9-inch springform pan and press down very firmly, especially into the edges and corners, to create a stable foundation. Pop the pan in the fridge while you prepare the dreamiest filling — this keeps your crust solid and ready for action.
Step 2: Whip Up the Cheesecake Filling
In a large bowl, blend the softened cream cheese with an electric mixer until smooth, scraping down the bowl as needed. Add in the powdered sugar and vanilla, then beat again until you have a creamy, lump-free mixture. Now it’s time to stir in that luxurious melted chocolate — the heart and soul of our No-Bake Cherry Chocolate Cheesecake. Make sure it’s cooled slightly so it blends in silkily. The mixture should look as glossy as fudge at this stage!
Step 3: Fold and Fluff
Gently scoop in the whipped topping, folding it through with a spatula. The goal here is to keep all the lovely air in the filling, so use light strokes and stop once it’s just evenly combined (no streaks!). This is your moment for a little taste test — the chocolate-cheesecake combo is already so lush you’ll definitely be tempted!
Step 4: Assemble the Layers
Carefully spread the dreamy chocolate cheesecake filling over the chilled crust. Level the top with a spatula and give the pan a gentle tap to settle everything nicely. Now, dollop that vibrant cherry pie filling right on top and use a spoon or offset spatula to spread it gently all the way to the edges. The layers are almost too pretty to cover up, but resist the urge to dig in just yet — this beauty needs to set up in the fridge!
Step 5: Chill and Serve
Cover your springform pan and let the cheesecake rest in the refrigerator for at least 4 hours, or overnight for the absolute best texture. Once set, run a thin knife around the edge before removing the ring. Slice, serve chilled, and get ready to watch everyone swoon over your masterpiece. This No-Bake Cherry Chocolate Cheesecake is just as delightful to make as it is to eat!
How to Serve No-Bake Cherry Chocolate Cheesecake
Garnishes
While the cherry topping is a showstopper on its own, you can really make each slice pop with a few well-chosen garnishes. Try scattering chocolate curls, sprinkles of grated chocolate, or even a few extra dollops of whipped cream on top. Fresh cherries during cherry season or a dusting of powdered sugar also turn every serving into something extra-special.
Side Dishes
Looking to round out your dessert table? This cheesecake pairs beautifully with simple sides like fresh berries, a light fruit salad, or even a scoop of vanilla bean ice cream. If you want to lean into the chocolate theme, a tiny cup of espresso or a glass of milk is the perfect partner for balancing out each decadent slice.
Creative Ways to Present
Beyond serving whole slices, you can give your No-Bake Cherry Chocolate Cheesecake a playful twist by making mini versions in muffin tins with liners — perfect for parties or picnics! For special occasions, try layering the crust, cheesecake filling, and cherry topping in clear dessert cups or jars for gorgeous, portable parfaits. However you serve it, you’ll get rave reviews!
Make Ahead and Storage
Storing Leftovers
Leftover cheesecake should be covered and stored in the refrigerator, where it will stay fresh and delicious for up to five days. If you have individual slices, store them in airtight containers or cover the pan tightly with plastic wrap. This method keeps your crust crisp and your cherries glistening for days of post-dessert bliss!
Freezing
You can absolutely freeze No-Bake Cherry Chocolate Cheesecake for longer storage. For best results, freeze the cheesecake (without cherry topping) tightly wrapped for up to one month. When ready to enjoy, thaw overnight in the fridge, add the cherry topping before serving, and slice as usual. Individual slices can also be frozen with parchment between each piece for easy grab-and-go treats.
Reheating
Since this cheesecake is meant to be served chilled and never actually baked, there’s no need for reheating. Just slice straight from the refrigerator and serve — if you’ve frozen it, make sure to thaw fully in the fridge so the texture stays creamy and perfect.
FAQs
Can I use homemade cherry topping instead of canned?
Absolutely! A homemade cherry pie filling made with fresh or frozen cherries works wonderfully. Just make sure to cool it completely before adding it to your No-Bake Cherry Chocolate Cheesecake so your layers don’t melt together.
How do I keep the crust from falling apart?
Press the crust mixture down very firmly into the pan, using the back of a flat measuring cup. Chilling it while you prepare the filling is essential for stability. If you’re using a different brand of cookies or low-fat butter, you may need a bit more butter to help it hold.
Is there a substitute for whipped topping?
Yes, you can use freshly whipped cream (beat about 1 cup heavy cream with a tablespoon of sugar until medium peaks form) as a substitute for the whipped topping. Just fold it in gently for a similar lightness in your No-Bake Cherry Chocolate Cheesecake.
Can I make this recipe gluten-free?
This cheesecake is easy to make gluten-free! Just swap in gluten-free chocolate sandwich cookies for the crust. Double-check your other ingredients to ensure they’re gluten-free, and you’ll be set.
What’s the best way to slice this cheesecake neatly?
For sharp, clean slices, dip a sharp knife into hot water and wipe it dry before each cut. This helps the blade glide easily through the creamy filling and fruity topping, giving you picture-perfect pieces every time.
Final Thoughts
There’s truly nothing like digging into a chilled slice of No-Bake Cherry Chocolate Cheesecake — it’s simple, spectacular, and guaranteed to impress. Whether you’re serving a crowd or just yourself (no judgment!), go ahead and give this recipe a try — your dessert game will thank you!
PrintNo-Bake Cherry Chocolate Cheesecake Recipe
Indulge in the decadent combination of creamy chocolate cheesecake topped with sweet cherry pie filling with this easy no-bake cherry chocolate cheesecake recipe. Perfect for a summer dessert or any time you crave a luscious treat.
- Prep Time: 20 minutes
- Cook Time: 0 minutes
- Total Time: 4 hours 20 minutes (including chilling)
- Yield: 10 slices 1x
- Category: Dessert
- Method: No-Bake
- Cuisine: American
- Diet: Vegetarian
Ingredients
For the Crust:
- 1 1/2 cups chocolate cookie crumbs (like Oreos, finely crushed)
- 5 tablespoons melted butter
For the Filling:
- 16 oz cream cheese, softened
- 1 cup powdered sugar
- 1 teaspoon vanilla extract
- 8 oz whipped topping (like Cool Whip)
- 1 cup semi-sweet chocolate chips, melted and slightly cooled
- 1 (21 oz) can cherry pie filling
Instructions
- Prepare the Crust: In a medium bowl, combine the chocolate cookie crumbs and melted butter. Press the mixture firmly into the bottom of a 9-inch springform pan to form the crust. Chill in the refrigerator while preparing the filling.
- Make the Filling: In a large bowl, beat the cream cheese until smooth. Add powdered sugar and vanilla, and mix until fully combined. Stir in the melted chocolate until smooth. Gently fold in the whipped topping until no streaks remain.
- Assemble the Cheesecake: Spread the chocolate cheesecake filling evenly over the chilled crust. Spoon the cherry pie filling over the top and spread gently.
- Chill and Serve: Cover and refrigerate for at least 4 hours, or until set. Slice and serve chilled.
Notes
- You can make individual servings using a muffin tin with liners.
- For a richer flavor, use dark chocolate chips.
- Keep refrigerated and consume within 5 days.
Nutrition
- Serving Size: 1 slice
- Calories: 410
- Sugar: 28g
- Sodium: 240mg
- Fat: 28g
- Saturated Fat: 16g
- Unsaturated Fat: 10g
- Trans Fat: 0g
- Carbohydrates: 37g
- Fiber: 2g
- Protein: 5g
- Cholesterol: 45mg

