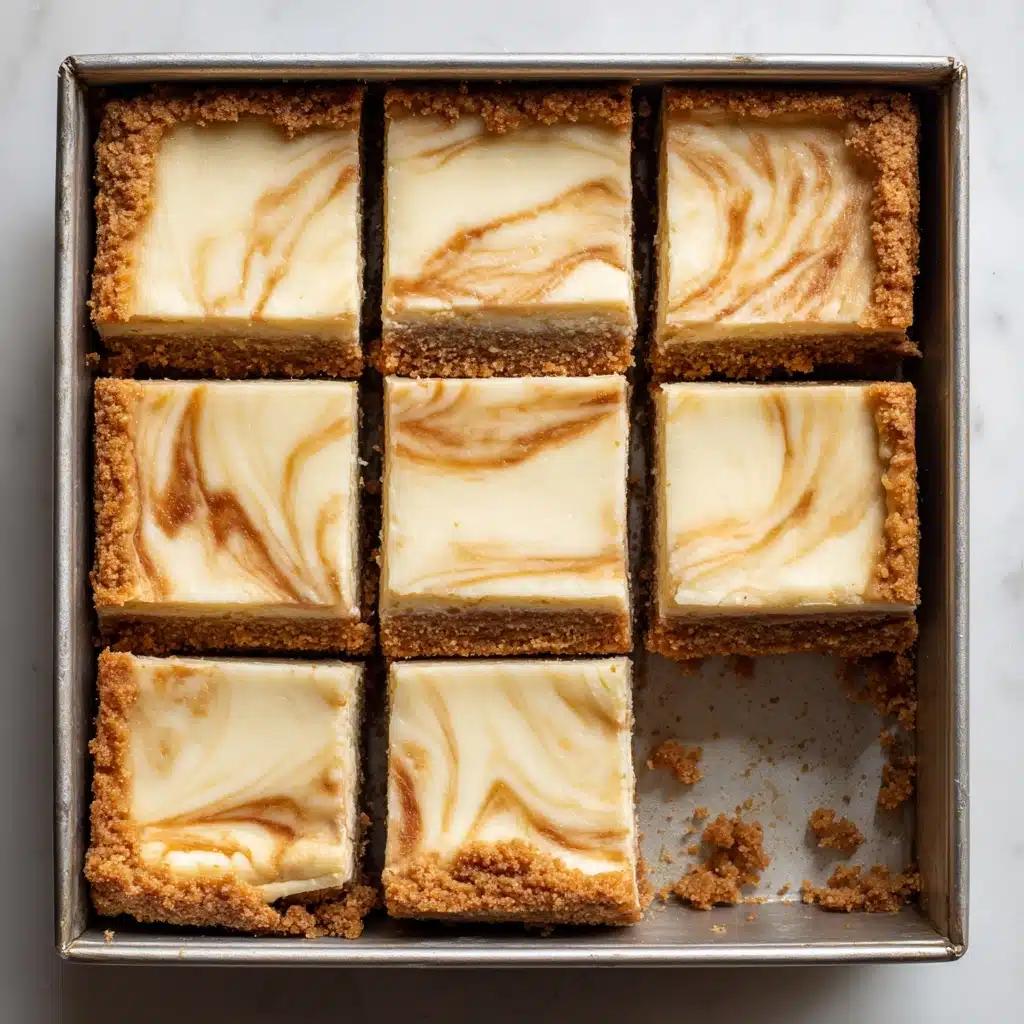
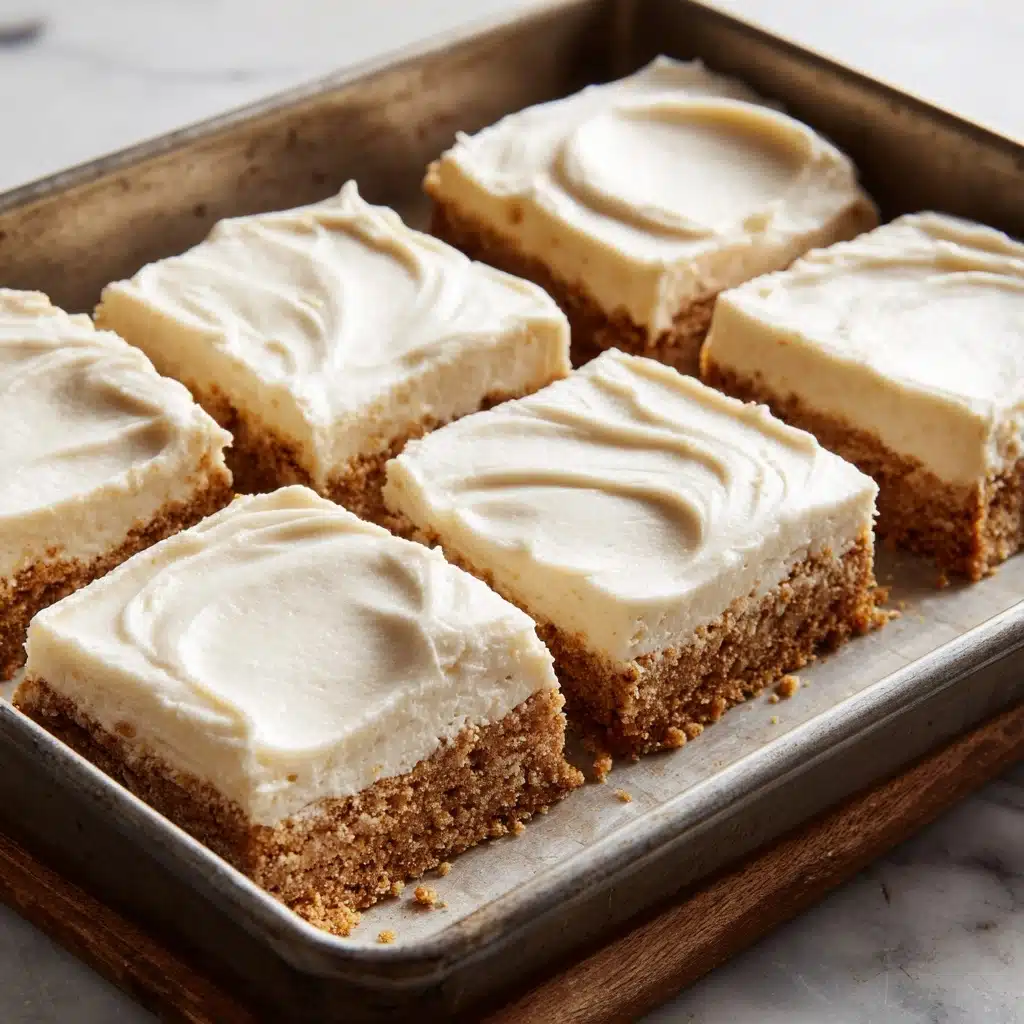
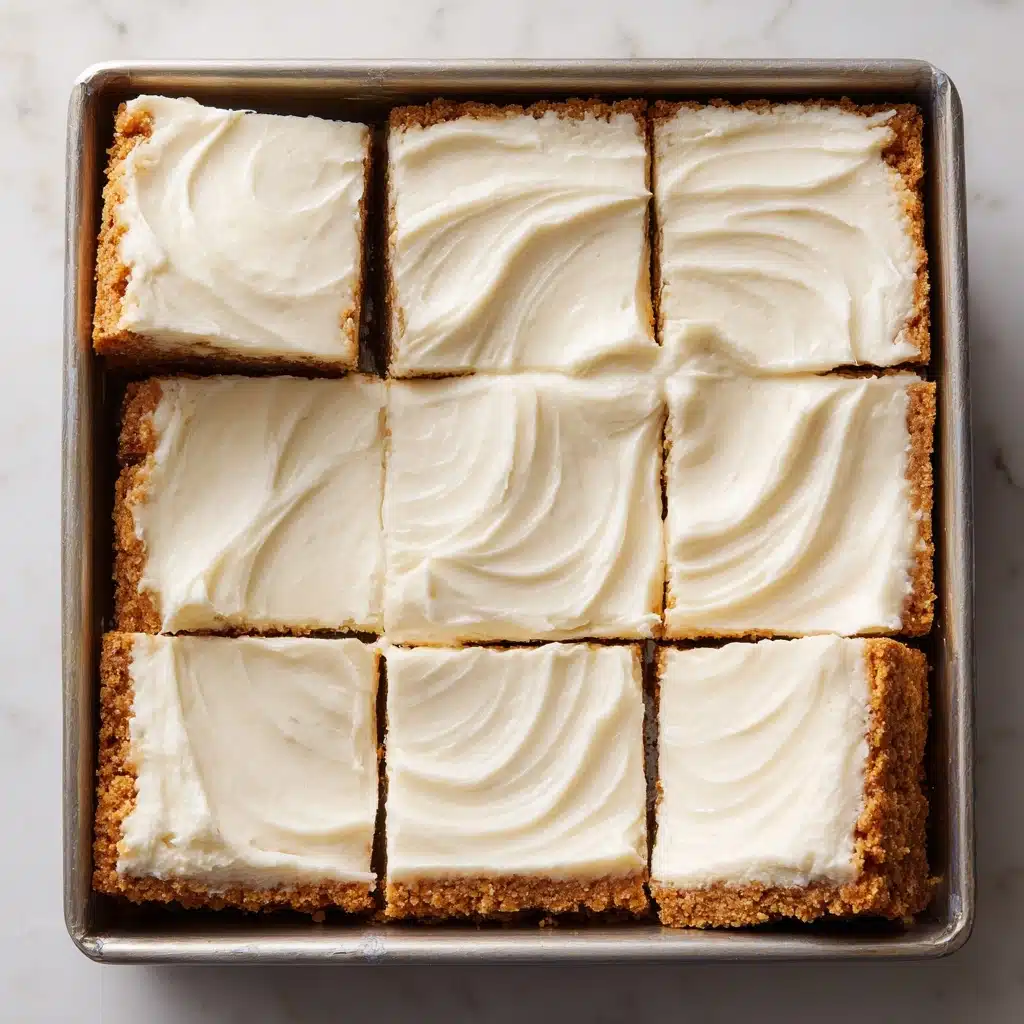
If there’s one dessert that captures everything I love about effortless, crowd-pleasing treats, it’s these No Bake Cheesecake Bars. They feature a buttery graham cracker crumb base and a luxuriously creamy cheesecake layer that sets perfectly in the fridge. With no need to turn on the oven, this recipe delivers all the charm of classic cheesecake in a fuss-free bar—ideal for summer parties, holiday gatherings, or anytime you need something sweet with minimal effort.
Ingredients You’ll Need
Part of what makes these No Bake Cheesecake Bars so irresistible is the simplicity of their ingredients. Each one plays a starring role in bringing out flavors, textures, and even that signature cheesecake tang, so don’t skip or skimp where it counts!
- Graham cracker crumbs: The foundation for your dreamy crust; they add that unmistakable toasty crunch and balance the creamy filling beautifully.
- Unsalted butter (melted): Makes the crust hold together, lending rich flavor without any extra saltiness interfering in the final taste.
- Granulated sugar: Sweetens the crust just enough, giving it a gentle contrast to the cream cheese layer.
- Cream cheese (softened): The luscious hero of your bars, creating that trademark tang and smooth, creamy texture we just can’t get enough of.
- Powdered sugar: Dissolves easily into the filling, sweetening it without any grittiness.
- Vanilla extract: Adds that warm, aromatic undertone that brings the whole dessert together.
- Lemon juice: A tiny splash works wonders, sharpening the flavors and keeping the sweetness in check.
- Heavy whipping cream: When whipped, it lightens the cheese filling and gives the bars that melt-in-your-mouth finish.
How to Make No Bake Cheesecake Bars
Step 1: Prepare Your Baking Dish
Start by lining an 8×8-inch or 9×9-inch square baking dish with parchment paper. This little step ensures you’ll have an easy time lifting out and cutting your No Bake Cheesecake Bars later—no sticking or crumbling!
Step 2: Build That Buttery Crust
Mix together the graham cracker crumbs, melted butter, and granulated sugar in a medium bowl. Use a fork or your hands to make sure the crumbs are evenly moistened. Press this mixture firmly and evenly into the bottom of your lined dish to form a solid crust. Pop it into the fridge while you get the filling ready; this helps the crust set up nicely.
Step 3: Whip Up the Creamiest Filling
In a large bowl, combine softened cream cheese, powdered sugar, vanilla extract, and lemon juice. Beat with an electric mixer until the mixture is silky smooth and light, scraping down the bowl as needed to make sure everything blends fully.
Step 4: Fold in Whipped Cream
In a separate bowl, whip the heavy cream until stiff peaks form. This is your secret weapon for a lighter, fluffier filling. Gently fold the whipped cream into the cream cheese mixture—take your time with this step to keep all that air you’ve worked into the cream.
Step 5: Assemble and Chill
Spoon and spread the cheesecake filling evenly over your chilled crust, smoothing the top with a spatula. Cover the dish and refrigerate for at least 4 hours (overnight is perfect if you’re making these No Bake Cheesecake Bars ahead). Once set, use the parchment to lift them out and slice into bars for serving.
How to Serve No Bake Cheesecake Bars
Garnishes
The finishing touch is half the fun! Sprinkle your No Bake Cheesecake Bars with fresh berries for color and tartness, swirl on a bit of fruit preserves, or drizzle with melted chocolate for an eye-catching (and ultra-tasty) flourish.
Side Dishes
These bars are lovely on their own, but if you’re building a dessert table, consider setting them alongside lemon bars, fresh fruit cups, or a tangy yogurt parfait. Their creamy texture fits right in with nearly any sweet spread.
Creative Ways to Present
Turn dessert into an experience! Cut the bars smaller for a bite-sized party snack, or pop them into cupcake wrappers for easy serving. Stack them on a pretty cake stand, or layer pieces in jars for individual cheesecakes-to-go.
Make Ahead and Storage
Storing Leftovers
After enjoying a few, store any leftover No Bake Cheesecake Bars in an airtight container in the refrigerator. They’ll stay perfectly creamy and delicious for up to 5 days—if they last that long!
Freezing
Want your bars to last even longer? Freeze them! Arrange the bars in a single layer, freeze until solid, then wrap them individually. Store in an airtight container and thaw overnight in the fridge when ready to serve.
Reheating
No reheating needed here—these bars are all about that chilly, creamy indulgence! Simply let them come to fridge temperature after freezing, and they’re ready to eat, no oven or microwave required.
FAQs
Can I use a different type Dessert
Absolutely! Swap in vanilla wafers, chocolate graham crackers, or even ginger snaps to give your No Bake Cheesecake Bars a new twist.
Is it necessary to chill overnight?
Chilling for at least 4 hours is key for best texture, but letting them set overnight lets the flavors meld and makes slicing even easier.
Can I make these bars gluten free?
Yes! Just use gluten free graham crackers or your favorite gluten free cookie for the crust, and you’re good to go.
What if I don’t have an electric mixer?
You can absolutely mix by hand—it’ll take some elbow grease to make the filling smooth and get those whipped cream peaks, but it’s definitely doable.
How do I get clean, neat slices?
Use a sharp chef’s knife dipped in hot water and wiped dry between cuts—this will help you slice through the creamy layer smoothly and keep those edges pretty.
Final Thoughts
If you’re looking for a dessert that’s as easy as it is irresistible, these No Bake Cheesecake Bars are the answer. You don’t need any fancy tools or baking skills—just a love of creamy, sweet treats. Gather your ingredients and give them a whirl; once you taste that first bite, you’ll want to make a batch for every occasion!
PrintNo Bake Cheesecake Bars Recipe
Indulge in these no-bake cheesecake bars with a buttery graham cracker crust and a creamy, decadent filling. Perfect for a quick and easy dessert that will impress your guests!
- Prep Time: 20 minutes
- Cook Time: 0 minutes
- Total Time: 20 minutes (plus chilling)
- Yield: 9 bars 1x
- Category: Dessert
- Method: No-Bake
- Cuisine: American
- Diet: Non-Vegetarian
Ingredients
Graham Cracker Crust:
- 2 cups graham cracker crumbs
- 1/2 cup unsalted butter, melted
- 2 tablespoons granulated sugar
Filling:
- 2 packages (8 oz each) cream cheese, softened
- 1/2 cup powdered sugar
- 1 teaspoon vanilla extract
- 1 tablespoon lemon juice
- 1 cup heavy whipping cream
Instructions
- Prepare Crust: Line a square baking dish with parchment paper. Mix graham cracker crumbs, melted butter, and sugar. Press into dish.
- Make Filling: Beat cream cheese, powdered sugar, vanilla, and lemon juice until smooth. Whip cream until stiff peaks form. Fold into cream cheese mixture.
- Assemble: Spread filling over crust. Chill for 4 hours or overnight.
- Serve: Cut into bars and enjoy!
Notes
- Top with fresh berries, chocolate drizzle, or fruit preserves for additional flavor.
- Store in the refrigerator for up to 5 days.
Nutrition
- Serving Size: 1 bar
- Calories: 310
- Sugar: 16g
- Sodium: 210mg
- Fat: 24g
- Saturated Fat: 14g
- Unsaturated Fat: 8g
- Trans Fat: 0g
- Carbohydrates: 21g
- Fiber: 0g
- Protein: 4g
- Cholesterol: 75mg

