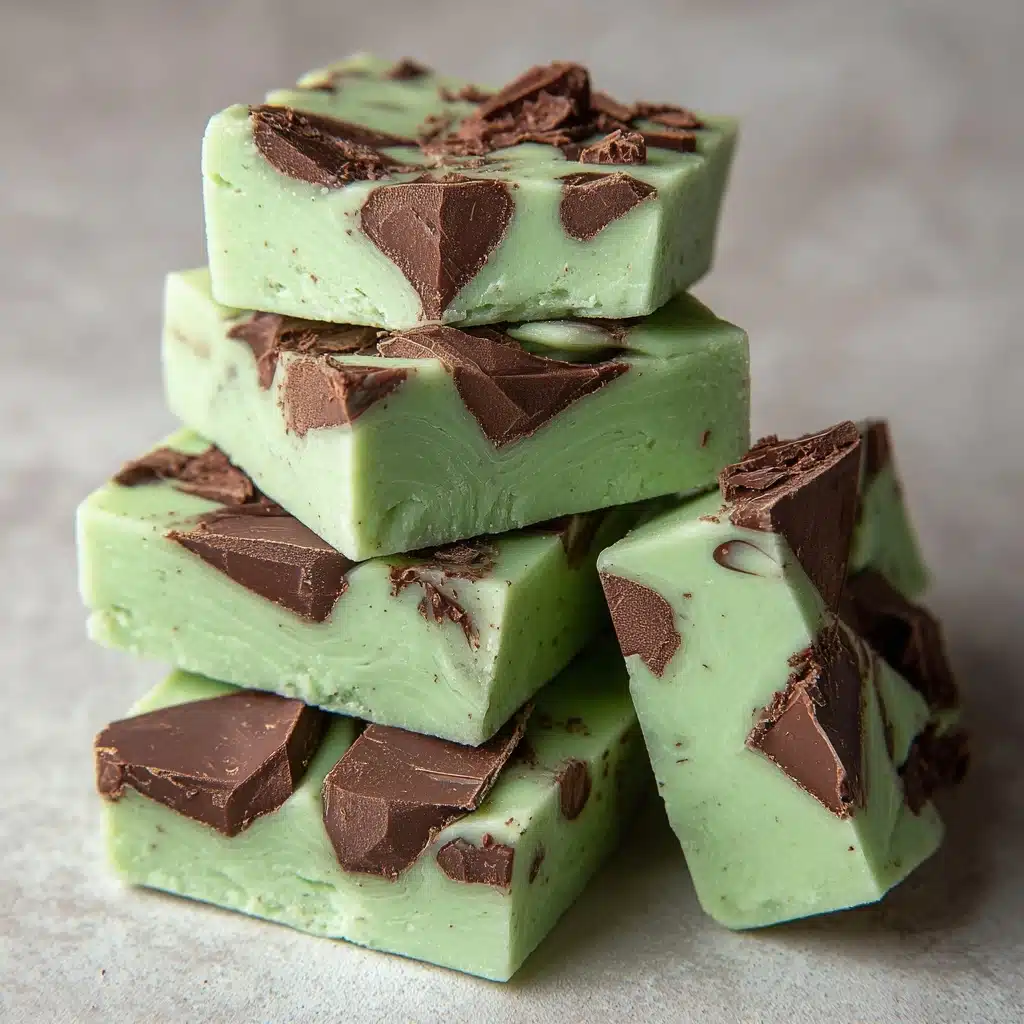
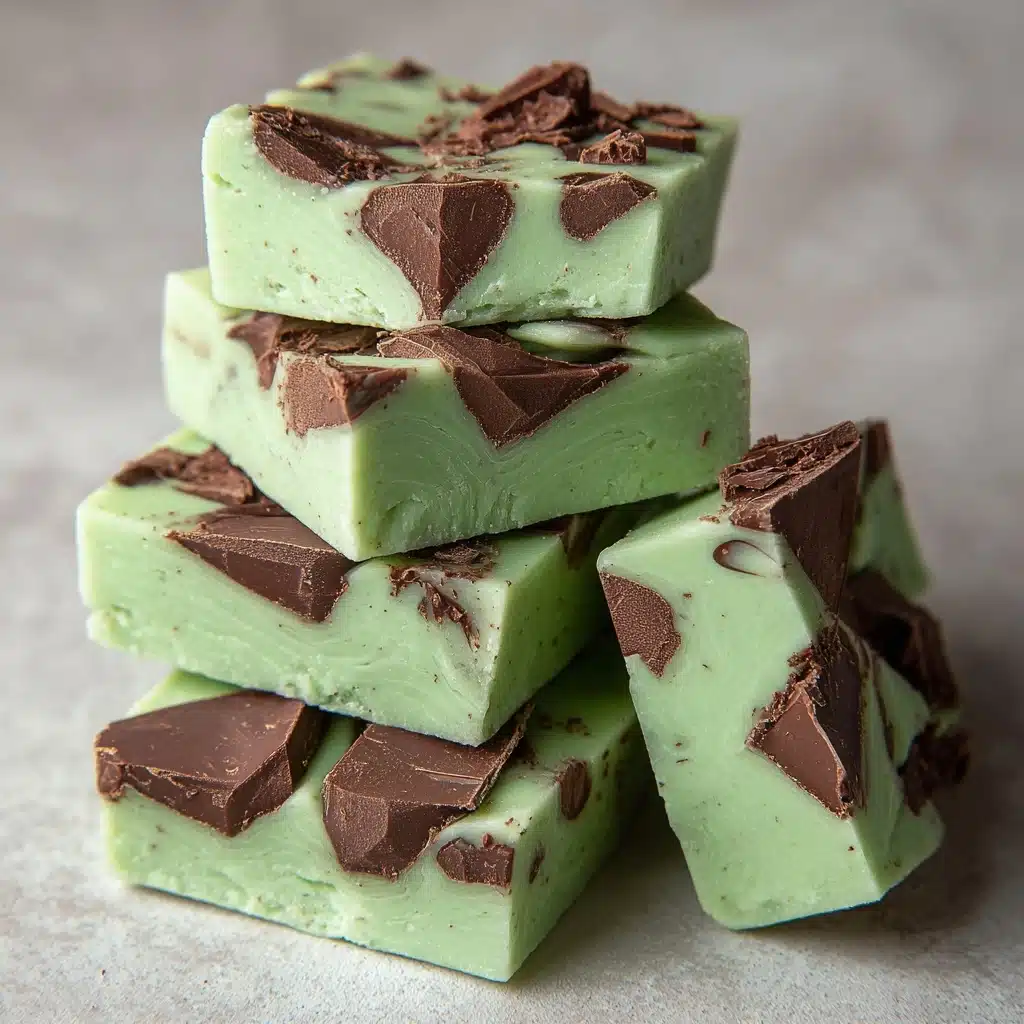
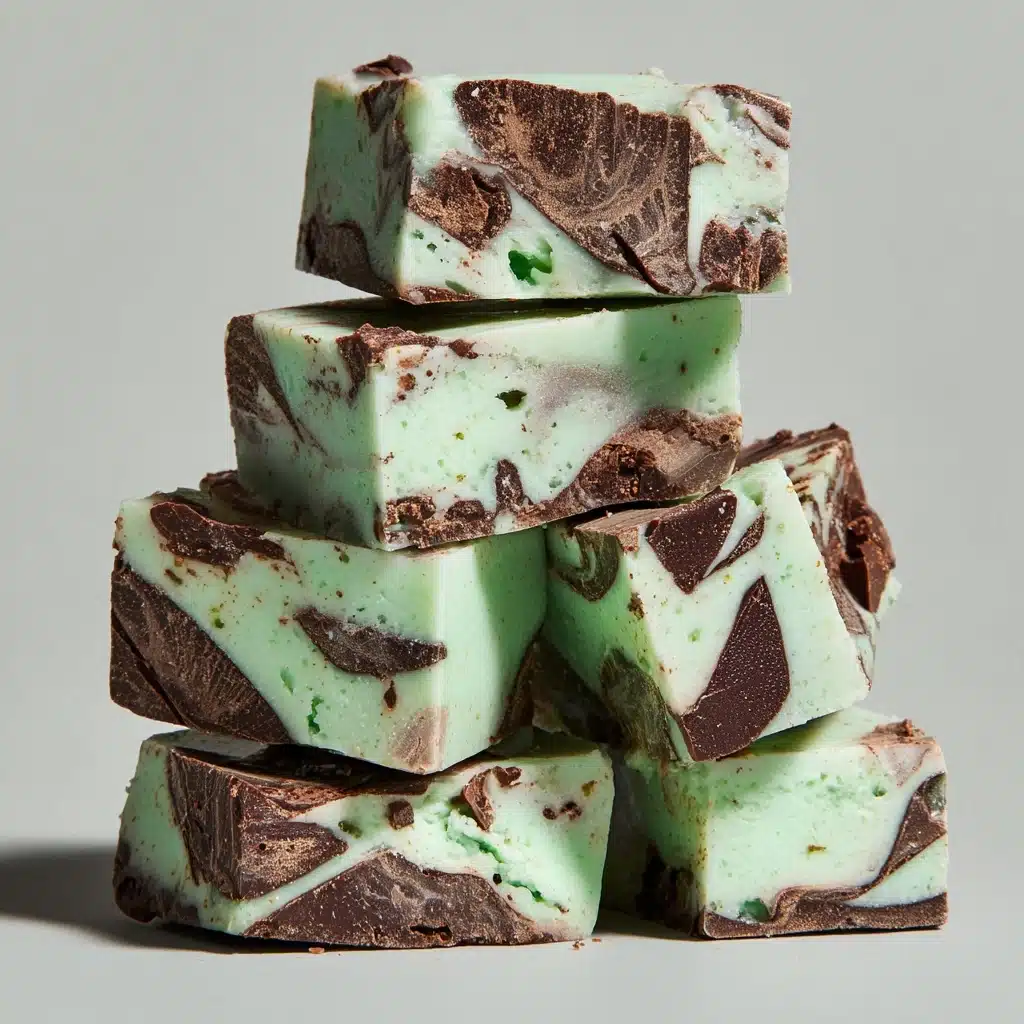
If you’re on the hunt for a treat that’s both decadently chocolatey and refreshingly minty, this Mint Fudge Recipe is absolutely made for you! Perfectly smooth, rich, and infused with just the right amount of peppermint, it’s a dessert that manages to be both comforting and invigorating. Whether you’re whipping it up for the holidays, as an after-dinner sweet bite, or simply because your sweet tooth demanded it, this Mint Fudge Recipe promises to add a splash of color and minty delight to any occasion.
Ingredients You’ll Need
You won’t believe how a handful of simple pantry staples come together to create such show-stopping fudge! Each ingredient plays a crucial role in crafting that signature creamy texture, deep chocolate flavor, and pop of cool mint. Let’s take a closer look at why each one matters.
- Semisweet chocolate chips: These create the rich and velvety base that makes every bite utterly chocolatey.
- Sweetened condensed milk: This magical ingredient supplies sweetness and gives the fudge its irresistibly smooth, creamy consistency.
- Unsalted butter: Adds a layer of richness that keeps the fudge soft, never gritty.
- Vanilla extract: Enhances both the chocolate and mint, deepening the overall flavor profile.
- Peppermint extract: The heart of the Mint Fudge Recipe! It delivers that unmistakable, cooling mint sensation.
- Green food coloring (optional): A few drops are all you need if you want that gorgeous, minty green hue.
- White chocolate chips (melted): For drizzling on top, they create visual contrast and a hint of sweetness that play beautifully with the mint.
How to Make Mint Fudge Recipe
Step 1: Prepare Your Pan
Start by lining an 8×8-inch baking dish with parchment paper, letting the ends hang over the sides a bit. This little trick makes removing your finished fudge as breezy as possible, so you can slice perfect squares later with zero fuss.
Step 2: Melt the Chocolate Mixture
In a medium saucepan over low heat, combine the semisweet chocolate chips, sweetened condensed milk, and unsalted butter. Stir gently and constantly—patience here pays off—until the chocolate and butter have melted together seamlessly and the mixture is glossy and thick.
Step 3: Add the Delicious Flavors
Remove the saucepan from the heat. Stir in the vanilla extract, peppermint extract, and green food coloring (if you’re using it). Give everything a thorough mix so the color and mint flavor are evenly distributed—this is when the magic of the Mint Fudge Recipe really happens!
Step 4: Pour and Spread
Pour the silky chocolate-mint mixture into your prepared baking dish. Use a spatula to spread it into an even layer, reaching all the corners. If you’d like extra texture, now’s your chance to sprinkle in some crushed peppermint candies.
Step 5: Decorate with White Chocolate
Let the fudge cool for about 10 minutes before you drizzle the melted white chocolate over the top in a zigzag pattern. It not only looks gorgeous but also gives each bite a bit of sweet contrast—just one of the reasons this Mint Fudge Recipe wows every time.
Step 6: Chill, Slice, and Serve
Pop your tray in the fridge for at least 2 hours, or until the fudge has set and is nice and firm. When ready, use the parchment paper overhang to lift the slab out, then slice into small, irresistible squares. Savor that freshness!
How to Serve Mint Fudge Recipe

Garnishes
A handful of festive ideas can elevate the Mint Fudge Recipe’s presentation. Sprinkle a little extra crushed peppermint on top, add a dusting of cocoa powder, or simply top with a single fresh mint leaf on each square for a touch of elegance. The visual and flavor contrast makes every piece look as special as it tastes!
Side Dishes
Serve these fudge squares alongside a steaming cup of coffee, creamy hot chocolate, or even a scoop of vanilla ice cream. The cooling mint complements warm drinks and creamy desserts brilliantly, turning each bite into a mini celebration.
Creative Ways to Present
For a charming gift, stack squares of Mint Fudge Recipe in clear cellophane bags tied with green ribbon. Or build eye-catching dessert trays by alternating fudge with other colorful treats and fresh berries. You can even poke toothpicks into each piece for quick-and-fun party bites—no mess, just smiles!
Make Ahead and Storage
Storing Leftovers
This fudge keeps beautifully! Store your Mint Fudge Recipe squares in an airtight container in the refrigerator, where they’ll stay fresh and creamy for up to two weeks. Separate layers with parchment to prevent sticking.
Freezing
You can absolutely freeze this fudge. Simply wrap squares individually with plastic wrap or place them in a single layer in freezer bags. That way, you can grab a piece whenever your cravings hit and enjoy the Mint Fudge Recipe for months.
Reheating
While this treat is meant to be enjoyed chilled or at room temperature, if you prefer a softer texture, just let a piece stand at room temperature for a few minutes. Avoid microwaving, as it can cause the chocolate to melt unevenly and lose its lovely consistency.
FAQs
Can I use milk chocolate chips instead of semisweet?
Absolutely! While semisweet gives a bolder chocolate contrast to the mint, milk chocolate adds extra sweetness and a softer flavor profile. Just be mindful that the overall fudge may set a touch softer, so be sure to chill thoroughly.
Is green food coloring necessary?
It’s completely optional. The Mint Fudge Recipe will still taste wonderfully minty without it—your fudge will just be classic chocolate brown. If you want that classic minty green pop, go ahead and add a few drops!
Can I add nuts or other mix-ins?
Definitely! Crushed peppermint candies add a festive crunch, but you can also try chopped nuts, mini chocolate chips, or even Oreo pieces. Just fold them in before spreading the mixture in the pan.
How far in advance can I make this fudge?
This Mint Fudge Recipe is brilliant for making ahead. Prepare it up to two weeks in advance and keep it refrigerated in an airtight container. It’s a busy baker’s dream for holiday planning!
Is Mint Fudge Recipe gluten-free?
Yes, as written, the recipe is naturally gluten-free, but always double-check your ingredients, especially extracts and chocolate chips, to be sure there’s no cross-contamination or hidden gluten.
Final Thoughts
There’s something truly special about sharing a batch of homemade Mint Fudge Recipe with friends or family. Each creamy bite brings a burst of cool mint and rich chocolate—a combo that never fails to bring joy. If you’ve never tried making fudge before, I can’t recommend this recipe highly enough. Give it a whirl, and let yourself be tempted by every square!
PrintMint Fudge Recipe
Indulge in the cool, refreshing flavor of mint with this easy-to-make Mint Fudge recipe. Creamy, rich chocolate combined with a hint of peppermint creates a decadent treat perfect for any occasion.
- Prep Time: 10 minutes
- Cook Time: 10 minutes
- Total Time: 20 minutes plus chilling
- Yield: 36 small squares 1x
- Category: Dessert
- Method: Stovetop, Refrigeration
- Cuisine: American
- Diet: Vegetarian, Gluten-Free
Ingredients
For the Fudge:
- 3 cups semisweet chocolate chips
- 1 can (14 ounces) sweetened condensed milk
- 1/4 cup unsalted butter
- 1 teaspoon vanilla extract
- 1 teaspoon peppermint extract
- 4–5 drops green food coloring (optional)
For the Drizzle:
- 1/2 cup white chocolate chips, melted
Instructions
- Prepare the Fudge: Line an 8×8-inch baking dish with parchment paper. Melt chocolate chips, sweetened condensed milk, and butter in a saucepan. Stir in vanilla extract, peppermint extract, and food coloring. Pour into the dish and spread evenly. Let cool.
- Add the Drizzle: Drizzle melted white chocolate over the fudge.
- Chill and Serve: Refrigerate until firm, then cut into squares.
Notes
- For added crunch, mix in crushed peppermint candies.
- Store in the refrigerator for up to 2 weeks.
Nutrition
- Serving Size: 1 square
- Calories: 120
- Sugar: 14 g
- Sodium: 20 mg
- Fat: 6 g
- Saturated Fat: 4 g
- Unsaturated Fat: 2 g
- Trans Fat: 0 g
- Carbohydrates: 16 g
- Fiber: 1 g
- Protein: 2 g
- Cholesterol: 5 mg


