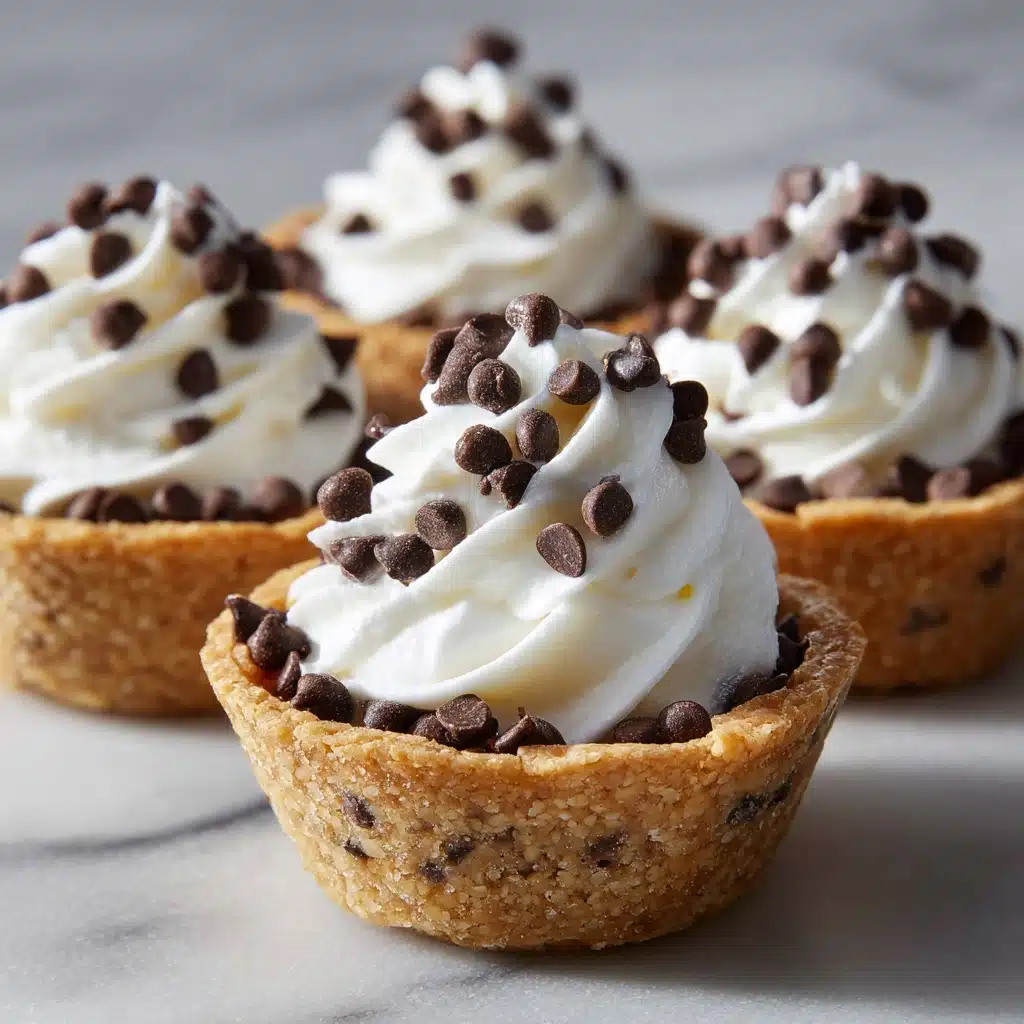
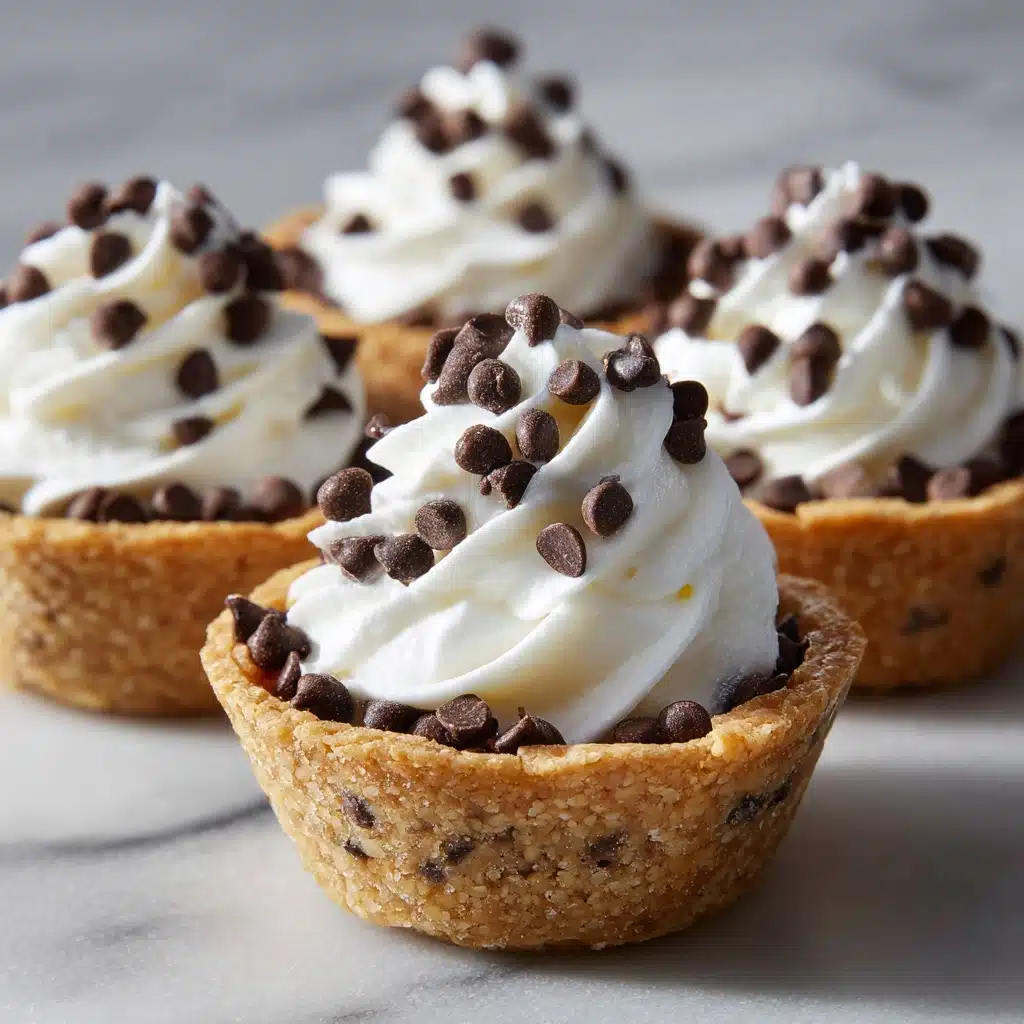
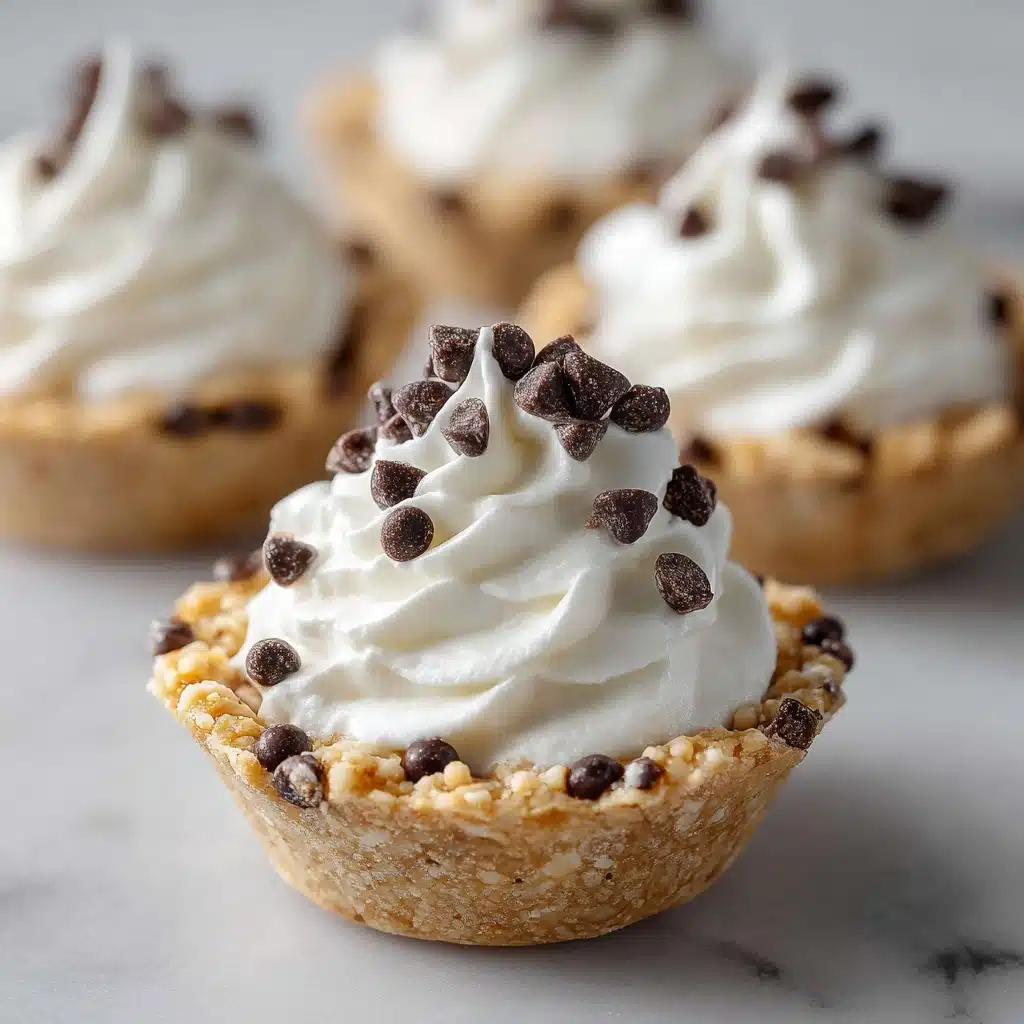
If you adore classic Italian desserts but crave something playful, you are going to fall in love with these Mini Cannoli Cups. Each delicate cup is filled with a creamy, sweet ricotta and mascarpone mixture, speckled with chocolate chips and crowned with pistachios for a burst of color and crunch. The best part? They’re incredibly easy to make, delightfully bite-sized, and perfect for parties or impromptu sweet cravings. Every bite brings a little bit of Italy to your table, and “Mini Cannoli Cups” are about to be your new go-to dessert obsession.
Ingredients You’ll Need
There’s nothing complicated here—just a handful of thoughtfully chosen ingredients that bring the magic of cannoli to your fingertips. Each plays a vital role, from texture to flavor, ensuring these Mini Cannoli Cups are bursting with authentic Italian delight in every miniature bite.
- Mini phyllo shells or pie crust: These form the crisp, flaky base for your filling and let you choose between hassle-free or a more hands-on homemade feel.
- Whole milk ricotta cheese (drained well): The backbone of traditional cannoli filling, giving creamy texture and authentic flavor.
- Mascarpone cheese (softened): Adds an extra level of richness and a velvety smooth mouthfeel.
- Powdered sugar: Sweetens the filling with a gentle, melt-in-your-mouth finish.
- Vanilla extract: Enhances all the flavors and adds a warm, aromatic note.
- Cinnamon: A classic touch for depth and a delicate, spiced lift.
- Mini chocolate chips: Tiny pops of bittersweet chocolate in every bite, just like traditional cannoli.
- Chopped pistachios (optional): Provides a lovely green color and a wonderful nutty crunch if you love a bit of texture.
- Powdered sugar for dusting: The signature snowy finish that makes each cup look irresistible.
How to Make Mini Cannoli Cups
Step 1: Prepare the Cups
If you’re using a refrigerated pie crust, preheat your oven to 375°F (190°C). Roll out the pie crust and use a 2.5-inch round cutter to make circles, then press each one gently into a greased mini muffin tin to create little cups. Bake for 10–12 minutes, or until they’re beautifully golden. If you’ve gone for the super easy route with mini phyllo shells, you get to skip baking altogether and jump straight to the next step—talk about instant gratification!
Step 2: Mix the Creamy Filling
Start by combining your well-drained ricotta and softened mascarpone in a medium bowl. Add powdered sugar, vanilla extract, and cinnamon. Mix until the filling is silky smooth and everything is fully incorporated—the consistency should be thick but dreamy. Gently fold in the mini chocolate chips for those little bursts of chocolatey joy in every bite.
Step 3: Fill the Cups
When your shells or crust cups have cooled completely, it’s time for the most satisfying step: filling! Use a spoon or, if you want to feel extra fancy, pipe the creamy mixture into each shell so they’re generously heaped but not overflowing. Only fill the cups right before serving to keep them perfectly crisp.
Step 4: Garnish and Finish
Top each filled cup with a sprinkle of chopped pistachios (if you like) and a lovely dusting of powdered sugar. Not only do they look stunning, but these finishing touches add an extra layer of flavor and make your Mini Cannoli Cups utterly irresistible.
How to Serve Mini Cannoli Cups

Garnishes
Mini Cannoli Cups are a canvas for creativity! For a classic look, stick with a little dusting of powdered sugar and a scatter of green pistachios. Edible gold leaf or a zest of orange can add visual flair. Even a few extra mini chocolate chips on top can make them look (and taste) over-the-top decadent.
Side Dishes
Pair your Mini Cannoli Cups with a fruit platter—think fresh berries or sliced oranges—to cut the richness, or serve alongside a scoop of vanilla gelato for an Italian-inspired dessert plate. A strong espresso or after-dinner coffee also makes a wonderfully authentic companion.
Creative Ways to Present
Try arranging the Mini Cannoli Cups in a spiral pattern on a cake stand for dramatic impact, nestle them in mini cupcake liners for a festive touch, or create a DIY dessert bar where guests can add their own toppings like chocolate shavings or candied citrus peel. The options are endless, and each presentation feels special.
Make Ahead and Storage
Storing Leftovers
Unfilled shells and the cannoli filling can be stored separately. Keep the filling covered in the fridge for up to 2 days, and store the shells in an airtight container at room temperature to maintain their crispness. Once filled, enjoy your Mini Cannoli Cups within a few hours for the best crunch.
Freezing
The filling holds up quite well in the freezer—just store it in an airtight container for up to one month. Let it thaw overnight in the refrigerator, give it a good stir before using, and then fill your fresh shells just before serving. It’s best not to freeze assembled Mini Cannoli Cups, as the shells will become soggy.
Reheating
If you need to refresh your baked pie crust cups after storage, a 2–3 minute toast in a 350°F (175°C) oven will help crisp them back up. The filling, however, should remain chilled and should not be reheated since it’s dairy-based—simply give it a quick stir and pipe it into your cups for maximum freshness.
FAQs
Can I make Mini Cannoli Cups ahead of time?
Yes! You can prepare the filling up to a day in advance and keep it refrigerated. Keep the shells separate at room temperature, then fill just before serving—this way, every cup will be perfectly crisp and creamy.
What’s the best way to drain ricotta for the filling?
Place your ricotta in a fine-mesh strainer or cheesecloth over a bowl and let it drain in the fridge for several hours or overnight. This step prevents the filling from being too runny and ensures a thick, luscious texture.
Can I use other types of shells besides phyllo or pie crust?
Absolutely! Try wonton wrappers formed in mini muffin tins and baked until crispy, or even use crisp cookie cups for a sweet twist. The key is having a sturdy, crunchy base to balance the creamy filling.
Can I add other flavors to the filling?
You sure can! Feel free to stir in a dash of espresso powder, a few drops of orange extract or lemon zest, or even a handful of chopped candied fruit for a personalized spin on Mini Cannoli Cups.
What if I don’t have mascarpone cheese?
If mascarpone isn’t available, use extra drained ricotta or substitute with cream cheese (softened). The flavor will be slightly tangier, but still rich and delicious.
Final Thoughts
Mini Cannoli Cups might just be the ultimate bite-sized dessert to surprise and delight. They’re simple to make, easy to share, and complex enough in flavor to satisfy every cannoli craving. Make a batch and watch—no one can resist coming back for “just one more.” Give them a try, and let your friends and family taste a little piece of Italian joy at home!
PrintMini Cannoli Cups Recipe
Indulge in these delightful Mini Cannoli Cups, a bite-sized twist on the classic Italian dessert. Crisp pastry cups filled with a creamy blend of ricotta, mascarpone, and chocolate chips, these mini treats are perfect for any occasion.
- Prep Time: 15 minutes
- Cook Time: 12 minutes (if baking cups)
- Total Time: 27 minutes
- Yield: 15 mini cups 1x
- Category: Dessert
- Method: No-Bake or Baking
- Cuisine: Italian
- Diet: Vegetarian
Ingredients
For the Cups:
- 1 package (15 count) refrigerated mini phyllo shells or 1 refrigerated pie crust (homemade or store-bought)
For the Filling:
- 1 cup whole milk ricotta cheese (drained well)
- 1/2 cup mascarpone cheese (softened)
- 1/2 cup powdered sugar
- 1/2 teaspoon vanilla extract
- 1/4 teaspoon cinnamon
- 1/4 cup mini chocolate chips
- 2 tablespoons chopped pistachios (optional)
- powdered sugar for dusting
Instructions
- If using pie crust: Preheat oven to 375°F (190°C). Roll out the pie crust and use a round cutter to cut 2.5-inch circles. Press the circles into a greased mini muffin tin. Bake for 10–12 minutes or until golden brown. Let cool completely. Skip this step if using ready-to-serve mini phyllo shells.
- In a medium bowl, combine the drained ricotta, mascarpone, powdered sugar, vanilla, and cinnamon. Mix until smooth and creamy. Fold in the mini chocolate chips.
- Spoon or pipe the filling into the cooled shells just before serving. Garnish with a sprinkle of chopped pistachios and a light dusting of powdered sugar.
Notes
- Make the filling up to a day in advance, but fill the cups just before serving to keep them crisp.
- For a citrus twist, add a bit of orange zest to the filling.
Nutrition
- Serving Size: 1 mini cup
- Calories: 120
- Sugar: 7g
- Sodium: 55mg
- Fat: 7g
- Saturated Fat: 4g
- Unsaturated Fat: 2g
- Trans Fat: 0g
- Carbohydrates: 11g
- Fiber: 0g
- Protein: 3g
- Cholesterol: 15mg


