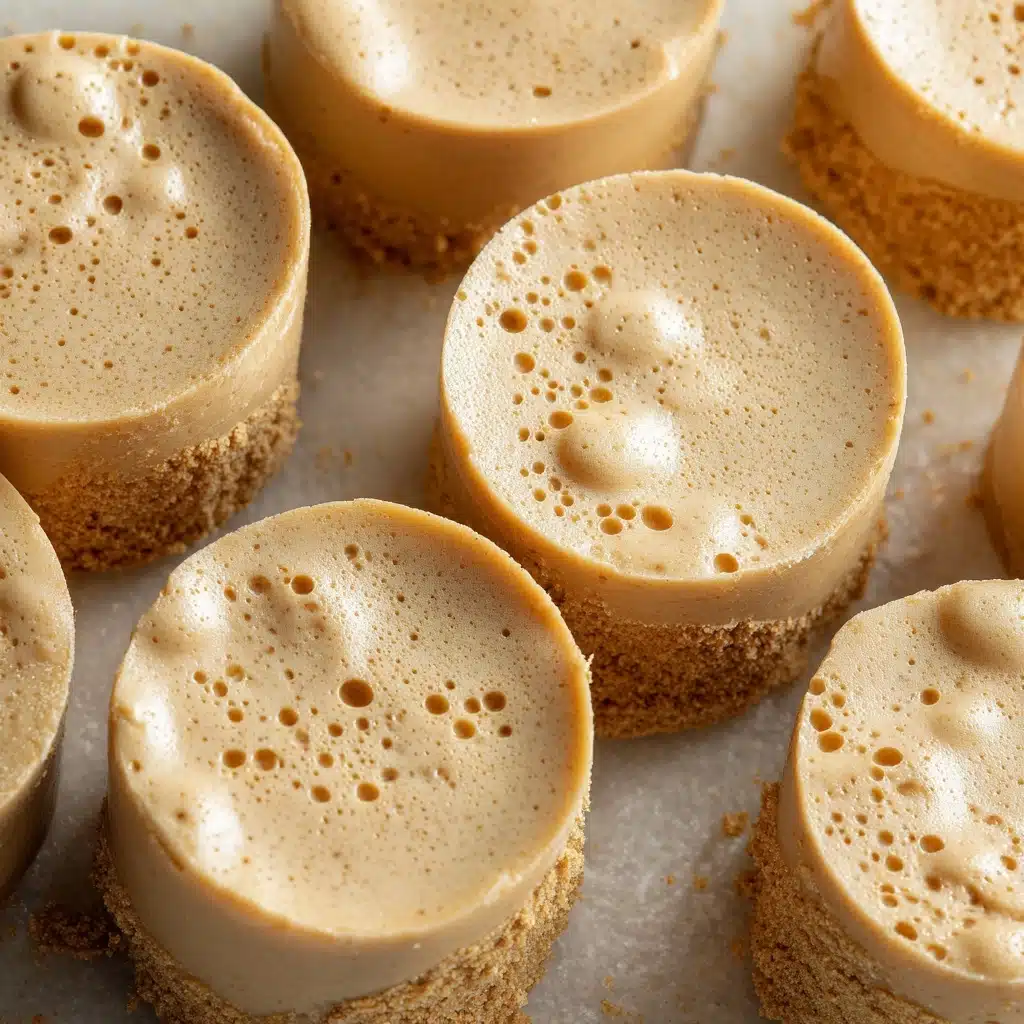
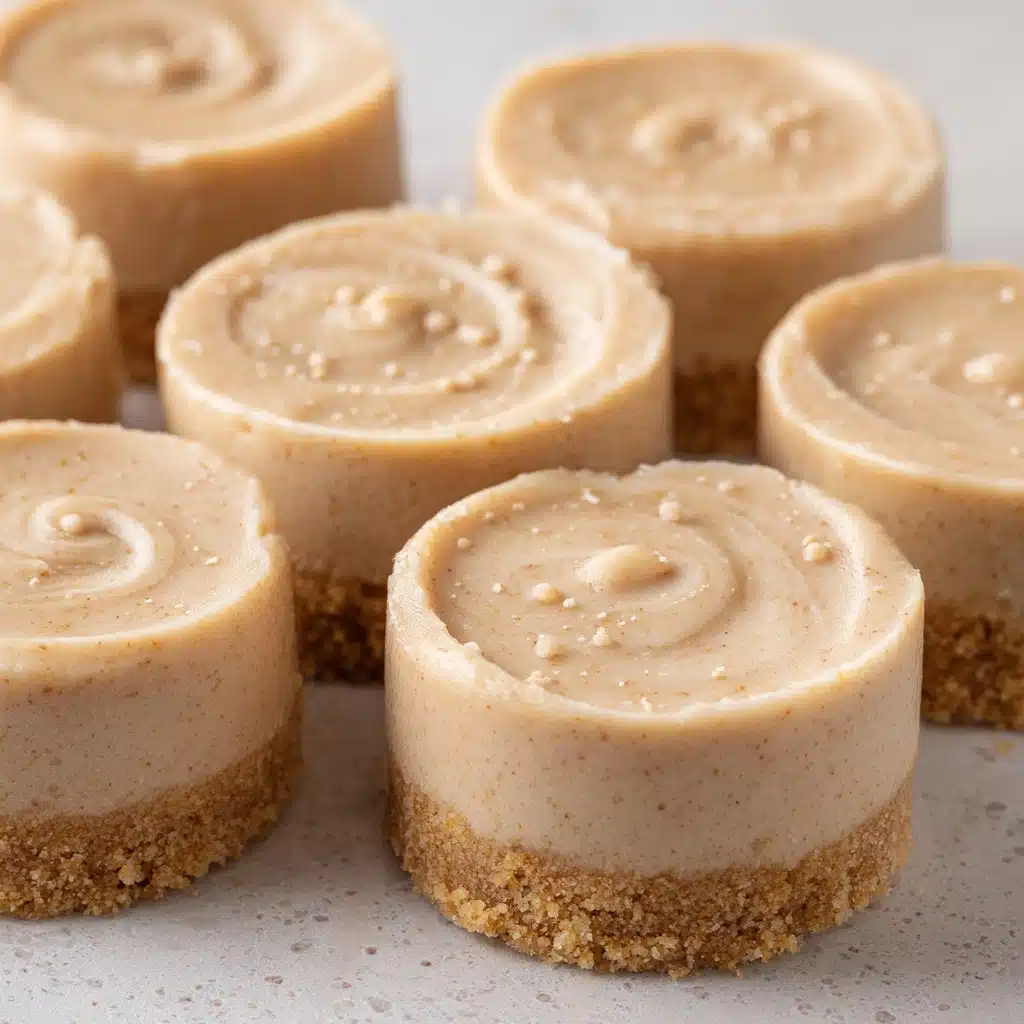
If you’ve ever desired a sweet treat that perfectly embodies autumn coziness, look no further than Maple Fudge. This creamy, melt-in-your-mouth confection is a little square of nostalgia and warmth, with the unmistakable flavor of pure maple syrup shining through every bite. It’s a classic that’s as delightful on a winter’s night as it is at a family celebration, and the best part? Making it at home is far easier than you might think, filling your kitchen with an irresistible aroma that’ll have everyone sneaking tastes before it’s even set!
Ingredients You’ll Need
Part of the charm of Maple Fudge is just how simple the ingredient list is. Each element plays a special role here: purity and quality go a long way, allowing those rich, caramelly notes to really sing.
- Pure maple syrup: The soul of the recipe! Make sure to use real maple syrup for that deep, authentic flavor—you’ll really taste the difference.
- Heavy cream: Adds luscious creaminess, helping create that signature soft, smooth fudge texture.
- Unsalted butter: Brings richness and helps the fudge set up properly while keeping the flavor balanced.
- Salt: Just a pinch sharpens and highlights all the sweet notes—you’ll notice if it’s missing!
- Vanilla extract: Added at the perfect moment, vanilla rounds out the maple and leaves a velvety, aromatic finish.
How to Make Maple Fudge
Step 1: Prepare Your Pan
Begin by lining an 8×8-inch pan with parchment paper, making sure to leave enough overhang on the edges to easily lift the finished fudge out later. This little bit of prep makes slicing and serving a total breeze!
Step 2: Combine and Heat
Grab a medium heavy-bottomed saucepan and pour in the pure maple syrup, heavy cream, butter, and salt. Give everything a good stir to combine. Set the pan over medium heat and keep stirring as everything melts together; you’ll notice the mixture turns glossy and smooth. The aroma at this stage is unreal!
Step 3: Cook to Perfection
Now, attach a candy thermometer to the side of your pan. Let the mixture come up to a steady boil, then keep cooking—stirring occasionally—until the temperature reaches 235°F, which is the classic “soft-ball” stage in candy making. This temperature is key for achieving that iconic Maple Fudge texture: creamy with a hint of chew.
Step 4: Cool and Wait
Immediately remove the saucepan from the heat. Don’t stir! Let the mixture cool undisturbed until it reaches 110°F, which usually takes 30 to 40 minutes. This brief pause is essential; it lets the fudge set up for the magical transformation in the next step.
Step 5: Beat Until Creamy
Add the vanilla extract right as the fudge hits 110°F. Then, using a sturdy wooden spoon or a hand mixer, beat the mixture vigorously. Within 5 to 10 minutes, you’ll notice the fudge thickening up, losing its glossy shine, and becoming beautifully creamy. This is when you have to act fast!
Step 6: Pour and Set
Immediately scrape the fudge into your prepared pan and smooth the top with a spatula. If you’re feeling a little fancy, sprinkle some toasted walnuts on top or stir them in at the last moment. Now comes the hardest part: leave the pan undisturbed at room temperature for about 2 hours, allowing the Maple Fudge to set completely. Once it’s firm, lift it out using the parchment, cut into small squares, and get ready for fudge bliss.
How to Serve Maple Fudge
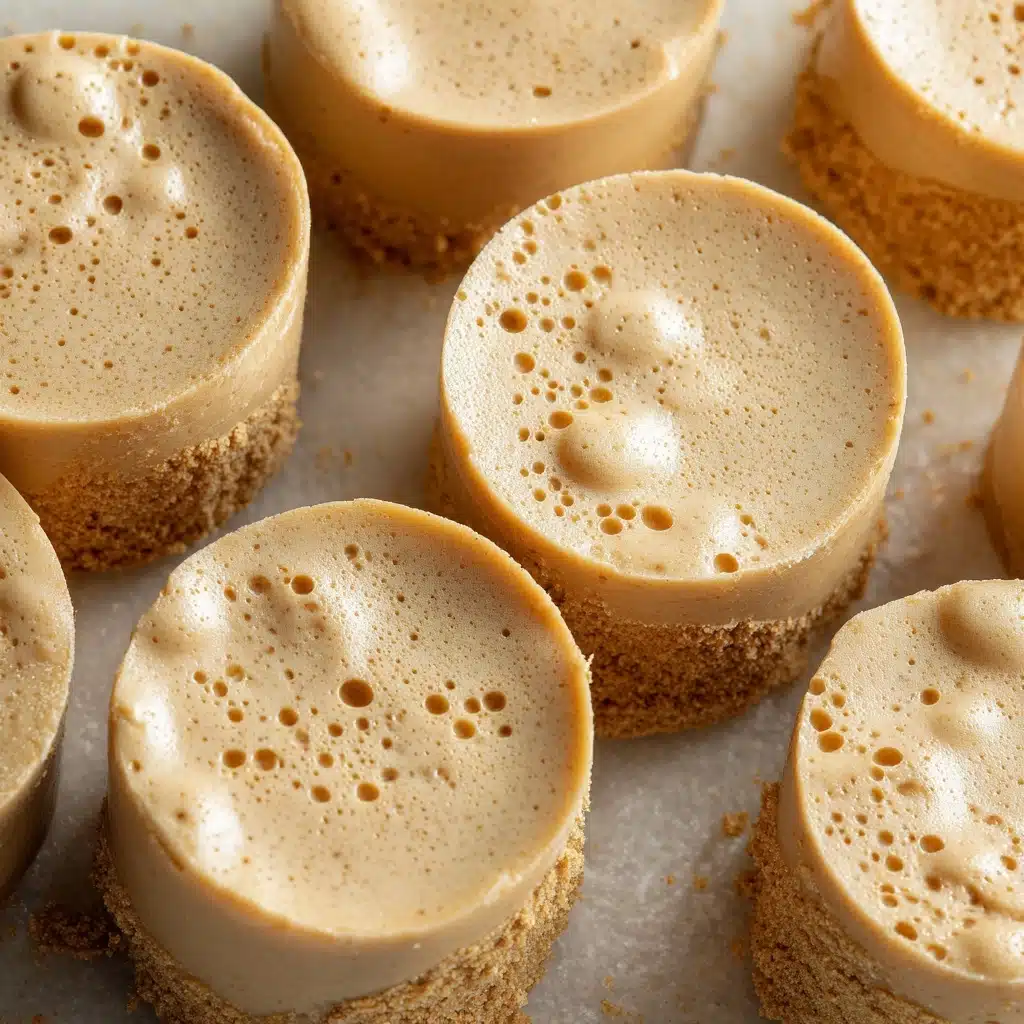
Garnishes
When it comes to serving Maple Fudge, a sprinkle of flaky sea salt or a dusting of powdered sugar can add an elegant touch. Toasted walnuts or pecans pressed lightly into the top before the fudge sets look lovely and add a satisfying crunch. For a holiday vibe, try a few edible gold flakes or festive sprinkles.
Side Dishes
Maple Fudge is deliciously rich, so it pairs beautifully with fresh fruit like crisp apple slices or tart berries to cut the sweetness. For a true indulgent treat, serve small squares alongside a hot cup of coffee or spiced chai—the creamy texture of the fudge is perfection with something warm and comforting to sip!
Creative Ways to Present
Presentation-wise, Maple Fudge shines in all sorts of settings. Package squares in cellophane bags tied with ribbon for the ideal homemade gift, pile them up on a pretty cake stand for a sweet centerpiece, or layer them in a decorative box for a sharing platter at parties. You can even use fudge cubes as a decadent topping for ice cream sundaes!
Make Ahead and Storage
Storing Leftovers
To keep your Maple Fudge at its best, store any leftovers in an airtight container at room temperature. It will stay soft and creamy for up to a week—if it lasts that long! Just be sure to keep it away from direct sunlight or heat sources, as this can cause the fudge to go soft or lose its texture.
Freezing
Yes, Maple Fudge freezes wonderfully! Once it has set, wrap pieces individually in wax paper or plastic wrap, then place them in a freezer-safe container. You can pull out a little treat whenever the craving strikes—just let it come to room temperature before serving for the best texture and flavor.
Reheating
Fudge is meant to be enjoyed at room temperature, so there’s no need to reheat it. If your Maple Fudge has been stored in the fridge or freezer, simply let it sit out on the counter for 30 to 60 minutes until it’s wonderfully soft and creamy again. Avoid microwaving, as it can melt and change the texture.
FAQs
Can I use pancake syrup instead of pure maple syrup?
For the real deal, you’ll want to use pure maple syrup. Pancake syrup is very different—it’s mostly corn syrup with artificial flavor and won’t deliver that deep, authentic maple taste or the right texture for fudge. It’s worth the splurge!
What do I do if my fudge doesn’t set?
If your Maple Fudge is too soft, it may not have been cooked to the correct temperature. Double-check your candy thermometer’s accuracy next time, and make sure to reach the soft-ball stage (235°F). In some cases, beating more vigorously or for a bit longer can also help improve the texture.
Can I add nuts or other mix-ins?
Absolutely! Chopped toasted walnuts are a fantastic addition, giving a lovely crunch that contrasts with the creamy base. Pecans work well, too. If you’re feeling adventurous, try a handful of dried cranberries or a swirl of dark chocolate—just add them before spreading the fudge into the pan.
Is this fudge gluten-free?
Yes, as long as you’re using pure ingredients, Maple Fudge is naturally gluten-free. Double-check product labels to be certain, especially for flavorings or add-ins.
How do I know when to stop beating the fudge?
Watch the color and texture closely as you stir—it should lose its gloss and become thick and creamy. Under-beaten fudge might not set properly, while over-beating can make it crumbly. It usually takes about 5 to 10 minutes, and the finished fudge should hold its shape when poured into the pan.
Final Thoughts
There’s a good reason Maple Fudge has been beloved for generations: it’s the ultimate comfort sweet, simple yet decadent, and guaranteed to win hearts. If you’ve never tried making it at home, I hope this guide inspires you to gather your ingredients and dive in—the results are truly magical, and your friends and family will thank you for every delicious bite!
PrintMaple Fudge Recipe
Indulge in the sweet maple flavor with this creamy and decadent maple fudge recipe. Made with pure maple syrup, heavy cream, and a touch of vanilla, this old-fashioned treat is perfect for satisfying your sweet tooth.
- Prep Time: 10 minutes
- Cook Time: 20 minutes
- Total Time: 2 hours 30 minutes
- Yield: 36 small squares 1x
- Category: Dessert
- Method: Stovetop
- Cuisine: Canadian, American
- Diet: Gluten-Free, Vegetarian
Ingredients
Main Ingredients:
- 2 cups pure maple syrup
- 1 cup heavy cream
- 1/4 cup unsalted butter
- 1/8 teaspoon salt
- 1 teaspoon vanilla extract
Instructions
- Prepare Pan: Line an 8×8-inch pan with parchment paper and set aside.
- Cook Maple Mixture: In a saucepan, combine maple syrup, heavy cream, butter, and salt. Bring to a boil, stirring constantly. Cook until 235°F.
- Cool Mixture: Let the mixture cool to 110°F. Add vanilla extract and beat vigorously until thick.
- Pour and Set: Pour into the pan, smooth the top, and let set at room temperature for 2 hours.
- Serve: Cut into squares and enjoy!
Notes
- Use only pure maple syrup for best flavor—do not substitute pancake syrup.
- To add texture, stir in 1/2 cup chopped toasted walnuts before spreading in the pan.
- Store in an airtight container at room temperature for up to 1 week.
Nutrition
- Serving Size: 1 piece
- Calories: 90
- Sugar: 12g
- Sodium: 10mg
- Fat: 4g
- Saturated Fat: 2g
- Unsaturated Fat: 2g
- Trans Fat: 0g
- Carbohydrates: 14g
- Fiber: 0g
- Protein: 0g
- Cholesterol: 10mg

