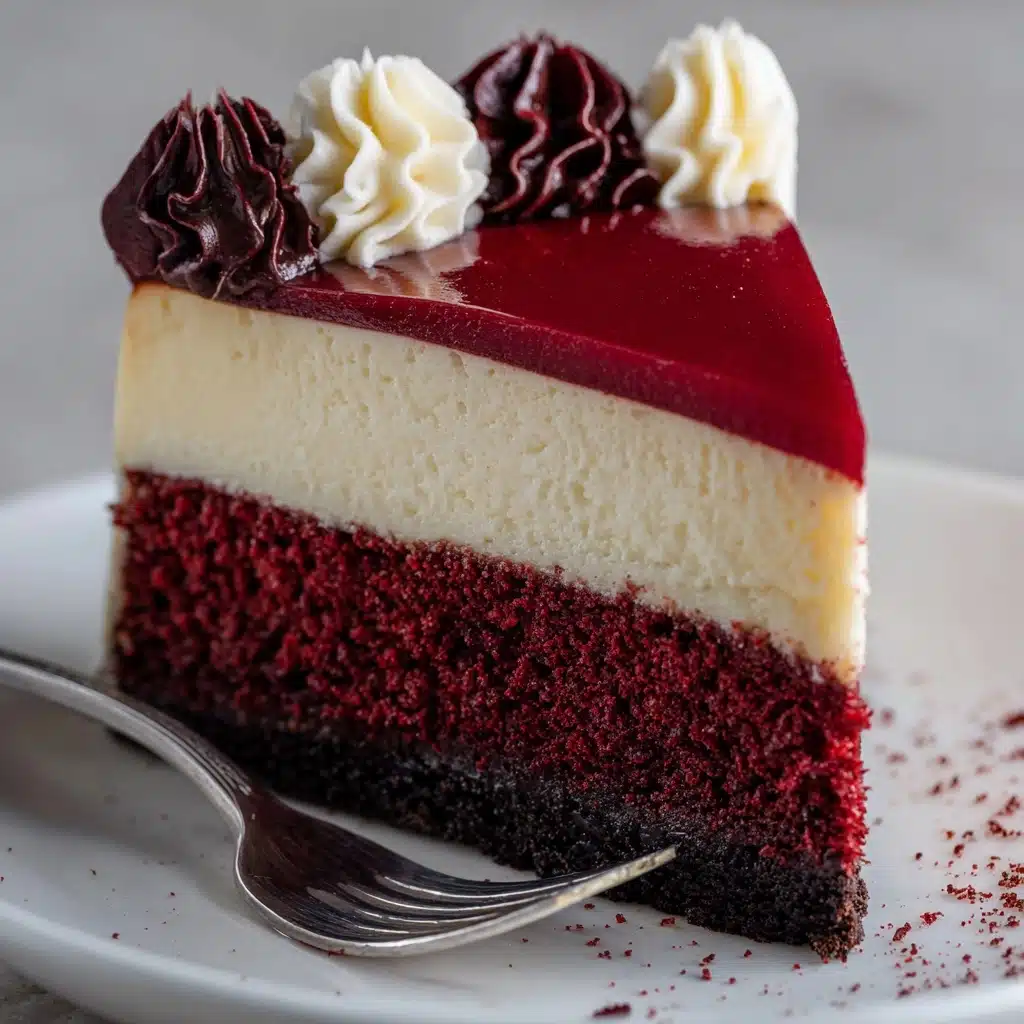
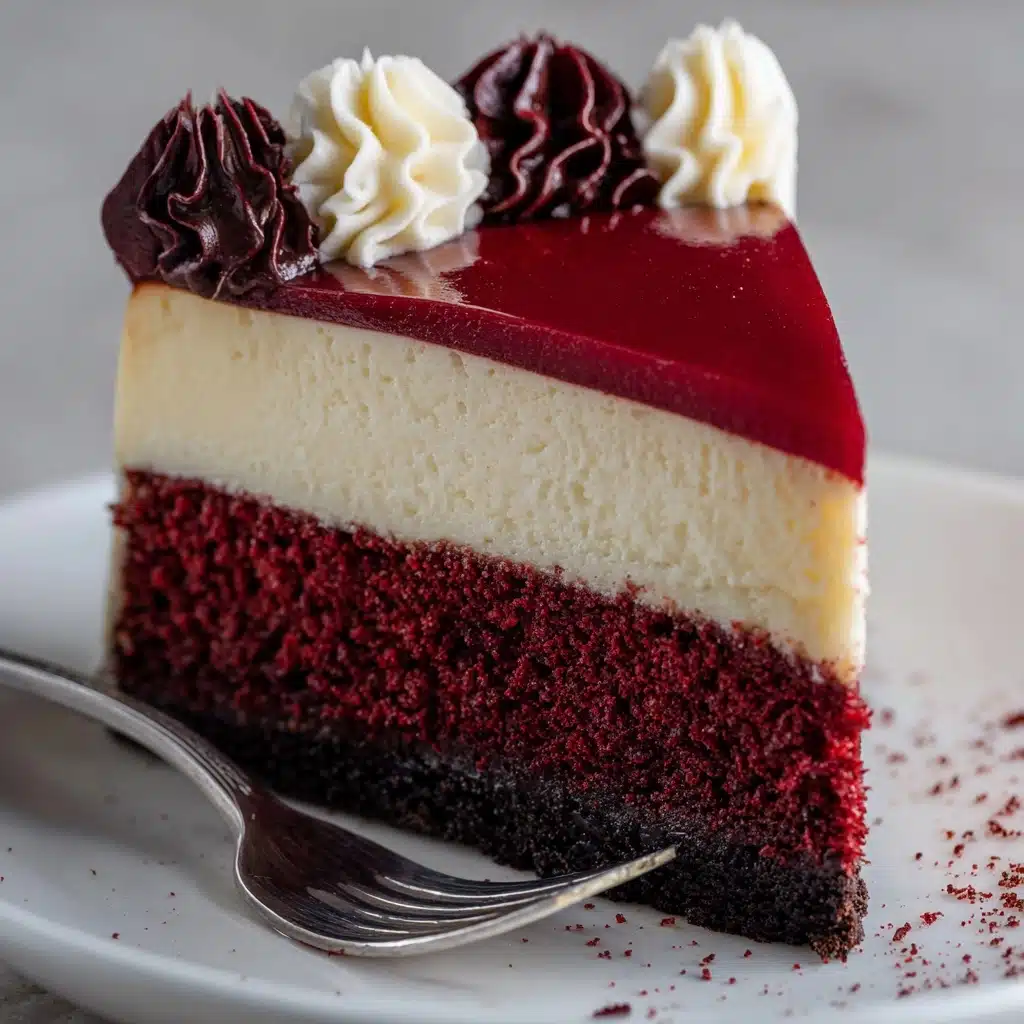
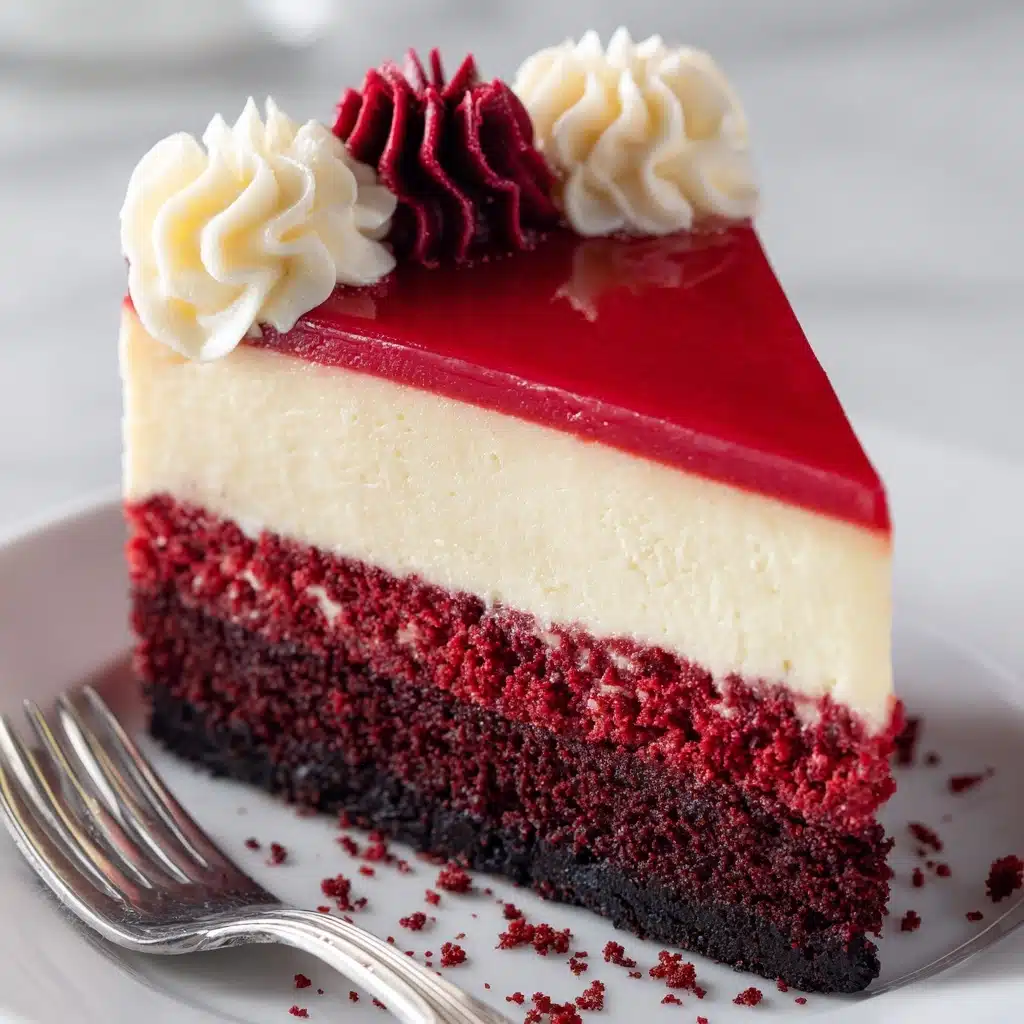
If you’ve ever wished you could blend the rich, cocoa-infused flavor of red velvet cake with the creamy decadence of classic cheesecake, this Homemade Red Velvet Cheesecake is truly a dessert dream come true. Dive into a slice and you’ll find a perfect marriage: a crisp chocolate cookie crust, a luxuriously smooth cheesecake with that signature red hue, and a topping that’s as eye-catching as it is delicious. No complicated steps—just pure comfort, vibrant color, and an irresistibly velvety finish every time.
Ingredients You’ll Need
The magic of Homemade Red Velvet Cheesecake lies in using straightforward ingredients, each playing an essential role in creating the ultimate festive and creamy dessert. From deep cocoa notes to tangy cream cheese and a striking pop of color, every component brings something special to the table.
- Chocolate cookie crumbs: Provides a deep, chocolatey base that enhances the red velvet flavor and gives a lovely contrast in texture.
- Melted butter: Holds the crust together and adds richness to every bite.
- Cream cheese (softened): The star of the cheesecake, creating that signature creamy, melt-in-your-mouth texture.
- Granulated sugar: Balances the tanginess of the cream cheese with just the right amount of sweetness.
- Unsweetened cocoa powder: Adds the subtle cocoa flavor that defines red velvet desserts without overpowering.
- Sour cream: Brings out a light, tangy flavor and ensures a luxuriously smooth cheesecake body.
- Large eggs: Bind all the ingredients together for a luscious, cohesive filling.
- Vanilla extract: Enhances and deepens the overall flavor profile, rounding it out beautifully.
- White vinegar: Just a splash brightens up the color and supports the authentic red velvet tang.
- Red food coloring: Provides that unmistakable, vibrant red that makes this cheesecake a true showstopper—use gel for the most vivid effect!
- Heavy cream (optional): Whips up into cloudlike peaks for an extra-special, creamy topping.
- Powdered sugar (optional): Sweetens the whipped cream without any graininess, making the topping extra smooth.
- White chocolate curls or red velvet cake crumbs (optional): Garnish that adds an irresistible visual and textural finishing touch.
How to Make Homemade Red Velvet Cheesecake
Step 1: Prepare the Chocolate Crust
Start by firing up your oven to 325°F (160°C) and giving your 9-inch springform pan a generous greasing. For leak-proof peace of mind, wrap the outside in foil. Mix together the chocolate cookie crumbs and melted butter until every crumb is glistening and evenly coated. Press the mixture firmly into the bottom of your pan, aiming for an even layer with no gaps. Set aside—your crust is ready for its luscious filling.
Step 2: Make the Red Velvet Cheesecake Batter
In a large mixing bowl, beat those softened blocks of cream cheese until absolutely smooth—think creamy clouds! Sprinkle in the sugar and cocoa powder and continue mixing until there are no lumps and everything is incorporated. Add the eggs one at a time, mixing just until each is blended to avoid overmixing. Fold in the sour cream, vanilla extract, white vinegar, and that beautiful red food coloring. Stir until the batter is a vibrant, uniform red and silky smooth.
Step 3: Assemble and Water Bath
Pour your velvety batter over the crust, smoothing the top with a spatula for a picture-perfect finish. Carefully place the springform pan into a larger roasting pan. Fill the outer pan with hot water until it reaches about halfway up the sides of your cheesecake pan—this gentle water bath helps prevent cracks and ensures an even, creamy bake.
Step 4: Bake and Cool
Slide the setup into your oven and bake for 55 to 65 minutes. The cheesecake should be set at the edges and slightly jiggly in the center. Crucially, for that ultra-creamy texture, turn off the oven when it’s done, crack the door, and let the cheesecake slowly cool in place for another hour. This step helps eliminate cracks and locks in that luscious texture.
Step 5: Chill and Add Toppings
Remove the cheesecake from the water bath and cool to room temperature before transferring it to the fridge for at least 4 hours—overnight if you can wait! When ready to serve, whip the heavy cream with powdered sugar until barely stiff peaks form, then swirl or pipe it onto your cake. A scattering of white chocolate curls or red velvet cake crumbs ups both the wow-factor and the flavor.
How to Serve Homemade Red Velvet Cheesecake

Garnishes
Whether you prefer a mountain of piped whipped cream or delicate ribbons, the topping options for Homemade Red Velvet Cheesecake are endless! Try an artistic sprinkle of white chocolate curls, a smattering of red velvet cake crumbs, or even a handful of fresh berries for a pop of color and a touch of tartness. Don’t forget: warming your knife before slicing makes every piece picture-perfect.
Side Dishes
This cheesecake is rich, so light accompaniments work best! A bowl of fresh strawberries brings brightness, while a drizzle of raspberry coulis offers a fruity note that plays beautifully with the cocoa. For truly decadent occasions, add a side of chocolate-dipped strawberries or a scoop of vanilla bean ice cream.
Creative Ways to Present
Transform your Homemade Red Velvet Cheesecake into a centerpiece by stacking thin slices in a trifle with layers of whipped cream and berries, serving mini slices in cupcake wrappers for individual treats, or nestling cubes of cheesecake onto skewers with fruit for a playful dessert platter. However you serve it, you’ll have a guaranteed crowd-pleaser.
Make Ahead and Storage
Storing Leftovers
Simply cover your Homemade Red Velvet Cheesecake with plastic wrap or transfer slices to an airtight container. It will stay fresh and creamy in your refrigerator for up to 5 days. If you’ve garnished with whipped cream, try to keep that separate until serving to maintain the best texture.
Freezing
To freeze, wrap undecorated cheesecake tightly in plastic and a layer of foil, and store it for up to three months. Thaw overnight in the fridge, then add fresh whipped cream or garnishes just before serving. Freezing individual slices makes it even easier to enjoy a homemade treat on a whim!
Reheating
While you won’t want to heat up the whole Homemade Red Velvet Cheesecake, letting refrigerated or thawed slices come to room temperature for 20-30 minutes enhances their creamy texture and vibrant flavor. For the perfect bite, avoid microwaving—just a little patience brings the cake back to its dreamy state.
FAQs
What type Dessert
Gel food coloring is highly recommended for Homemade Red Velvet Cheesecake—it gives you a deeper, more vibrant red without altering the cheesecake’s texture. Liquid coloring works in a pinch, but you might need a bit more for an equally striking look.
Can I make Homemade Red Velvet Cheesecake without a water bath?
While a water bath is key to preventing cracks and guaranteeing a luxuriously creamy texture, you can bake the cheesecake without one in a pinch. If you skip the water bath, consider placing a pan of hot water on the rack below—this still adds steam to the oven, helping to create a gentler baking environment.
How do I get a perfectly smooth, crack-free top?
Bring your cream cheese to room temperature before mixing to avoid lumps, don’t overmix your batter, and use a gentle water bath for even heat. Cooling the cheesecake slowly in the oven and then refrigerating overnight ensures the top stays smooth and flawless.
Is it possible to make this cheesecake gluten-free?
Absolutely! Just swap out the chocolate cookie crumbs for a gluten-free chocolate cookie option. The rest of the ingredients in Homemade Red Velvet Cheesecake are naturally gluten-free, making it easy to adapt for gluten-sensitive dessert lovers.
Can I half the recipe for a smaller cheesecake?
Yes, you can halve all the ingredients and use a 6-inch springform pan instead. The baking time will be shorter—start checking at around 35-40 minutes. You’ll still get all the gorgeous flavor and color in a more petite package.
Final Thoughts
If you’re looking to dazzle your friends or simply want to treat yourself to pure dessert bliss, do yourself a favor and try this Homemade Red Velvet Cheesecake. Every bite is a celebration—deeply creamy, slightly tangy, and with that unmistakable red velvet charm. You’ll find it quickly becomes a go-to for holidays, birthdays, and anytime you crave something truly special.
PrintHomemade Red Velvet Cheesecake Recipe
Indulge in the rich and decadent flavors of this homemade Red Velvet Cheesecake. With a chocolate cookie crust and a creamy red velvet filling, this dessert is perfect for special occasions or any time you’re craving something sweet and luxurious.
- Prep Time: 30 minutes
- Cook Time: 1 hour
- Total Time: 6 hours (includes cooling and chilling)
- Yield: 12 servings 1x
- Category: Dessert
- Method: Baking
- Cuisine: American
- Diet: Vegetarian
Ingredients
For the crust:
- 1 1/2 cups chocolate cookie crumbs (like Oreos without filling)
- 1/4 cup melted butter
For the red velvet cheesecake:
- 3 (8 oz) packages cream cheese (softened)
- 1 cup granulated sugar
- 1 tablespoon unsweetened cocoa powder
- 1 cup sour cream
- 3 large eggs
- 1 teaspoon vanilla extract
- 1 teaspoon white vinegar
- 1 tablespoon red food coloring
For the topping (optional):
- 1 cup heavy cream
- 2 tablespoons powdered sugar
- white chocolate curls or red velvet cake crumbs for garnish
Instructions
- Preheat the oven and prepare the pan: Preheat the oven to 325°F (160°C) and grease a 9-inch springform pan, wrapping the outside in foil.
- Make the crust: Mix chocolate cookie crumbs with melted butter, press into the pan, and set aside.
- Prepare the cheesecake batter: Beat cream cheese until smooth, add sugar, cocoa powder, eggs, sour cream, vanilla, vinegar, and red food coloring. Pour over crust.
- Bake the cheesecake: Place the pan in a water bath, bake for 55–65 minutes, cool in the oven, then chill for at least 4 hours.
- Make the topping: Whip heavy cream with powdered sugar, spread on top of the cheesecake, and garnish before serving.
Notes
- Use gel food coloring for a deeper red hue.
- For clean slices, warm your knife and wipe between cuts.
Nutrition
- Serving Size: 1 slice
- Calories: 430
- Sugar: 28g
- Sodium: 280mg
- Fat: 30g
- Saturated Fat: 18g
- Unsaturated Fat: 10g
- Trans Fat: 0g
- Carbohydrates: 32g
- Fiber: 1g
- Protein: 6g
- Cholesterol: 115mg


