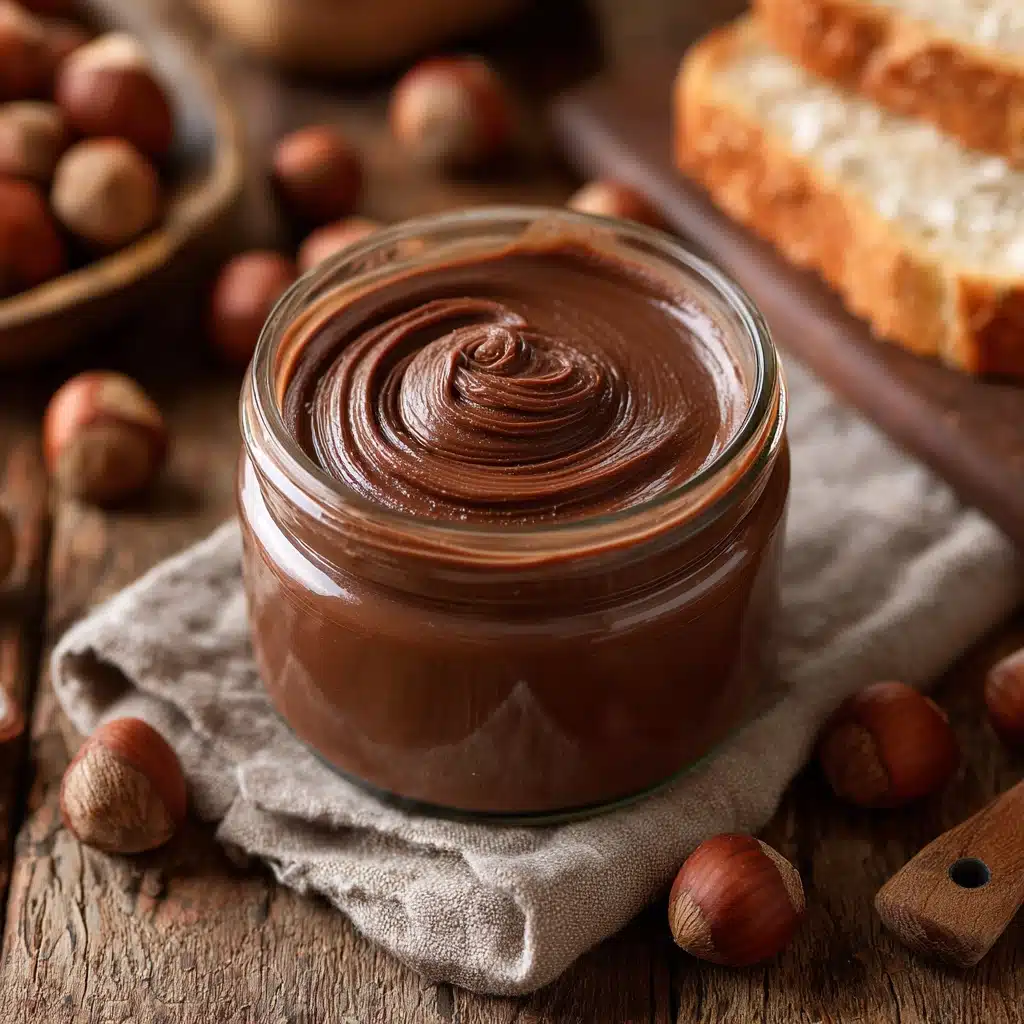
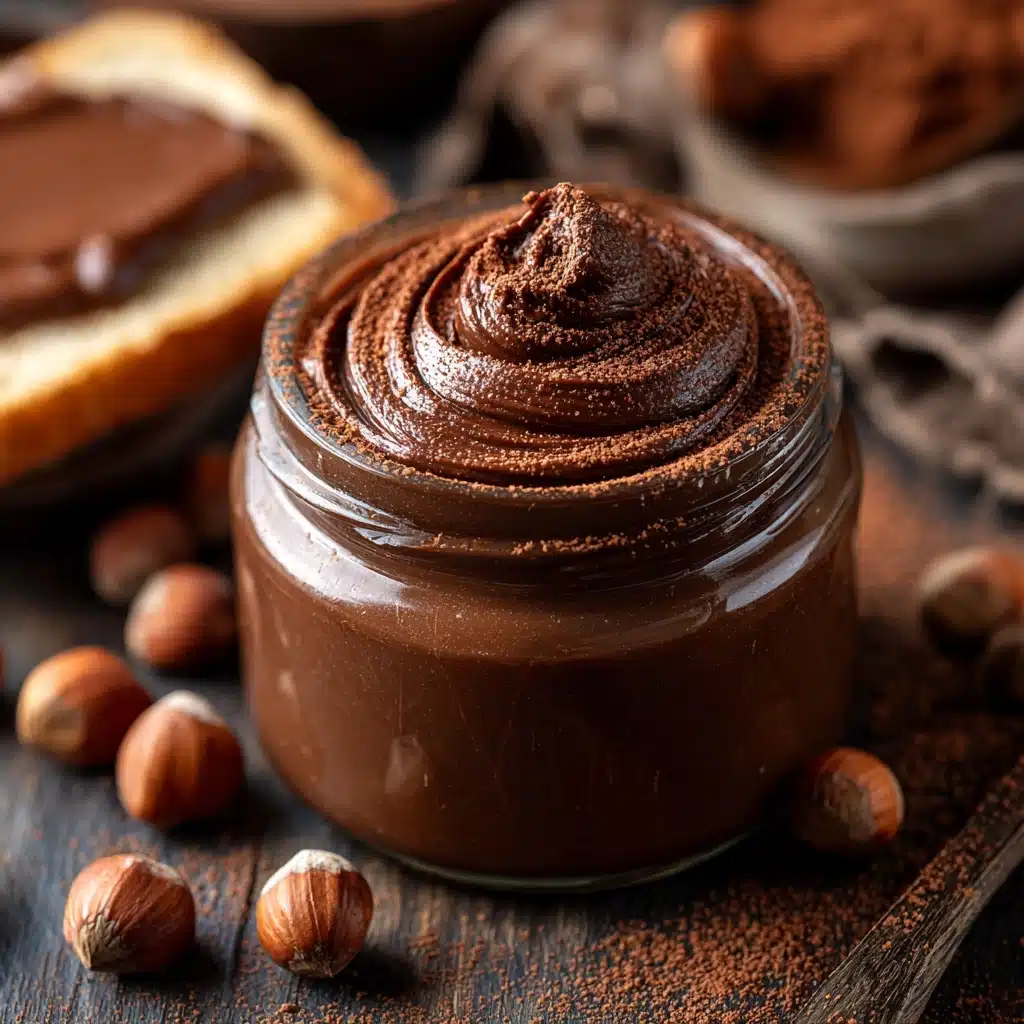
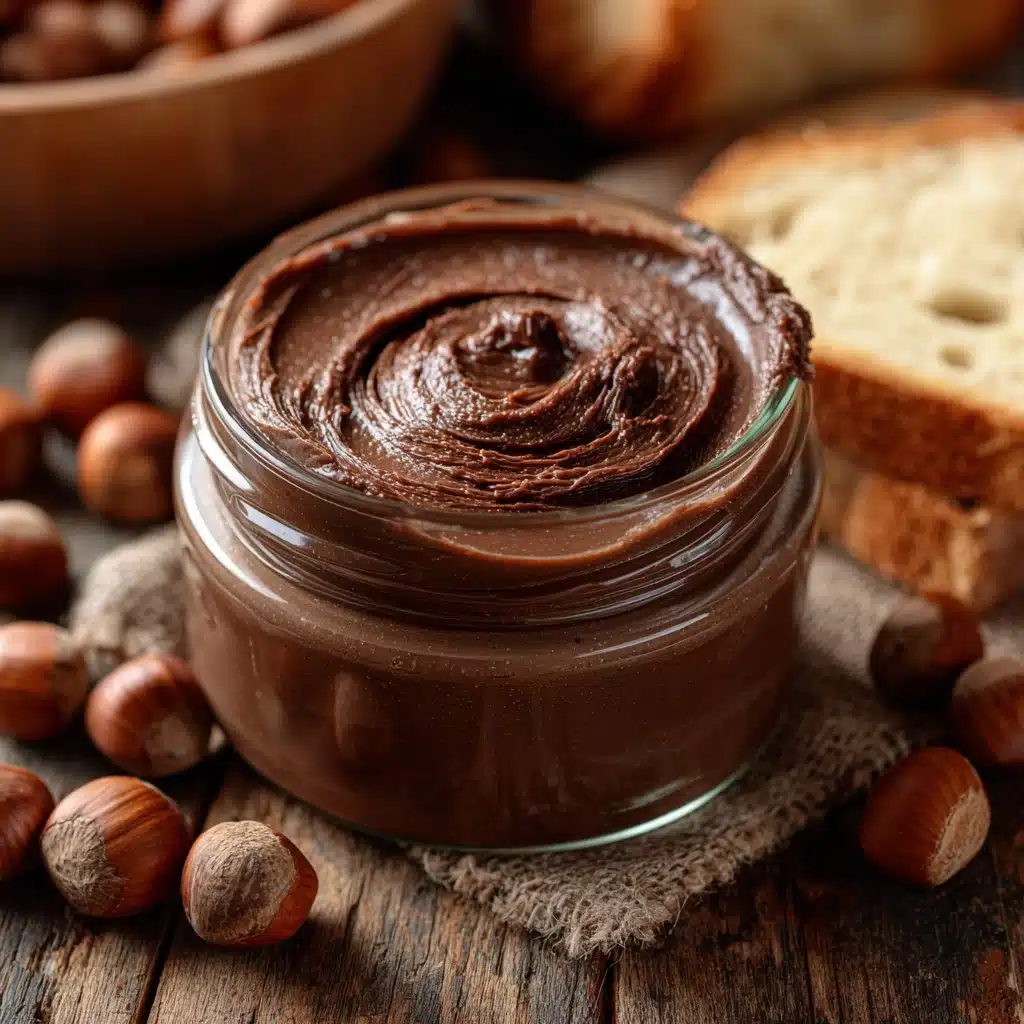
There’s something magical about making Homemade Nutella from scratch—watching those humble hazelnuts turn into a creamy, chocolatey spread that’s just as dreamy (if not more so) than the store-bought version. What truly sets this recipe apart is how you can dial in the flavor and texture exactly as you like, creating the perfect chocolate hazelnut spread for toast, fruit, desserts, or simply enjoying by the spoonful. Ready to fall in love with your own jar of Homemade Nutella? Let’s get started!
Ingredients You’ll Need
You only need a handful of ingredients to achieve that classic taste and velvety texture of Homemade Nutella. Each component brings something special—whether it’s richness, sweetness, or that iconic smooth finish.
- Raw hazelnuts (2 cups): These are the star of the show, providing a deeply toasted, nutty flavor and the creamy base for the spread.
- Powdered sugar (1/2 cup): For delicate sweetness and that ultra-smooth feel—powdered sugar dissolves beautifully compared to granulated.
- Unsweetened cocoa powder (1/4 cup): Gives the spread its irresistible chocolate depth and signature color.
- Salt (1/4 teaspoon): Just a touch makes the chocolate and hazelnut flavors leap off your spoon.
- Vanilla extract (1 teaspoon): Enhances the chocolate notes and rounds out the flavors with subtle warmth.
- Neutral oil (2–3 tablespoons, such as sunflower or canola): Adds shine and a luscious, spreadable texture without overpowering the hazelnut taste.
- Milk (2–3 tablespoons, optional): Want extra creaminess? Swirl in a little milk at the end—it’s also a great trick for a silkier finish.
How to Make Homemade Nutella
Step 1: Roast the Hazelnuts
Preheat your oven to 350°F (175°C). Spread the raw hazelnuts in a single layer on a baking sheet. Roast them for 10 to 12 minutes, shaking the pan halfway through, until they’re fragrant and the skins are cracking. This deepens the nutty flavor and makes peeling a breeze.
Step 2: Remove the Skins
While the hazelnuts are still warm, tip them onto a clean kitchen towel. Gather up the corners and rub the hazelnuts together inside the towel—most of the skins will slip right off. Don’t worry about stubborn bits; a little skin left behind is perfectly fine and adds rustic charm.
Step 3: Blend into Nut Butter
Once cool enough to handle, place the peeled hazelnuts into a food processor. Blend for 3 to 5 minutes, scraping down the sides as needed. Watch as they transform from chopped nuts to gritty paste to a smooth, glossy nut butter—the longer you blend, the silkier it gets!
Step 4: Add Chocolate & Sweetness
Pour in the powdered sugar, cocoa powder, salt, vanilla extract, and neutral oil. Blend again until the Homemade Nutella becomes luxurious and spreadable. If you’re craving a softer consistency, blend in the milk one tablespoon at a time until you reach that dreamy texture.
Step 5: Store Your Spread
Spoon the finished Homemade Nutella into a clean jar or airtight container. Let it cool to room temperature before sealing. It’s ready to elevate your breakfast, snack, or dessert game!
How to Serve Homemade Nutella

Garnishes
A sprinkle of chopped hazelnuts, cacao nibs, or even a pinch more flaky sea salt on top of the jar or spoonful adds crunch and a little “wow” factor. For special occasions, a drizzle of melted chocolate across the surface makes your Homemade Nutella look like it came from an artisan shop.
Side Dishes
This luscious spread isn’t just for toast! It’s a star alongside fresh strawberries, banana slices, or apple wedges. Try pairing with pancakes, crepes, or warm waffles at brunch for a decadent twist. Even a bowl of vanilla ice cream becomes an occasion with a dollop or swirl of Homemade Nutella.
Creative Ways to Present
Fill small jars with ribbon as edible gifts, or serve Homemade Nutella in a rustic bowl for dipping fruit, pretzels, and biscotti at your next gathering. For a fun dessert, layer it in mini parfait glasses with Greek yogurt and granola or use it to sandwich crisp wafer cookies. Let your imagination run wild!
Make Ahead and Storage
Storing Leftovers
Keep your Homemade Nutella in a clean, airtight jar at room temperature for up to 2 weeks, or in the fridge for even longer freshness. If the surface thickens, simply stir and let it warm up a touch before spreading.
Freezing
Homemade Nutella actually freezes beautifully! Spoon it into a freezer-safe container, leaving a bit of room for expansion. Freeze for up to 2 months, and thaw overnight in the fridge when you’re ready for more chocolate hazelnut bliss.
Reheating
If your spread firms up in the fridge, let it soften at room temperature for about 20 minutes. For a quick fix, microwave in a microwave-safe bowl in very short bursts (5 to 10 seconds), stirring well after each go to avoid overheating.
FAQs
Can I use roasted hazelnuts instead of raw?
Absolutely! If you’re short on time, feel free to buy pre-roasted, skinned hazelnuts. You’ll still get all the delicious, toasty flavor with even less prep work.
Is there a dairy-free or vegan option?
Yes! Simply skip the milk or use your favorite plant-based milk. Everything else in the base recipe is naturally dairy-free, making Homemade Nutella an easy vegan treat.
How can I make the spread even richer?
For an extra decadent batch, melt 2 tablespoons of dark chocolate and blend it in with the cocoa powder. This gives your Homemade Nutella even deeper chocolate flavor and a touch of glossy sheen.
Why isn’t my Homemade Nutella smooth?
Patience is key! Blend the hazelnuts long enough to fully break them down. Scrape the sides often and don’t be afraid to blend for a few extra minutes—the oils will release, turning gritty nut butter into silky-smooth spread.
How do I avoid a runny or too-thick consistency?
If your spread seems runny, try chilling it to firm up. If it’s too thick, blend in a splash more oil or milk until you reach your perfect texture. The beauty of Homemade Nutella is its customizability!
Final Thoughts
If you’ve never tried making Homemade Nutella before, you’re in for a treat. There’s something so satisfying about knowing exactly what’s in your favorite chocolate hazelnut spread—and being able to tweak it to suit your own cravings. Grab those hazelnuts and dive in; your taste buds will thank you!
PrintHomemade Nutella Recipe
Learn how to make delicious homemade Nutella with this easy recipe. This chocolate hazelnut spread is perfect for spreading on toast, using in baking, or just enjoying by the spoonful.
- Prep Time: 15 minutes
- Cook Time: 10 minutes
- Total Time: 25 minutes
- Yield: 1 1/2 cups 1x
- Category: Condiment
- Method: Blending
- Cuisine: Italian
- Diet: Vegetarian, Gluten-Free
Ingredients
Hazelnut Butter:
- 2 cups raw hazelnuts
Chocolate Mixture:
- 1/2 cup powdered sugar
- 1/4 cup unsweetened cocoa powder
- 1/4 teaspoon salt
- 1 teaspoon vanilla extract
- 2–3 tablespoons neutral oil (such as sunflower or canola)
- 2–3 tablespoons milk (optional, for creamier texture)
Instructions
- Roast Hazelnuts: Preheat oven to 350°F. Roast hazelnuts on a baking sheet for 10–12 minutes until fragrant. Remove, let cool slightly, and rub off skins.
- Make Hazelnut Butter: Blend peeled hazelnuts in a food processor until smooth. Add sugar, cocoa, salt, vanilla, and oil. Blend until smooth. Add milk if desired for a thinner consistency.
- Store: Transfer Nutella to a jar and store at room temperature for up to 2 weeks or in the fridge for longer shelf life.
Notes
- For a richer flavor, add melted dark chocolate.
- Use roasted, skinned hazelnuts for convenience.
- Allow Nutella to come to room temperature if stored in the fridge before spreading.
Nutrition
- Serving Size: 2 tablespoons
- Calories: 190
- Sugar: 10g
- Sodium: 40mg
- Fat: 14g
- Saturated Fat: 2g
- Unsaturated Fat: 11g
- Trans Fat: 0g
- Carbohydrates: 15g
- Fiber: 2g
- Protein: 3g
- Cholesterol: 0mg


