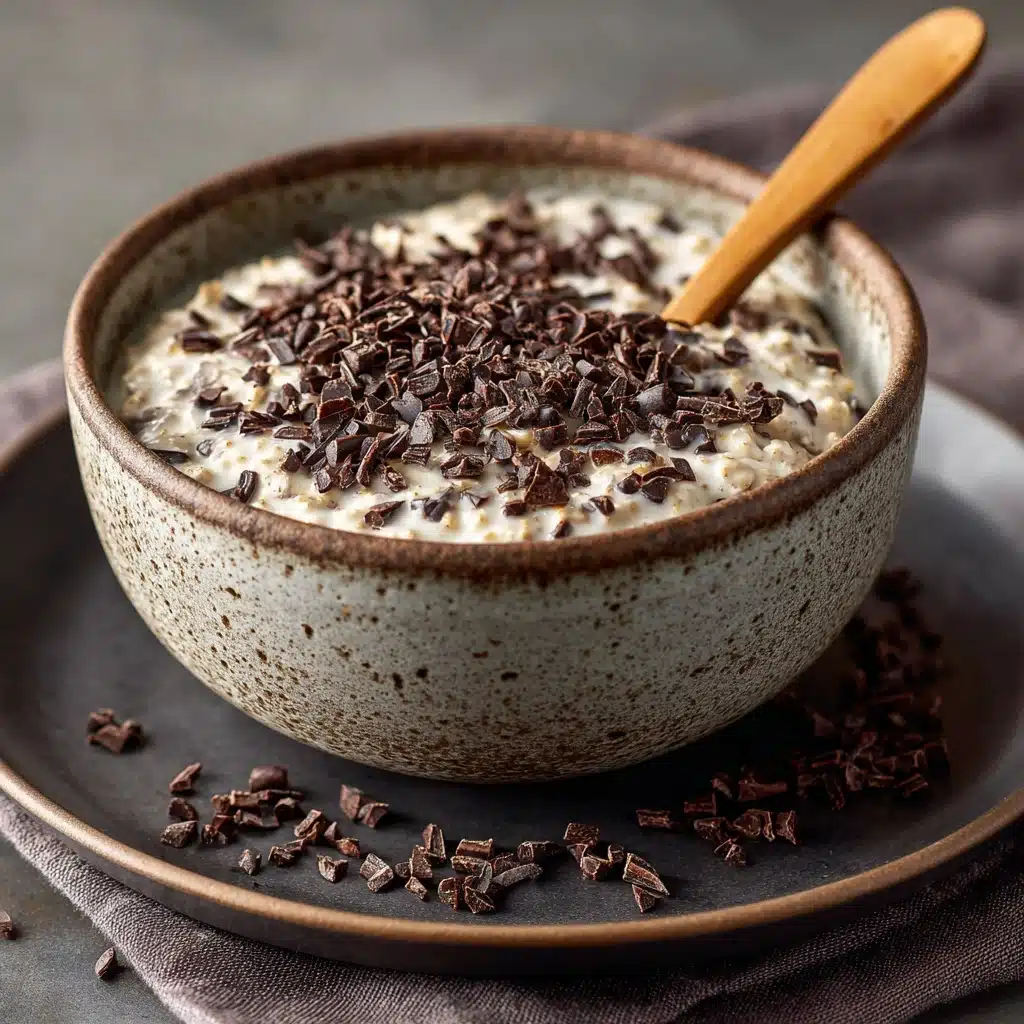
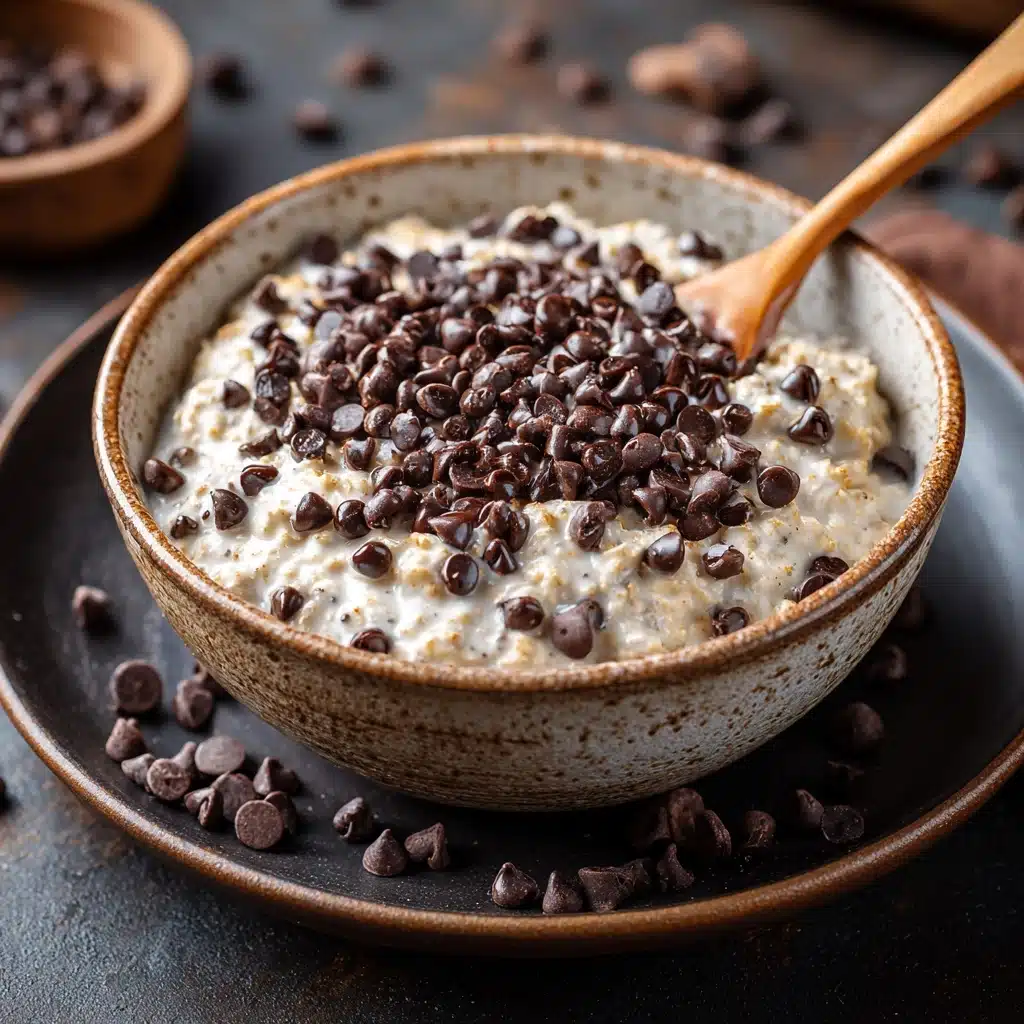
Imagine waking up to the crunch of rich, chocolatey clusters that you crafted in your own kitchen—welcome to the magic of Homemade Chocolate Cereal! This irresistible breakfast treat brings together the wholesome heartiness of oats, the decadent flavor of cocoa, and just the right touch of sweetness. It’s a true labor of love that takes only minutes to prepare but rewards you with days’ worth of healthy, satisfying mornings. If you’ve ever wished you could bottle childhood nostalgia and chocolate cravings into one delightful bowl, this is your answer.
Ingredients You’ll Need
With just a handful of pantry staples, you can whip up a batch of Homemade Chocolate Cereal that’ll outshine anything from a box. Each ingredient serves a special role—don’t underestimate how they come together for unbeatable taste and crunch!
- Rolled oats: The hearty base of the cereal, ensuring every bite has a satisfying chew and delivers lasting energy.
- Unsweetened cocoa powder: For deep, authentic chocolate flavor without overwhelming sweetness; choose a high-quality variety for best results.
- Honey or maple syrup: This natural sweetener brings just enough sweetness and helps the cereal clusters crisp up beautifully in the oven.
- Coconut oil (melted): The key to that irresistible crunch; coconut oil also infuses a subtle, tropical note that pairs so well with chocolate.
- Vanilla extract: Adds warmth and depth, rounding out the chocolate flavor for a smooth, well-balanced cereal.
- Salt: Just a touch brings out the flavors and keeps the cereal from tasting flat or too sweet.
- Chopped nuts (optional): For extra crunch, nutrition, and a satisfying bite; feel free to swap in your favorites or skip for nut-free cereal.
- Mini chocolate chips (optional): Stir these in after baking for bursts of melty chocolate throughout the clusters.
How to Make Homemade Chocolate Cereal
Step 1: Prep the Baking Sheet and Oven
Begin by preheating your oven to 325°F (165°C). Line a baking sheet with parchment paper—this not only ensures easy cleanup but also prevents sticking, so all those delicious clusters lift easily once baked.
Step 2: Combine the Dry Ingredients
Grab a large mixing bowl and stir together the rolled oats, unsweetened cocoa powder, and salt. Mixing these first helps the cocoa powder distribute evenly, giving every bite that rich chocolate flavor you crave.
Step 3: Mix the Wet Ingredients
In a separate bowl, whisk together the honey or maple syrup, melted coconut oil, and vanilla extract. This blend is your glue, binding the oats and cocoa together, ensuring luscious clusters form and bake up golden and crisp.
Step 4: Marry the Mixtures
Pour the wet ingredients over the dry, then stir patiently—make sure every oat is coated in the chocolatey magic. This step is satisfying and oh-so-fragrant, so take your time to get every flake covered.
Step 5: Spread and Bake
Spread the coated mixture evenly across your prepared baking sheet. Aim for an even layer so everything crisps up nicely. Pop the tray into your preheated oven and bake for 15 minutes.
Step 6: Stir for Crunchy Clusters
After the first 15 minutes, give the cereal a gentle stir to break up clumps and ensure even baking. Return the tray to the oven for another 10-15 minutes. Keep an eye on it near the end—golden and crisp is what you want!
Step 7: Cool and Add Extras
Remove the sheet from the oven and let the cereal cool completely. The cooling stage is where all the crunchy magic happens. Once cool, sprinkle in the chopped nuts and mini chocolate chips if you like even more texture or chocolate bite.
How to Serve Homemade Chocolate Cereal

Garnishes
Dress up your bowl of Homemade Chocolate Cereal with fresh berries, banana slices, a dollop of Greek yogurt, or an extra sprinkle of chocolate chips. These little touches add freshness, creaminess, and a pop of color to every spoonful.
Side Dishes
Pair your cereal with a glass of cold milk, a smoothie, or fresh fruit salad for a well-rounded breakfast. It also makes a fabulous crunchy topping for parfaits and smoothie bowls, turning a simple meal into something spectacular.
Creative Ways to Present
Get playful! Layer the cereal in mason jars for adorable parfaits, serve it in paper cones as a snack at gatherings, or package it in small gift bags tied with ribbon—Homemade Chocolate Cereal makes a wonderful homemade gift for family and friends.
Make Ahead and Storage
Storing Leftovers
After the cereal has cooled completely, transfer it to an airtight container. It’ll stay crunchy and fresh for up to two weeks when stored at room temperature—just keep it away from moisture and heat.
Freezing
If you want to make a big batch for later, Homemade Chocolate Cereal freezes incredibly well! Store in a freezer-safe bag or container and squeeze out as much air as you can. It should keep its texture and flavor for up to two months; let it return to room temperature before serving for best crunch.
Reheating
If your cereal loses its crispiness, spread it back on a baking sheet and toast in a 300°F (150°C) oven for 5–7 minutes. Let it cool completely before storing again, and it’ll regain that delightful crunch.
FAQs
Can I use quick oats instead of rolled oats?
Rolled oats are best for Homemade Chocolate Cereal because of their sturdy texture, but in a pinch, you can use quick oats—just note the final cereal will be less crunchy and more crumbly.
What’s the best way to make this recipe more kid-friendly?
Kids love mini marshmallows or colorful sprinkles mixed in after baking! Using honey instead of maple syrup can also deliver a milder sweetness that many little ones prefer.
Can I make this cereal nut-free?
Definitely! The nuts are entirely optional. Simply skip them or substitute with seeds like pumpkin or sunflower for allergy-safe crunch.
How do I prevent the cereal from burning?
Keep a close eye during the last 5 minutes of baking, especially if your oven runs hot. Stirring halfway and spreading the mixture in an even layer both help prevent burnt edges.
Is there a vegan version of Homemade Chocolate Cereal?
Yes! Use maple syrup instead of honey and choose dairy-free chocolate chips. Confirm that your chocolate and coconut oil are vegan-certified for peace of mind.
Final Thoughts
Sharing Homemade Chocolate Cereal with your loved ones is pure joy—nothing beats the pride of serving something this tasty and nourishing that you made with your own two hands. Go ahead and try it; once you do, you’ll never look at store-bought cereal the same way again!
PrintHomemade Chocolate Cereal Recipe
Indulge in the rich, chocolatey goodness of this homemade chocolate cereal. Made with wholesome ingredients and customizable add-ins, it’s a perfect breakfast or snack option.
- Prep Time: 10 minutes
- Cook Time: 30 minutes
- Total Time: 40 minutes
- Yield: 4 cups 1x
- Category: Breakfast
- Method: Baking
- Cuisine: American
- Diet: Vegetarian, Gluten-Free
Ingredients
Dry Ingredients:
- 1 1/2 cups rolled oats
- 1/2 cup unsweetened cocoa powder
- 1/4 teaspoon salt
Wet Ingredients:
- 1/4 cup honey or maple syrup
- 1/4 cup coconut oil (melted)
- 1 teaspoon vanilla extract
Optional Add-Ins:
- 1/2 cup chopped nuts
- 1/4 cup mini chocolate chips
Instructions
- Preheat and Prepare: Preheat the oven to 325°F (165°C) and line a baking sheet with parchment paper.
- Mix Dry Ingredients: In a large bowl, combine rolled oats, cocoa powder, and salt.
- Combine Wet Ingredients: In a separate bowl, whisk together honey, melted coconut oil, and vanilla extract.
- Coat and Bake: Pour the wet mixture over the dry ingredients and stir until fully coated. Spread the mixture on the baking sheet and bake for 15 minutes.
- Stir and Bake Again: Stir the cereal to break up clumps, then bake for an additional 10-15 minutes until crisp.
- Cool and Add Extras: Let the cereal cool completely, then stir in chopped nuts and mini chocolate chips if desired. Store in an airtight container.
Notes
- For a crunchier texture, bake longer but monitor closely to avoid burning.
- Substitute coconut oil with butter or vegetable oil if preferred.
- Serve with milk or yogurt for a satisfying breakfast or snack.
Nutrition
- Serving Size: 1/2 cup
- Calories: 180
- Sugar: 8g
- Sodium: 50mg
- Fat: 9g
- Saturated Fat: 6g
- Unsaturated Fat: 2.5g
- Trans Fat: 0g
- Carbohydrates: 22g
- Fiber: 4g
- Protein: 4g
- Cholesterol: 0mg


