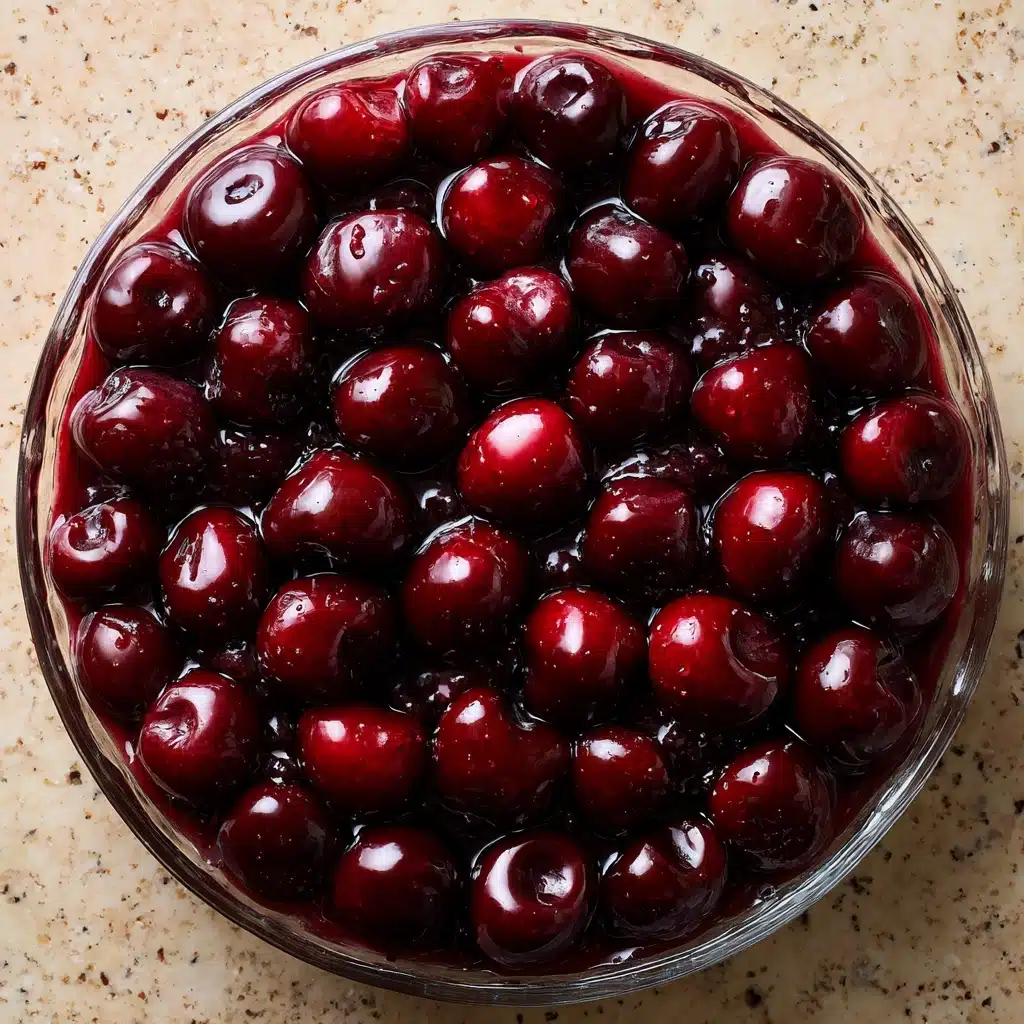
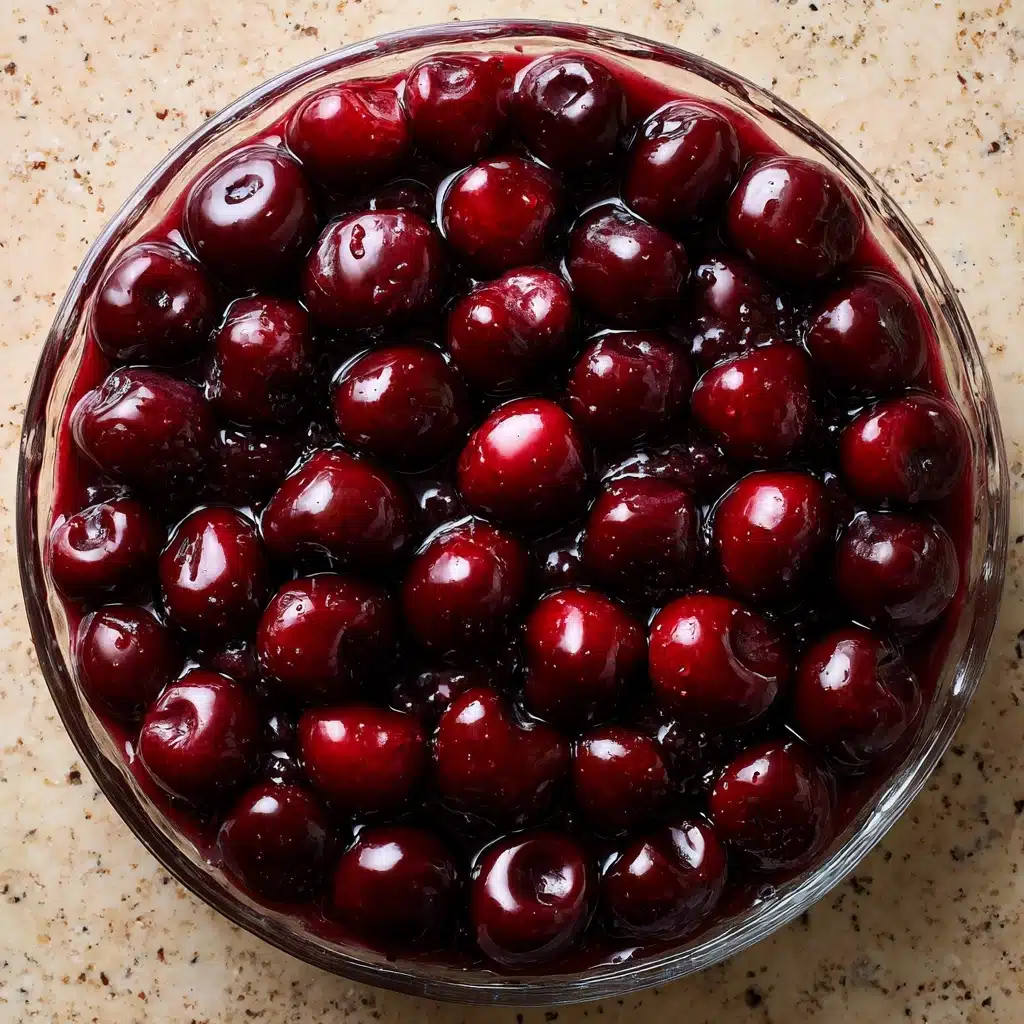
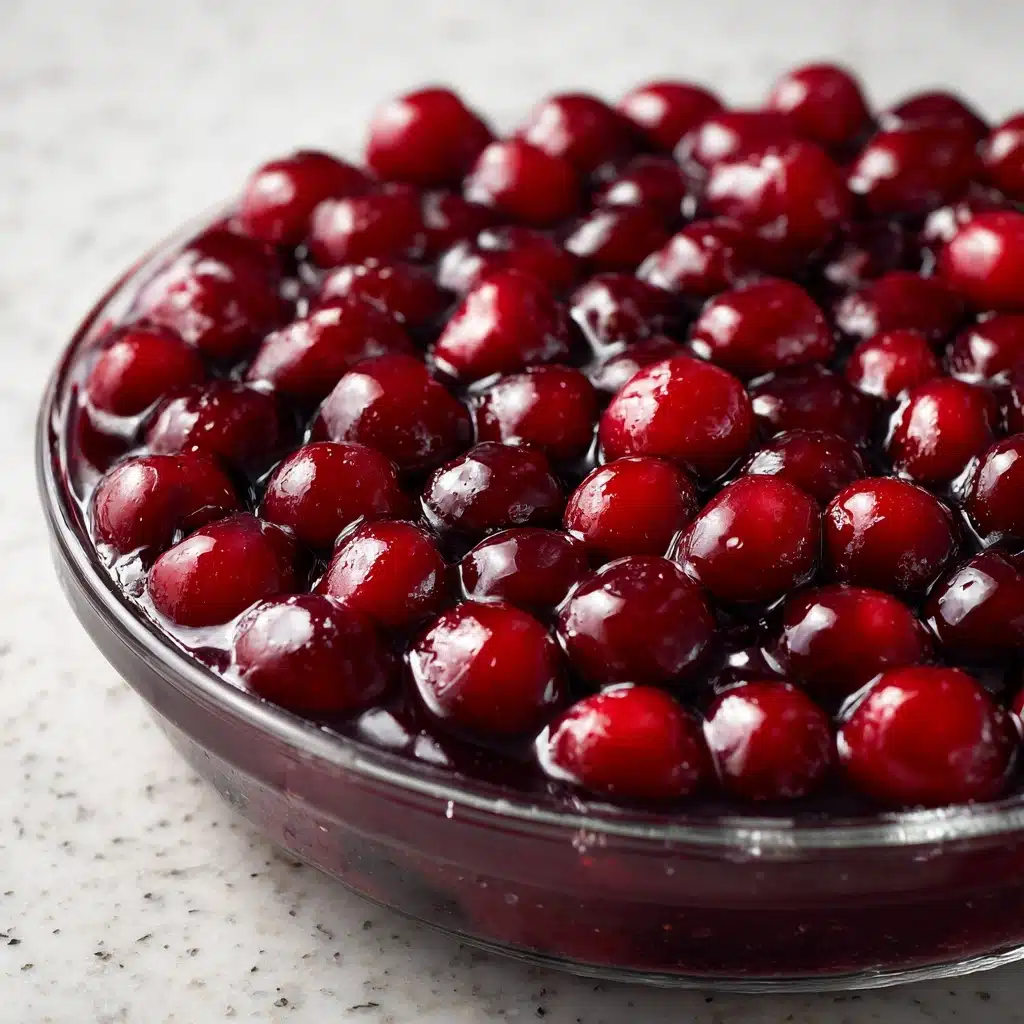
If you’ve ever dreamed of elevating your desserts with that irresistible combination of sweet, tart, glossy goodness, homemade cherry pie filling is your golden ticket. This isn’t just about making a pie—this filling lets you bring the flavor of sun-ripened cherries to everything from breakfast toast to dazzling cakes. With simple ingredients and a foolproof method, you’ll see why making this at home beats any store-bought version. Here’s how you can let your kitchen bloom with the colors and aromas of real cherries, all year round!
Ingredients You’ll Need
Gathering these ingredients couldn’t be easier, but each one is chosen for maximum flavor and that signature thick, juicy texture. Every spoonful owes its beauty and taste to this careful combination—no fancy extras needed!
- Fresh or Frozen Cherries (4 cups): For the brightest flavor, use fresh when they’re in season, but frozen cherries work beautifully too, making this filling a year-round treat.
- Granulated Sugar (1 cup): Adds the perfect sweetness to balance the cherries’ natural tartness; adjust to taste if your cherries are especially sweet or sour.
- Cornstarch (1/4 cup): The secret to that luscious, glossy thickness that makes the filling so satisfying—don’t skip it!
- Lemon Juice (1 tablespoon): A splash of citrus awakens and brightens the cherries, giving the filling a wonderfully balanced flavor.
- Almond Extract (1/4 teaspoon, optional): A hint of almond enhances the cherry flavor and gives a bakery-style aroma you’ll love.
- Salt (1/8 teaspoon): Just a pinch goes a long way to deepen and amplify all the other flavors.
- Water (1/4 cup, omit if using frozen cherries with juice): Helps the filling come together; only use if your cherries need a little extra liquid.
How to Make Homemade Cherry Pie Filling
Step 1: Combine Ingredients in a Saucepan
Start by placing the cherries, sugar, cornstarch, lemon juice, almond extract (if using), salt, and water into a medium saucepan. If you have frozen cherries, toss them in straight from the freezer—no need to thaw! Give everything a good stir so the cherries are evenly coated with the sugar and cornstarch. You’ll be amazed how quickly the mixture begins to come together.
Step 2: Bring to a Gentle Boil
Set your saucepan over medium heat. Stir frequently as the mixture heats up; you’ll notice the cherries soften and the juices start to release. Once you see bubbles and the mixture thickening, you’re right on track. Keep boiling gently, never rushing the process, as this is where all the magic happens and that classic pie filling texture develops.
Step 3: Cook Until Thickened
Let the homemade cherry pie filling bubble away for about 8 to 10 minutes. If you’re using frozen cherries, let them go an extra few minutes so any excess liquid cooks off. Keep stirring so nothing sticks. When the sauce clings to your spoon and the cherries are tender but still plump, your filling is ready! Take a second to breathe in that wonderful aroma—this is cherry bliss.
Step 4: Cool and Store
Take the saucepan off the heat and allow the filling to cool. As it sits, it’ll thicken even more. You can use it immediately in a pie, layer it in a crisp, or spoon it over your favorite desserts. If you’re not using it right away, just pop it into a jar or container and refrigerate. It’s ready to work its magic whenever you are!
How to Serve Homemade Cherry Pie Filling

Garnishes
One of the joys of homemade cherry pie filling is its versatility with garnishes. Top your pies or tarts with billowy whipped cream, a few toasted almond slivers, or even a sprig of mint for a pop of color. Each garnish brings its own personality to your dessert, making every serving feel special and thoughtfully made.
Side Dishes
There are so many fun ways to round out a treat made with cherry pie filling. Serve it alongside vanilla bean ice cream for that hot-cold sensation, or pair it with a slice of fluffy angel food cake. If you’re serving brunch, offer it next to buttery biscuits or waffles—guests will beg you for the recipe!
Creative Ways to Present
Think beyond the pie! Layer homemade cherry pie filling into parfaits with Greek yogurt and granola, swirl it into cheesecake batter before baking, or dollop it over pancakes for a show-stopping breakfast. Even a jar of this ruby-red filling tied with a ribbon makes for a heartwarming homemade gift.
Make Ahead and Storage
Storing Leftovers
If you have extra homemade cherry pie filling (lucky you!), transfer it to an airtight jar or container and keep it in the refrigerator. It stays fresh and delicious for up to five days—just the right amount of time for spontaneous dessert cravings or quick weeknight treats.
Freezing
Want to stash some summer flavor for later? Homemade cherry pie filling freezes beautifully! Cool the filling completely, then spoon into freezer-safe bags or containers. Freeze for up to three months, and simply thaw overnight in the fridge when you’re ready for a taste of cherries, even in the coldest months.
Reheating
To reheat, just warm your filling gently in a saucepan over low heat or for a quick burst in the microwave (use a microwave-safe dish and cover loosely). Give it a good stir to restore its glossy, luscious texture—it’ll taste freshly made all over again.
FAQs
Can I use this homemade cherry pie filling for pies with a top crust?
Absolutely! This filling works perfectly in double-crust pies, lattice-topped pies, or rustic galettes. Just be sure it’s cooled a bit before adding it to your pastry to keep things from getting soggy.
How do I thicken the filling if it seems too runny?
If the filling is still too loose after cooking, mix an extra tablespoon of cornstarch with a splash of water, stir it in, and cook for another 2–3 minutes until it reaches your desired thickness. The filling will also firm up as it cools.
Can I reduce the sugar?
Yes, feel free to adjust the sugar based on your preference or the tartness of your cherries. You can use as little as half the amount, just know the filling will be a bit more tart and less glossy.
Do I have to use almond extract?
Not at all! While almond extract gives a classic bakery-style note, you can leave it out or swap in vanilla, a hint of cinnamon, or even orange zest for a fun twist.
Can I double or triple the recipe?
You sure can! Homemade cherry pie filling is great for batch cooking, especially if you’ve hit the cherry jackpot at the market. Just be sure to use a larger pot and give it a bit more time to cook evenly.
Final Thoughts
There’s truly something magical about making homemade cherry pie filling in your own kitchen—the aroma, the vivid ruby color, and the way it transforms even humble treats into something extraordinary. I hope you give this easy, versatile recipe a try, and make it a sweet tradition in your home!
PrintHomemade Cherry Pie Filling Recipe
Indulge in the irresistible taste of homemade cherry pie filling with this easy-to-follow recipe. Perfect for pies, crisps, or dessert toppings, this sweet and tangy filling will elevate your favorite treats.
- Prep Time: 5 minutes
- Cook Time: 10 minutes
- Total Time: 15 minutes
- Yield: About 2 1/2 cups 1x
- Category: Condiment, Dessert
- Method: Stovetop
- Cuisine: American
- Diet: Vegetarian, Gluten-Free
Ingredients
Filling:
- 4 cups fresh or frozen pitted cherries
- 1 cup granulated sugar
- 1/4 cup cornstarch
- 1 tablespoon lemon juice
- 1/4 teaspoon almond extract (optional)
- 1/8 teaspoon salt
- 1/4 cup water (omit if using frozen cherries with juice)
Instructions
- Combine Ingredients: In a medium saucepan over medium heat, combine cherries, sugar, cornstarch, lemon juice, almond extract (if using), salt, and water. Stir well.
- Boil Mixture: Bring the mixture to a gentle boil, stirring frequently. Cook for 8–10 minutes until thickened.
- Cool: Remove from heat and let the filling cool. Use immediately or store in the refrigerator.
Notes
- Enhance flavor with vanilla extract or cinnamon.
- Filling can be frozen for up to 3 months.
Nutrition
- Serving Size: 1/4 cup
- Calories: 100
- Sugar: 18g
- Sodium: 15mg
- Fat: 0g
- Saturated Fat: 0g
- Unsaturated Fat: 0g
- Trans Fat: 0g
- Carbohydrates: 24g
- Fiber: 1g
- Protein: 1g
- Cholesterol: 0mg


