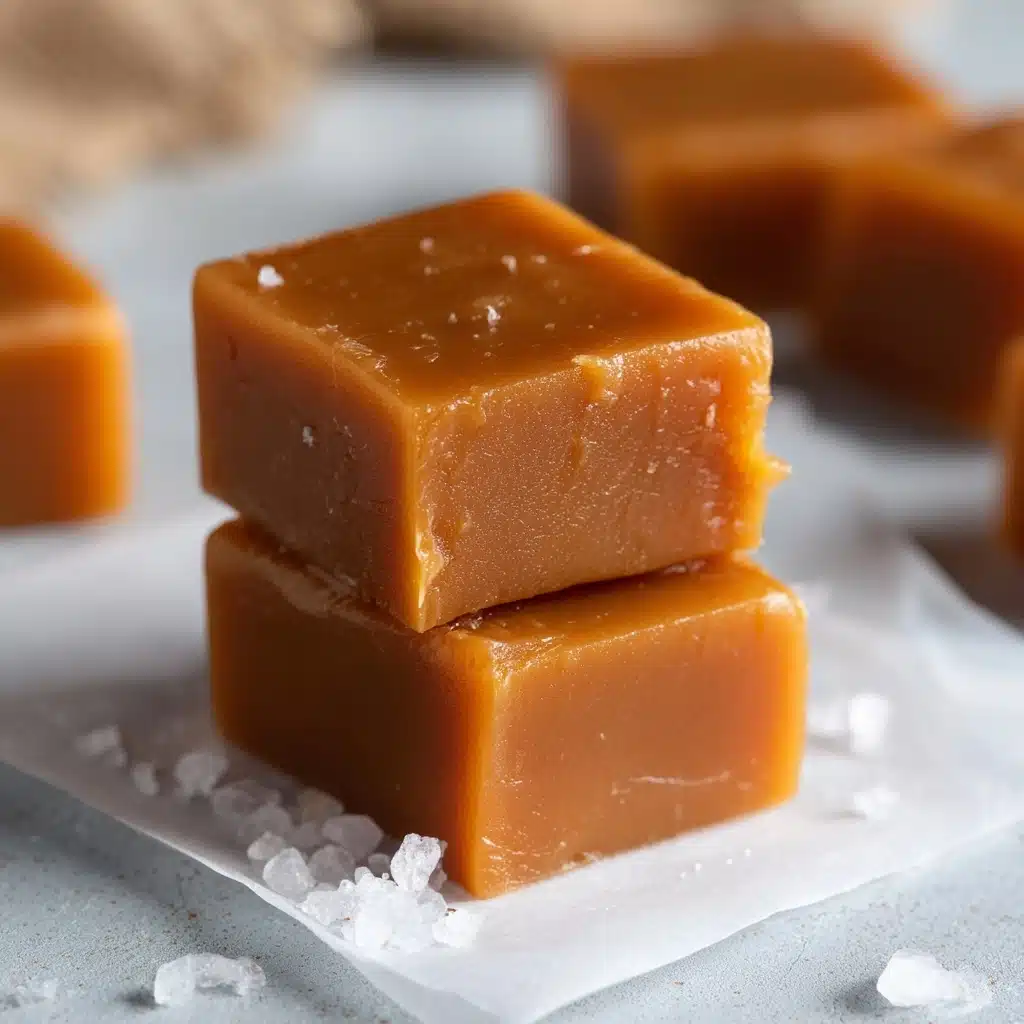
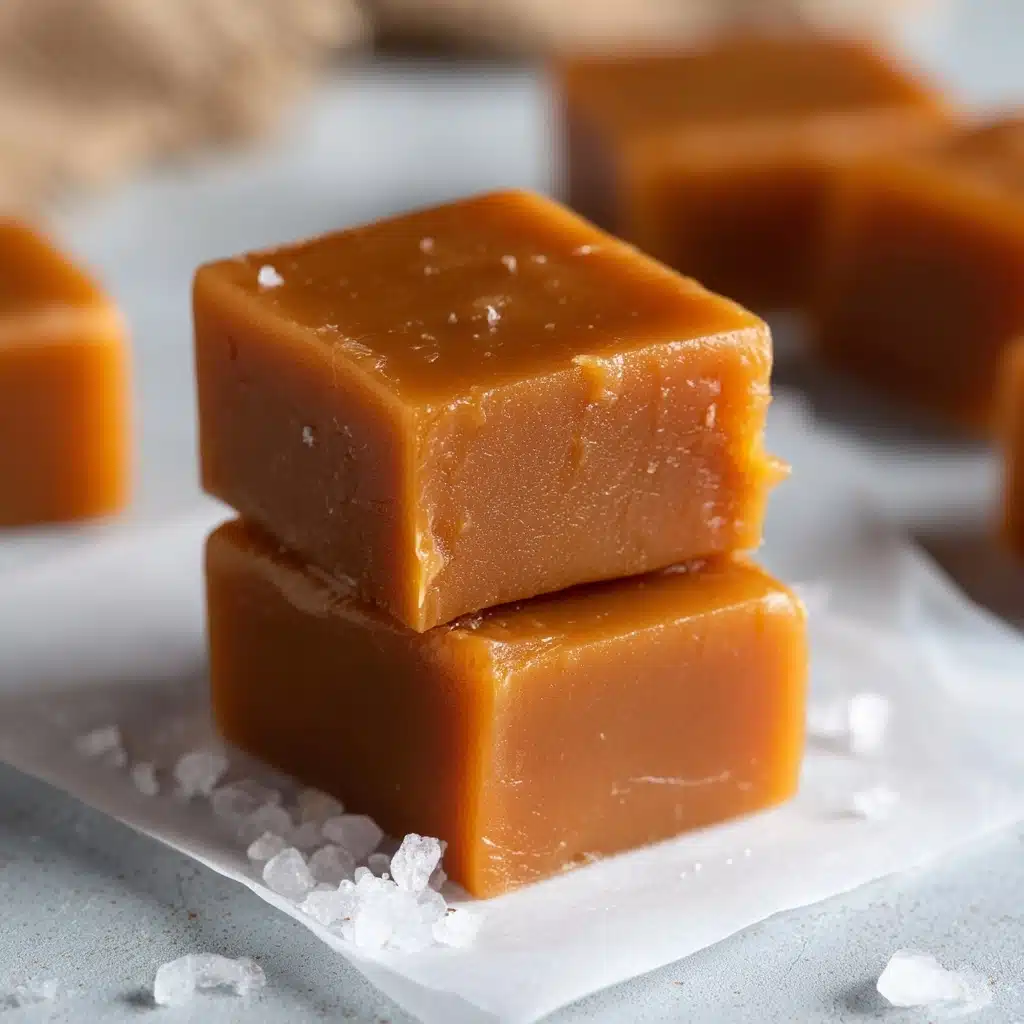
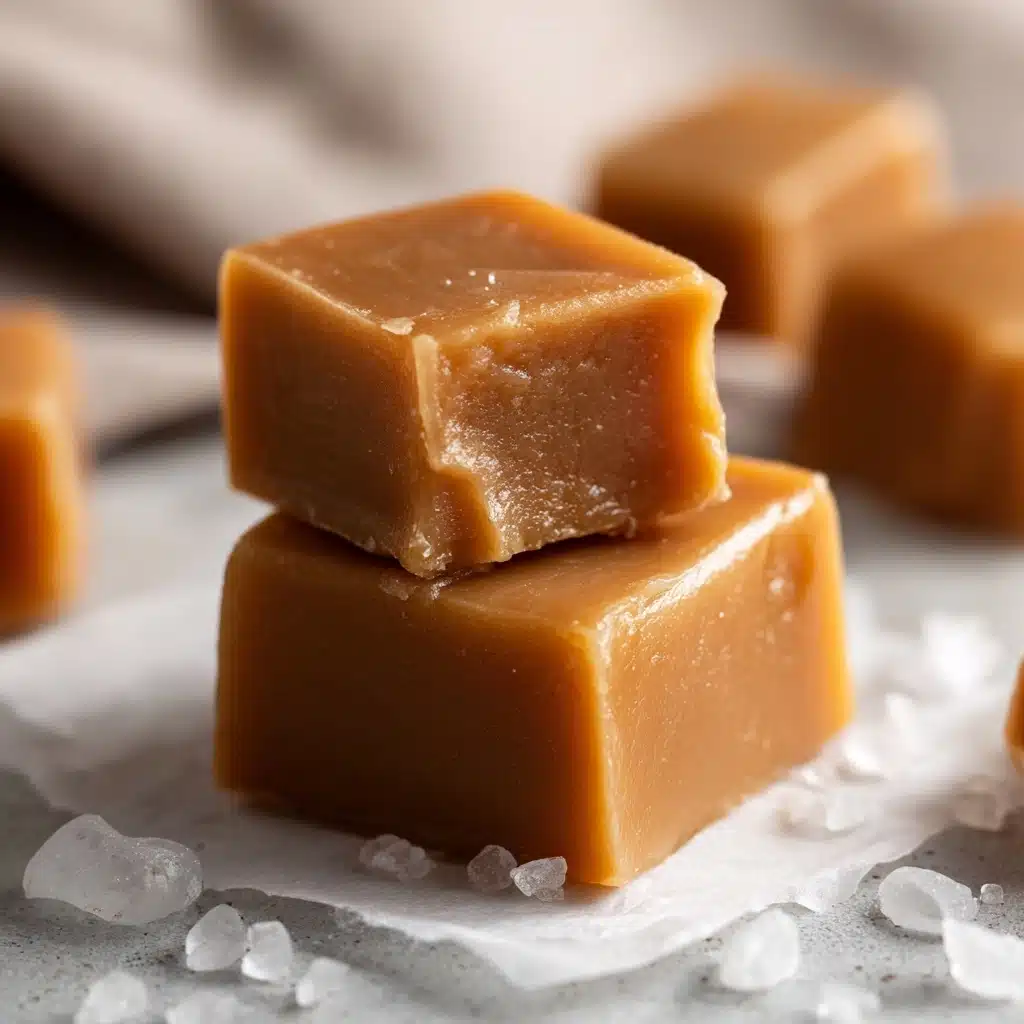
If you’re dreaming of meltingly soft, rich, and irresistibly chewy Homemade Caramels, you’re in the right place. This recipe is truly a labor of love—one with sweet rewards that make every swirl of your wooden spoon worthwhile! With just a handful of pantry staples and a bit of patience, you’ll be slicing up buttery golden squares of happiness to share (or not!). There’s something magical about transforming such simple ingredients into a nostalgic treat, and with this guide, you’ll discover just how easy and gratifying it is to make Homemade Caramels in your very own kitchen.
Ingredients You’ll Need
The beauty of these Homemade Caramels is how a few humble ingredients work together to create that signature flavor, stretchy texture, and glowing color. Each item here isn’t just for show; they all play a part in the alchemy of candy-making perfection!
- Unsalted Butter (2 sticks, 1 cup): The secret behind each caramel’s luxurious, melt-in-your-mouth richness. Don’t skimp on quality!
- Granulated Sugar (4 cups): The core sweetener that caramelizes to give that classic deep, toasty flavor and smooth texture.
- Light Corn Syrup (2 cups): This ingredient helps prevent the sugar from crystallizing, keeping your caramels silky and chewy rather than grainy.
- Evaporated Milk (24 oz, about 2 cans): Adds creaminess and body while keeping the mixture from burning as it simmers to perfection.
- Vanilla Extract (1 teaspoon): Just a splash at the end heightens the caramel flavor and fills your kitchen with the best cozy aroma.
- Fine Salt (1 teaspoon, or to taste): Rounds out the sweetness and makes every bite truly sing—taste and adjust if you like your caramels a little salty!
How to Make Homemade Caramels
Step 1: Prepare Your Pan
Before you start, line a 9×13-inch pan with parchment paper, or generously butter it so your Homemade Caramels won’t stick. A little extra border on the parchment makes it easy to lift out later—trust me, you’ll thank yourself when it’s time to slice!
Step 2: Melt Butter, Sugar, and Syrup
In a heavy-bottomed pot (think Dutch oven or sturdy saucepan), add the butter, sugar, and corn syrup. Place it over medium heat and stir with a wooden spoon or heatproof spatula until everything is melted and the mixture comes to a lovely bubbling boil, looking pale golden and glossy.
Step 3: Slowly Add Evaporated Milk
This is where you channel your inner candy maker: begin adding the evaporated milk, but don’t rush it! Pour in one can at a time, letting the mixture bubble back up before adding more. Stir constantly and enjoy the transformation as it turns creamy and velvety. Slow and steady keeps the mixture perfectly smooth.
Step 4: Cook to the Firm Ball Stage
Keep stirring and let the mixture cook steadily, watching as the color deepens and the aroma fills your kitchen. The caramels are done when the temperature hits between 240–245°F on a candy thermometer—this is the firm ball stage, where magic happens. Don’t have a thermometer? Drop a little bit into ice water; if it forms a firm but pliable ball, you’re golden!
Step 5: Add Vanilla and Salt
Once you hit that perfect temperature, remove the pot from the heat. Stir in the vanilla extract and salt. This quick final step infuses even more flavor and gives your Homemade Caramels their signature salted sweetness.
Step 6: Pour and Cool
Carefully pour the hot caramel into your prepared pan, spreading it evenly. Patience is key: let the caramels cool at room temperature for several hours or overnight. This wait is tough, but the smooth texture is worth it!
Step 7: Cut and Wrap
Once firm, lift the slab out of the pan and use a sharp knife to slice it into small squares or rectangles—whatever size feels perfect to you. For the finishing touch, wrap each piece in wax paper or parchment if you want to channel your inner candy shop.
How to Serve Homemade Caramels

Garnishes
Dress up your Homemade Caramels in endless ways! Try a quick sprinkle of flaky sea salt for that upscale sweet-and-salty pop, or drizzle with dark chocolate for a decadent finish. Crushed toasted nuts or a dusting of cocoa powder are also fantastic ways to take them over the top.
Side Dishes
While Homemade Caramels are stand-alone stars, they also shine alongside a mug of hot coffee, spicy chai, or a little fruit plate for a sweet ending to any meal. Pair them with tart apple slices at a fall gathering, or set out with a cheese board for an elegantly unexpected treat!
Creative Ways to Present
These golden bites make stunning gifts—stack them in cellophane bags tied with pretty ribbons for holidays or special celebrations. You can also box up a few different varieties (think chocolate-dipped or nut-topped) and give your friends a caramel sampler. For parties, heap them in a mason jar with a handwritten tag for that warm, homemade touch.
Make Ahead and Storage
Storing Leftovers
Keep any leftover Homemade Caramels in an airtight container at room temperature or, for a firmer texture, in the fridge. They’ll stay soft and chewy for several weeks, making them perfect for holiday prep or impromptu snacking!
Freezing
If you need to make Homemade Caramels even further in advance, pop them (wrapped individually or layered with parchment) into a freezer-safe bag. They freeze beautifully for up to three months. Simply thaw at room temperature and enjoy their original texture after a couple of hours.
Reheating
If your caramels become too firm from the fridge or freezer, let them sit at room temperature for 20 to 30 minutes. They’ll soften up naturally and be ready to enjoy—no microwave or fuss required.
FAQs
Do I really need a candy thermometer?
While you can use the classic ice-water test, a candy thermometer makes Homemade Caramels so much more foolproof. It takes the guesswork out and ensures perfect consistency every time!
Can I add flavors or mix-ins?
Absolutely! Once you master the base, you can stir in toasted nuts, a pinch of cinnamon, or dip the finished caramels in melted chocolate. Just add mix-ins after you remove the caramel from the heat.
What if my caramels are too soft or too hard?
It’s all about temperature. If they’re too soft, the caramel probably didn’t reach the firm ball stage. If they’re too hard, it may have gone a bit hot. Next time, monitor closely and trust the thermometer!
Can I use salted butter instead?
You can, but you’ll want to reduce or skip the added salt to avoid making them overly salty. Unsalted butter lets you control the seasoning a bit better for your Homemade Caramels.
What’s the best way to wrap Homemade Caramels?
Cut wax paper or parchment into squares just big enough to twist around each caramel. This helps keep them from sticking together and gives that charming, candy-shop feel.
Final Thoughts
There’s nothing quite like sharing a batch of Homemade Caramels you made yourself—trust me, your friends and family will savor every bite! Roll up your sleeves, stir with love, and let this sweet little tradition become part of your kitchen memories. I hope you’ll give these a try and discover just how special Homemade Caramels can be at home.
PrintHomemade Caramels Recipe
Indulge in the rich, buttery goodness of these homemade caramels. Perfectly chewy and sweet, they make a delightful treat for any occasion.
- Prep Time: 10 minutes
- Cook Time: 1 hour
- Total Time: 1 hour 10 minutes
- Yield: about 80 small caramels 1x
- Category: Candy / Confection
- Method: Stovetop / Candy-making
- Cuisine: American
- Diet: Vegetarian
Ingredients
Ingredients:
- 2 sticks (1 cup) unsalted butter
- 4 cups granulated sugar
- 2 cups light corn syrup
- 24 oz evaporated milk (about two 12‑oz cans)
- 1 teaspoon vanilla extract
- 1 teaspoon fine salt (or to taste)
Instructions
- Line the Pan: Prepare a 9×13‑inch pan with parchment or butter; set aside.
- Cook Caramel: In a heavy-bottomed pot over medium heat, melt butter, sugar, and corn syrup until boiling. Gradually add evaporated milk, stirring constantly until mixture reaches 240–245 °F. Remove from heat, stir in vanilla and salt.
- Cool and Cut: Pour the mixture into the prepared pan, let cool until firm. Cut into pieces and wrap individually if desired.
Notes
- Use a candy thermometer or ice-water test to hit the soft‑ball stage for chewy caramels.
- Cover the sides of the pot with a wet pastry brush to prevent crystallization.
- Store in the fridge for weeks; bring to room temperature before serving for a softer texture.
Nutrition
- Serving Size: 1 caramel
- Calories: 106 kcal
- Sugar: 4 g
- Sodium: 30 mg
- Fat: 3.9 g
- Saturated Fat: 2.4 g
- Unsaturated Fat: 1.5 g
- Trans Fat: negligible
- Carbohydrates: 18.3 g
- Fiber: 0 g
- Protein: 0.5 g
- Cholesterol: 10 mg


