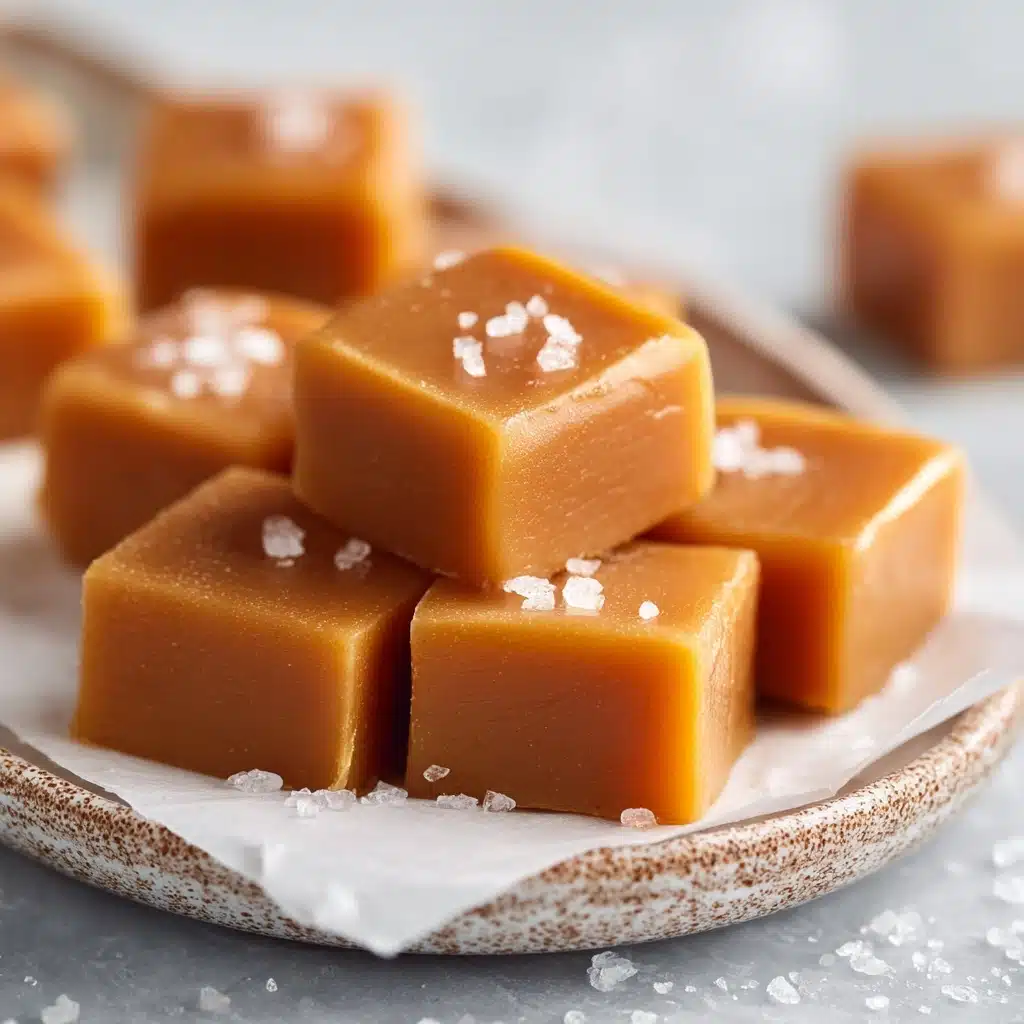
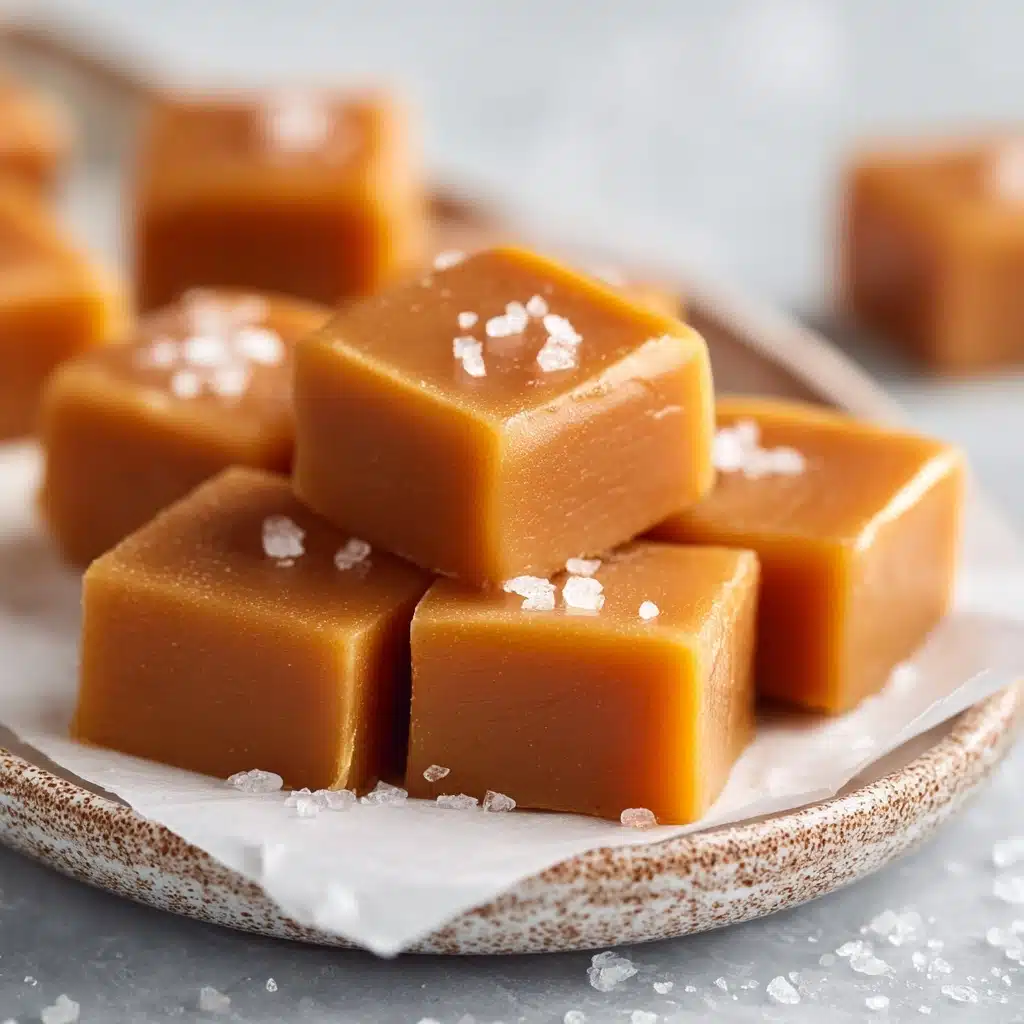
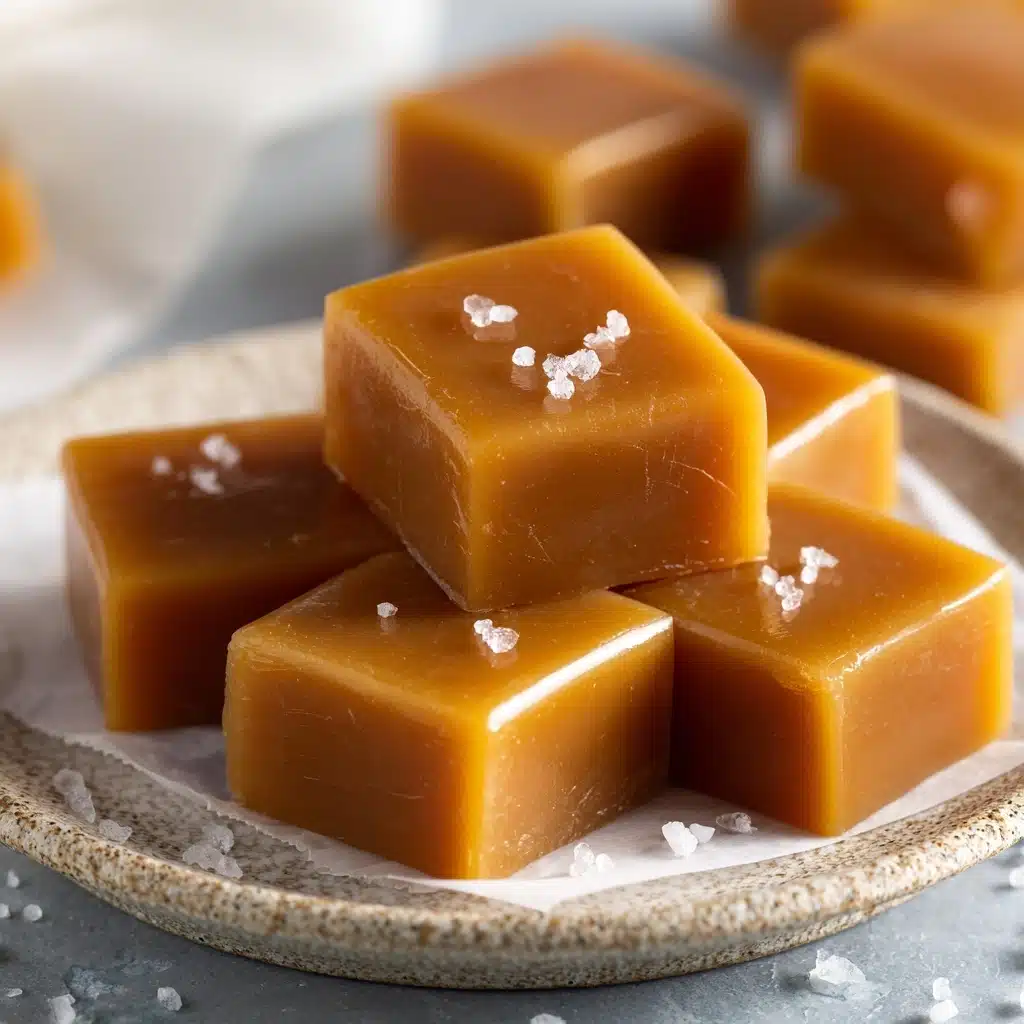
If you crave that blissful, buttery bite of nostalgia, Homemade Caramels are an irresistible treat you can actually whip up in your own kitchen—no candy shop required. With just a handful of simple pantry staples and a little patience, you’ll transform humble ingredients into chewy, golden perfection. Each bite melts on your tongue, giving you a rich, creamy experience that’s as comforting as it is decadent. Trust me, these old-fashioned caramels will become your go-to for gifting or indulging all year round.
Ingredients You’ll Need
There’s something genuinely magical about the way these everyday ingredients come together. Each plays an essential role in the taste, texture, and color of your finished Homemade Caramels, so don’t be tempted to swap or skip!
- Unsalted Butter: Provides the rich, creamy base for ultra-smooth caramels, so be sure to use fresh, good-quality butter for best results.
- Packed Brown Sugar: Brings classic dark caramel notes and a deep, molassesy sweetness that defines each bite.
- Light Corn Syrup: Prevents sugar crystals from forming, giving you silky, flawless Homemade Caramels every time.
- Sweetened Condensed Milk: Lends caramel its signature creaminess and helps the pieces hold their perfectly chewy shape.
- Vanilla Extract: Adds warmth and depth, rounding out the flavors with just a splash at the end.
- Pinch of Salt: Balances out all that sweetness and makes each bite pop—don’t forget it!
How to Make Homemade Caramels
Step 1: Prepare Your Pan
Start off strong by lining an 8×8-inch baking dish with parchment paper, making sure it covers all sides and leaves a bit of overhang for easy lifting. Lightly butter the paper—this guarantees your Homemade Caramels will slide right out without sticking or tearing.
Step 2: Melt the Butter
Place a heavy-bottomed saucepan over medium heat. Add the butter and let it melt completely, swirling the pan slightly to encourage an even melt. This creates the lush, velvety base of your caramels, setting you up for candy-making success.
Step 3: Add Sweeteners and Dairy
Once the butter has melted, stir in the brown sugar, corn syrup, and that beautiful can of sweetened condensed milk. The mixture will look pale and glossy at first—don’t worry, the color and aroma will blossom as it cooks.
Step 4: Cook the Caramel
This is where the magic happens! Stir continuously with a heat-proof spatula or wooden spoon, keeping the mixture moving so nothing scorches on the bottom. Using a candy thermometer clipped to the pan, patiently cook until the mixture reaches 245°F (the firm-ball stage). This usually takes about 12–15 minutes of mindful, gentle stirring.
Step 5: Finish with Flavor
The moment your thermometer hits 245°F, pull the pan off the heat immediately. Stir in the vanilla extract and pinch of salt, enjoying the heady aroma that tells you these are truly Homemade Caramels. Mix swiftly to distribute the vanilla and salt evenly.
Step 6: Pour and Cool
Quickly pour the hot caramel into your prepared baking dish. Use a spatula to nudge it into an even layer—work fast, as it will start to set up. If you love that salty punch, this is the moment to sprinkle flaky sea salt across the top. Let the caramels rest at room temperature for 2–3 hours, or until completely cooled and set.
Step 7: Cut and Wrap
Once the slab is firm, use the parchment overhang to lift it from the pan. Grab a sharp knife (lightly greased if you want extra clean cuts) and slice the caramels into small, satisfying squares. For a classic, candy-shop look, wrap each piece in wax paper—you’ll feel like a true confectioner!
How to Serve Homemade Caramels

Garnishes
Whether you opt for a shower of flaky sea salt, a drizzle of melted chocolate, or a dusting of toasted coconut, garnishes add color and personality to these chewy little cubes. Don’t be afraid to get creative—a pinch of espresso powder or a hint of orange zest can offer a fun twist, too!
Side Dishes
Homemade Caramels are show-stoppers on their own, but they also shine as part of a dessert platter. Try pairing them with dark chocolate squares, salty nuts, or fresh berries for a spread that balances sweetness and texture. They’re even lovely alongside an after-dinner espresso or cup of black tea.
Creative Ways to Present
If you’re gifting or want to make a special impression, tuck these caramels into decorative tins, wrap them in colorful parchment, or pile them into small mason jars tied with rustic ribbon. They also make adorable party favors in mini treat bags—your friends will never guess they’re homemade!
Make Ahead and Storage
Storing Leftovers
To keep your Homemade Caramels fresh and chewy, store them in an airtight container at room temperature. Layer the pieces between sheets of wax or parchment paper to keep them from sticking, and they’ll stay luscious for up to two weeks.
Freezing
If you want to extend their shelf life, caramels freeze surprisingly well! Wrap each caramel individually, tuck them into a freezer-safe bag or container, and they’ll last up to three months. Let them come to room temperature before you enjoy for best texture and flavor.
Reheating
Caramels don’t generally need reheating, but if they feel a bit too firm after freezing or a chilly day, let them rest at room temperature or give them a five-second zap in the microwave. Be careful, though—too long and they’ll melt before you get to unwrap them!
FAQs
Why did my Homemade Caramels turn out grainy?
Graininess is usually a sign that sugar crystals formed during cooking. Make sure you stir constantly and use corn syrup, which helps prevent crystallization. Also, avoid scraping crystallized bits from the sides of the pan into your mixture.
Can I double the recipe for a larger batch?
Absolutely! You can double the ingredients and use a 9×13-inch pan. Just be sure to use a bigger pot and monitor your temperature carefully—larger batches may take a bit longer to reach the firm-ball stage.
Do I really need a candy thermometer?
While some seasoned candy-makers go by look and feel, a candy thermometer truly takes the guesswork and stress out of Homemade Caramels. It guarantees that perfect chewy texture with no guesswork or disappointment.
Are there dairy-free or vegan options for this recipe?
Traditional Homemade Caramels rely on butter and condensed milk, but you can experiment with plant-based butter and coconut condensed milk if you need a dairy-free treat. Keep in mind, the flavor and texture might be slightly different, but the results can still be delicious!
How do I cut caramels without sticking?
For neat squares, lightly coat your knife with a little butter or nonstick spray before slicing. You can also chill the caramels briefly to firm them up for easier, cleaner cuts.
Final Thoughts
The only thing better than the taste of Homemade Caramels is the joy of sharing them with others. Don’t be surprised if these tender, buttery bites become your signature sweet—once you taste your own handcrafted caramels, you’ll wonder why you ever settled for store-bought. Go ahead, treat yourself (and your favorite people) to a luscious homemade batch!
PrintHomemade Caramels Recipe
Indulge in the rich, buttery goodness of these homemade caramels. Perfect for gifting or enjoying as a sweet treat, these soft and chewy caramels are a classic confection that is surprisingly easy to make at home.
- Prep Time: 10 minutes
- Cook Time: 15 minutes
- Total Time: 2 hours 25 minutes (including cooling)
- Yield: About 60 pieces 1x
- Category: Candy
- Method: Stovetop
- Cuisine: American
- Diet: Vegetarian
Ingredients
Ingredients:
- 1 cup unsalted butter
- 2 1/4 cups packed brown sugar
- 1 cup light corn syrup
- 1 can (14 oz) sweetened condensed milk
- 1 tsp vanilla extract
- Pinch of salt
Instructions
- Prepare the Pan: Line an 8×8-inch baking dish with parchment paper and lightly butter the paper.
- Melt Butter: In a heavy-bottomed saucepan, melt butter over medium heat.
- Cook the Mixture: Stir in brown sugar, corn syrup, and condensed milk. Cook, stirring constantly, until the mixture reaches 245°F (firm-ball stage) on a candy thermometer, about 12–15 minutes.
- Finish the Caramel: Remove from heat and stir in vanilla and salt. Immediately pour the hot caramel into the prepared dish, spreading evenly.
- Cool and Cut: Allow to cool completely at room temperature for 2–3 hours or until set. Once firm, lift out the caramel slab using the parchment paper and cut into small squares with a sharp knife.
- Wrap: Wrap each piece in wax paper if desired.
Notes
- For salted caramels, sprinkle with flaky sea salt immediately after pouring into the dish.
- Store caramels in an airtight container at room temperature for up to 2 weeks.
Nutrition
- Serving Size: 1 piece
- Calories: 80
- Sugar: 11g
- Sodium: 20mg
- Fat: 4g
- Saturated Fat: 2.5g
- Unsaturated Fat: 1g
- Trans Fat: 0g
- Carbohydrates: 12g
- Fiber: 0g
- Protein: 0.5g
- Cholesterol: 10mg


