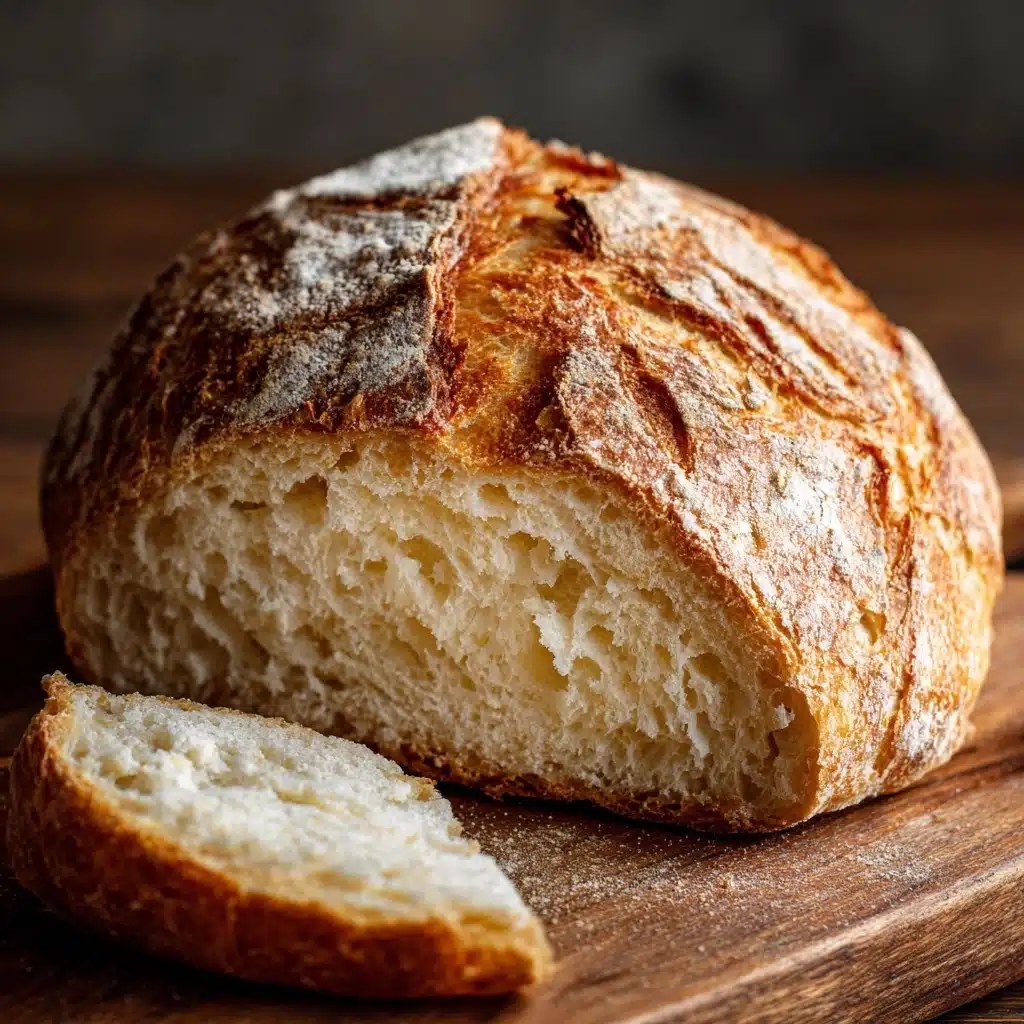
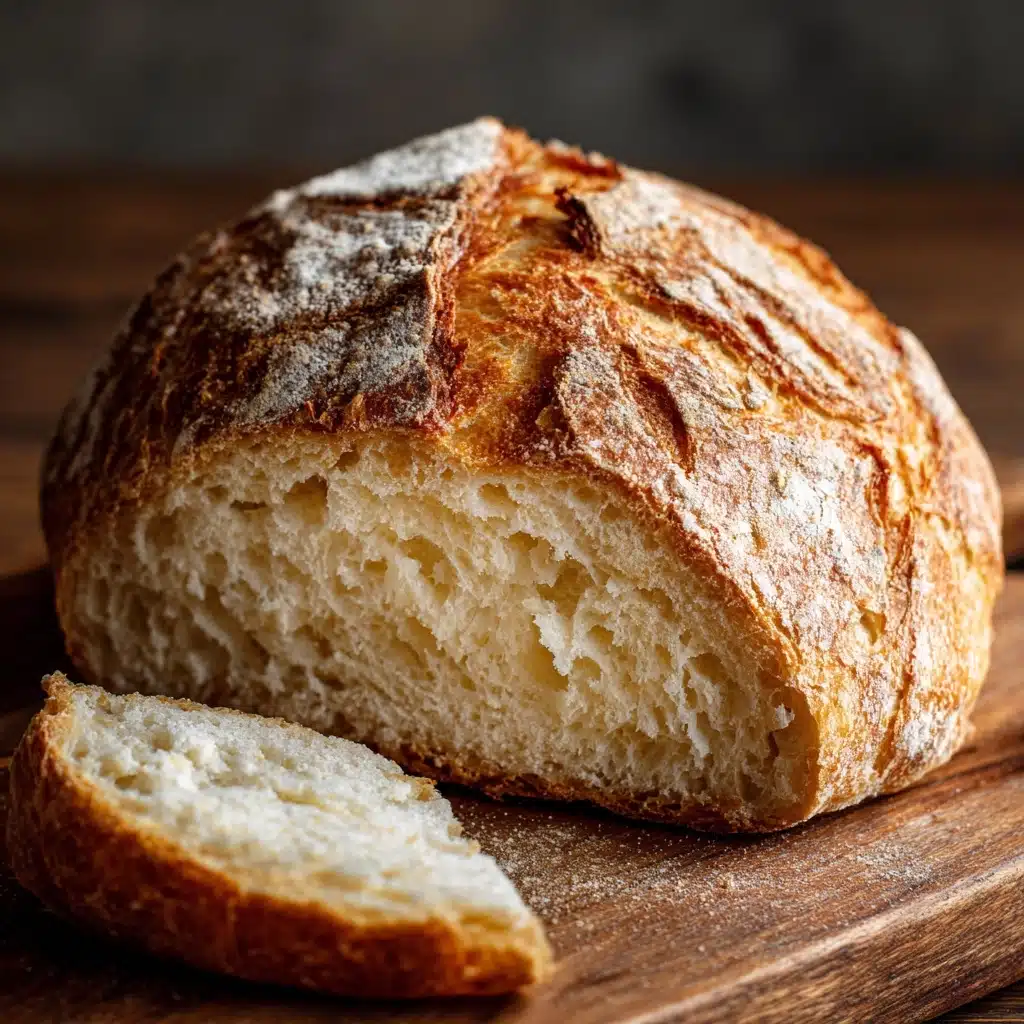
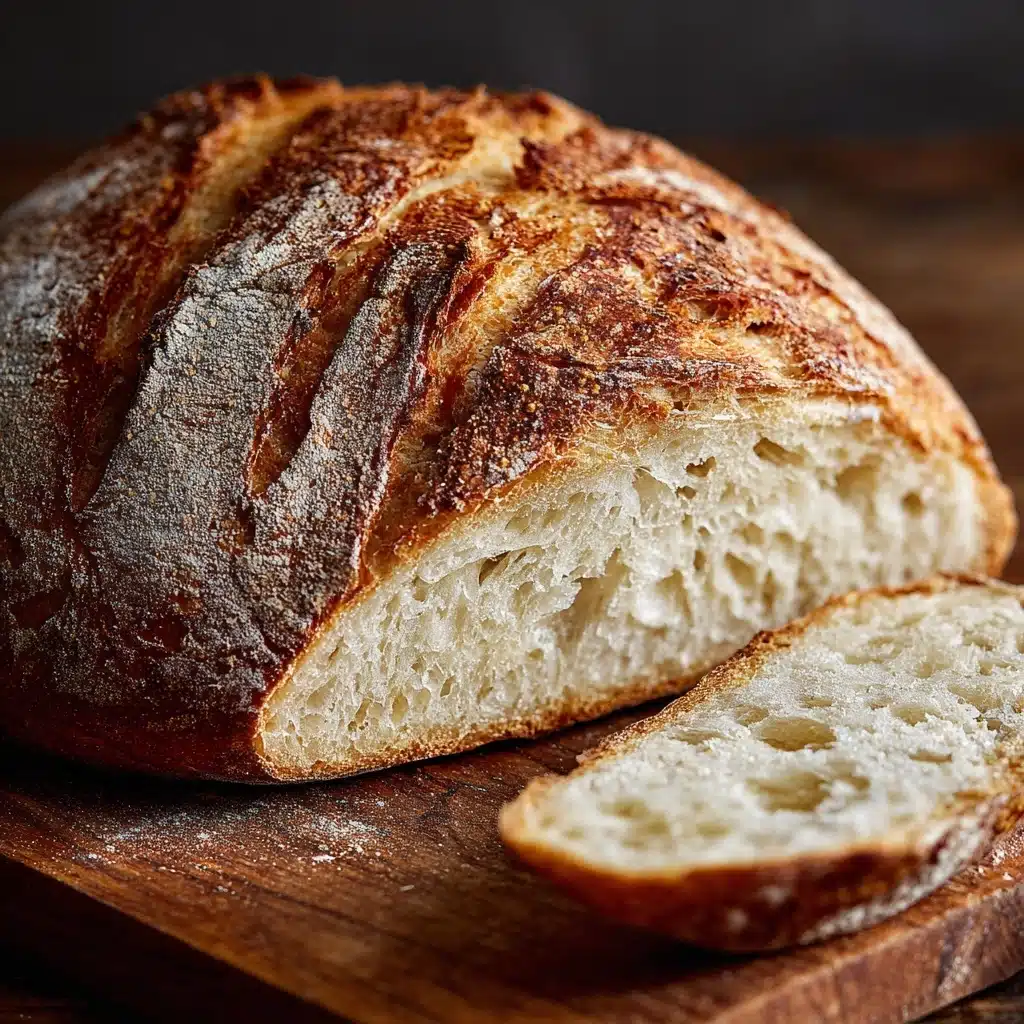
If there’s one kitchen adventure everyone should experience, it’s making Homemade Bread from scratch. There’s something so magical about mixing a few humble ingredients, watching the dough rise, and pulling a golden, fragrant loaf from the oven. The result? Slices that are soft, chewy, just a touch crisp at the edges, and absolutely irresistible — whether slathered with butter or dipped in a hearty soup. Homemade Bread doesn’t just taste incredible; it fills your home with warmth and the comforting aroma of baking nostalgia.
Ingredients You’ll Need
Making Homemade Bread truly showcases how a handful of kitchen basics can turn into something spectacular. Each ingredient here serves a special purpose, building layers of flavor, texture, and color that make every bite deliciously memorable.
- Warm water (1 ½ cups at 110°F): Sets the perfect cozy environment to activate the yeast and bring the dough together.
- Active dry yeast (2 ¼ teaspoons): The secret to fluffy, beautifully risen bread that’s never dense or heavy.
- Granulated sugar (1 tablespoon): Gives the yeast a little kick-start and adds a faint sweetness to the crumb.
- Olive oil (2 tablespoons): Delivers tenderness to the loaf and imparts a mild, well-rounded flavor.
- Salt (1 ½ teaspoons): Don’t skip this — it balances every bite and heightens the other flavors.
- All-purpose flour (3 ½ to 4 cups, plus extra): The main structure of your Homemade Bread; add gradually for that ideal soft, elastic dough.
How to Make Homemade Bread
Step 1: Activate the Yeast
Start by pouring the warm water into a large mixing bowl. Sprinkle in the yeast and sugar, then give everything a gentle stir. Let it sit undisturbed for 5 to 10 minutes. You’ll know it’s ready when a creamy, foamy layer forms on top — that’s your yeast waking up and getting bubbly, which is key for a great rise.
Step 2: Mix in the Olive Oil and Salt
Once your yeast is nice and frothy, add the olive oil and salt straight into the bowl. These bring flavor and moisture to your loaf, ensuring it’s never bland or dry. Give everything a quick mix to combine.
Step 3: Add the Flour and Form the Dough
Start adding the flour, one cup at a time, mixing gently after each addition. Once it becomes too thick to stir, switch to using your hands or a sturdy spoon. By the end, you’ll have a soft, slightly sticky dough that’s ready for kneading. Don’t rush — go slow and watch the dough come together so you never end up with a tough loaf.
Step 4: Knead the Dough
Lightly flour your work surface and turn the dough out. Knead for 8 to 10 minutes, folding and pressing to build that all-important gluten. The dough should turn smooth and elastic — if it gets sticky, sprinkle with a touch more flour as needed. Think of this step as giving your bread its wonderful chewy structure.
Step 5: First Rise
Transfer the kneaded dough to a clean, lightly oiled bowl and cover the top with a towel or plastic wrap. Set it in a warm, cozy spot and let it rise for 1 to 1 ½ hours until doubled in size. This is where the magic happens — you’ll see your dough puff up, ready for the next stage.
Step 6: Shape and Second Rise
Punch down the dough to release excess air, then gently shape it into a loaf that will slot right into your greased 9×5-inch pan. Cover again and let it rise for 30 to 40 minutes. During this second rise, the loaf becomes soft, airy, and preps itself for the oven.
Step 7: Bake to Golden Perfection
Preheat your oven to 375°F. Once your loaf has risen above the edge of the pan, it’s baking time! Slide it into the oven for 30 to 35 minutes, until the top turns a mouthwatering golden brown and sounds hollow when tapped. For an extra soft crust, brush the loaf with melted butter as soon as it emerges from the oven.
Step 8: Cool and Slice
Let the bread cool in its pan for 10 minutes, then transfer it to a wire rack to cool completely. Resist the urge to slice early — cooling allows the crumb to set, ensuring perfect pieces every time.
How to Serve Homemade Bread

Garnishes
A slice of freshly baked Homemade Bread is hard to resist on its own, but a quick brush of melted butter, a shake of flaky sea salt, or a sprinkle of fresh herbs like parsley or chives can make each bite even more special. Try spreading a little honey or jam for a sweet touch — absolute heaven!
Side Dishes
This bread is tailor-made for scooping up soups and stews, soaking in olive oil and balsamic vinegar, or accompanying cheese boards. Serve alongside scrambled eggs at breakfast or as the vehicle for a hearty sandwich at lunch — it’s as versatile as it is delicious.
Creative Ways to Present
If you’re feeling adventurous, cut your Homemade Bread into thick cubes and toast them with a drizzle of olive oil and spices for homemade croutons. Or slice, grill, and top with tomatoes, basil, and a splash of balsamic for an easy bruschetta. Little personal touches make Homemade Bread the star of any gathering.
Make Ahead and Storage
Storing Leftovers
Once your loaf is completely cooled, store it in a breadbox or wrap it tightly in plastic and keep it on the counter for up to three days. Avoid sealing it while even slightly warm, as that can introduce moisture and compromise the texture you worked so hard for.
Freezing
Homemade Bread freezes beautifully! Slice the cooled loaf, wrap slices or the entire bread tightly in plastic wrap, then a layer of foil, and freeze for up to three months. This way, you’ll always have a little taste of homemade comfort ready to go.
Reheating
To refresh leftover or thawed bread, pop slices in the toaster or warm the whole loaf in a 350°F oven for about 10 minutes, wrapped loosely in foil. This revives the crust and brings that just-baked aroma back into your kitchen in no time.
FAQs
Can I use instant yeast instead of active dry yeast?
Absolutely! You can substitute instant yeast in equal amounts without changing the recipe steps, but your dough might rise a bit faster, so keep an eye on it during those rising phases.
How do I know if my dough has risen enough?
Your dough is ready after rising if it’s doubled in size and doesn’t spring all the way back when gently pressed with a fingertip. Patience is key for that perfect, airy crumb!
Can I make this Homemade Bread with whole wheat flour?
Definitely! Swap up to half of the all-purpose flour with whole wheat flour for extra nutrition and a pleasantly hearty taste. If going 100 percent whole wheat, you may need a tad more water and a slightly longer rise.
Why did my bread turn out dense?
Dense bread can happen if the dough wasn’t kneaded enough, didn’t rise long enough, or if too much flour was added. Next time, keep your flour additions gradual and be generous with your kneading for the fluffiest results.
Do I need a stand mixer to make Homemade Bread?
No equipment barriers here! You can mix and knead this bread entirely by hand — though a stand mixer will make things a little easier. It’s all about enjoying the process and getting your hands doughy.
Final Thoughts
There’s a special kind of joy in baking your own Homemade Bread and sharing it warm from the oven with people you care about. Don’t be surprised if you start making it again and again — every loaf feels like a little celebration. I hope you’ll give this recipe a try and make it your own family favorite!
PrintHomemade Bread Recipe
Learn how to make delicious homemade bread with this easy recipe. This classic bread is perfect for sandwiches or simply enjoying fresh out of the oven.
- Prep Time: 15 minutes
- Cook Time: 35 minutes
- Total Time: 2 hours 15 minutes
- Yield: 1 loaf (about 12 slices) 1x
- Category: Bread
- Method: Baking
- Cuisine: American
- Diet: Vegetarian
Ingredients
Dough:
- 1 1/2 cups warm water (110°F)
- 2 1/4 teaspoons active dry yeast
- 1 tablespoon granulated sugar
- 2 tablespoons olive oil
- 1 1/2 teaspoons salt
- 3 1/2 to 4 cups all-purpose flour (plus more for kneading)
Instructions
- Prepare the Dough: In a large mixing bowl, combine warm water, yeast, and sugar. Let sit until foamy. Add olive oil, salt, and gradually mix in flour until a dough forms.
- Knead the Dough: Turn out onto a floured surface and knead for 8-10 minutes until smooth.
- Rise the Dough: Place in an oiled bowl, cover, and let rise for 1-1 ½ hours.
- Shape and Bake: Shape into a loaf, let rise again, then bake at 375°F for 30-35 minutes.
- Cool and Enjoy: Cool in the pan for 10 minutes, then transfer to a wire rack to cool completely before slicing.
Notes
- For a softer crust, brush the top with melted butter after baking.
- You can substitute part of the all-purpose flour with whole wheat flour for added nutrition.
Nutrition
- Serving Size: 1 slice
- Calories: 145
- Sugar: 1g
- Sodium: 230mg
- Fat: 3g
- Saturated Fat: 0.5g
- Unsaturated Fat: 2.5g
- Trans Fat: 0g
- Carbohydrates: 26g
- Fiber: 1g
- Protein: 4g
- Cholesterol: 0mg


