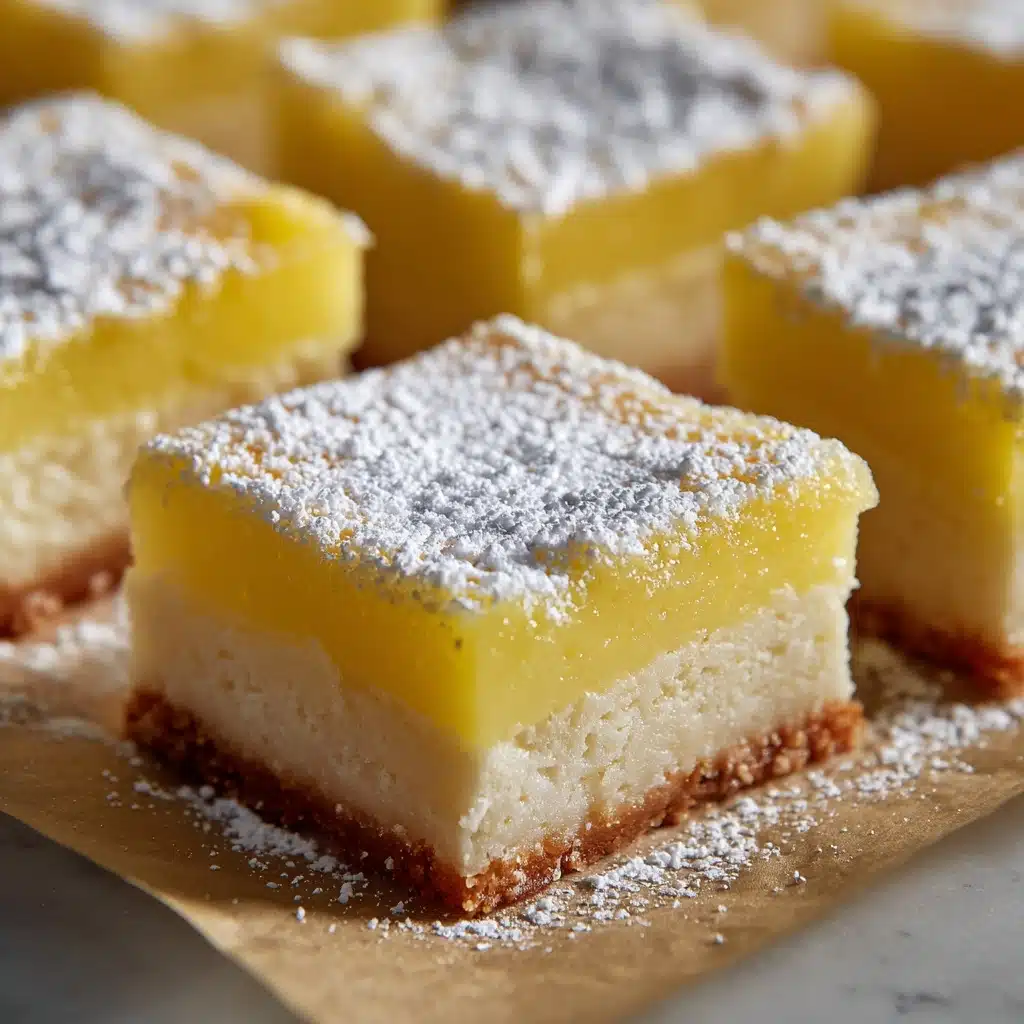
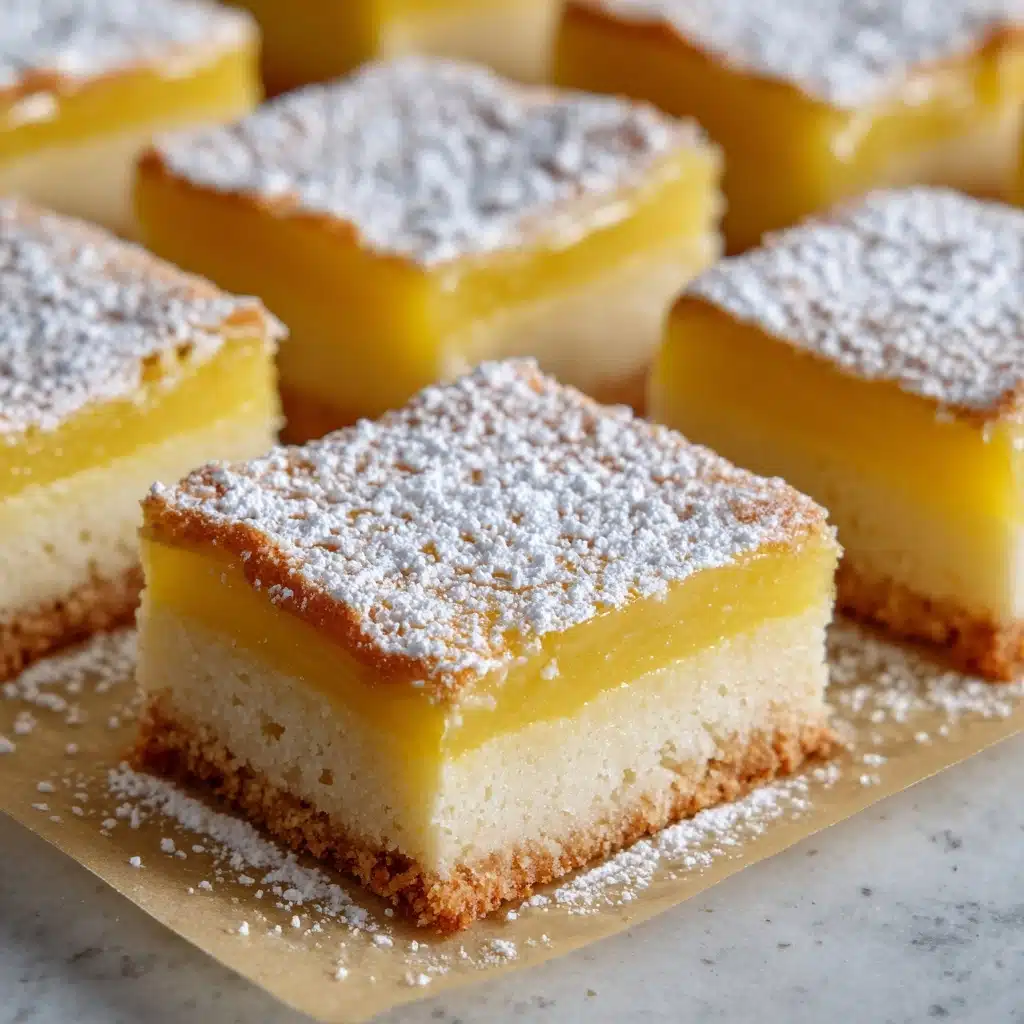
If you’re searching for dessert magic that’s chewy, buttery, and infused with the irresistible aroma of coconut, look no further than Hawaiian Butter Mochi. A beloved treat across the Hawaiian islands, this naturally gluten-free rice cake is beyond easy to whip up, uses pantry-friendly ingredients, and never fails to draw a crowd at potlucks or family gatherings. One bite, and you’ll be hooked on its unique combination of golden crust and tender, melt-in-your-mouth interior—the perfect showcase for simple island comfort!
Ingredients You’ll Need
What makes Hawaiian Butter Mochi so enticing is the way a handful of humble ingredients come together to create pure dessert bliss. Each one plays a crucial role in the taste, texture, or gorgeous golden color, from the mochiko’s chew to coconut milk’s richness.
- Mochiko (sweet rice flour): This glutinous rice flour is the star ingredient, giving the mochi its signature chew and bounce.
- Granulated sugar: Adds sweetness, balancing the richness and helping achieve that irresistible caramelized top.
- Baking powder: Just enough to lend a light lift, ensuring your mochi isn’t heavy or dense.
- Salt: A pinch rounds out all the flavors and enhances the buttery notes.
- Eggs: These bind everything together and contribute to the mochi’s custardy structure.
- Full-fat coconut milk: Provides tropical aroma, creamy richness, and a subtle coconut undertone.
- Evaporated milk: Adds a mellow dairy sweetness and soft texture without overpowering.
- Unsalted butter (melted and slightly cooled): The “butter” in butter mochi—adds luxurious flavor and golden color.
- Vanilla extract: Enhances aroma and rounds out the sweetness for that comforting, bakery-fresh vibe.
How to Make Hawaiian Butter Mochi
Step 1: Prep Your Oven and Pan
Begin by preheating your oven to 350°F (175°C). While the oven gets nice and toasty, lightly grease a 9×13-inch baking dish with a bit of butter or nonstick spray. This is key to making sure your Hawaiian Butter Mochi lifts out easily and develops those lovely golden edges.
Step 2: Mix the Dry Ingredients
In a large mixing bowl, whisk together the mochiko, sugar, baking powder, and salt. Take a moment to disperse the baking powder and salt evenly so you don’t end up with any pockets—every bite should taste just right.
Step 3: Combine the Wet Ingredients
In a separate bowl, lightly beat the eggs. Add the full-fat coconut milk, evaporated milk, melted butter (let it cool slightly so it doesn’t cook the eggs), and vanilla extract. Stir the mixture until everything is thoroughly combined, making sure the coconut milk is smoothly blended in.
Step 4: Bring Everything Together
Pour the wet ingredients into the bowl of dry ingredients. Grab a sturdy spatula or whisk and mix until you have a thick, silky-smooth batter that’s free of lumps. This moment is where the magic of Hawaiian Butter Mochi starts to come together—the batter will look almost glossy!
Step 5: Bake to Perfection
Pour your batter into the prepared baking dish, using your spatula to nudge it into corners and smooth the top. Slide it into the oven and bake for 55–60 minutes. You’re looking for a golden brown top, set edges, and a toothpick inserted in the center that comes out mostly clean (a little stickiness is normal for chewy mochi). Don’t be tempted to slice right away—the texture firms up beautifully as it cools.
How to Serve Hawaiian Butter Mochi
Garnishes
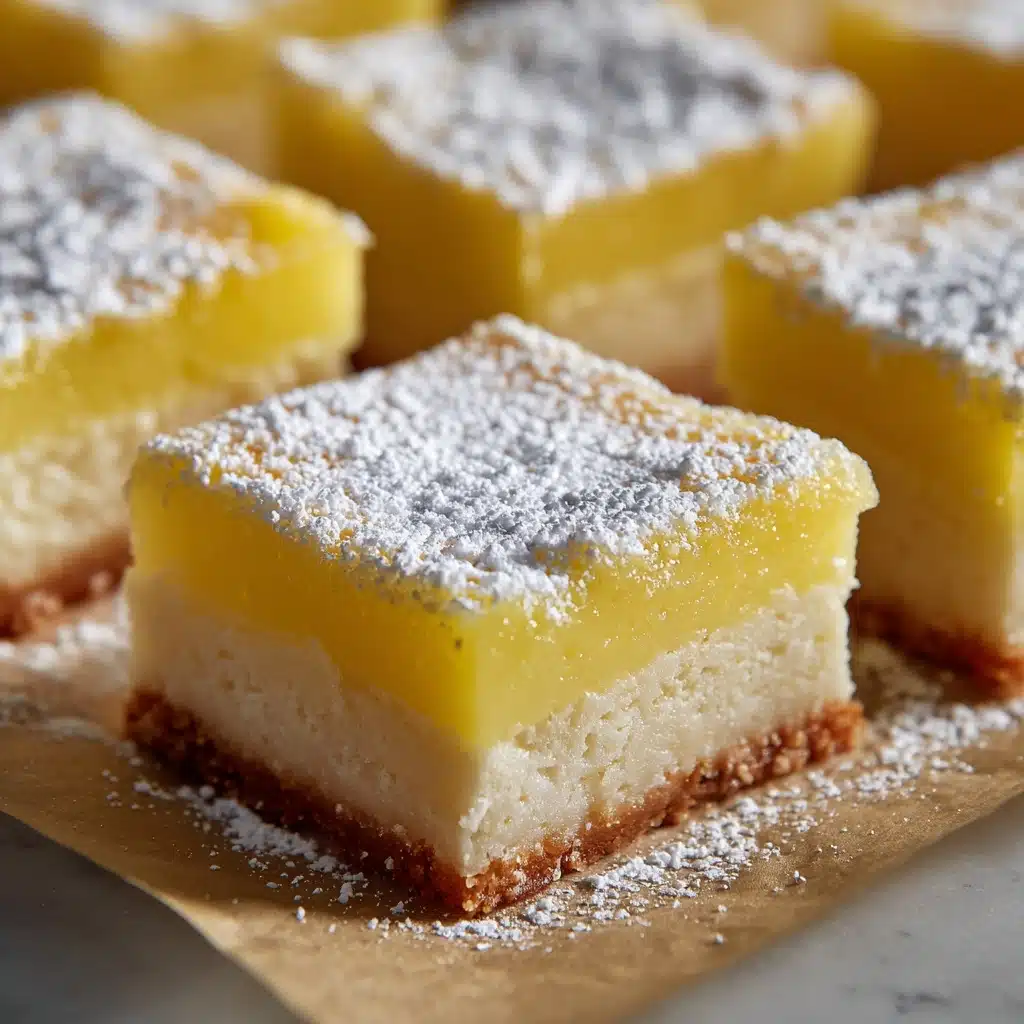
A classic Hawaiian Butter Mochi square truly shines on its own, but a gentle dusting of powdered sugar, a sprinkle of toasted coconut flakes, or even a few black sesame seeds add a touch of flair and contrast. Each bite becomes a little celebration with just a bit of garnish!
Side Dishes
For a sweet spread, serve with fresh island fruit like pineapple, mango, or papaya. The bright, juicy flavors cut the richness and bring a bit of color to your dessert table. It’s also delightful with a hot cup of green tea or iced coffee, echoing the flavors you’d find at a local Hawaiian gathering.
Creative Ways to Present
While squares are traditional, try using fun-shaped cookie cutters for special occasions, or create a layered dessert parfait with diced Hawaiian Butter Mochi, coconut whipped cream, and berries. For parties, insert toothpicks for grab-and-go treats, or skewer cubes with fruit for playful, tropical dessert kabobs.
Make Ahead and Storage
Storing Leftovers
Hawaiian Butter Mochi keeps beautifully at room temperature in an airtight container for up to three days. If you’re in a hotter climate or want to savor your mochi a little longer, store it in the fridge for up to a week to maintain its chewy goodness.
Freezing
To freeze, simply wrap individual squares tightly in plastic wrap and seal them in a freezer bag. Hawaiian Butter Mochi freezes surprisingly well, making it a perfect make-ahead treat—just thaw at room temperature when a craving strikes.
Reheating
If you love a slightly warm, ultra-soft mochi square, pop a piece in the microwave for 10 to 15 seconds. This revives the chewiness and brings out the aromatic coconut and butter notes fresh as the day it was baked.
FAQs
Can I use regular rice flour instead of mochiko?
Mochiko (sweet rice flour) is essential for that chewy texture we all love in Hawaiian Butter Mochi—regular rice flour just won’t achieve the same result. It’s worth hunting down mochiko for your bake!
Is Hawaiian Butter Mochi gluten-free?
Yes, it is naturally gluten-free since mochiko is made from glutinous rice, not wheat. Always double-check labels, but this recipe can be enjoyed by most people sensitive to gluten.
How do I know when the mochi is done baking?
The top should be a lovely golden brown, and a toothpick inserted in the center should come out nearly clean—mochi will have a little stick, but it shouldn’t be wet. The texture will firm up as it cools.
Can I add other flavors?
Absolutely! Try folding in shredded coconut, a touch of rum or pandan extract, or even scattering chocolate chips on top before baking. Hawaiian Butter Mochi is endlessly customizable.
What’s the best way to cut butter mochi without sticking?
Wait until your mochi is completely cooled, then use a sharp, slightly damp knife for clean, tidy squares. Wipe the blade between cuts for picture-perfect pieces every time.
Final Thoughts
I truly can’t recommend Hawaiian Butter Mochi enough—it’s a joyful, easy dessert that brings sunshine to any table and always has people reaching for seconds. Give it a try, share it with friends, and let yourself fall in love with a little taste of the islands!
PrintHawaiian Butter Mochi Recipe
Indulge in the delightful flavors of Hawaii with this Hawaiian Butter Mochi recipe. A chewy, buttery, and slightly sweet treat that will transport you to the islands with every bite.
- Prep Time: 10 minutes
- Cook Time: 55 minutes
- Total Time: 1 hour 5 minutes
- Yield: 20 squares 1x
- Category: Dessert
- Method: Baking
- Cuisine: Hawaiian
- Diet: Vegetarian
Ingredients
Dry Ingredients:
- 1 box (16 oz) mochiko (sweet rice flour)
- 2 cups granulated sugar
- 2 teaspoons baking powder
- 1/2 teaspoon salt
Wet Ingredients:
- 4 large eggs
- 1 can (13.5 oz) full-fat coconut milk
- 1 can (12 oz) evaporated milk
- 1/2 cup unsalted butter, melted and slightly cooled
- 1 teaspoon vanilla extract
Instructions
- Preheat the oven: Preheat the oven to 350°F (175°C). Grease a 9×13-inch baking dish.
- Mix dry ingredients: In a large bowl, whisk together mochiko, sugar, baking powder, and salt.
- Combine wet ingredients: In another bowl, beat the eggs, then add coconut milk, evaporated milk, melted butter, and vanilla extract.
- Combine mixtures: Pour the wet ingredients into the dry and mix until fully combined and smooth.
- Bake: Pour the batter into the prepared baking dish and spread evenly. Bake for 55–60 minutes, or until the top is golden brown and a toothpick inserted in the center comes out mostly clean.
- Cool and serve: Let cool completely in the pan before cutting into squares.
Notes
- Butter mochi develops its chewy texture as it cools—don’t rush slicing.
- Store leftovers at room temperature in an airtight container for up to 3 days, or refrigerate for up to a week.
Nutrition
- Serving Size: 1 square
- Calories: ~200 kcal
- Sugar: ~18 g
- Sodium: ~110 mg
- Fat: ~8 g
- Saturated Fat: ~6 g
- Unsaturated Fat: ~2 g
- Trans Fat: ~0 g
- Carbohydrates: ~28 g
- Fiber: ~0 g
- Protein: ~3 g
- Cholesterol: ~45 mg

