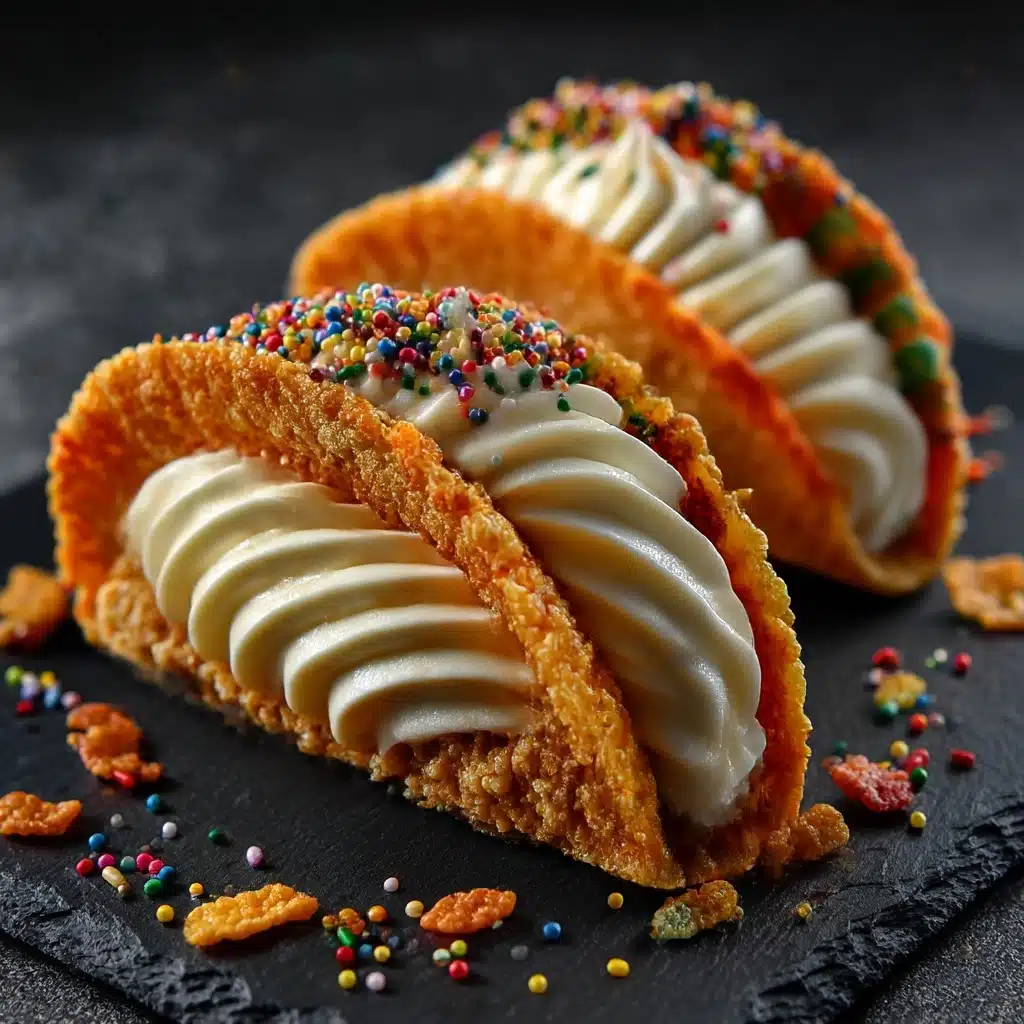
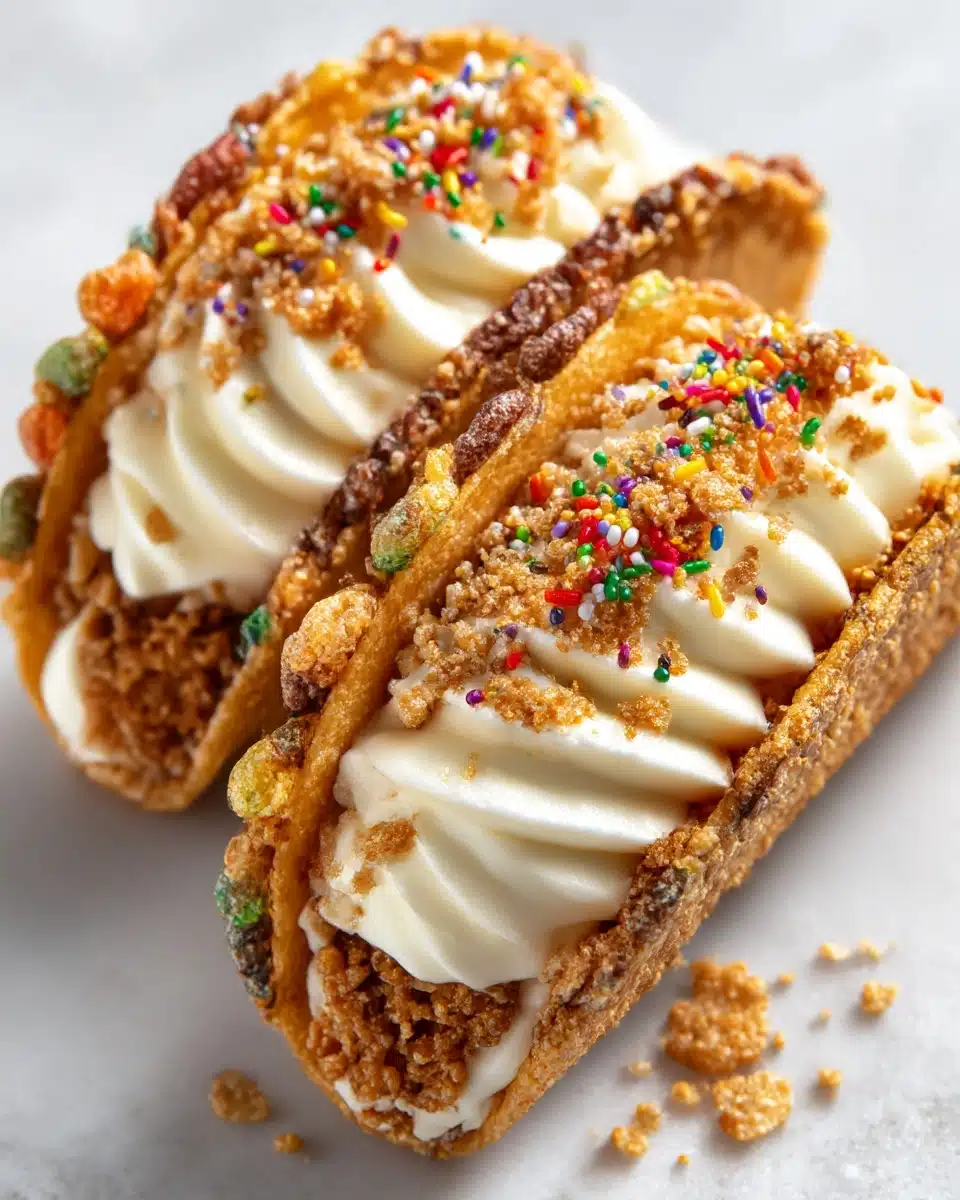
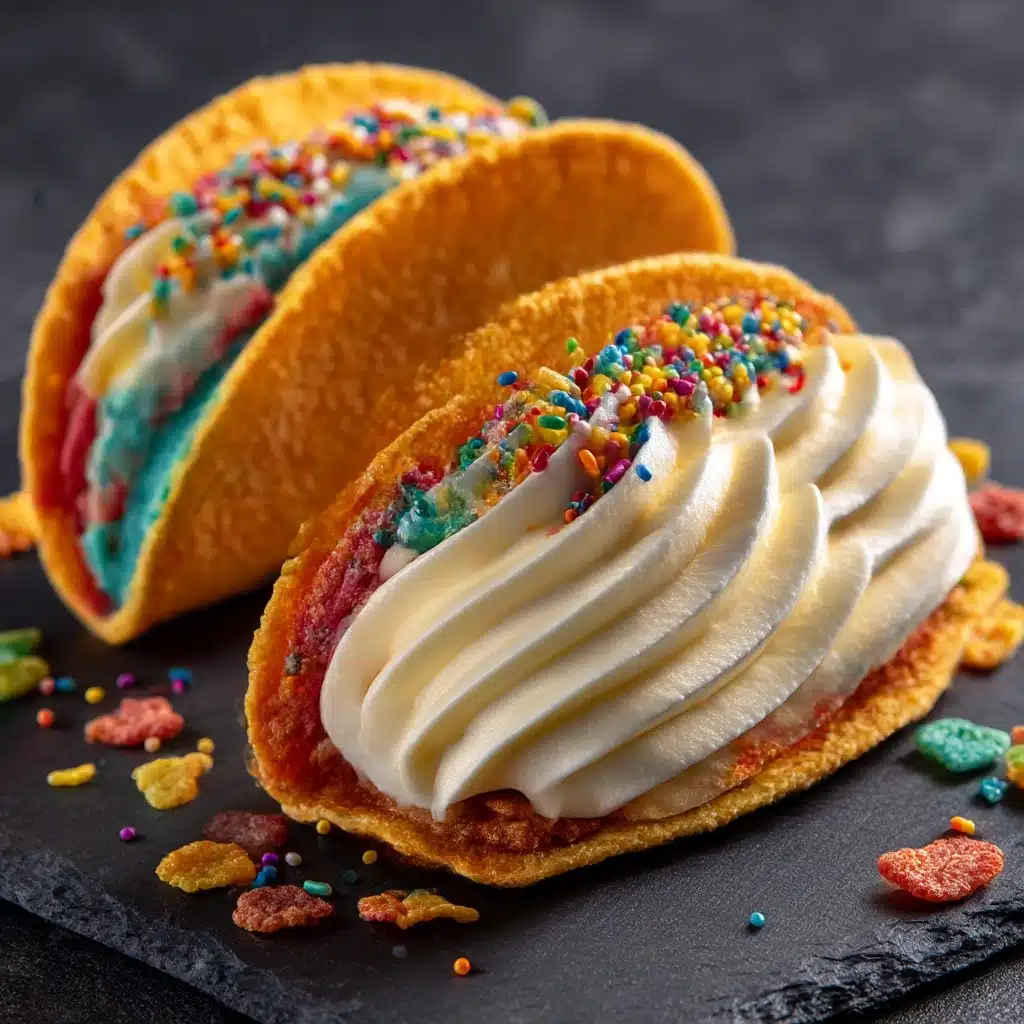
Colorful, whimsical, and insanely delicious, Fruity Pebbles Cheesecake Tacos are the ultimate mash-up of two classic treats in one bite. Imagine a zippy cheesecake filling cradled in a crunchy, rainbow-speckled shell that actually tastes like your childhood favorite cereal. These cute dessert tacos bring together creamy, tangy, crispy, and sweet in every bite — and honestly, nothing brightens up a dessert tray (or a Tuesday night) quite like them! Whether you’re entertaining a crowd or just need a playful pick-me-up, this is the recipe you’ll want to show off.
Ingredients You’ll Need
Don’t let the vibrant look fool you — making Fruity Pebbles Cheesecake Tacos is surprisingly simple! Every ingredient here adds a special touch, from the cereal shells to that dreamy cheesecake filling. Grab these pantry basics, and you’re halfway to dessert heaven.
- Fruity Pebbles Cereal: For those signature pops of color and a uniquely sweet, nostalgic flavor that turns the tacos into showstoppers.
- Mini Flour Tortillas: Perfectly size for handheld treats, and they get stunningly crispy when baked or fried.
- Cream Cheese (softened): The heart of your cheesecake filling — creamy, tangy, and absolutely luscious.
- Powdered Sugar: Adds just the right amount of sweetness and helps to stiffen the cheesecake mixture.
- Heavy Cream: Whips into the filling for that irresistible, cloudlike texture.
- Vanilla Extract: Brings a subtle aromatic warmth that rounds out the filling perfectly.
- Butter (melted): Helps the cereal adhere to the tortilla shells and gives them a golden finish.
- Sprinkles or More Fruity Pebbles (optional): For an extra pop of color on top — go wild!
How to Make Fruity Pebbles Cheesecake Tacos
Step 1: Prepare the Taco Shells
Start by grabbing your mini flour tortillas and brushing both sides with the melted butter. Next, press or roll them generously in Fruity Pebbles cereal, ensuring that every inch is covered in those vibrant gems. Drape each tortilla over the oven rack bars or prop them in a taco holder, then bake at 350°F until crisp and lightly golden, about 8-10 minutes. Let them cool completely before filling.
Step 2: Whip Up the Cheesecake Filling
In a mixing bowl, blend together the softened cream cheese, powdered sugar, and vanilla extract until silky smooth. In a separate bowl, whip the heavy cream until stiff peaks form. Gently fold the whipped cream into the cream cheese mixture, taking care not to deflate all that luscious volume. You want a fluffy, rich filling that’s easy to pipe or spoon.
Step 3: Assemble the Fruity Pebbles Cheesecake Tacos
Once the taco shells have cooled, spoon or pipe the cheesecake filling into each one, allowing it to mound up temptingly over the top. If you’re feeling extra, sprinkle over a few more Fruity Pebbles or some colorful sprinkles just before serving. Each taco should look like a party in dessert form!
Step 4: Chill and Serve
For the best texture and flavor, pop your loaded Fruity Pebbles Cheesecake Tacos into the fridge for about 30 minutes. This short chill time helps the filling set and makes each bite ultra refreshing. Serve immediately and watch these rainbow beauties disappear in minutes.
How to Serve Fruity Pebbles Cheesecake Tacos

Garnishes
Add an extra flourish to your Fruity Pebbles Cheesecake Tacos with a generous dusting of Fruity Pebbles or a scattering of rainbow sprinkles right on top. A dollop of whipped cream or a fresh berry on the side wouldn’t hurt either, and edible glitter takes them straight into celebration territory.
Side Dishes
Balance all that sweet fun with fresh fruit salad, a scoop of vanilla ice cream, or even a cold glass of milk. Going for a party platter? Pair these tacos with mini brownies or funfetti cupcakes to really impress your guests and keep the color theme going strong.
Creative Ways to Present
Try serving these in a taco holder lined with extra cereal, or nestle them in colorful cupcake wrappers for individual grab-and-go desserts. For a DIY twist, let guests fill their own tacos with assorted toppings — think mini chocolate chips, chopped strawberries, or drizzles of berry sauce for a show-stopping dessert bar.
Make Ahead and Storage
Storing Leftovers
If you have extra Fruity Pebbles Cheesecake Tacos (trust me, it’s rare!), store them in an airtight container in the fridge for up to 2 days. The shells may soften a bit but will still be delightfully tasty — a quick chilling helps maintain their crunch.
Freezing
While the cheesecake filling freezes well, the cereal-coated shells tend to lose their crispness. If you’d like to make components ahead, freeze just the filling in an airtight bag for up to a month, then thaw in the fridge and assemble fresh tacos before serving for best results.
Reheating
Reheating isn’t recommended for Fruity Pebbles Cheesecake Tacos, since warming will soften the shells and melt the filling. If you want to restore a bit of crunch, bake unfilled shells briefly in the oven before filling, but always serve these tacos chilled for the real wow factor.
FAQs
Can I use a different cereal for the shells?
Absolutely! While Fruity Pebbles are iconic for this recipe, try Cocoa Pebbles, Froot Loops, or any crunchy, colorful cereal you love for a personalized twist on Fruity Pebbles Cheesecake Tacos.
What if I don’t have mini tortillas?
No worries! You can cut standard flour tortillas into smaller rounds using a biscuit cutter or large glass. Just be sure they’re big enough to hold the filling but small enough for a handheld treat.
Can these be made gluten-free?
Yes! Swap the flour tortillas for your favorite gluten-free wraps, and double-check that your cereal is certified gluten-free. The rest of the ingredients are naturally gluten-free, making this treat easy to adapt.
Is there a way to lighten up the filling?
Definitely. Substitute reduced-fat cream cheese and swap heavy cream for whipped topping if you want a lighter filling. Greek yogurt is also a good stand-in for added tang and fewer calories.
How far in advance can I assemble Fruity Pebbles Cheesecake Tacos?
For crunchiest results, assemble them no more than an hour before serving. You can prep the shells and filling separately a day in advance and keep them chilled until you’re ready to put it all together.
Final Thoughts
If you’re looking to put a little color, crunch, and creativity on the table, Fruity Pebbles Cheesecake Tacos are your ticket. Each bite is pure fun, and the recipe is easy enough to tackle with kids or friends. Give these a try and prepare to fall in love with your new favorite dessert taco!
PrintFruity Pebbles Cheesecake Tacos Recipe
These Fruity Pebbles Cheesecake Tacos are a whimsical and delicious dessert that combines the fun flavors of Fruity Pebbles cereal with creamy cheesecake filling, all nestled in a crispy taco shell. Perfect for parties or a fun family dessert!
- Prep Time: 20 minutes
- Cook Time: 10 minutes
- Total Time: 30 minutes
- Yield: 8 tacos
- Category: Dessert
- Method: Baking
- Cuisine: American
- Diet: Vegetarian
Ingredients
For the Fruity Pebbles Taco Shells:
- Taco-sized flour tortillas
- Butter
- Fruity Pebbles cereal
- Sugar
- Cinnamon
For the Cheesecake Filling:
- Cream cheese
- Vanilla extract
- Powdered sugar
- Whipped cream
Instructions
- Prepare the Fruity Pebbles Taco Shells: Brush taco-sized flour tortillas with melted butter, then sprinkle with a mixture of crushed Fruity Pebbles, sugar, and cinnamon. Bake until crispy.
- Make the Cheesecake Filling: In a bowl, combine cream cheese, vanilla extract, powdered sugar, and whipped cream until smooth.
- Assemble the Cheesecake Tacos: Fill each Fruity Pebbles taco shell with a generous amount of the cheesecake filling. Top with extra Fruity Pebbles for garnish.
Notes
- You can customize these cheesecake tacos with different cereals for the taco shells for a variety of flavors.
- These tacos are best enjoyed fresh but can be stored in the refrigerator for a day.
Nutrition
- Serving Size: 1 taco
- Calories: 280
- Sugar: 18g
- Sodium: 220mg
- Fat: 15g
- Saturated Fat: 8g
- Unsaturated Fat: 6g
- Trans Fat: 0g
- Carbohydrates: 30g
- Fiber: 1g
- Protein: 4g
- Cholesterol: 40mg


