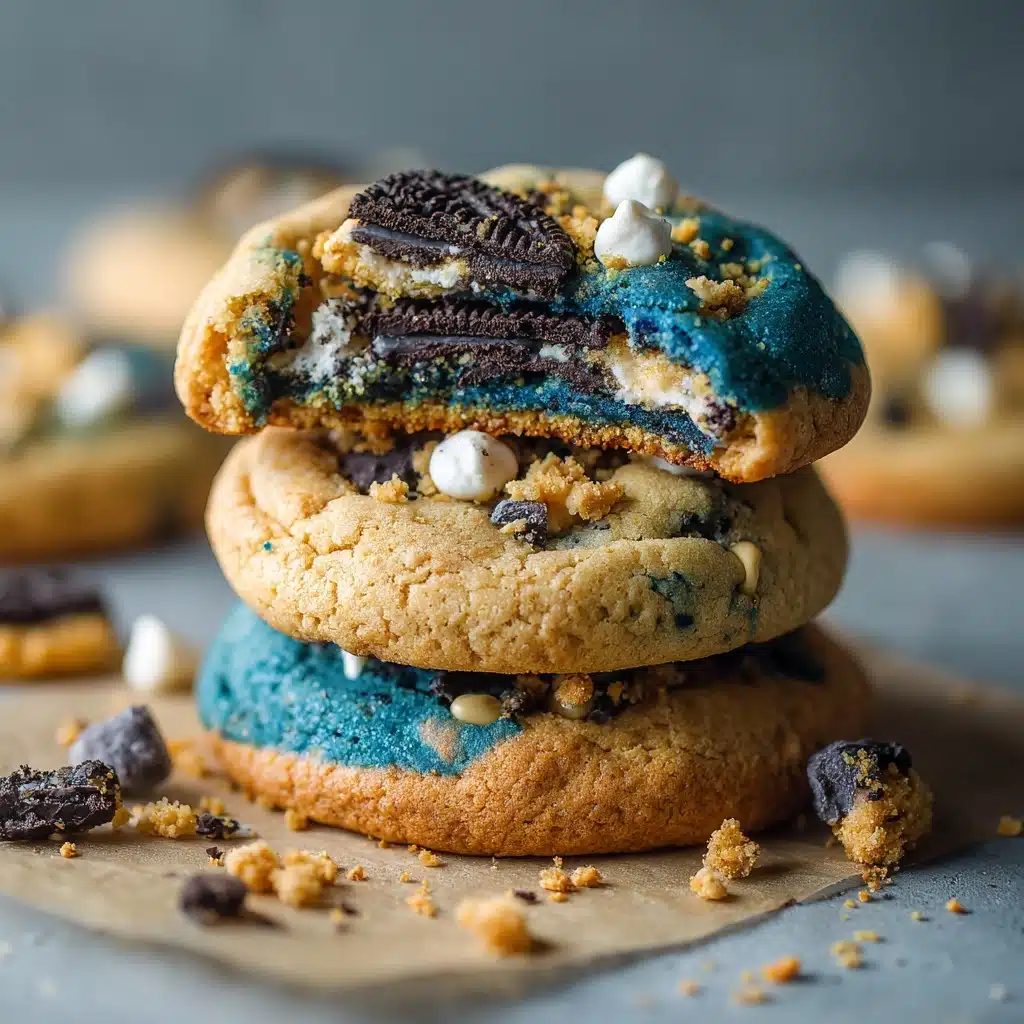
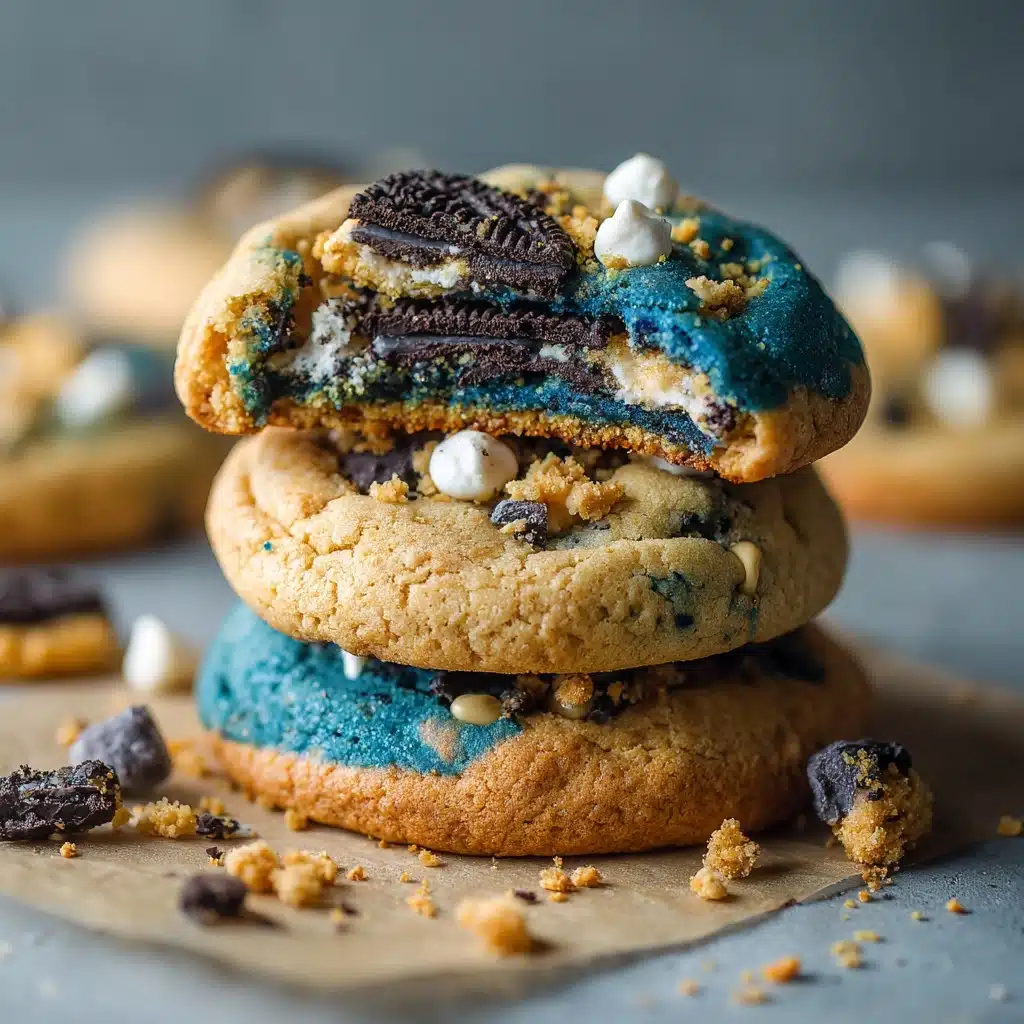
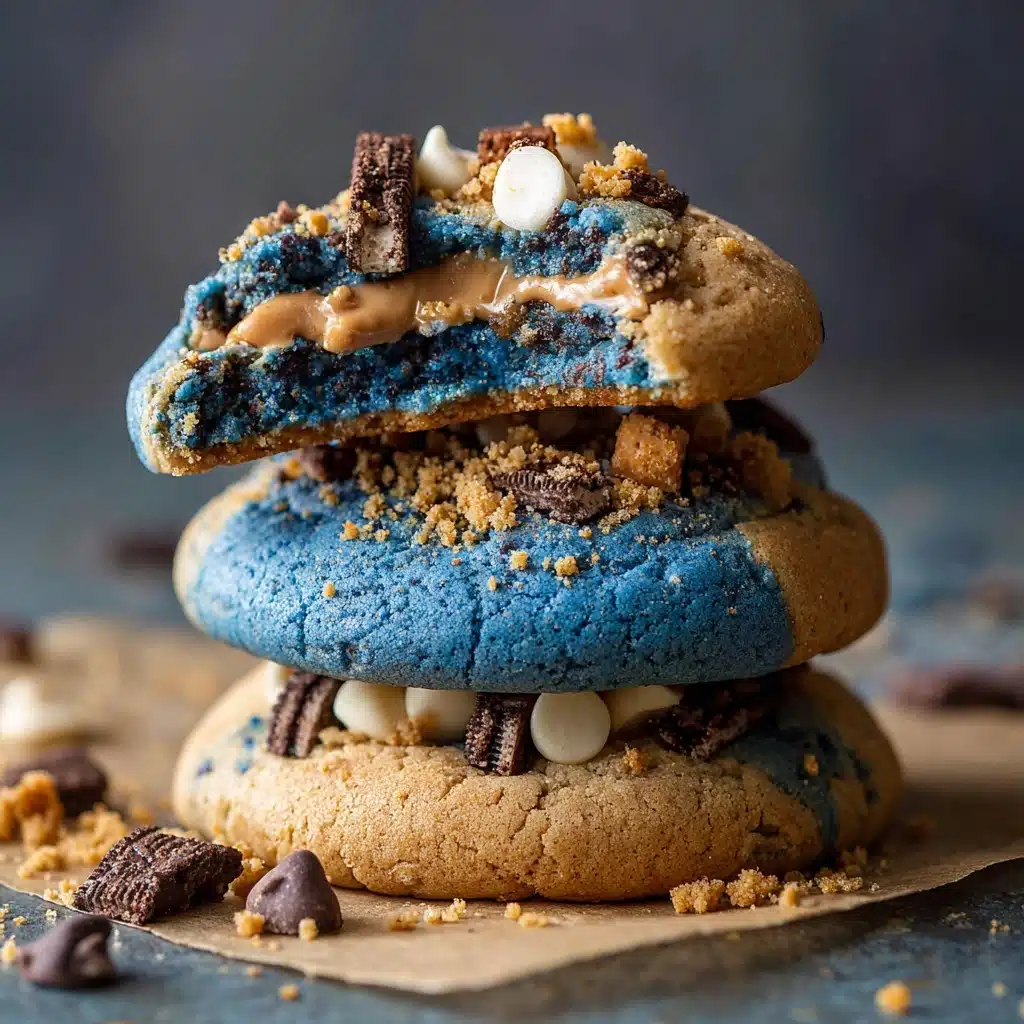
If you’ve ever wanted to bake a batch of cookies that’s as fun to make as it is to eat, Cookie Monster Cookies are the answer! These blue-hued treats are bursting with charm—soft and chewy, studded generously with mini chocolate chips, cookie pieces, plus a pop of whimsy from candy eyeballs. Inspired by everyone’s favorite crumb-loving character, Cookie Monster Cookies are sure to spark smiles at any gathering. Whether you’re baking them for a children’s party or just because you love a playful twist on classic cookies, this recipe promises a delicious, joyful treat every single time.
Ingredients You’ll Need
This recipe keeps things simple, but each ingredient is absolutely essential for getting that iconic color, flavor, and delightful texture in every bite. From creamy butter to the striking blue food coloring, every element is carefully chosen to create the unforgettable Cookie Monster magic.
- Unsalted butter (½ cup, softened): Provides richness and helps the cookies stay soft and chewy inside.
- Granulated sugar (½ cup): Sweetens the dough and helps achieve just the right amount of spread during baking.
- Brown sugar (½ cup, packed): Adds a deeper caramel flavor and extra moistness to the cookies.
- Large egg (1): Binds the ingredients and gives structure so your cookies hold together beautifully.
- Vanilla extract (1 teaspoon): Enhances all the other flavors and brings that classic homemade cookie aroma.
- Blue gel food coloring: The secret to that signature Cookie Monster blue—gel coloring gives vibrant color without altering the texture.
- All-purpose flour (1 ½ cups): The foundation that gives the cookies their form and perfect bite.
- Baking soda (½ teaspoon): Adds just enough lift so your cookies are thick but not cakey.
- Salt (½ teaspoon): Balances the sweetness and makes all the other flavors pop.
- Mini chocolate chips (½ cup): Brings pockets of melty chocolate in every cookie—what would Cookie Monster do without these?
- Mini Oreos, roughly chopped (½ cup): Adds crunch and pure nostalgia in every bite.
- Mini chocolate chip cookies (½ cup): Extra cookie goodness baked right in—store-bought or homemade both work flawlessly.
- Candy eyeballs (optional): For that instantly recognizable Cookie Monster look that kids (and adults!) absolutely adore.
How to Make Cookie Monster Cookies
Step 1: Prep Your Oven and Baking Sheet
Start by preheating your oven to 350°F (175°C) so it reaches the perfect temperature while you’re preparing your dough. Line a baking sheet with parchment paper—this ensures your cookies won’t stick and makes cleanup a breeze.
Step 2: Cream the Butter and Sugars
In a large mixing bowl, cream together the softened unsalted butter, granulated sugar, and brown sugar. You want the mixture to be light and fluffy, which helps produce that excellent soft cookie texture. Don’t rush this step—the more you beat, the better your cookies will turn out!
Step 3: Add Wet Ingredients and Color
Once your butter and sugars are perfectly creamed, beat in your egg and vanilla extract. Now the fun part: Add several drops of blue gel food coloring. Stir well to ensure an even, vibrant blue. Add more drops if you want a deeper shade—it’s all up to your personal Cookie Monster vision.
Step 4: Mix Dry Ingredients
In a separate bowl, whisk together the all-purpose flour, baking soda, and salt. Mixing these separately first ensures even leavening, so you won’t have any uneven bites. Gradually add these dry ingredients to your wet mixture, stirring until just combined. Avoid over-mixing, which can lead to tough cookies.
Step 5: Fold in the Fun Stuff
This is where Cookie Monster Cookies come alive! Gently fold in the mini chocolate chips, roughly chopped mini Oreos, and mini chocolate chip cookies. Every stir adds a pocket of joy to the dough.
Step 6: Scoop and Decorate
Portion tablespoon-sized scoops of dough onto your prepared baking sheet, making sure to leave about 2 inches between each for spreading. If you’re using them, press a few candy eyeballs onto the tops. It instantly creates that playful, cookie-loving face everyone recognizes.
Step 7: Bake to Perfection
Bake your Cookie Monster Cookies for 10 to 12 minutes. The edges should look set, but the centers might still be a little soft—that’s perfect! Let them cool on the baking pan for 5 minutes so they firm up, then transfer to a wire rack to finish cooling and achieve that ideal chewiness.
How to Serve Cookie Monster Cookies

Garnishes
You can take the whimsy up a notch by adding extra mini chocolate chips and a couple of spare mini cookies on top right after baking. If you adore color, a few edible glitter sprinkles create a magical effect. And those candy eyeballs? They’re the ultimate finishing touch that should not be skipped!
Side Dishes
These cookies pair perfectly with an icy glass of milk—classic, right? But they’re also fantastic alongside a scoop of vanilla ice cream or nestled into a bowl of pudding for an extra-indulgent treat. Don’t be shy—Cookie Monster Cookies love to share the stage.
Creative Ways to Present
For parties, stack the cookies into little towers and tuck them into paper cupcake wrappers for a grab-and-go snack. Arrange them on a bright blue platter for full Cookie Monster effect, or set up a “decorate your own cookie” bar with extra toppings! You can even pack them as sweet surprises in lunchboxes.
Make Ahead and Storage
Storing Leftovers
Store your completely cooled Cookie Monster Cookies in an airtight container at room temperature. They’ll stay fresh and soft for up to five days—if they last that long! A slice of bread in the container helps keep them ultra-moist.
Freezing
Both the unbaked dough (scooped into balls) and fully baked cookies freeze wonderfully. Freeze the dough on a sheet, then transfer to a zip-top bag for up to two months—bake straight from frozen, just adding a minute or two to the baking time. Baked cookies also freeze well; just thaw at room temperature when you’re ready to indulge.
Reheating
For that fresh-from-the-oven magic, pop a cookie in the microwave for 8 to 10 seconds. If you’re warming a bigger batch, a quick turn in a 300°F oven for a few minutes does the trick. This way, your Cookie Monster Cookies are always as soft and gooey as you crave!
FAQs
Can I use a different food coloring instead of gel?
Gel food coloring is strongly recommended since it gives a bold blue hue without making the dough too runny, but you can use liquid food coloring—just add a little extra flour if the dough feels too soft.
What if I don’t have mini Oreos or mini cookies?
No problem! Crush up regular-sized Oreos or cookies and measure out half a cup—they’ll blend perfectly into the dough and keep the Cookie Monster spirit alive.
How do I prevent my Cookie Monster Cookies from spreading too much?
If your dough feels extra soft, chill it for 20 minutes before baking. This helps the cookies keep their shape and stay thick and chewy.
Are these cookies safe for nut allergies?
The base recipe is nut-free, but always check your label on add-ins, and skip anything processed in facilities with nuts if you’re baking for someone with an allergy. Customization is easy!
Can I double the recipe?
Absolutely! Cookie Monster Cookies are a hit at big gatherings, and this recipe doubles seamlessly. Just use two baking sheets or work in batches as needed.
Final Thoughts
Trust me, you’ll fall in love with Cookie Monster Cookies as much as every kid (and grown-up!) who’s tried them. Their soft texture, playful looks, and irresistible mix-ins make them stand out. Get ready for smiles, giggles, and lots of requests for seconds—these are simply too fun not to try!
PrintCookie Monster Cookies Recipe
These Cookie Monster Cookies are a whimsical and delicious treat that will delight both kids and adults. With a blue tint and fun candy eyeballs, these cookies are perfect for parties or just a fun snack.
- Prep Time: 15 minutes
- Cook Time: 12 minutes
- Total Time: 27 minutes
- Yield: 24 cookies 1x
- Category: Dessert
- Method: Baking
- Cuisine: American
- Diet: Vegetarian
Ingredients
Cookie Dough:
- 1/2 cup unsalted butter (softened)
- 1/2 cup granulated sugar
- 1/2 cup brown sugar (packed)
- 1 large egg
- 1 teaspoon vanilla extract
- blue gel food coloring
Dry Ingredients:
- 1 1/2 cups all-purpose flour
- 1/2 teaspoon baking soda
- 1/2 teaspoon salt
Mix-ins:
- 1/2 cup mini chocolate chips
- 1/2 cup mini Oreos (roughly chopped)
- 1/2 cup mini chocolate chip cookies (store-bought or homemade)
- candy eyeballs (optional for decoration)
Instructions
- Preheat the Oven: Preheat the oven to 350°F (175°C) and line a baking sheet with parchment paper.
- Cream Butter and Sugars: In a large mixing bowl, cream the butter, granulated sugar, and brown sugar until light and fluffy. Beat in the egg, vanilla extract, and blue gel food coloring until evenly tinted.
- Mix Dry Ingredients: In a separate bowl, whisk together the flour, baking soda, and salt. Gradually mix the dry ingredients into the wet ingredients until combined.
- Add Mix-ins: Gently fold in the chocolate chips, mini Oreos, and mini cookies.
- Bake: Scoop tablespoon-sized portions of dough onto the prepared baking sheet, spacing them about 2 inches apart. Press candy eyeballs into the tops if using. Bake for 10–12 minutes, or until edges are set and centers are still soft.
- Cool and Serve: Allow to cool on the pan for 5 minutes before transferring to a wire rack.
Notes
- Adjust the intensity of the blue color to your liking.
- These cookies are a fun party treat and especially loved by kids.
- Store in an airtight container for up to 5 days.
Nutrition
- Serving Size: 1 cookie
- Calories: 140
- Sugar: 10g
- Sodium: 95mg
- Fat: 7g
- Saturated Fat: 4g
- Unsaturated Fat: 2g
- Trans Fat: 0g
- Carbohydrates: 18g
- Fiber: 0g
- Protein: 1g
- Cholesterol: 20mg


