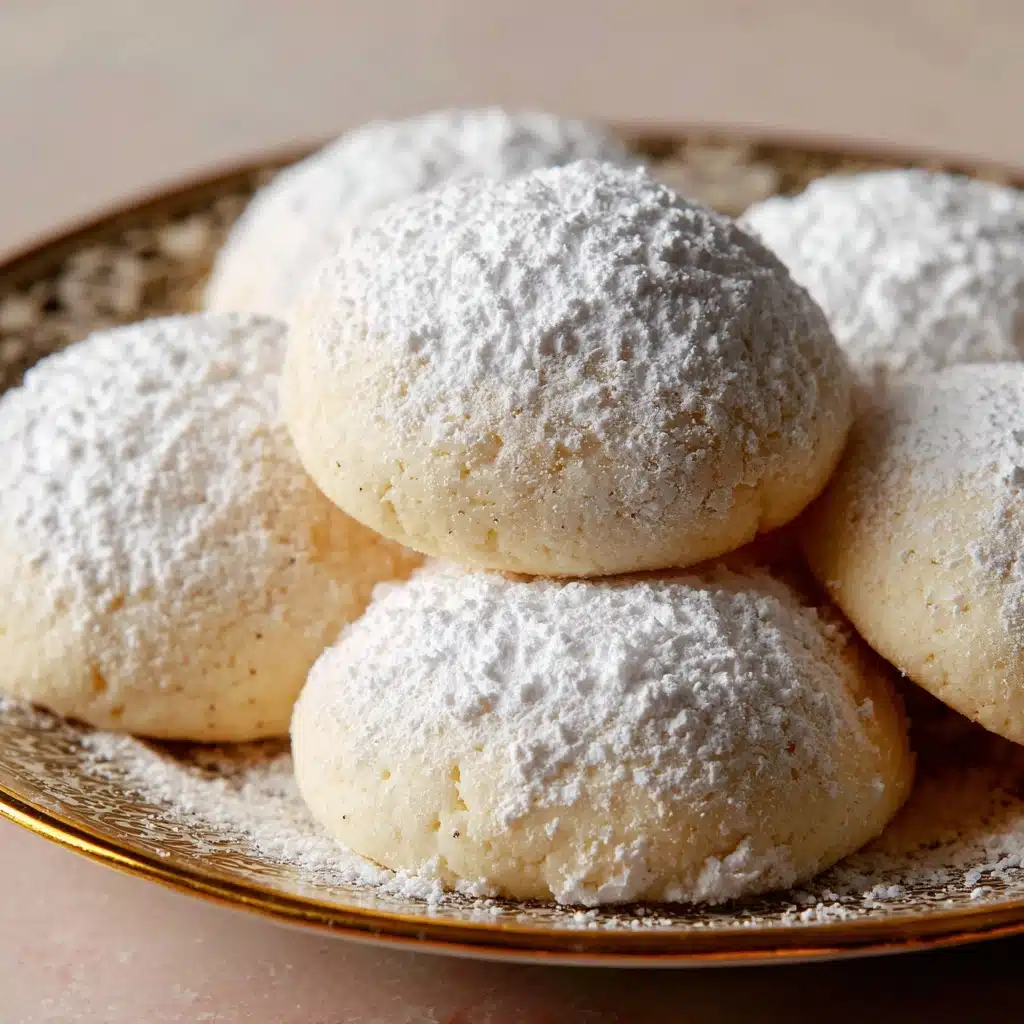
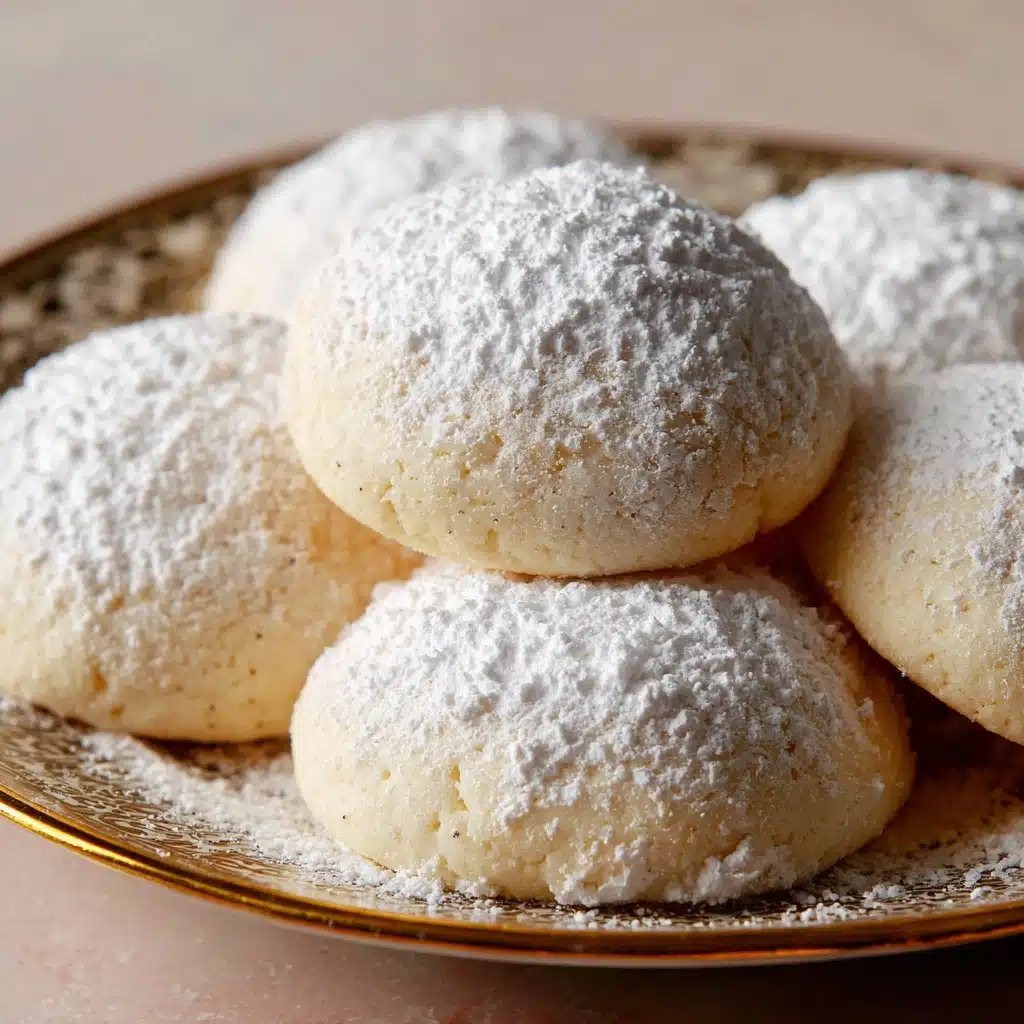
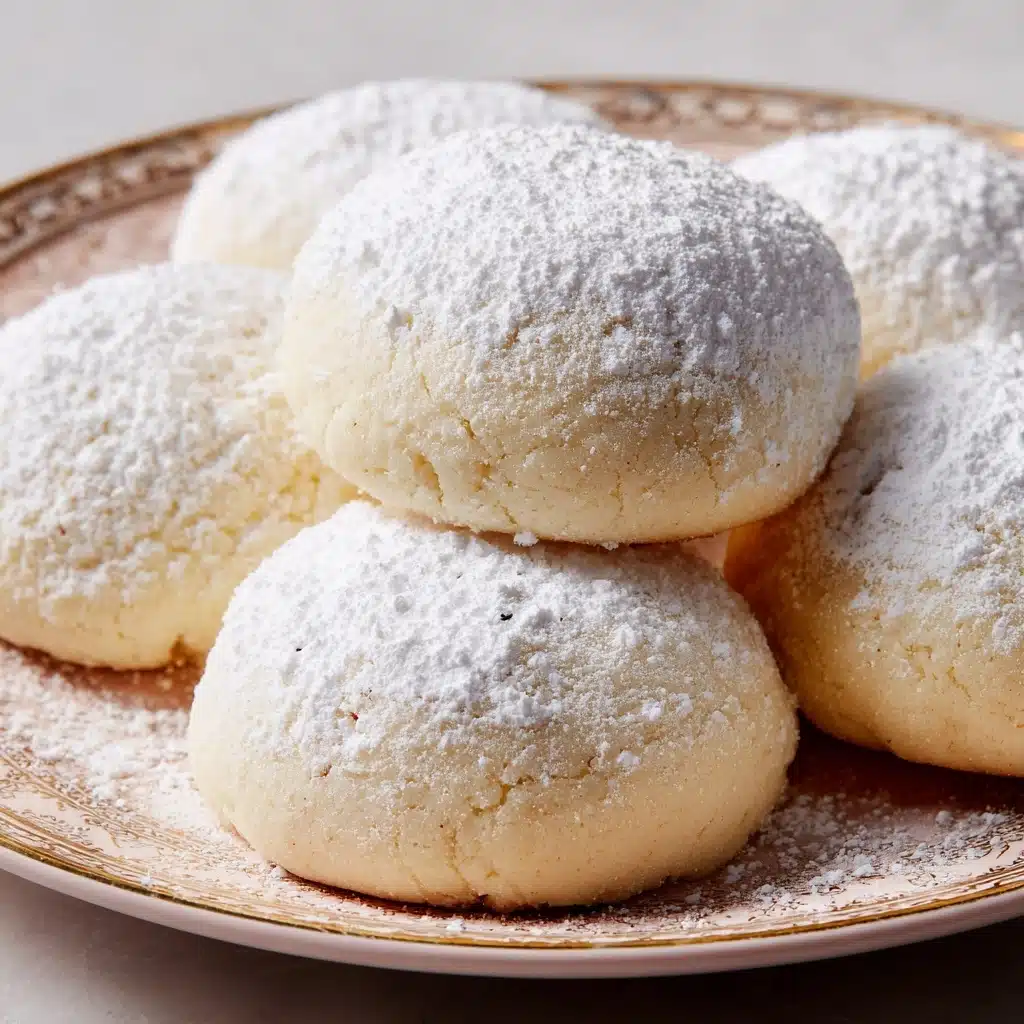
If you crave a cookie that melts in your mouth and transports you straight into a winter wonderland, Condensed Milk Snow Cookies are exactly what you need. These dreamy little treats blend the creamy sweetness of condensed milk with a buttery, delicate crumb, all finished off with a flurry of powdered sugar that looks straight out of a snow globe. Their soft texture and gentle vanilla aroma make them just as delightful during the holidays as they are on an everyday afternoon. Whether you’re whipping up a batch to share or treating yourself, these cookies are the perfect pick-me-up.
Ingredients You’ll Need
Condensed Milk Snow Cookies are a true celebration of simple pantry staples coming together to create absolute magic. By paying attention to the quality of each ingredient, you’ll discover how every single one plays a role in shaping the cookie’s irresistible flavor and enchanting texture.
- Unsalted butter (1/2 cup, softened): The key to a rich, tender crumb—make sure it’s perfectly softened for easier creaming.
- Sweetened condensed milk (1/3 cup): Adds unbeatable creaminess, moistness, and that lovely milky sweetness these cookies are famous for.
- Powdered sugar (1/4 cup, plus extra for dusting): Keeps the cookies ultra-soft and gives that signature “snowy” finish on top.
- Vanilla extract (1 teaspoon): Rounds out the flavor with warmth—try pure vanilla for a bolder taste.
- All-purpose flour (1 cup): The structure-builder, providing just enough bite without weighing things down.
- Cornstarch (1/4 cup): The not-so-secret ingredient that adds extra softness for a melt-in-your-mouth experience.
- Salt (1/4 teaspoon): Balances the sweetness and elevates all the flavors—never underestimate this pinch!
How to Make Condensed Milk Snow Cookies
Step 1: Prep Your Baking Sheet
Start by preheating your oven to 350°F (175°C), then line a baking sheet with parchment paper. This ensures the Condensed Milk Snow Cookies bake evenly and don’t stick, keeping their delicate shape intact. Setting your oven up first also means it’ll be ready to go once your dough is mixed, keeping the process smooth and fuss-free.
Step 2: Cream Together the Wet Ingredients
Grab a mixing bowl and blend the softened butter, sweetened condensed milk, powdered sugar, and vanilla extract until the mixture turns light and fluffy. This step is where the cookie’s signature tender texture and rich taste are born, so take your time and beat until the mix is creamy and airy.
Step 3: Combine the Dry Ingredients
In a separate bowl, whisk together the all-purpose flour, cornstarch, and salt. This dry mixture is the structural base for your cookies, ensuring an even crumb and just the right amount of melt-in-your-mouth tenderness.
Step 4: Make the Dough
Gradually add the dry ingredients into your wet mixture, stirring as you go. The dough should come together gently and feel soft, but not sticky. Overmixing can make cookies tough, so fold until just combined to preserve their delicate bite.
Step 5: Shape the Cookies
Scoop out small portions of dough—about a tablespoon each—and roll them into 1-inch balls. Arrange these on your prepared baking sheet, leaving around 2 inches between each to let the cookies spread beautifully as they bake. Uniform balls help ensure even baking.
Step 6: Bake
Bake the cookies for 12 to 14 minutes, keeping a close eye on their color. You’re looking for lightly golden bottoms while the tops stay pale—this is what keeps Condensed Milk Snow Cookies soft and snowy. Don’t be tempted to overbake; their tenderness is part of their charm!
Step 7: Cool and Dust
After baking, let the cookies cool for a few minutes on the baking sheet before transferring them gently to a wire rack. Once completely cool, dust them generously with powdered sugar for that signature snowy finish. This extra step makes every bite magical!
How to Serve Condensed Milk Snow Cookies

Garnishes
A flurry of powdered sugar is traditional, echoing the cookie’s snowy theme. For a fun twist, try a sprinkle of edible glitter, a tiny pinch of cinnamon, or even a drizzle of white chocolate for a bit of sparkle and flair.
Side Dishes
Condensed Milk Snow Cookies pair beautifully with a hot cup of tea, coffee, or even rich hot chocolate. For a festive gathering, set out a platter of these cookies alongside sliced fruit, a bowl of whipped cream, or a few squares of dark chocolate to balance their sweetness.
Creative Ways to Present
Pile Condensed Milk Snow Cookies high on a vintage cake stand, or layer them in glass jars tied with ribbon for lovely edible gifts. For a holiday gathering, create a snow-inspired dessert board with your cookies at the center, surrounded by fresh berries and sugared cranberries for a pop of color.
Make Ahead and Storage
Storing Leftovers
To keep Condensed Milk Snow Cookies at their best, store them in an airtight container at room temperature. They’ll stay fresh and delicious for up to 5 days—just resist the urge to peek too often, as frequent air exposure can dry them out.
Freezing
These cookies freeze surprisingly well! Place any completely cooled cookies in a single layer inside a freezer-safe container or bag, separating layers with parchment paper. They’ll keep for up to two months. Thaw at room temperature for an hour before serving.
Reheating
If you’d like to revive the just-baked aroma or boost the texture, gently warm thawed Condensed Milk Snow Cookies in a 275°F (135°C) oven for 3–4 minutes. Be careful not to overheat—they just need a subtle touch to bring them back to life.
FAQs
Can I use salted butter instead of unsalted?
Yes, you can, but remember to reduce or omit the added salt in the recipe to avoid oversalting. The flavor will still be delicious—just a bit more savory!
What’s the purpose of the cornstarch?
Cornstarch is the secret weapon for achieving that ethereally light, “snowy” texture. It softens the structure, making each Condensed Milk Snow Cookie practically melt the moment you take a bite.
Can I add mix-ins like nuts or chocolate chips?
Definitely! Finely chopped nuts (such as almonds or pistachios) or mini chocolate chips add lovely surprises, but keep the amounts modest so as not to overwhelm the delicate dough.
What if I don’t have powdered sugar for dusting?
While the snowy look is classic, you can also roll the unbaked dough balls gently in granulated sugar for a slight crunch and shine, or leave them plain for a minimalist finish.
Are Condensed Milk Snow Cookies suitable for gifting?
Absolutely! These cookies are sturdy enough to package and ship, plus they look irresistibly pretty. Tuck them into decorative tins or clear cellophane bags for gifts that will delight anyone on the receiving end.
Final Thoughts
There’s something truly enchanting about baking and sharing Condensed Milk Snow Cookies. From their melt-in-your-mouth crumb to the powdery snow-like finish, these cookies have a way of turning even an ordinary day into something special. I hope you’ll give them a try and make them a sweet tradition in your own kitchen!
PrintCondensed Milk Snow Cookies Recipe
These Condensed Milk Snow Cookies are a delightful treat that will melt in your mouth with every bite. They are easy to make and perfect for the holiday season.
- Prep Time: 15 minutes
- Cook Time: 13 minutes
- Total Time: 28 minutes
- Yield: 20 cookies 1x
- Category: Dessert
- Method: Baking
- Cuisine: European-Inspired
- Diet: Vegetarian
Ingredients
Dough:
- 1/2 cup unsalted butter (softened)
- 1/3 cup sweetened condensed milk
- 1/4 cup powdered sugar (plus more for dusting)
- 1 teaspoon vanilla extract
- 1 cup all-purpose flour
- 1/4 cup cornstarch
- 1/4 teaspoon salt
Instructions
- Preheat the oven: Preheat the oven to 350°F (175°C) and line a baking sheet with parchment paper.
- Mix wet ingredients: In a mixing bowl, cream together the softened butter, sweetened condensed milk, powdered sugar, and vanilla extract until smooth and fluffy.
- Combine dry ingredients: In a separate bowl, whisk together the flour, cornstarch, and salt.
- Combine wet and dry ingredients: Gradually add the dry ingredients to the wet mixture, stirring until a soft dough forms.
- Form dough balls: Scoop out small portions of dough and roll into 1-inch balls. Place on the prepared baking sheet.
- Bake: Bake for 12 to 14 minutes until bottoms are lightly golden.
- Cool: Allow cookies to cool slightly on the pan, then transfer to a wire rack to cool completely.
- Dust with sugar: Dust generously with powdered sugar before serving.
Notes
- For added flavor, mix in a few drops of almond extract or a pinch of cinnamon.
- Store in an airtight container at room temperature for up to 5 days.
Nutrition
- Serving Size: 1 cookie
- Calories: 100
- Sugar: 5 g
- Sodium: 25 mg
- Fat: 6 g
- Saturated Fat: 4 g
- Unsaturated Fat: 2 g
- Trans Fat: 0 g
- Carbohydrates: 11 g
- Fiber: 0 g
- Protein: 1 g
- Cholesterol: 15 mg


