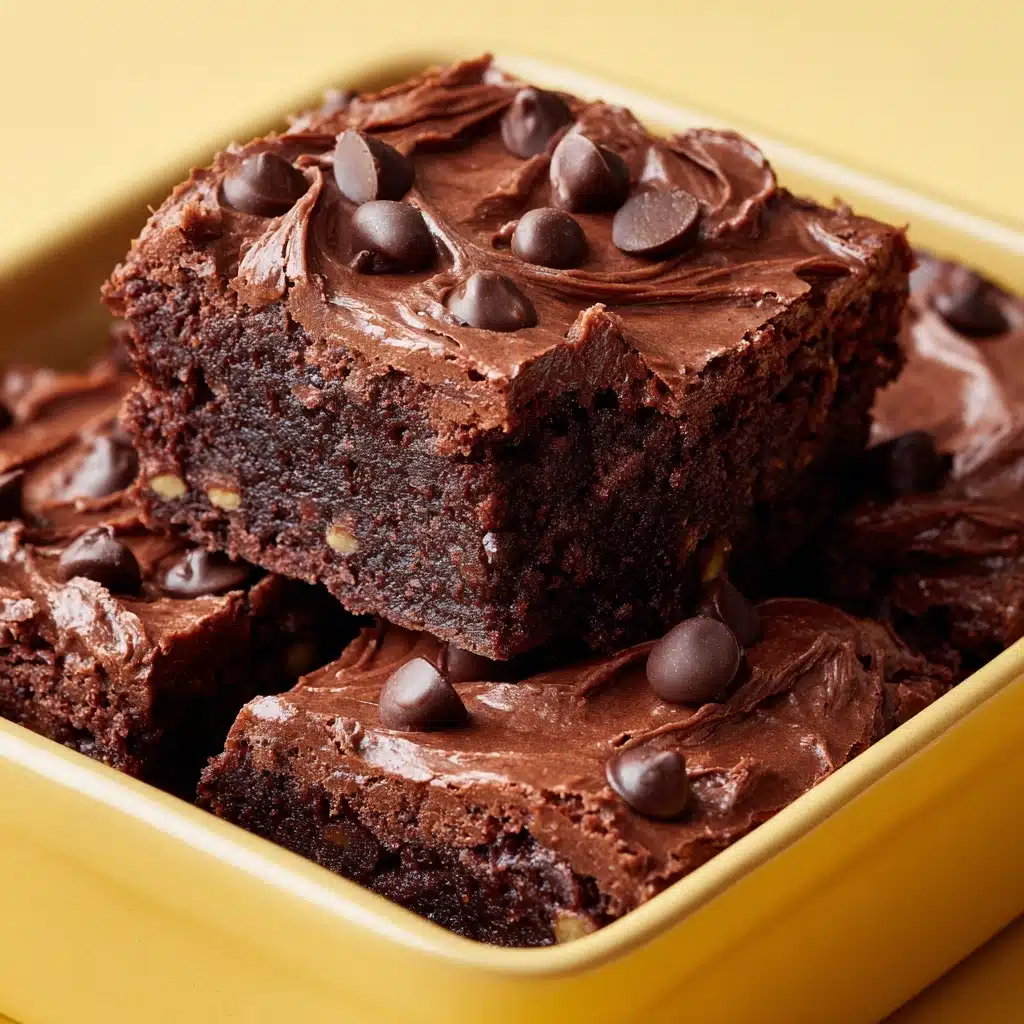
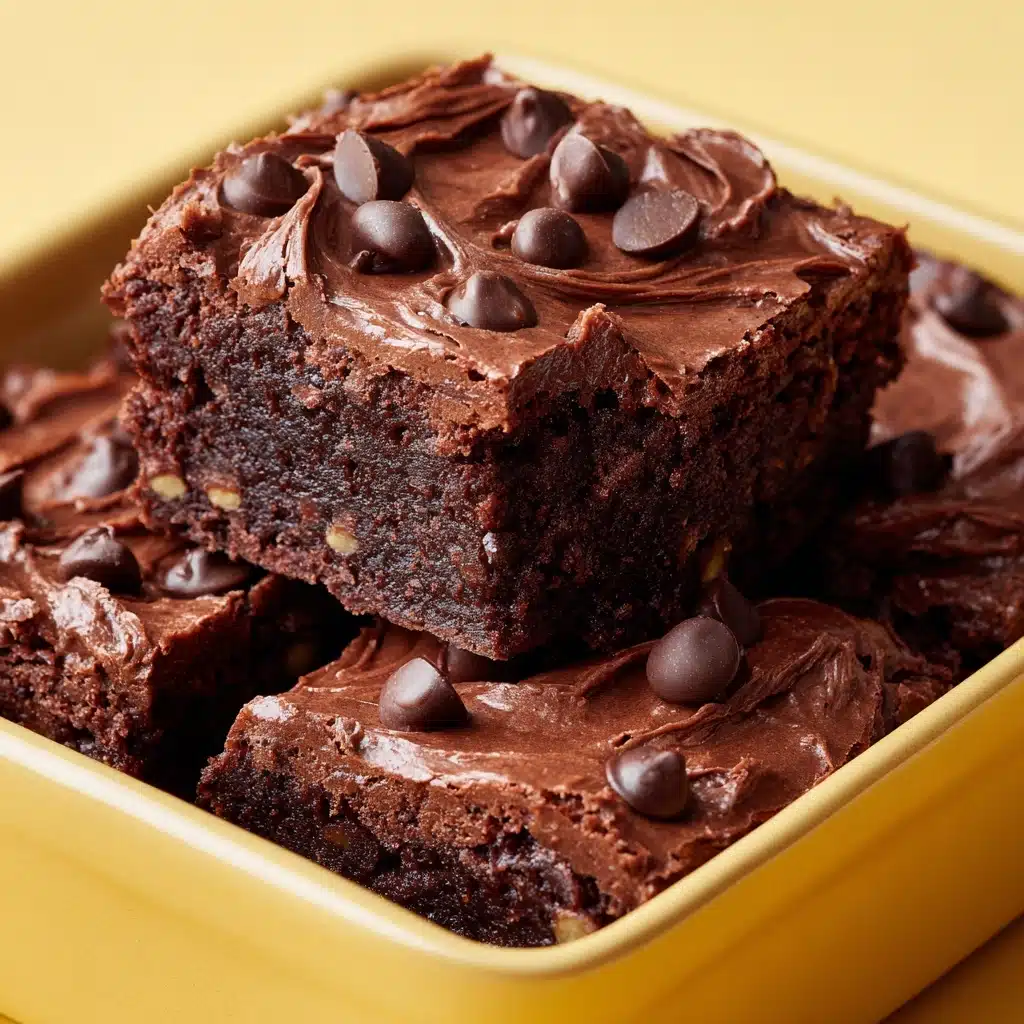
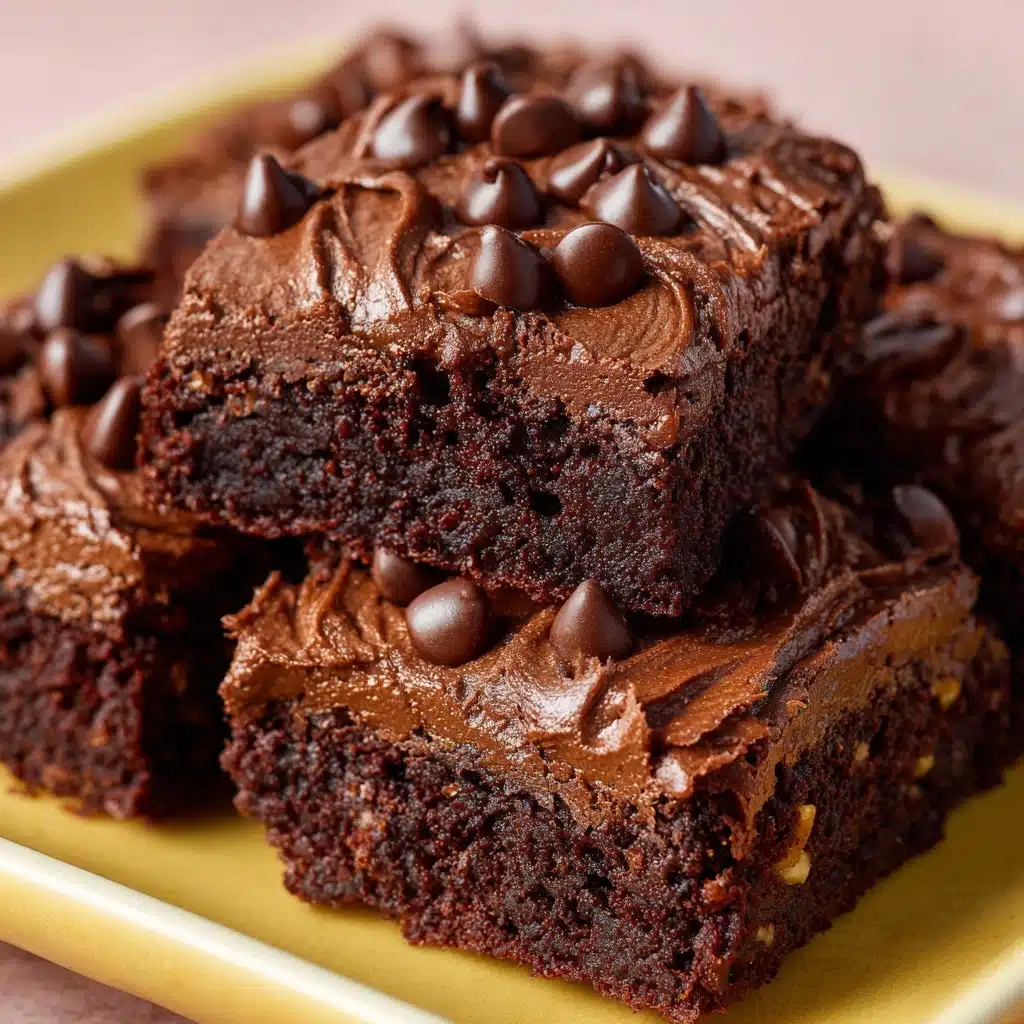
Get ready to meet your new favorite homemade snack: Chocolate Workout Bars. These little beauties combine an unbeatable chocolatey flavor with wholesome, nourishing ingredients to keep you feeling energized throughout your busiest days. With a chewy base of oats, a satisfying punch of protein, and just the right touch of natural sweetness, these Chocolate Workout Bars will have you coming back for more whether you’re heading to the gym, packing a lunchbox, or just want a better nosh for your afternoon cravings.
Ingredients You’ll Need
The best part about these Chocolate Workout Bars is how easy it is to pull them together with a few pantry must-haves. Each ingredient plays an important role, delivering nutrients, texture, and bold chocolate flavor for a bar that feels more like an indulgence than a chore.
- Rolled oats: Provide a sturdy, chewy base and slow-burning carbs to keep you full and fueled.
- Chocolate protein powder: Adds a satisfying protein boost that makes these bars as functional as they are delicious.
- Unsweetened cocoa powder: Delivers rich, deep chocolate flavor without extra sugar.
- Salt: Just a pinch to balance and intensify the sweetness and cocoa notes.
- Natural peanut butter or almond butter: Gives the bars richness, a creamy texture, and healthy fats.
- Honey or maple syrup: Naturally sweetens the bars and helps everything stick together.
- Unsweetened almond milk: Adds moisture, making the mixture just the right amount of sticky.
- Vanilla extract: Rounds out the flavors and gives that little extra warmth.
- Mini chocolate chips (optional): For extra bursts of chocolate in every bite (because can there ever be too much?).
- Chia seeds or ground flaxseed (optional): Amp up the nutrition with fiber, omega-3s, and a subtle crunch.
How to Make Chocolate Workout Bars
Step 1: Prepare Your Pan
Line an 8×8-inch baking dish with parchment paper, allowing a little overhang on the sides for easy removal later. This simple step ensures your Chocolate Workout Bars come out without sticking, saving you frustration and cleanup time.
Step 2: Mix the Dry Ingredients
In a large mixing bowl, combine the rolled oats, chocolate protein powder, unsweetened cocoa powder, and a pinch of salt. Stir everything together until well-blended. This ensures that every bar has an even distribution of chocolate and protein power.
Step 3: Warm the Wet Ingredients
In a separate microwave-safe bowl, add your peanut butter (or almond butter) with honey (or maple syrup). Microwave for about 30 seconds, just until they’re warm and easy to stir. This step helps meld the flavors and makes mixing a breeze.
Step 4: Add Almond Milk and Vanilla
To your warmed nut butter and honey, stir in the unsweetened almond milk and vanilla extract. Mix until the combination is creamy and homogenous—the smoother your wet ingredients, the better the bars will hold together.
Step 5: Bring It All Together
Pour your wet mixture over the dry ingredients and stir until every oat is coated and everything looks uniform. This is also the time to fold in the mini chocolate chips and chia or flaxseed if you want that extra chocolatey punch and nutritional boost.
Step 6: Shape and Press
Spoon the mixture into your prepared pan. Using a spatula or clean hands, press the mixture down very firmly so the bars stick together. Don’t be afraid to put a little muscle into it—this step is crucial for creating sturdy, grab-and-go bars.
Step 7: Chill to Set
Slide the pan into the fridge and chill for at least 1 hour, or until the bars are firm and set. This is the secret to those sharp, clean slices and a satisfyingly chewy texture.
Step 8: Slice and Store
Once chilled and solid, lift the slab out by the edges of the parchment paper. Slice into 10 bars and stash them in the fridge for quick access all week long.
How to Serve Chocolate Workout Bars

Garnishes
For an extra-special touch, sprinkle a few extra mini chocolate chips or a pinch of flaky sea salt right after pressing the mixture into the pan. If you love nuts, a scatter of toasted sliced almonds adds beautiful texture and flavor to the Chocolate Workout Bars.
Side Dishes
Pair your Chocolate Workout Bars with fresh fruit like strawberries or a banana for a balanced snack, or enjoy with a cold glass of almond milk or a hot cup of coffee for an energizing breakfast-on-the-go.
Creative Ways to Present
Try individually wrapping each bar in parchment and tying with kitchen twine for a homemade gift, or stack them up on a rustic platter for a grab-and-go snack table at parties. For a fun twist, cut the bars into bite-sized squares and pack them in colorful snack containers for kids’ lunches or post-workout fuel.
Make Ahead and Storage
Storing Leftovers
Place your sliced Chocolate Workout Bars in an airtight container, separating layers with parchment paper to prevent sticking. Stored in the fridge, they’ll stay fresh and chewy for up to one week—perfect for making ahead for busy days.
Freezing
Chocolate Workout Bars are freezer-friendly! Simply wrap each bar tightly or layer with parchment in a freezer-safe container. They’ll keep well for up to 2 months; just let them thaw in the refrigerator or at room temperature before enjoying.
Reheating
No need to reheat these bars—they’re delicious straight from the fridge or at room temperature. If you do want a warm treat, a quick 5–10 second zap in the microwave will make the chocolate chips slightly melty and irresistible.
FAQs
Can I make Chocolate Workout Bars vegan?
Absolutely! Use a plant-based chocolate protein powder and swap honey for pure maple syrup. Also, be sure that your chocolate chips are dairy-free to keep everything completely vegan.
What can I use instead of nut butter for allergies?
If you’re avoiding nuts, sunflower seed butter makes an excellent substitute in Chocolate Workout Bars and gives a lovely creamy consistency while keeping things nut-free.
How do I keep the bars from falling apart?
The key is mixing thoroughly and pressing the mixture in the pan firmly and evenly. Also, don’t skip the chilling step—letting the bars set in the fridge ensures they hold together beautifully once sliced.
Can I add other mix-ins to these bars?
Definitely! Chopped dried fruit, toasted nuts, seeds, or a handful of shredded coconut all make fantastic additions that bring new flavors and textures to your Chocolate Workout Bars.
Are these bars okay for kids?
Yes, they’re a great option for school snacks or lunchboxes. Just be mindful of potential nut allergies in your household or at school, and choose nut-free ingredient options as needed.
Final Thoughts
There’s truly something magical about having a batch of Chocolate Workout Bars ready in the fridge—delicious, nourishing, and so easy to whip up. Whether you’re a fitness buff, a busy parent, or a chocolate lover just looking for a wholesome pick-me-up, these bars hit all the right notes. Give them a try and get ready to fall in love with your new favorite snack!
PrintChocolate Workout Bars Recipe
These Chocolate Workout Bars are a delicious and nutritious snack that is perfect for fueling your body before or after a workout. Packed with protein and fiber, these no-bake bars are easy to make and customizable to suit your taste preferences.
- Prep Time: 10 minutes
- Cook Time: 0 minutes
- Total Time: 1 hour 10 minutes
- Yield: 10 bars 1x
- Category: Snack
- Method: No-Bake
- Cuisine: American
- Diet: Gluten-Free, Vegetarian
Ingredients
Dry Ingredients:
- 1 1/2 cups rolled oats
- 1/2 cup chocolate protein powder
- 1/4 cup unsweetened cocoa powder
- 1/4 teaspoon salt
Wet Ingredients:
- 1/2 cup natural peanut butter or almond butter
- 1/3 cup honey or maple syrup
- 1/4 cup unsweetened almond milk
- 1 teaspoon vanilla extract
Optional Add-Ins:
- 1/4 cup mini chocolate chips
- 2 tablespoons chia seeds or ground flaxseed
Instructions
- Prepare the Base: Line an 8×8-inch baking dish with parchment paper. Mix the oats, protein powder, cocoa powder, and salt in a large bowl.
- Combine Wet Ingredients: In a microwave-safe bowl, heat the peanut butter and honey, then add almond milk and vanilla extract.
- Mix Everything Together: Combine wet and dry ingredients, add optional ingredients if desired, and mix well.
- Set and Chill: Press the mixture into the baking dish, refrigerate for at least 1 hour until firm.
- Slice and Serve: Cut into bars and store in the fridge for a convenient snack option.
Notes
- Use plant-based protein powder for a vegan version.
- Experiment with nut or seed butter alternatives for flavor variety.
- Customize with nuts or dried fruit for added texture and taste.
Nutrition
- Serving Size: 1 bar
- Calories: 210
- Sugar: 10g
- Sodium: 85mg
- Fat: 10g
- Saturated Fat: 2g
- Unsaturated Fat: 7g
- Trans Fat: 0g
- Carbohydrates: 20g
- Fiber: 3g
- Protein: 10g
- Cholesterol: 0mg


