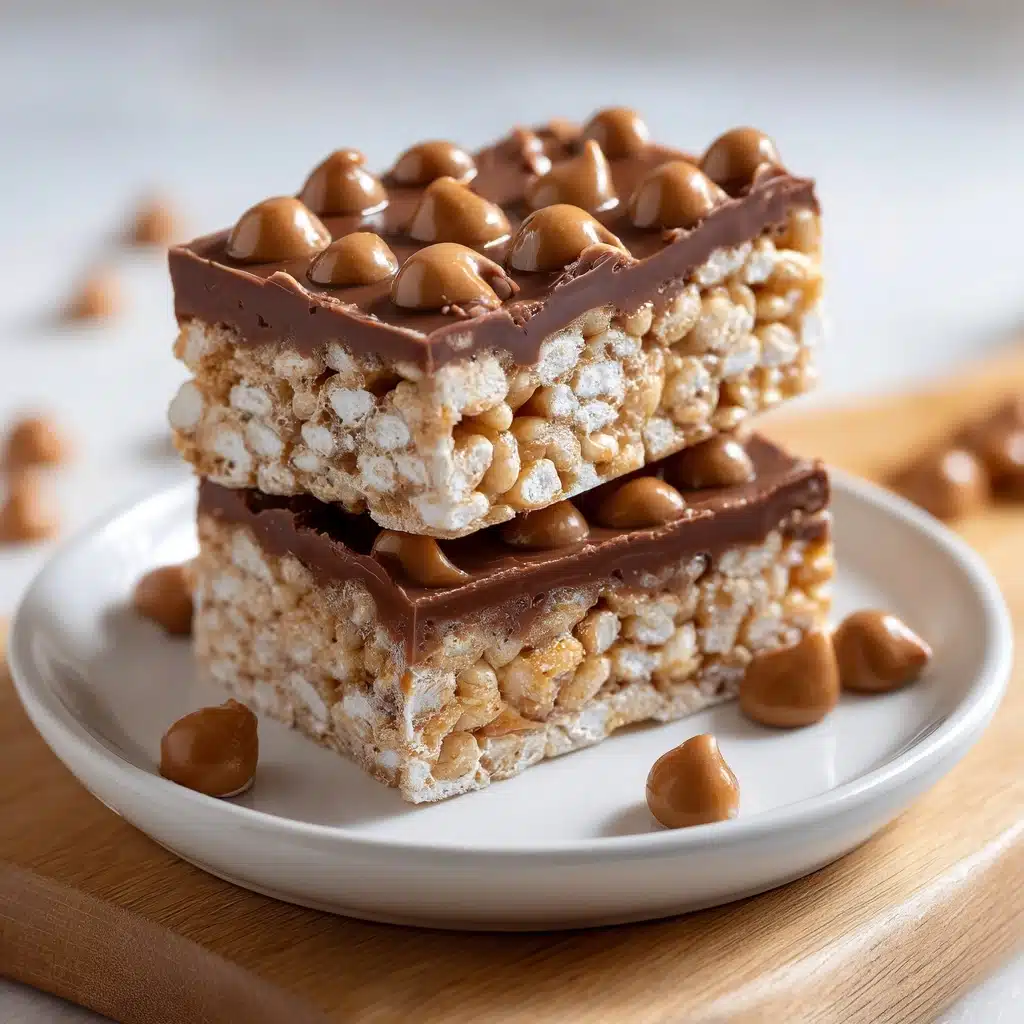
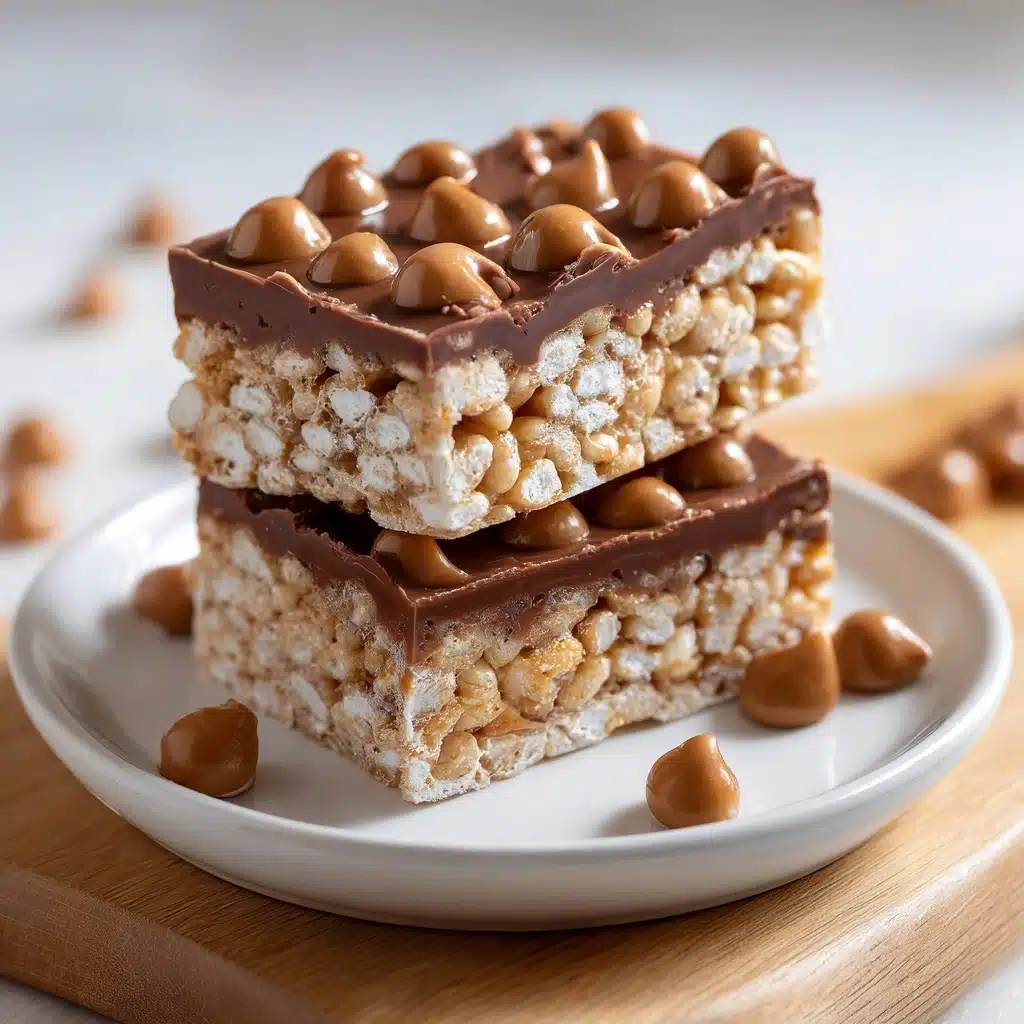
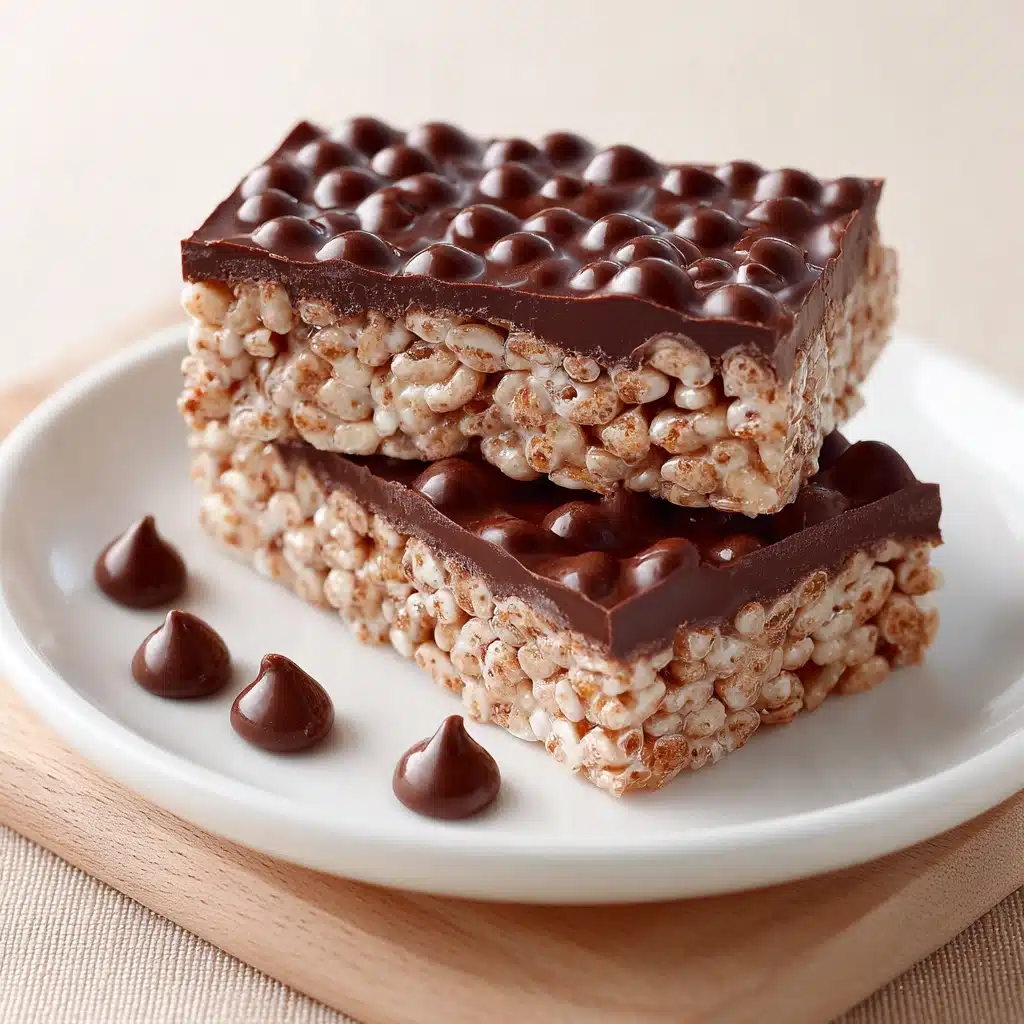
Say hello to your new favorite sweet treat: Chocolate Crunch Bars! These no-bake bars blend creamy, melt-in-your-mouth chocolate with crispy rice cereal for the ultimate contrast of chewy and crunchy. Whether you’re craving a nostalgic snack or want to whip up a dessert for friends on short notice, this easy recipe brings both simplicity and irresistible chocolate flavor right to your kitchen. With just a handful of pantry staples and a dash of creativity, you’ll have a batch ready to chill in no time, perfect for satisfying any chocolate craving!
Ingredients You’ll Need
One of the best things about Chocolate Crunch Bars is how a handful of pantry staples come together for maximum taste and texture. Each ingredient pulls its weight: crispiness, creaminess, a hint of savory, and that all-important chocolatey goodness.
- Crispy rice cereal: This is what makes the bars light and fabulously crunchy—be gentle when mixing to keep the texture just right.
- Semi-sweet chocolate chips: Rich and smooth, they keep the bars sweet without overwhelming, but feel free to use dark or dairy-free chips for your favorite twist.
- Peanut butter (optional): For anyone who loves a chocolate-peanut combo, this adds subtle nutty depth and extra chew (use creamy or crunchy—your call!).
- Butter or coconut oil: This ensures everything melts together seamlessly and adds a luscious mouthfeel.
- Vanilla extract: Just a splash takes the flavor up a notch and complements the chocolate beautifully.
- Pinch of salt: Don’t skip it! Salt enhances every sweet note, making the chocolate pop.
How to Make Chocolate Crunch Bars
Step 1: Prepare Your Pan
Line an 8×8-inch baking pan with parchment paper, letting a bit hang over the edges for easy removal. A snug parchment sling makes clean-up quick and helps you effortlessly lift the set bars out for slicing later.
Step 2: Melt Chocolate and Fats
In a microwave-safe bowl or over a gentle double boiler on the stove, add your chocolate chips and the butter or coconut oil. Heat in short bursts (if in the microwave), stirring between each, until the mixture is velvety smooth and glossy—no lumps left behind!
Step 3: Add Peanut Butter, Vanilla, and Salt
If you’re using peanut butter, now’s the time to add it to the warm chocolate mixture along with the vanilla extract and a little pinch of salt. Stir until everything is totally combined and smooth; this is where that dreamy flavor foundation forms.
Step 4: Fold in the Crispy Rice Cereal
Pour in the crispy rice cereal and gently fold with a spatula until every bit is coated in chocolate. Try not to crush the cereal to keep that signature crunch intact—take your time and enjoy the process!
Step 5: Pour and Chill
Scrape the chocolatey, crunchy mixture into your parchment-lined pan. Press it lightly into an even layer with the back of a spoon or spatula—don’t pack it too tight, just enough for it to hold together. Pop the pan in the refrigerator for at least one hour, until firm and ready to slice.
Step 6: Cut into Bars
When set, use the parchment to lift the slab onto a cutting board. Slice into bars or squares (16 is perfect for snacks—but you can go bigger or smaller!). Enjoy chilled for the ultimate snap and crunch in every bite.
How to Serve Chocolate Crunch Bars

Garnishes
Chocolate Crunch Bars are fantastic as-is, but a drizzle of melted white chocolate, a sprinkle of flaky sea salt, or a dusting of powdered sugar dresses them up for special occasions. Sprinkle extra chopped nuts or festive sprinkles just before chilling for color and extra texture.
Side Dishes
Pair your bars with fresh berries or sliced fruit for a refreshing balance, or set out a platter at a dessert table next to coffee, tea, or chilled milk. They’re even better with a scoop of vanilla ice cream on the side—talk about dessert heaven!
Creative Ways to Present
Wrap individual Chocolate Crunch Bars in parchment and tie with kitchen twine for a charming homemade gift. Arrange on a tiered cake stand for parties, or serve in mini muffin liners for little hands (and less mess at potlucks or bake sales)!
Make Ahead and Storage
Storing Leftovers
Keep any leftover bars in an airtight container in the refrigerator. They’ll stay fresh and crisp for up to a week—if they last that long! The cold keeps the chocolate snappy and the cereal crunchy, making each chilled bite extra satisfying.
Freezing
Chocolate Crunch Bars freeze beautifully. Lay cut bars in a single layer or separate layers with parchment in an airtight container, then freeze up to two months. Thaw in the fridge for best texture, and you’ll always have a sweet snack ready for guests or late-night cravings.
Reheating
Since these are no-bake and best served chilled, you never need to reheat them! If they become too firm straight from the freezer, let them rest at room temperature for a few minutes before enjoying a perfectly crispy treat.
FAQs
Can I use a different cereal for these bars?
Absolutely! While crispy rice cereal gives classic lightness, you can substitute with cornflakes or puffed wheat for a fun twist on the traditional Chocolate Crunch Bars texture.
What’s the best way to prevent my chocolate from seizing or burning?
Always melt chocolate slowly—either in short bursts in the microwave (stirring frequently) or over a gentle double boiler. Avoid water contact, as it makes chocolate seize and turn grainy.
Are Chocolate Crunch Bars gluten-free?
If you use certified gluten-free crispy rice cereal and chocolate chips, these bars are completely gluten-free. Always check labels for cross-contamination to be sure.
Can I add mix-ins like nuts or dried fruit?
Definitely! Stir in up to 1/2 cup of chopped nuts, dried cherries, or coconut flakes with the cereal for extra flavor and crunch—a delicious way to make Chocolate Crunch Bars your own.
How do I keep the bars from sticking to the pan?
That parchment paper lining is a game changer. Once chilled, just lift the bars out by the edges, then slice on a cutting board with a sharp knife for clean, mess-free squares every time.
Final Thoughts
If you’re on the hunt for a crowd-pleasing, no-fuss dessert, you can’t beat Chocolate Crunch Bars. With their satisfying snap and nostalgic taste, they’re easy enough for busy weekdays but special enough for parties. Give them a try and watch them disappear—your sweet tooth (and your friends) will thank you!
PrintChocolate Crunch Bars Recipe
Indulge in these rich and crunchy Chocolate Crunch Bars that are perfect for satisfying your sweet tooth. With a blend of crispy rice cereal, semi-sweet chocolate, and a hint of peanut butter, these bars are easy to make and even easier to enjoy.
- Prep Time: 10 minutes
- Cook Time: 0 minutes
- Total Time: 1 hour 10 minutes (including chilling time)
- Yield: 16 bars 1x
- Category: Dessert
- Method: No-Bake
- Cuisine: American
- Diet: Vegetarian
Ingredients
Main Ingredients:
- 3 cups crispy rice cereal
- 2 cups semi-sweet chocolate chips
Additional Ingredients:
- 1/4 cup peanut butter (optional)
- 2 tbsp butter or coconut oil
- 1 tsp vanilla extract
- pinch of salt
Instructions
- Prepare the Base: Line an 8×8-inch baking pan with parchment paper.
- Melt Chocolate: In a microwave-safe bowl or over a double boiler, melt the chocolate chips with butter or coconut oil until smooth.
- Mix Ingredients: Stir in the peanut butter (if using), vanilla extract, and a pinch of salt. Add the crispy rice cereal and fold gently until evenly coated.
- Set the Bars: Pour the mixture into the prepared pan and spread into an even layer. Refrigerate for at least 1 hour or until firm.
- Serve: Once set, lift the mixture out using the parchment paper and cut into bars or squares.
Notes
- For a dairy-free version, use dairy-free chocolate chips.
- You can add chopped nuts or dried fruit for extra texture.
- Store bars in the refrigerator for best results.
Nutrition
- Serving Size: 1 bar
- Calories: 150
- Sugar: 13 g
- Sodium: 45 mg
- Fat: 8 g
- Saturated Fat: 5 g
- Unsaturated Fat: 2 g
- Trans Fat: 0 g
- Carbohydrates: 20 g
- Fiber: 1 g
- Protein: 2 g
- Cholesterol: 0 mg


