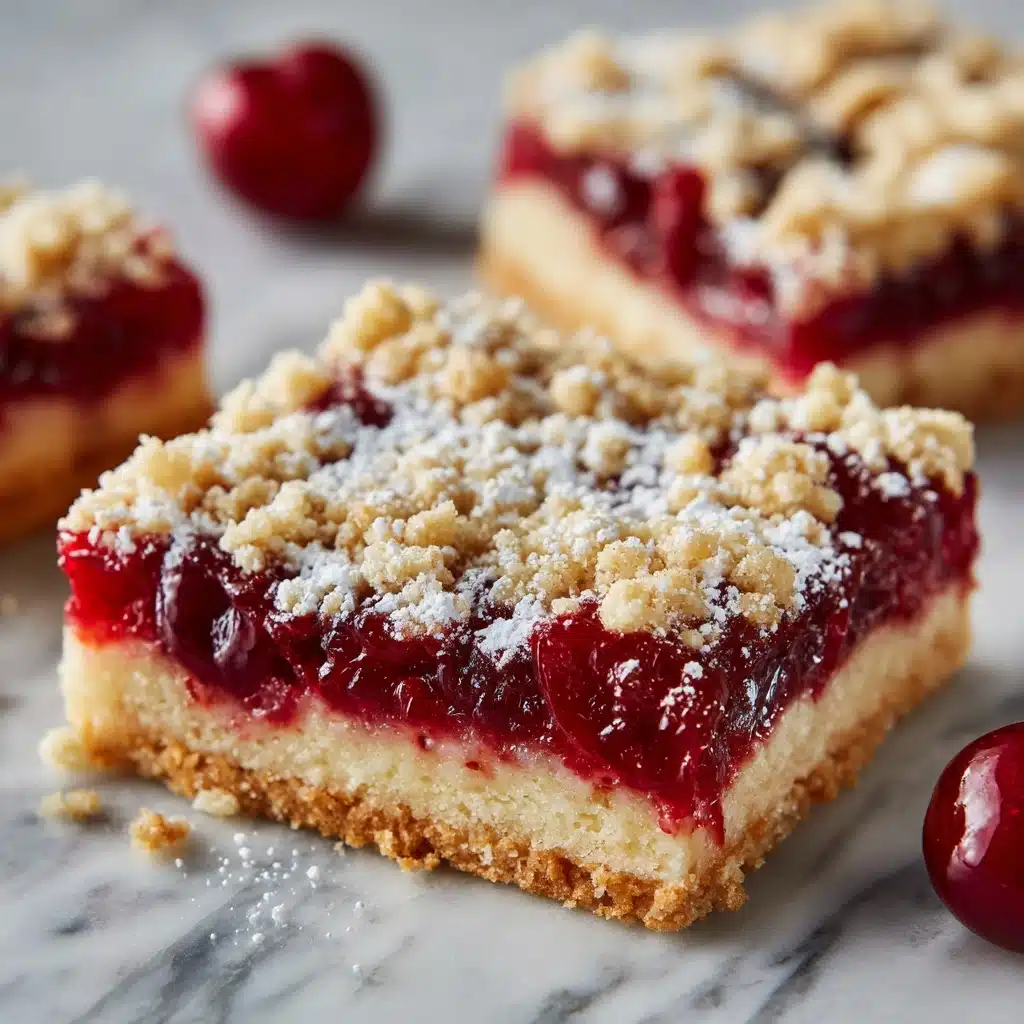
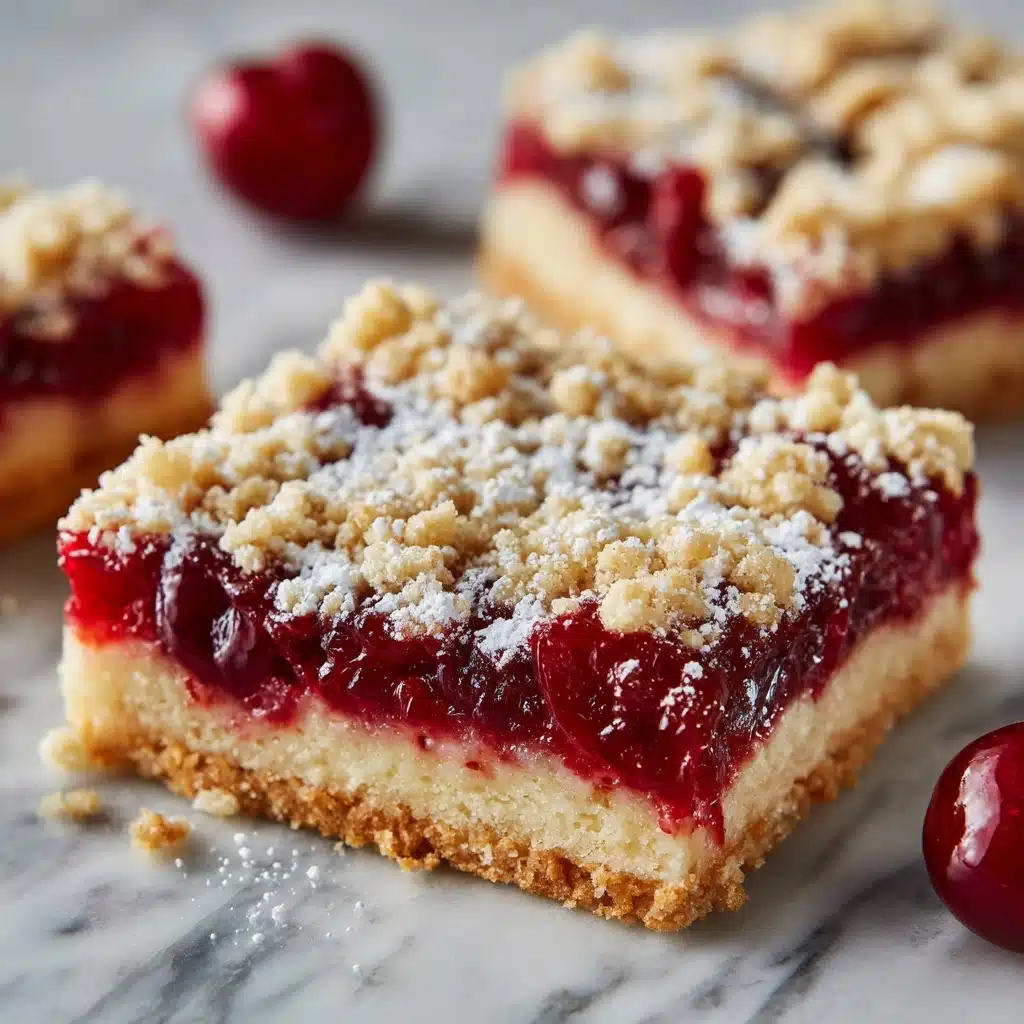
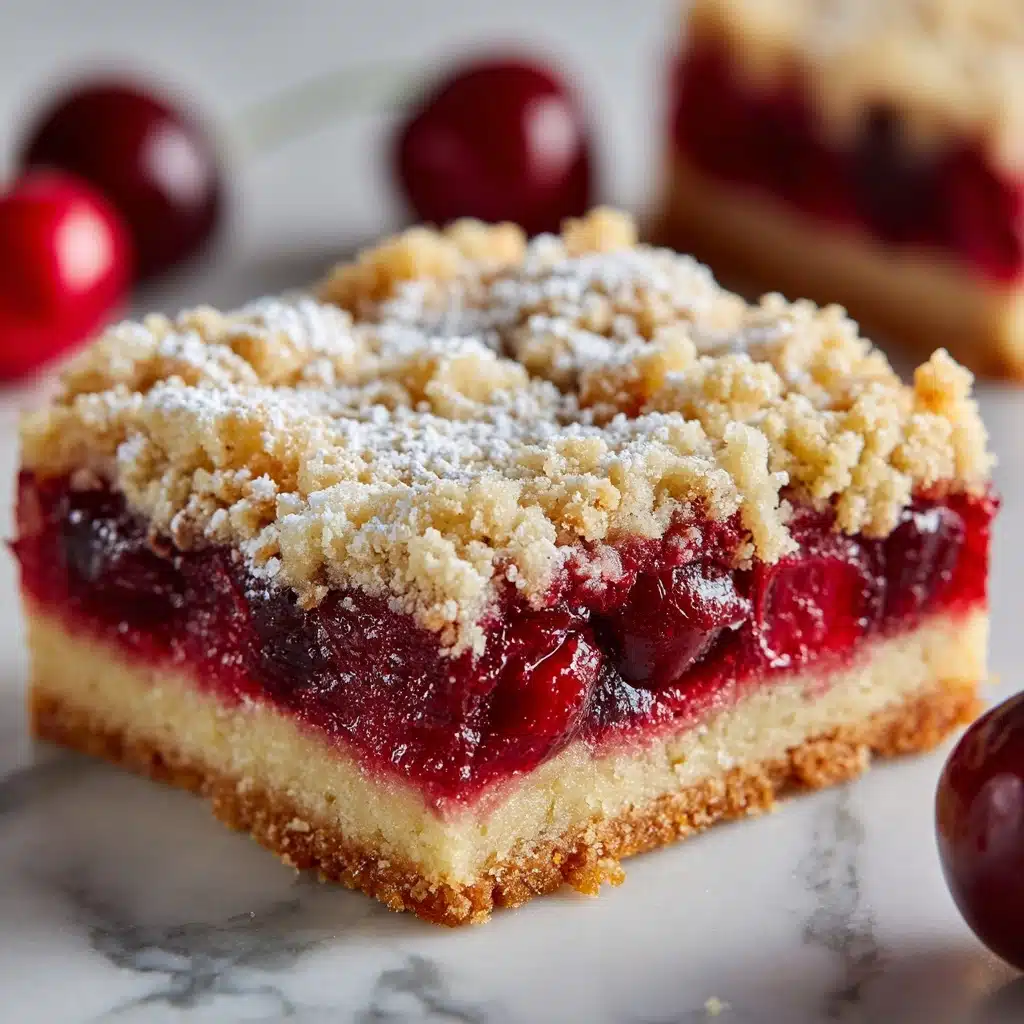
Cherry Pie Bars are the dessert you reach for when you want all the joy of homemade cherry pie with half the fuss and a double helping of nostalgia. With a tender, buttery base, a vibrant cherry filling, and a sweet glaze that brings it all together, these bars are the sort of recipe that begs to be shared—at potlucks, family gatherings, or simply over a cup of tea with a friend. Whether you’re an experienced baker or brand-new to the kitchen, these Cherry Pie Bars are sure to become one of your go-to sweet treats.
Ingredients You’ll Need
These simple ingredients each play their part in making Cherry Pie Bars irresistibly delicious. You probably have most of them on hand already! Each one brings its own magic to the recipe, blending together for pure dessert harmony.
- Unsalted butter (1 cup, softened): The backbone of that rich, tender crumb—make sure it’s softened for the perfect creamy base.
- Granulated sugar (1 ¾ cups): Adds sweetness and also encourages lovely browning in the bars.
- Large eggs (4): Help lift the batter and bind everything together for that classic bar texture.
- Vanilla extract (1 teaspoon): Rounds out the flavors with soft, aromatic notes.
- All-purpose flour (2 ¾ cups): Forms the sturdy foundation—be sure to measure carefully for best results.
- Salt (½ teaspoon): Balances the sweetness and wakes up all the flavors.
- Cherry pie filling (1 can, 21 oz): The star of the show—choose a good quality filling for the brightest flavor and color.
- Powdered sugar (1 cup): For a smooth, sweet glaze that finishes the bars beautifully.
- Milk (1–2 tablespoons): Loosens the glaze to the perfect drizzling consistency—add it gradually.
- Almond extract (¼ teaspoon, optional): That hint of almond is a bakery secret weapon—especially delicious paired with cherries!
How to Make Cherry Pie Bars
Step 1: Prep Your Pan and Preheat
Before you dive in, preheat your oven to 350°F (175°C) and give your 9×13-inch baking pan a generous greasing. This ensures your Cherry Pie Bars will lift easily from the pan and every corner comes out perfectly golden and intact. Lining with parchment paper is a great option too for easy removal!
Step 2: Cream the Butter and Sugar
In a large mixing bowl, beat together the softened butter and granulated sugar until the mixture looks pale and fluffy—this usually takes a couple of minutes, and it’s a small step that gives your bars their tender, melt-in-your-mouth texture.
Step 3: Add Eggs and Vanilla
Add the eggs one at a time, mixing well after each goes in, then splash in the vanilla extract. This process helps the batter emulsify and become thick and creamy, promising a soft crumb in every bite.
Step 4: Combine Dry Ingredients and Mix
In a separate bowl, whisk together the all-purpose flour and salt. Gradually add these dry ingredients to the wet mixture, stirring just until combined. Stop mixing as soon as everything looks uniform—overmixing can make the bars dense.
Step 5: Layer Batter and Cherry Pie Filling
Spoon about two-thirds of your batter into the prepared pan and spread it into an even layer. Next, gently spread the cherry pie filling over the batter all the way to corners, taking care not to press too hard—think of it as tucking in those ruby cherries for a cozy bake!
Step 6: Top with Remaining Batter
With the remaining batter, use a spoon to drop dollops evenly across the cherry layer. You don’t need to cover every inch; those pops of cherry peeking through will be just as beautiful as they are tasty.
Step 7: Bake to Perfection
Slide your pan into the oven and bake for 35–40 minutes, or until the top is golden and a toothpick inserted near the center comes out mostly clean (a little cherry juice is expected!). Let the bars cool completely before you move on to glazing—this makes slicing so much easier.
Step 8: Glaze and Slice
Whisk together powdered sugar, milk, and a splash of almond extract (if you’re using it) until smooth. Drizzle the glaze liberally over the cooled bars, let it set for a few minutes, then cut into squares and get ready for compliments all around.
How to Serve Cherry Pie Bars

Garnishes
A light dusting of extra powdered sugar or a sprinkle of finely chopped toasted almonds can dress up your Cherry Pie Bars in seconds. For extra flair, garnish with a few fresh cherries or a swirl of whipped cream right before serving.
Side Dishes
These bars are lovely served with a scoop of vanilla ice cream, a dollop of whipped cream, or even a generous pour of warm custard. They also shine alongside a cup of coffee or tea, perfect for breakfast, brunch, or a sweet afternoon treat.
Creative Ways to Present
For a fun twist, layer Cherry Pie Bars on a platter with parchment between each layer for easy grabbing at a party. You can also stack them high on a cake stand for an irresistible centerpiece or wrap individual bars in wax paper for picnics or lunchboxes.
Make Ahead and Storage
Storing Leftovers
Keep any leftover Cherry Pie Bars in an airtight container at room temperature for up to 3 days. For longer freshness, pop them in the fridge where they’ll stay lovely for up to a week—just let them come to room temp before serving for best texture.
Freezing
To freeze, wrap bars individually in plastic wrap and then place in a freezer-safe bag or container. They’ll keep beautifully for up to 2 months. Thaw at room temperature when you’re ready to indulge, and the flavors will still be fantastic.
Reheating
If you like your Cherry Pie Bars a bit warm, give them a quick zap in the microwave (10-15 seconds should do the trick). This softens the glaze and brings out the buttery aroma—just as tasty as if they were freshly baked.
FAQs
Can I use homemade cherry pie filling instead of canned?
Absolutely! Homemade cherry pie filling works beautifully here—just use about 2 cups. If your filling is on the runnier side, try to drain off any excess syrup before layering.
Can I substitute the cherry pie filling with another fruit?
Yes, you can swap in other fillings like blueberry, apple, or even peach. Just be cautious of moisture levels to ensure your Cherry Pie Bars set nicely and don’t turn soggy.
Is the almond extract necessary?
Nope, the almond extract is totally optional! But it does add a lovely bakery-style flavor that pairs perfectly with cherries. If you don’t love almond, just leave it out or replace it with extra vanilla.
Why does the batter need to be dropped in spoonfuls on top?
This technique creates those beautiful little pockets of golden crust and helps the cherry filling peek through—making each bar look rustic and tempting. It’s a hallmark of classic Cherry Pie Bars!
Can I double the recipe for a crowd?
If you’re feeding a big group, you can definitely double the recipe and bake it in two pans or a larger sheet pan. Just keep an eye on the baking time; a larger pan may need a few extra minutes in the oven.
Final Thoughts
There’s something undeniably cheerful about a pan of Cherry Pie Bars cooling on the counter, whether you’re making them for loved ones or just to treat yourself. I hope you’ll give them a try—these bars are a little slice of comfort that’s bound to make any occasion sweeter!
PrintCherry Pie Bars Recipe
Indulge in the deliciousness of these Cherry Pie Bars, a delightful treat that combines the flavors of cherry pie in a convenient bar form. Perfect for any occasion, these bars are sure to impress your family and friends.
- Prep Time: 15 minutes
- Cook Time: 40 minutes
- Total Time: 55 minutes
- Yield: 24 bars 1x
- Category: Dessert
- Method: Baking
- Cuisine: American
- Diet: Vegetarian
Ingredients
For the Bars:
- 1 cup unsalted butter (softened)
- 1 3/4 cups granulated sugar
- 4 large eggs
- 1 teaspoon vanilla extract
- 2 3/4 cups all-purpose flour
- 1/2 teaspoon salt
- 1 (21 oz) can cherry pie filling
For the Glaze:
- 1 cup powdered sugar
- 1–2 tablespoons milk
- 1/4 teaspoon almond extract (optional)
Instructions
- Preheat the oven: Preheat the oven to 350°F (175°C) and grease a 9×13-inch baking pan.
- Prepare the batter: In a large bowl, cream together the butter and sugar until light and fluffy. Add the eggs one at a time, beating well after each addition. Mix in the vanilla extract. In a separate bowl, whisk together the flour and salt, then gradually add to the wet mixture until fully combined.
- Layer the bars: Spread about two-thirds of the batter evenly into the prepared pan. Spoon the cherry pie filling evenly over the batter. Drop the remaining batter by spoonfuls over the cherry layer.
- Bake: Bake for 35–40 minutes, or until the top is golden and a toothpick inserted near the center comes out clean. Let cool completely.
- Make the glaze: In a small bowl, whisk together the powdered sugar, milk, and almond extract (if using) to make the glaze.
- Finish and serve: Drizzle the glaze over the cooled bars before slicing and serving.
Notes
- You can substitute other pie fillings like blueberry or apple.
- Bars can be stored in an airtight container at room temperature for up to 3 days or refrigerated for longer freshness.
Nutrition
- Serving Size: 1 bar
- Calories: 200
- Sugar: 18g
- Sodium: 90mg
- Fat: 9g
- Saturated Fat: 5g
- Unsaturated Fat: 3g
- Trans Fat: 0g
- Carbohydrates: 28g
- Fiber: 0g
- Protein: 2g
- Cholesterol: 40mg


