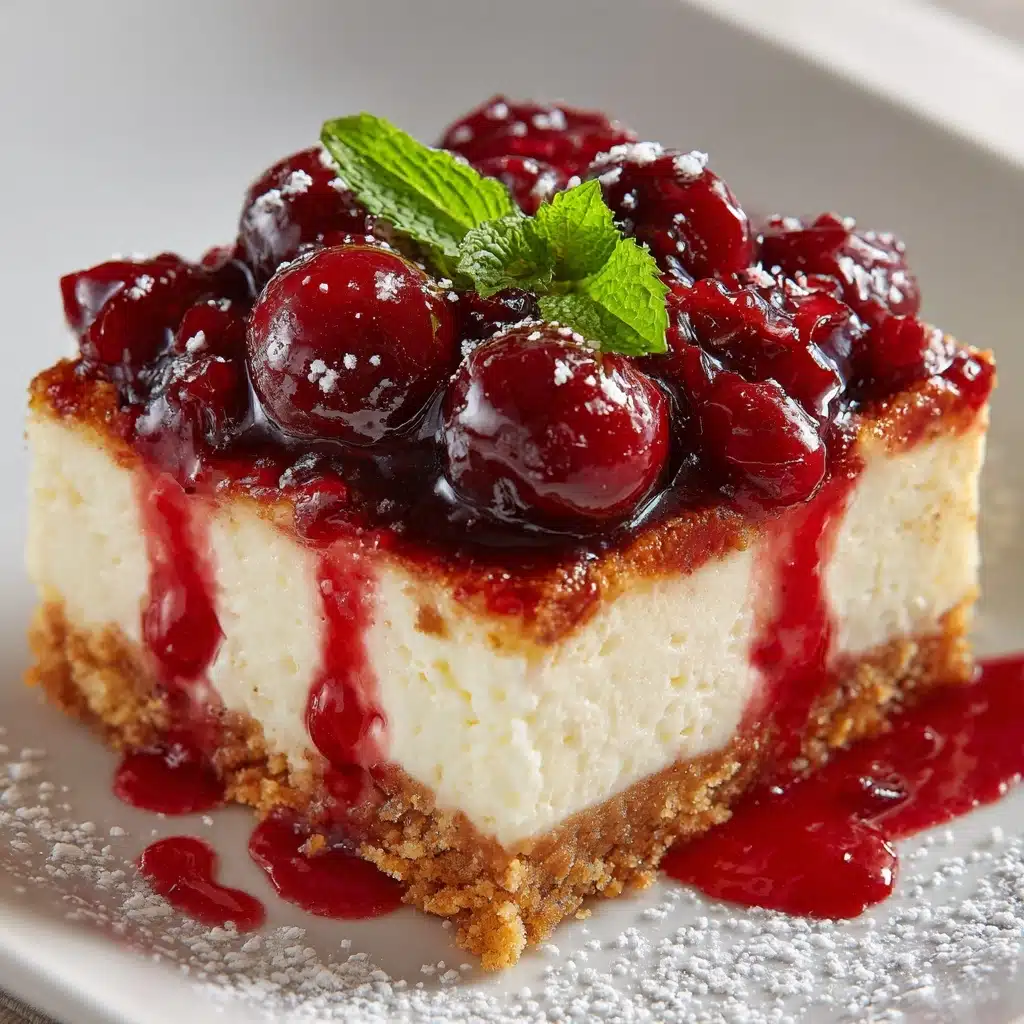
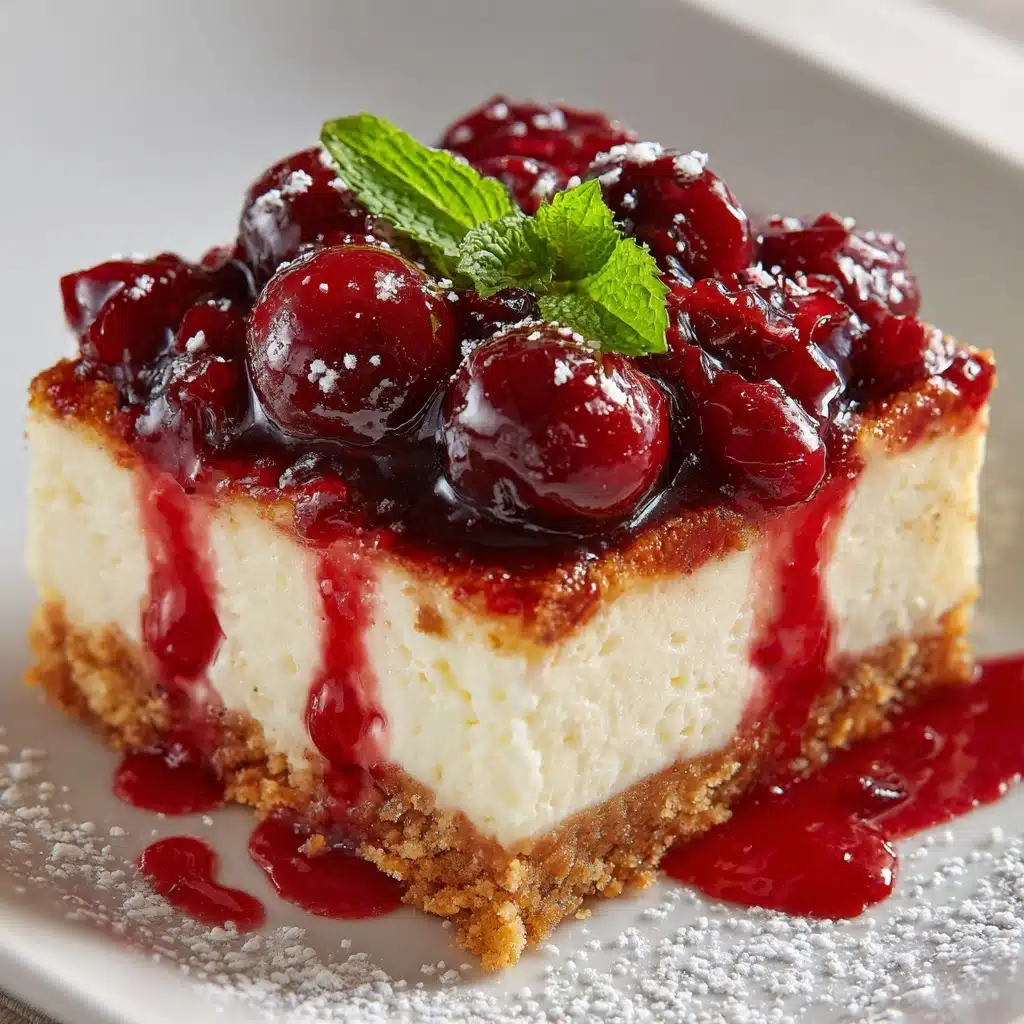
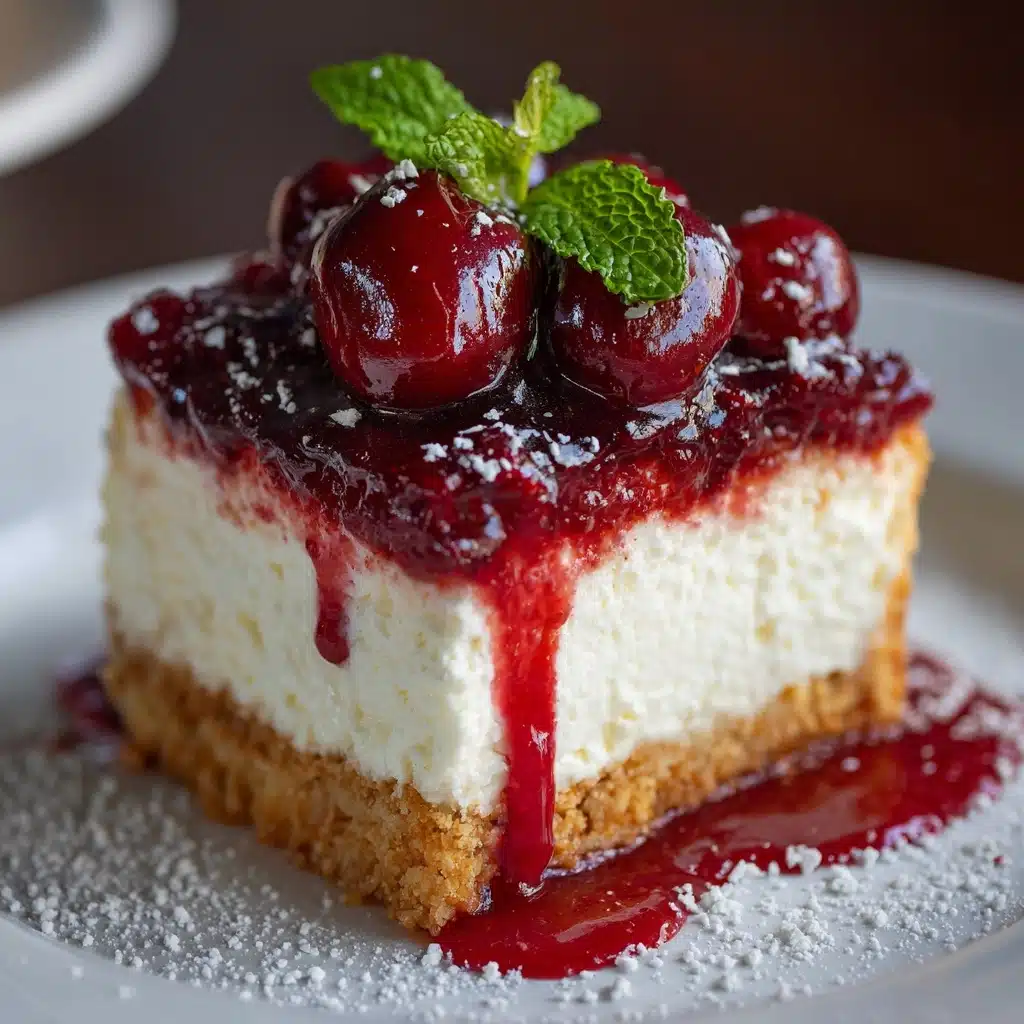
If you’re dreaming of a velvety, chilled dessert that’s bursting with bright cherry flavor and luscious layers, you’ll absolutely fall for Cherry Cheesecake Lush. This no-bake treat combines a buttery graham cracker crust, a light and creamy cheesecake layer, and a stunning crown of glossy cherry topping. Each bite is a little celebration—cool, sweet, and effortlessly elegant, yet made with everyday ingredients. Whether it’s a summer barbecue or an easy weeknight treat, Cherry Cheesecake Lush is the ultimate way to indulge your cheesecake cravings, no oven required!
Ingredients You’ll Need
The magic of Cherry Cheesecake Lush comes from simple, familiar staples that work together to create texture and richness in every layer. Each component, from the crisp crust to the pillowy cream cheese layer and bold cherry topping, builds flavor and makes this dessert truly irresistible.
- Graham cracker crumbs: These form the hearty, golden base and bring a touch of familiar, nostalgic flavor to every bite.
- Unsalted butter (melted): Essential for binding the crust, butter adds richness and helps everything hold together when sliced.
- Granulated sugar: Just a hint of sugar balances out the crumb crust’s subtle bitterness and keeps things perfectly sweet.
- Cream cheese (softened): The star of the filling, delivering that classic tang and creaminess we all love in cheesecake.
- Powdered sugar: Blends seamlessly with the cream cheese, ensuring the filling stays ultra-smooth and light.
- Vanilla extract: A splash of vanilla deepens the flavor and brings out the best in the creamy filling.
- Whipped topping (like Cool Whip): For unbeatable fluffiness, gently folded in to lighten the cheesecake layer.
- Cherry pie filling: This glossy, jammy layer delivers a sweet-tart burst of cherries and makes the dessert visually stunning.
- Extra whipped topping and graham crumbs for garnish (optional): Perfect for a pretty presentation and an added hint of texture.
How to Make Cherry Cheesecake Lush
Step 1: Prepare the Crust
Start by creating the base of your Cherry Cheesecake Lush. In a medium bowl, combine the graham cracker crumbs, melted butter, and granulated sugar. Mix until everything is moist and evenly combined—the mixture should feel like wet sand. Press the mixture firmly and evenly into the bottom of a 9×13-inch dish. This layer sets the stage for the whole dessert, so take a minute to get it flat and tight. Pop the dish into the fridge to chill while you get the filling ready.
Step 2: Make the Cheesecake Layer
Grab a large mixing bowl and beat the softened cream cheese with the powdered sugar and vanilla extract. Keep beating until the mixture is smooth and creamy—no lumps allowed! Once creamy, gently fold in the whipped topping with a spatula, taking care to keep the mixture airy and not deflate all that beautiful fluff straight from the tub. This layer is what makes Cherry Cheesecake Lush absolutely melt-in-your-mouth delicious.
Step 3: Layer and Chill
Once your crust is chilled, spread the cream cheese mixture evenly over the crust, smoothing the top with a spatula. Next, carefully spoon the cherry pie filling over the cheesecake layer, spreading it out to the edges so every serving gets a generous glossy cherry topping. Cover the entire dish and refrigerate for at least 4 hours (or overnight, if you want to build anticipation!). The chilling time lets all the flavors set and the texture firm up for perfect, clean slices.
Step 4: Garnish and Serve
Just before serving, add some extra flair: pipe or dollop additional whipped topping on top and sprinkle over some extra graham cracker crumbs. These finishing touches make Cherry Cheesecake Lush look as fabulous as it tastes! Slice into generous squares and serve cold to maximize the creamy, cool sensation.
How to Serve Cherry Cheesecake Lush

Garnishes
Dress up your Cherry Cheesecake Lush with extra whipped topping swirls, a sprinkle of graham cracker crumbs, or even a handful of fresh cherries if you’ve got them. A mint sprig or chocolate shavings right on top will make each piece feel super special and festive. This final touch takes it from delicious to downright stunning!
Side Dishes
Although Cherry Cheesecake Lush is a standout on its own, pairing it with a simple bowl of fresh berries, a scoop of vanilla ice cream, or a hot cup of coffee is absolutely delightful. Light fruit salads or iced teas also round out the experience, especially on warm days when you want something refreshing alongside the creamy richness.
Creative Ways to Present
For parties, try serving individual portions of Cherry Cheesecake Lush in mason jars, parfait glasses, or fancy cups—each guest gets their own perfectly layered treat! Or cut the squares smaller for a potluck dessert platter. You can even swirl a bit of cherry sauce through the cheesecake layer for a marbled look that’ll earn you extra style points.
Make Ahead and Storage
Storing Leftovers
Cover any leftover Cherry Cheesecake Lush tightly with plastic wrap or a fitted lid and keep refrigerated. It’ll stay fresh and delicious for up to three days—just expect the crust to soften a bit over time, which honestly makes it even more melt-in-your-mouth!
Freezing
If you want to save Cherry Cheesecake Lush for later, freezing works surprisingly well. Cut into portions, wrap each piece tightly, and store in a freezer-safe container. Thaw overnight in the fridge for the best texture. Keep in mind the cherries and cream cheese layers might get a tad softer, but the flavor will still shine.
Reheating
The beauty of Cherry Cheesecake Lush is that you don’t need to reheat it at all! In fact, it’s meant to be enjoyed cold straight from the fridge, which makes it all the more convenient for summertime feasts or quick weekday sweets.
FAQs
Can I use homemade cherry pie filling instead of canned?
Absolutely! Homemade cherry compote or pie filling will bring a vibrant, fresh flavor to your Cherry Cheesecake Lush. Just let the homemade filling cool completely before layering to keep everything neat and creamy.
Can I make Cherry Cheesecake Lush ahead of time?
Yes, in fact, making Cherry Cheesecake Lush ahead lets the flavors meld even more. Prepare it the night before your gathering and let it chill overnight—just wait to add garnishes until just before serving for the best look.
Can I use regular whipped cream instead of frozen whipped topping?
You can substitute stabilized whipped cream if you prefer a homemade touch. Make sure it’s whipped to stiff peaks so the cheesecake layer stays light and holds up well overnight.
What’s the best way to get clean slices?
For picture-perfect pieces of Cherry Cheesecake Lush, run a sharp knife under hot water and wipe it clean between cuts. This helps you glide through the layers without dragging the cherry topping.
Can I make this dessert gluten free?
Absolutely—simply swap the regular graham crackers for your favorite gluten-free graham crackers or cookies, and check that your other ingredients are gluten free. The taste and texture will be just as dreamy!
Final Thoughts
There’s something magical about sharing a dish like Cherry Cheesecake Lush with your favorite people. Cool, creamy, and bursting with cherry cheer, it’s simple to make and even easier to love. Give it a try the next time you’re craving something fun and fabulous—it might just become your new go-to no-bake dessert!
PrintCherry Cheesecake Lush Recipe
Indulge in the luscious layers of this no-bake Cherry Cheesecake Lush dessert. A buttery graham cracker crust, creamy cheesecake filling, and sweet cherry topping make this a perfect treat for any occasion.
- Prep Time: 20 minutes
- Cook Time: 0 minutes
- Total Time: 20 minutes (plus chilling time)
- Yield: 12 servings 1x
- Category: Dessert
- Method: No-Bake
- Cuisine: American
- Diet: Non-Vegetarian
Ingredients
Graham Cracker Crust:
- 1 1/2 cups graham cracker crumbs
- 1/2 cup unsalted butter, melted
- 1/4 cup granulated sugar
Cheesecake Filling:
- 1 (8 oz) package cream cheese, softened
- 1 cup powdered sugar
- 1 teaspoon vanilla extract
- 1 (8 oz) tub whipped topping (like Cool Whip)
Topping:
- 1 (21 oz) can cherry pie filling
- Additional whipped topping and graham crumbs for garnish (optional)
Instructions
- Graham Cracker Crust: In a medium bowl, mix graham cracker crumbs, melted butter, and granulated sugar until combined. Press firmly into the bottom of a 9×13-inch dish to form the crust. Chill while you prepare the filling.
- Cheesecake Filling: In a large bowl, beat the softened cream cheese, powdered sugar, and vanilla extract until smooth and creamy. Fold in the whipped topping until fully incorporated.
- Assembly: Spread the cream cheese layer evenly over the chilled crust. Spoon the cherry pie filling evenly over the top. Cover and refrigerate for at least 4 hours, or overnight, until set.
- Serving: Before serving, garnish with extra whipped topping and a sprinkle of graham cracker crumbs if desired. Slice and serve chilled.
Notes
- For a homemade touch, use fresh cherry compote instead of canned filling.
- You can also make individual servings in jars or cups for parties.
- Store leftovers covered in the fridge for up to 3 days.
Nutrition
- Serving Size: 1 square
- Calories: 360
- Sugar: 28g
- Sodium: 220mg
- Fat: 22g
- Saturated Fat: 12g
- Unsaturated Fat: 8g
- Trans Fat: 0g
- Carbohydrates: 36g
- Fiber: 1g
- Protein: 3g
- Cholesterol: 40mg


