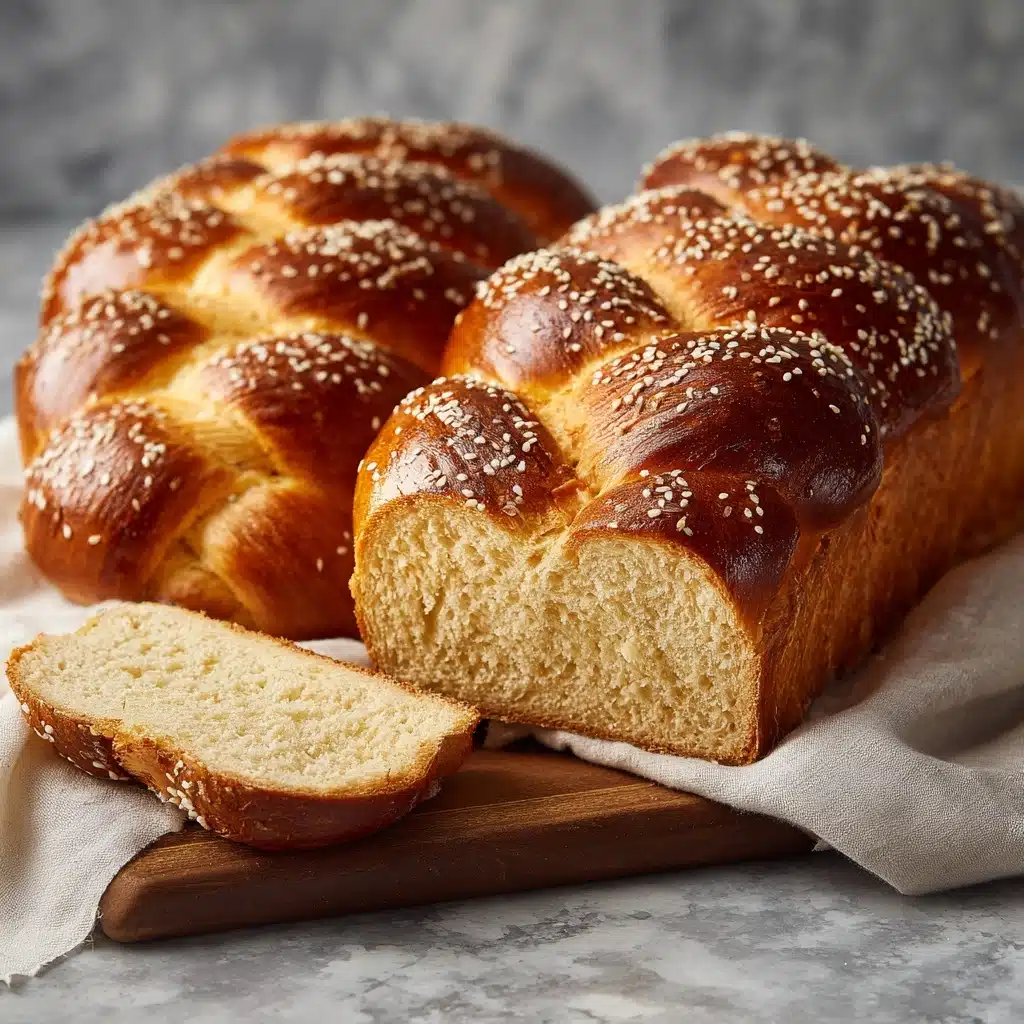
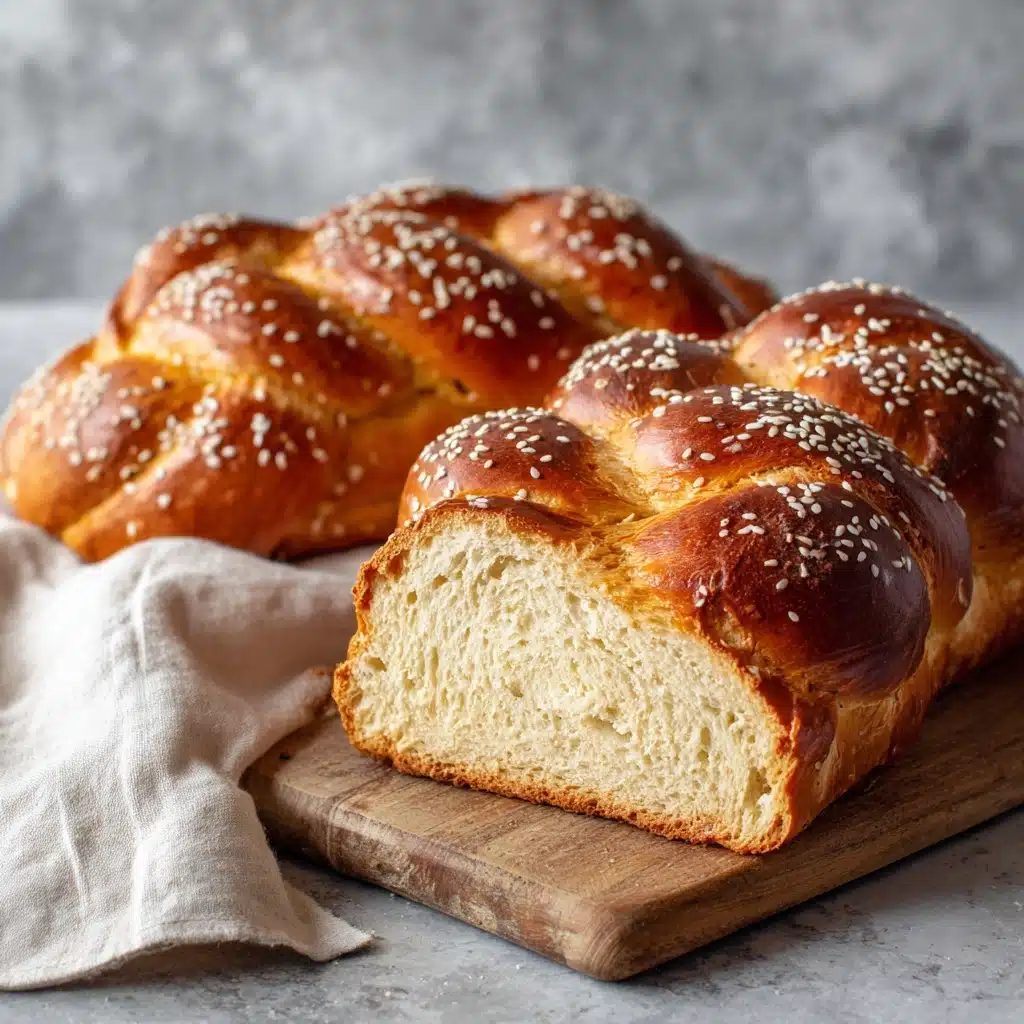
If you’ve never experienced the magic of homemade Challah Bread, you’re in for an absolute delight. This bread is as gorgeous as it is delicious: beautifully golden, pillowy soft, and sweetly fragrant from just the right touch of sugar. Whether you bake it for a special gathering, a family weekend, or simply to delight in a slice with a smear of butter, Challah Bread is a showstopper that’s surprisingly easy to pull off in your own kitchen.
Ingredients You’ll Need
The ingredient list for Challah Bread is comfortingly simple—each element brings something truly special to the table, whether it’s creating a light crumb, building a rich flavor, or delivering that signature golden crust. Here’s what makes this classic so irresistible:
- All-purpose flour: Gives the dough structure and that tender, soft texture perfect for braiding and slicing.
- Active dry yeast: The rising force that brings Challah Bread to lofty, airy heights—make sure it’s fresh for best results.
- Granulated sugar: Lends a subtle sweetness and helps feed the yeast during the rise.
- Warm water (110°F/43°C): Provides the ideal environment to activate the yeast without killing it—temperature matters!
- Vegetable oil: Adds moisture and helps create a soft, tender crumb in each slice.
- Large eggs: Boosts richness, flavor, and that classic yellow hue unique to Challah Bread.
- Salt: Enhances all the flavors and balances the sweet, eggy notes.
- Egg yolk (for egg wash): Key for the glossy, deep golden crust you know and love.
- Water (for egg wash): Helps thin out the yolk for even brushing and beautiful shine.
- Sesame or poppy seeds (optional): Classic toppings that add visual flair and a gentle crunch to your loaf.
How to Make Challah Bread
Step 1: Activate the Yeast
Start your Challah Bread adventure by mixing warm water, a scoop of sugar, and your yeast in a small bowl. Stir gently and let it sit for 5–10 minutes until it’s foaming up like a cozy cappuccino—this ensures your yeast is lively and ready to work its magic!
Step 2: Mix the Dough
Once your yeast is bubbly, grab a large mixing bowl (or the bowl of your stand mixer) and pour in the yeast mixture. Add the oil, eggs, and salt, then give everything a good stir. Begin adding the flour, one cup at a time, mixing well after each addition. Stop once you have a soft, slightly tacky dough—don’t be afraid to use a little extra flour if it feels too sticky.
Step 3: Knead Until Smooth
Now it’s time to work a bit of muscle! Turn your dough out onto a floured surface and knead by hand for about 8–10 minutes (or use your mixer’s dough hook for 5–6 minutes). You’ll know your Challah Bread dough is ready when it’s smooth, elastic, and springs back gently when pressed.
Step 4: The First Rise
Lightly oil a bowl and pop your dough inside, covering it with a clean towel or plastic wrap. Let it rise in a cozy, warm spot for 1 to 1.5 hours—it should double in size and feel light to the touch. This is where all the pillowy goodness starts to happen!
Step 5: Shape and Braid
Punch down the risen dough to release any trapped air, then divide it into 3 or 4 equal pieces for braiding. Roll each piece into a long rope on a lightly floured surface, then braid them together on a parchment-lined baking sheet. Tuck the ends underneath for a neat finish and cover with a towel for the second rise, about 30–45 minutes.
Step 6: Add the Golden Finish
As the dough gets puffy, preheat your oven to 375°F (190°C). Whisk one egg yolk with a tablespoon of water for the classic Challah Bread glaze, then brush it generously all over the loaf. If you’re in the mood, sprinkle on some sesame or poppy seeds for a gorgeous, bakery-style touch.
Step 7: Bake to Perfection
Bake your Challah Bread for 28–32 minutes, keeping a close eye as it turns a deep, golden brown. You’ll know it’s done when it sounds hollow if you tap the bottom and the kitchen smells unbelievably inviting. Transfer to a wire rack and let cool completely before slicing—if you can wait that long!
How to Serve Challah Bread
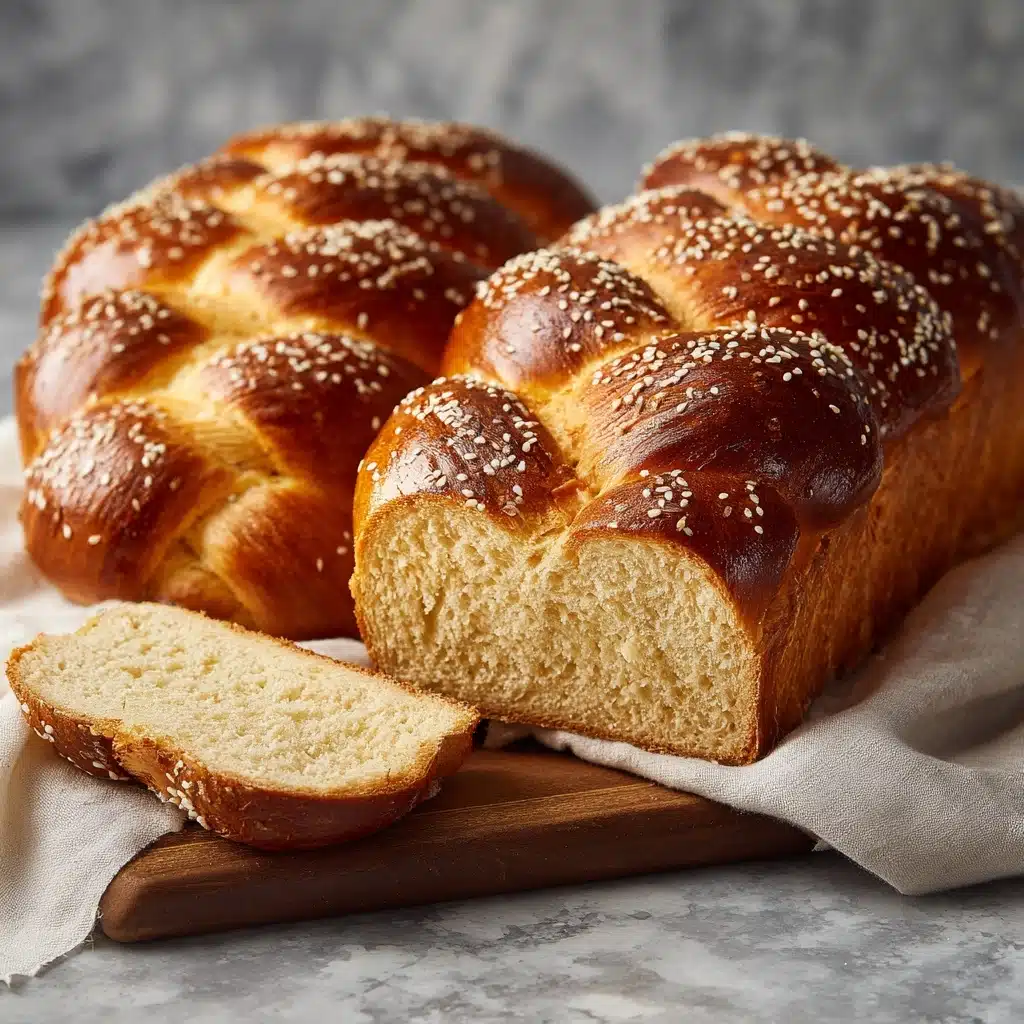
Garnishes
A warm slice of Challah Bread is already irresistible, but you can make it even more special with a finishing touch. Try brushing the crust with a bit of melted butter for shine, a sprinkle of flaky sea salt for contrast, or an extra dash of seeds for color and crunch. Let your creative side take over for that bakery-style flair!
Side Dishes
Challah Bread shines alongside so many meals. Pair it with rich soups, fresh salads, or classic egg dishes for brunch. It also makes an incredible base for French toast or serves as the centerpiece at your holiday table—honestly, it steals the show every time.
Creative Ways to Present
If you’re serving guests, try cutting slices and arranging them in a woven basket with a linen napkin for a rustic feel. Or, tear the loaf into pieces for dipping into olive oil or honey. Challah Bread looks gorgeous as the centerpiece of a celebratory table—braided loaves bring instant warmth and festivity to any occasion.
Make Ahead and Storage
Storing Leftovers
If you’re lucky enough to have leftovers, wrap your Challah Bread tightly in foil or plastic wrap and keep it at room temperature for up to 3 days. It stays soft and fresh, perfect for school lunches or impromptu snacks.
Freezing
To freeze, let your Challah Bread cool completely, then wrap the loaf snugly in plastic wrap and a layer of foil. Store in the freezer for up to 2 months—thaw at room temperature when ready to enjoy, and you’ll have freshly baked Challah whenever you crave it.
Reheating
To revive a day-old Challah Bread, simply pop slices in a toaster or warm the whole loaf in a 325°F (160°C) oven for 8–10 minutes. This brings back that just-baked softness and lures all the delicious aromas back into your kitchen.
FAQs
Can I make Challah Bread without a stand mixer?
Absolutely! While a stand mixer makes kneading easier, you can make wonderful Challah Bread by hand. Just knead the dough on a floured surface until it’s smooth and elastic. The process is a bit meditative and you’ll feel tangibly connected to your loaf.
Why is egg wash important for Challah Bread?
The egg wash creates Challah Bread’s famous glossy crust and rich golden color. Brushing it on right before baking helps the bread look as good as it tastes, and acts like edible gold for your table centerpiece.
What fillings or flavors can I add to Challah Bread?
Once you’ve mastered the classic, try swirling in raisins, dried cherries, a sprinkle of cinnamon sugar, or even chocolate chips. Savory versions with herbs or roasted garlic are fantastic too—Challah Bread is endlessly versatile!
How do I know when Challah Bread is done baking?
Look for a deep golden brown color and a hollow sound when you gently tap the bottom. If you’re unsure, an instant-read thermometer should register around 190°F (88°C) when inserted into the center.
Can I make mini Challah loaves?
Yes! Simply divide the dough into more portions and braid smaller loaves. Bake for a shorter time (begin checking at 18–20 minutes). Mini Challah Breads make adorable gifts or individual servings at a dinner party.
Final Thoughts
There’s nothing quite like pulling a homemade loaf of Challah Bread from your oven—the aroma, the beauty, and that first soft, golden bite. I hope this recipe invites you to slow down, braid some joy into your day, and share something truly special with the people you love. Give Challah Bread a try and let it become a staple at your table!
PrintChallah Bread Recipe
Learn how to make delicious homemade Challah Bread, a traditional Jewish bread that’s perfect for any occasion. This recipe yields a beautifully braided loaf with a golden crust and soft, fluffy interior.
- Prep Time: 20 minutes
- Cook Time: 30 minutes
- Total Time: 3 hours (with rising)
- Yield: 1 loaf (10–12 slices) 1x
- Category: Bread
- Method: Baking
- Cuisine: Jewish
- Diet: Vegetarian
Ingredients
Dough:
- 4 cups all-purpose flour (plus more as needed)
- 1 packet (2 1/4 tsp) active dry yeast
- 1/4 cup granulated sugar
- 3/4 cup warm water (110°F/43°C)
- 1/4 cup vegetable oil
- 2 large eggs
- 1 1/4 teaspoons salt
Egg Wash:
- 1 egg yolk
- 1 tablespoon water
- Sesame or poppy seeds (optional)
Instructions
- Prepare the Dough: Combine warm water, sugar, and yeast. Add oil, eggs, salt, and gradually incorporate flour. Knead until smooth.
- Rise the Dough: Let the dough rise until doubled in size, then shape into a braid.
- Second Rise: Let the braid rise until puffy.
- Preheat and Bake: Brush with egg wash, sprinkle seeds, and bake until golden brown.
- Cool and Serve: Cool on a wire rack before slicing.
Notes
- This bread freezes well—wrap tightly once cooled.
- For a slightly sweeter version, increase sugar to 1/3 cup.
Nutrition
- Serving Size: 1 slice
- Calories: 180
- Sugar: 3 g
- Sodium: 170 mg
- Fat: 5 g
- Saturated Fat: 1 g
- Unsaturated Fat: 3 g
- Trans Fat: 0 g
- Carbohydrates: 28 g
- Fiber: 1 g
- Protein: 5 g
- Cholesterol: 35 mg

