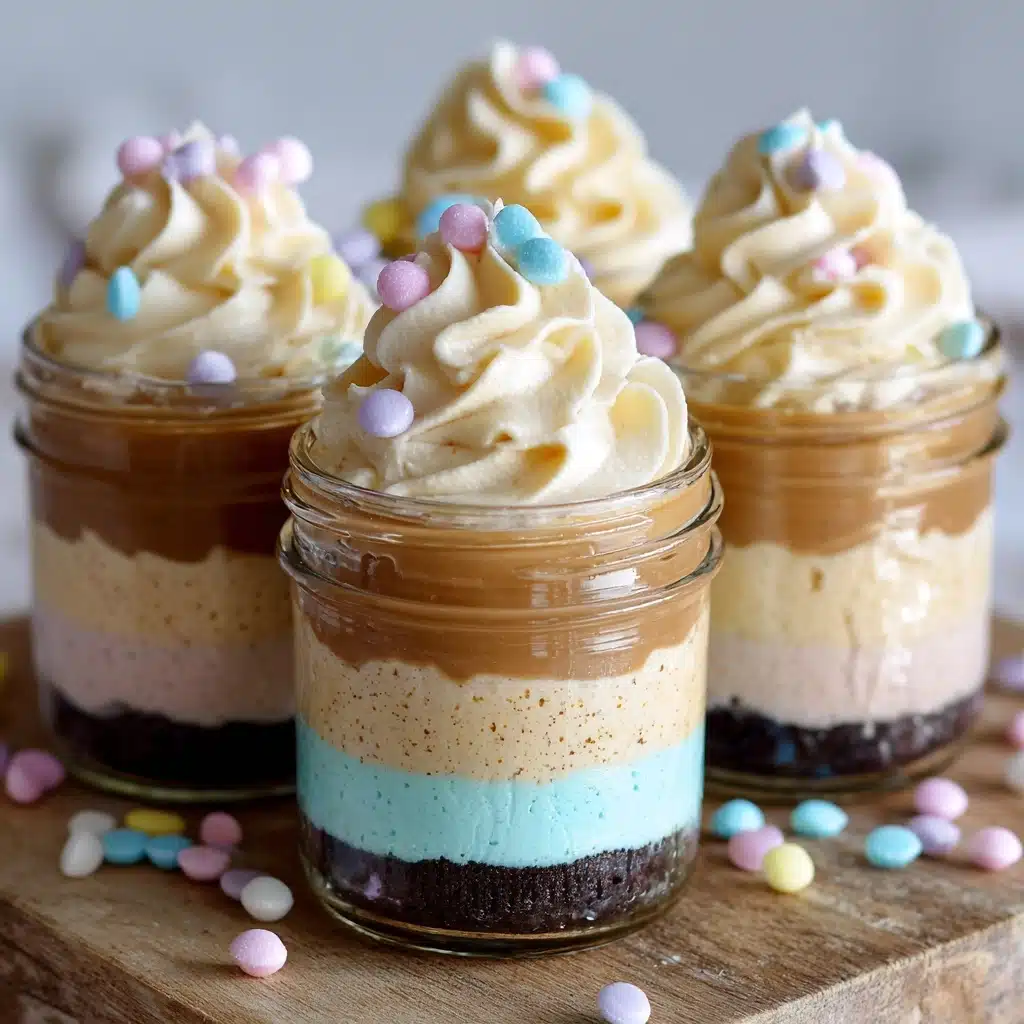
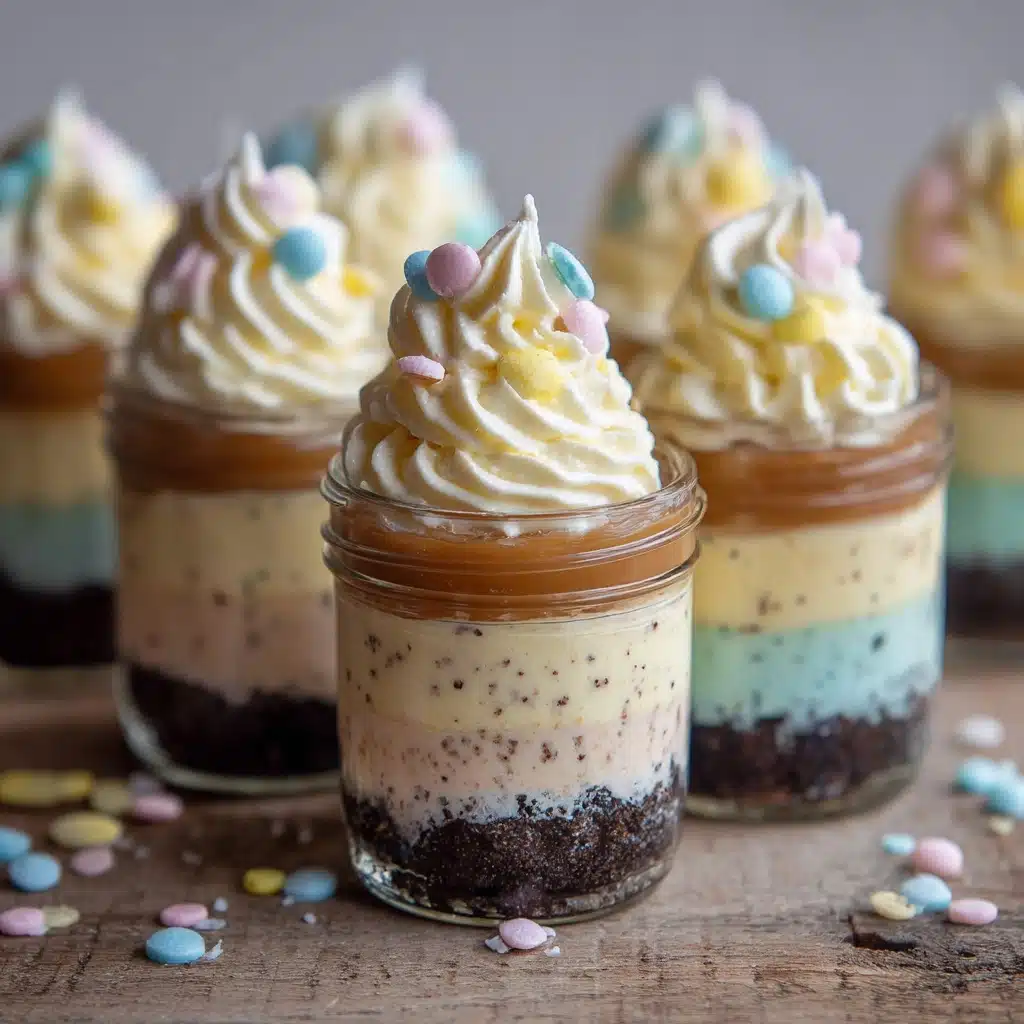
Whether you’re celebrating something special, on the hunt for the ultimate portable dessert, or just want to treat yourself with something wonderfully fun, Cake in a Jar is a total game changer. Imagine all your favorite layers of tender cake and creamy frosting, neatly packed into a cute mason jar—easy to carry, gift, or eat straight from the fridge! Each spoonful delivers a perfect bite of moist cake and luscious cream, all with the customizable twists you love. It’s pretty, it’s practical, and yes, it’s every bit as delicious as it looks—get ready to fall in love with Cake in a Jar!
Ingredients You’ll Need
The best part about Cake in a Jar is how it takes simple, pantry-friendly staples and turns them into a show-stopping treat. Every ingredient plays its part, whether you’re building flavor, ensuring perfect texture, or adding a touch of whimsy with your favorite mix-ins.
- All-purpose flour: It creates the essential soft, fluffy base that absorbs the syrup and cream perfectly.
- Granulated sugar: Sweetens just right and helps give your cake that beautiful, golden crumb.
- Unsalted butter, softened: Provides a rich flavor and tender texture—plus, it makes creaming a breeze.
- Milk: Adds moisture and keeps the cake melt-in-your-mouth soft without being heavy.
- Large egg: Binds everything together while giving the cake enough lift.
- Vanilla extract: Brings a warmth and irresistible aroma to each bite—don’t skip it!
- Baking powder: Helps the cake rise to fluffy perfection every time.
- Salt: Just a little boost to help all the flavors shine through.
- Optional mix-ins (mini chocolate chips, berries, or sprinkles): Add a burst of personality and color—choose your favorite or mix and match!
- Whipped cream or frosting (for layering): Makes every jar utterly decadent with creamy, cloud-like layers.
- Mason jars (4–6, 8 oz size): The secret to easy serving, gifting, and transport—the cuter, the better!
How to Make Cake in a Jar
Step 1: Get Prepped and Preheat
Kick things off by preheating your oven to 350°F (175°C). Lightly grease a cupcake pan or line with paper liners—this keeps your cake base from sticking and makes transferring to jars a breeze. Gather your mason jars, mixing bowls, and all the ingredients so nothing slows down your baking flow.
Step 2: Cream Butter and Sugar
Grab that softened butter and the granulated sugar, and beat them together until light, pale, and extra fluffy. This is where you build the cake’s signature melt-in-your-mouth texture, so take your time—fluffy is always worth it!
Step 3: Add Egg and Vanilla
Crack in that large egg and pour the vanilla extract right into your butter-sugar mixture. Mix until everything is silky smooth and the kitchen starts to smell positively dreamy. Each ingredient here amps up the flavor and richness.
Step 4: Mix the Dry Ingredients
In a separate bowl, whisk together flour, baking powder, and salt. This is how you make sure the leavening agent and salt get distributed evenly, guaranteeing a perfectly risen, flavorful cake in every jar.
Step 5: Combine Wet and Dry Mixtures
Now, add the dry ingredients to your wet base in batches, alternating with splashes of milk. Mixing in stages keeps the batter smooth and lump-free. End with a quick, gentle stir—if you’re adding chocolate chips, berries, or sprinkles, fold those in now for color and fun.
Step 6: Bake the Cake
Spoon the batter into cupcake liners, filling each one about two-thirds full. Pop the pan into your preheated oven and bake for 15 to 18 minutes. Once a toothpick comes out clean, you know they’re done. Let them cool completely; patience leads to perfect layers later!
Step 7: Assemble Your Cake in a Jar
Once your cakes are cool, crumble them gently with your hands or a fork. Start the fun part: in each clean mason jar, layer in crumbled cake and whipped cream or frosting, repeating until the jars are full. Finish with a generous dollop on top—the wow factor is real!
How to Serve Cake in a Jar
Garnishes
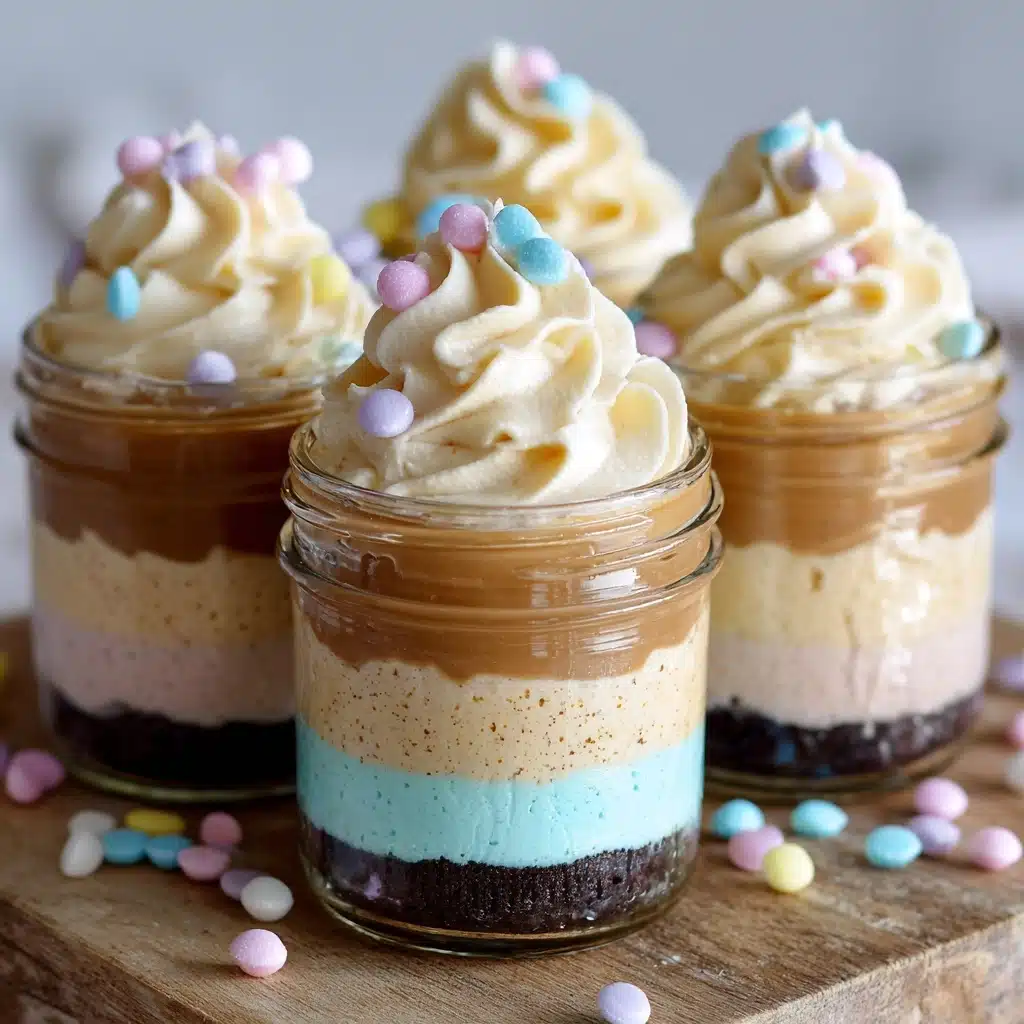
Top each Cake in a Jar with extra chocolate chips, fresh berries, or a colorful sprinkle shower. A little citrus zest or a chocolate drizzle elevates the jars from homemade to bake-shop fancy—totally Instagram-worthy!
Side Dishes
Balance the sweetness by serving your jars alongside a cup of hot coffee or a cool glass of milk. For a super special dessert spread, pair them with some fresh fruit or crunchy biscotti on the side—simple touches that make dessert feel extra luxurious.
Creative Ways to Present
Get playful with presentation by tying little ribbons around the jars, popping on a cute label, or tucking in a tiny spoon. Cake in a Jar makes a winning party favor, birthday surprise, or picnic treat. For a themed celebration, layer in colored cake or mix up the cream flavors to match your event!
Make Ahead and Storage
Storing Leftovers
Keep leftover Cake in a Jar covered and refrigerated for up to 3 days. If you’ve used whipped cream, it’s best to enjoy them sooner, while buttercream lets them stay fresher a smidge longer. The lids keep things tidy and the cakes ultra-moist.
Freezing
For longer storage, use sturdy, freezer-safe jars and opt for buttercream instead of whipped cream. Pop jars into the freezer for up to 1 month. Thaw overnight in the fridge for a fuss-free dessert whenever sweet cravings strike.
Reheating
If you’d like a slightly warm treat, remove any toppings that might melt and microwave your Cake in a Jar (without the lid) in 10-15 second bursts. The cake gets soft and cozy, while the cream turns slightly gooey—pure comfort!
FAQs
Can I customize my Cake in a Jar with different flavors?
Absolutely! Feel free to experiment with cocoa powder for a chocolate version, lemon zest for brightness, or different extracts to make each batch unique. You can also swap in seasonal fruits or flavor the cream for even more variety.
Is this recipe kid-friendly?
This is a fantastic baking activity for kids! Let them choose their own mix-ins and do the layering—it’s hands-on, creative, and the jars mean less mess for everyone involved.
Can I make Cake in a Jar gluten-free?
Yes! Substitute the all-purpose flour with your favorite gluten-free blend. Just be sure to check that your mix-ins are gluten-free too, and you’ll have a delicious and inclusive treat for everyone.
How do I transport Cake in a Jar for parties or picnics?
The beauty of this dessert is portability. Just tighten the lids, pack them snugly in a box or cooler, and you’re good to go—no worrying about smashed frosting or melting cakes in transit!
What’s the best way to assemble if I’m making a lot for a crowd?
Set up a little assembly line: crumble all the cake and divide it among jars in one step, then add cream, repeat with layers, and top everything off at the end. This method is super efficient and makes mass production a breeze.
Final Thoughts
If you haven’t tried making Cake in a Jar yet, now’s your sign! They’re easy, wildly customizable, and just plain fun to eat. Whether you’re sharing at a gathering or sneaking one for yourself, I promise they’ll bring out big smiles. Grab those mason jars and let the layering begin!
PrintCake in a Jar Recipe
Indulge in the delightful treat of Cake in a Jar, a portable and layered dessert that is perfect for parties or as a thoughtful gift. This recipe allows you to create individual servings of cake beautifully presented in mason jars, making them not only delicious but also visually appealing.
- Prep Time: 15 minutes
- Cook Time: 18 minutes
- Total Time: 33 minutes
- Yield: 4–6 jars 1x
- Category: Dessert
- Method: Baking
- Cuisine: American
- Diet: Vegetarian
Ingredients
Cake:
- 1 cup all-purpose flour
- 1/2 cup granulated sugar
- 1/4 cup unsalted butter, softened
- 1/2 cup milk
- 1 large egg
- 1 teaspoon vanilla extract
- 1 teaspoon baking powder
- 1/4 teaspoon salt
- Optional: 1/4 cup mini chocolate chips, berries, or sprinkles
Layering:
- 1/2 cup whipped cream or frosting for layering
- 4–6 8 oz mason jars
Instructions
- Preheat oven: Preheat oven to 350°F (175°C) and prepare a cupcake pan.
- Mix butter and sugar: Cream together the butter and sugar until fluffy.
- Add egg and vanilla: Beat in the egg and vanilla extract.
- Combine dry ingredients: In a separate bowl, whisk together the flour, baking powder, and salt.
- Combine wet and dry ingredients: Add dry ingredients to the wet mixture in batches, alternating with the milk, and mix until smooth.
- Optional mix-ins: Fold in optional mix-ins if desired.
- Bake: Divide batter into cupcake liners and bake for 15–18 minutes until a toothpick comes out clean. Let cool.
- Assemble: Crumble the cake into chunks. In clean mason jars, layer crumbled cake and whipped cream or frosting, repeating layers until jars are full. Finish with a dollop of cream on top.
Notes
- Perfect for parties or gifting.
- Flavor variations with lemon zest, cocoa powder, or extracts.
- Store in the fridge for up to 3 days.
- For longer shelf life, use buttercream instead of whipped cream.
Nutrition
- Serving Size: 1 jar
- Calories: 320
- Sugar: 25g
- Sodium: 140mg
- Fat: 15g
- Saturated Fat: 9g
- Unsaturated Fat: 5g
- Trans Fat: 0g
- Carbohydrates: 42g
- Fiber: 0g
- Protein: 4g
- Cholesterol: 55mg

