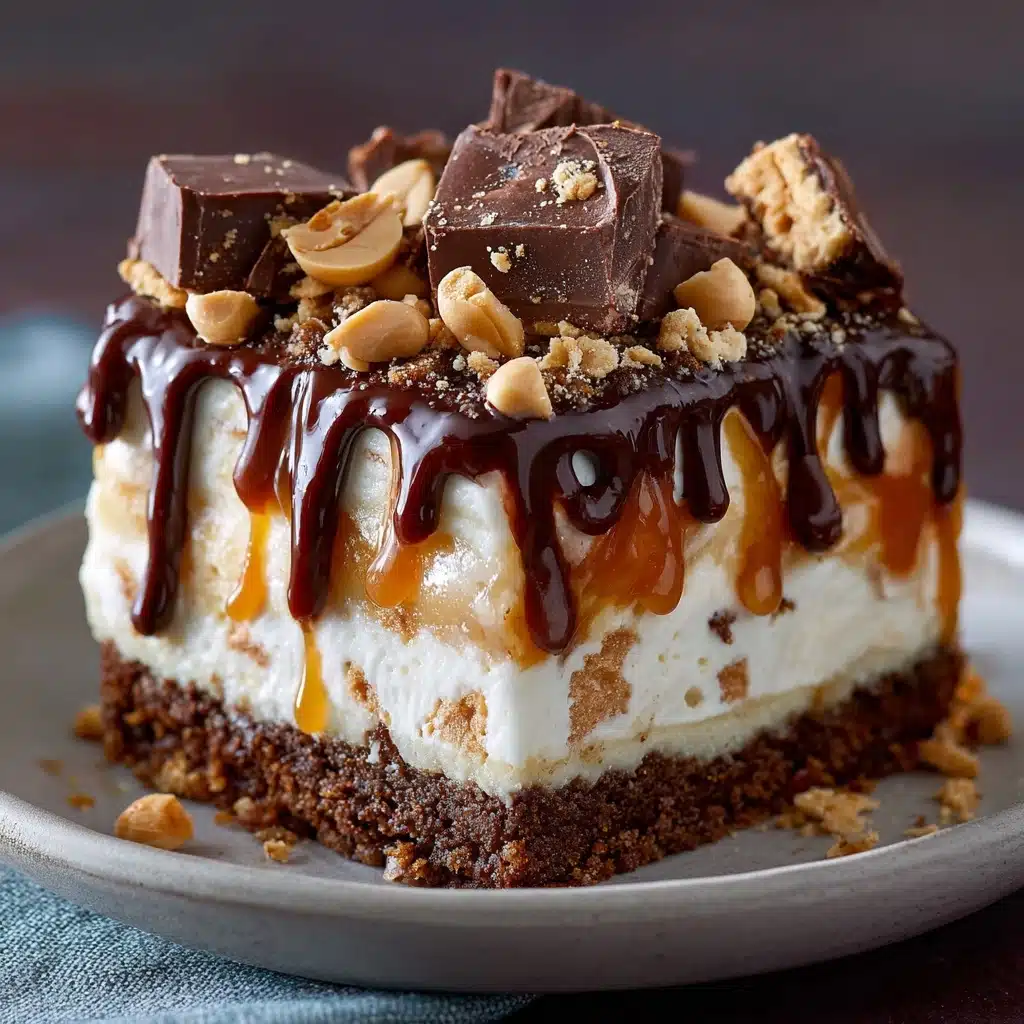
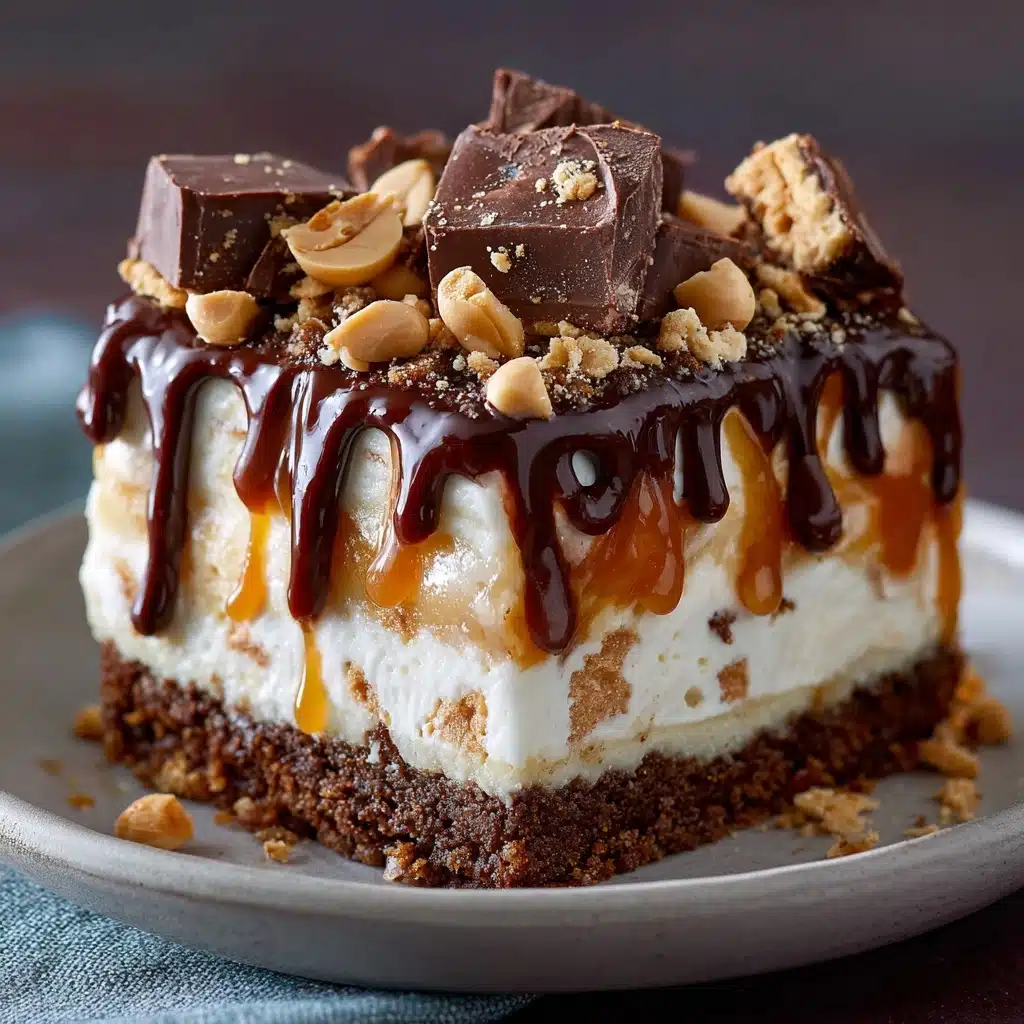
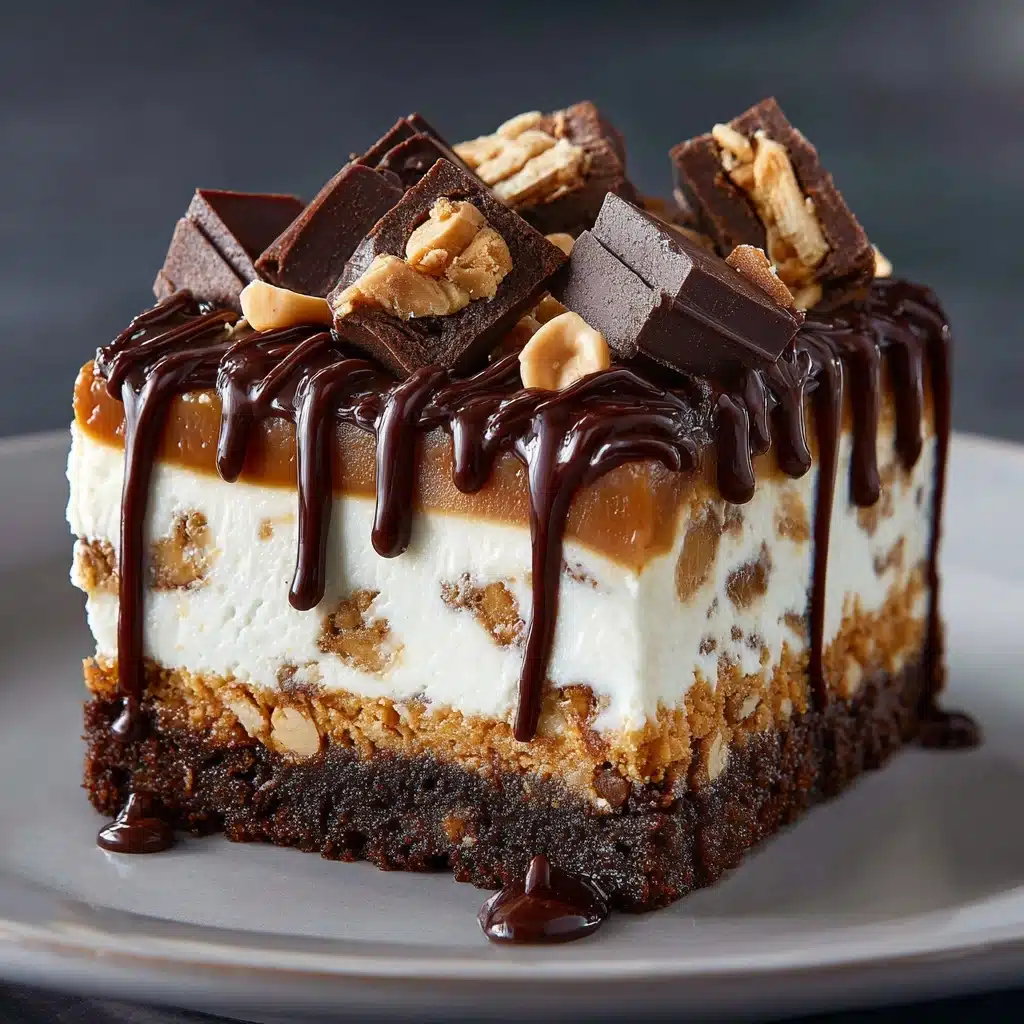
If you’re searching for a dessert that’s guaranteed to disappear in record time, look no further than this Butterfinger Candy Bar Poke Cake Recipe. Imagine a chocolate cake soaked with sweetened condensed milk and caramel, generously topped with crushed Butterfinger bars and fluffy whipped topping – it’s a blissful marriage of moist, crunchy, creamy, and chocolatey that will have everyone coming back for another forkful. This cake is shockingly easy to prepare, but the payoff is pure magic, making it perfect for everything from birthday parties to spontaneous celebrations at home. Get ready for the most requested treat in your recipe box!
Ingredients You’ll Need
The best part about the Butterfinger Candy Bar Poke Cake Recipe is its simplicity – just a handful of store-bought ingredients, each playing a crucial role in achieving that dreamy combination of flavors and textures. Here’s what makes each item special:
- Chocolate cake mix: Your favorite boxed mix forms the decadent base, delivering consistent results every time.
- Eggs, oil, water: These are the classic cake-building trio called for on the cake mix box, ensuring a tender, moist crumb.
- Sweetened condensed milk (14 oz can): It seeps into every poke hole, making each bite rich and melt-in-your-mouth delicious.
- Caramel sauce (12 oz jar): Adds a sweet, buttery depth and a gorgeous golden swirl throughout.
- Butterfinger candy bars (4, crushed): These bring that signature peanut-buttery crunch and flavor—don’t skimp on them!
- Whipped topping (8 oz, thawed): Spreads on smooth and creamy, perfectly balancing the other sweet elements with a light, pillowy finish.
How to Make Butterfinger Candy Bar Poke Cake Recipe
Step 1: Bake the Chocolate Cake
Begin by preparing your chocolate cake mix as directed on the package, typically combining the mix with eggs, oil, and water. Bake it in a 9×13-inch pan to create the perfect sturdy-yet-soft canvas for all the sweet add-ins. As tempting as it is to skip ahead, give the cake those few sizzling minutes in the oven to build structure and flavor; it’s the backbone of the Butterfinger Candy Bar Poke Cake Recipe!
Step 2: Poke the Cake
Once your cake is fresh out of the oven, let it cool for about 5 minutes. This short wait lets it firm up a touch but stay warm enough to soak in all the goodness ahead. Using the handle of a wooden spoon (or any similar-sized utensil), poke holes all over the cake – the more evenly you space them, the better the filling distribution later. This step turns your cake into a flavor sponge, primed for maximum soakage!
Step 3: Pour on the Sweetened Condensed Milk and Caramel
Now, slowly pour the sweetened condensed milk over the entire surface, letting it pool into the poked holes. Follow immediately with the creamy caramel sauce, drizzling it evenly so every slice gets a hit of that gooey, buttery magic. Don’t rush – letting these liquids slowly seep makes every bite extra luscious, almost like a tres leches cake with a dessert-shop twist.
Step 4: Add the Butterfinger Crunch
Time for the star attraction of the Butterfinger Candy Bar Poke Cake Recipe: the crushed Butterfinger bars! Sprinkle half of them over the still-warm, caramel-soaked cake. Their peanut-buttery crunch begins to melt a bit into the warm cake, creating chewy, crunchy pockets that make this dessert so addictive.
Step 5: Cool Completely and Add Whipped Topping
Allow the cake to cool completely so the whipped topping won’t melt when spread on. Once cool, slather on a luxurious layer of whipped topping – it’s the creamy finale, smoothing out every nook and cranny. Finish with the rest of the crushed Butterfinger bars sprinkled on top, so every forkful gets that irresistible crunch.
Step 6: Chill and Serve
Cover the cake and chill it for at least 2 hours. This patience pays off, helping all those flavors meld and making slicing a neat dream. When it’s party time, slice and serve, watching as guests marvel at the layers, textures, and unbeatable flavor of your Butterfinger creation.
How to Serve Butterfinger Candy Bar Poke Cake Recipe

Garnishes
A little extra flair takes this cake from impressive to unforgettable. Before serving, add a sprinkle of extra crushed Butterfingers for more crunch, a fresh drizzle of caramel or chocolate sauce, or even a scattering of chopped peanuts for a salty counterpoint. These finishing touches make your Butterfinger Candy Bar Poke Cake Recipe feel like something straight from a dessert bakery.
Side Dishes
This cake is a showstopper on its own, but pairing it with sides can create a dessert spread to remember. Offer scoops of vanilla or peanut butter ice cream for some frosty richness, or serve with a mug of bold coffee to cut the sweetness. Even simple fresh berries on the side provide a tart, bright contrast that keeps each bite feeling fresh.
Creative Ways to Present
For parties, slice the cake into bite-sized squares and serve them in cupcake liners for easy grab-and-go fun. Or stack layers of cake and whipped topping in clear parfait glasses for an elegant twist at dinner gatherings. You can even serve it warm with a splash of extra caramel and a scoop of ice cream for the ultimate comfort dessert.
Make Ahead and Storage
Storing Leftovers
Got leftovers? Simply cover the pan tightly with plastic wrap or slide into an airtight container. Chill in the fridge, and your Butterfinger Candy Bar Poke Cake Recipe stays moist and delicious for up to four days – though chances are, it’ll be gone well before that!
Freezing
Want to save some for later? This cake freezes surprisingly well! Cut into slices and wrap each piece in plastic wrap before sealing in a freezer bag or container. For the best texture, freeze without the whipped topping, then thaw and frost fresh when ready to serve. It can keep in the freezer for up to two months.
Reheating
This is a cake best served chilled or at room temperature, keeping all those gooey, creamy textures intact. If you want a warm treat, zap a slice (minus the whipped topping) in the microwave for about 10 seconds, then add whipped topping and more Butterfingers before serving.
FAQs
Can I use homemade cake instead of a boxed mix?
Absolutely! If you have a favorite chocolate cake recipe, feel free to use it as the base for the Butterfinger Candy Bar Poke Cake Recipe. Just bake it in a 9×13-inch pan as the instructions here recommend.
What’s the best way to crush Butterfinger bars?
Place the Butterfingers in a zip-top freezer bag and use a rolling pin or the back of a heavy spoon to gently crush them to your preferred size. A mix of fine crumbs and bigger pieces ensures great texture in every bite.
Can I make this dessert in advance?
Definitely! In fact, chilling the Butterfinger Candy Bar Poke Cake Recipe for a few hours – or even overnight – only improves the flavor and texture. It’s a perfect make-ahead crowd-pleaser.
Is there a way to make this less sweet?
For a slightly lighter version, try using less caramel sauce or opting for a less-sweet whipped topping. Serving smaller pieces with a scoop of plain Greek yogurt can also help balance the sweetness.
Are there gluten-free options?
Yes! Use a gluten-free chocolate cake mix and double-check the labels on your other ingredients. Butterfinger bars are typically gluten-free, but always check the current packaging to be sure.
Final Thoughts
I can’t recommend this Butterfinger Candy Bar Poke Cake Recipe enough – it’s pure joy in dessert form, perfect for sharing with family and friends, or as a sweet treat for yourself. Whether you’re a seasoned baker or just starting out, this cake is guaranteed to win hearts (and taste buds!) at any gathering. Give it a try and watch it become your new go-to celebration cake.
PrintButterfinger Candy Bar Poke Cake Recipe
Indulge in the deliciousness of this Butterfinger Candy Bar Poke Cake. A decadent chocolate cake infused with sweetened condensed milk, caramel sauce, and topped with crushed Butterfinger candy bars and whipped cream.
- Prep Time: 10 minutes
- Cook Time: 30 minutes
- Total Time: 2 hours 40 minutes (includes chilling time)
- Yield: 12 servings 1x
- Category: Dessert
- Method: Baking
- Cuisine: American
- Diet: Vegetarian
Ingredients
Cake:
- 1 box chocolate cake mix (plus ingredients listed on the box, usually eggs, oil, and water)
Toppings:
- 1 can (14 oz) sweetened condensed milk
- 1 jar (12 oz) caramel sauce
- 4 Butterfinger candy bars, crushed
- 1 container (8 oz) whipped topping, thawed
Instructions
- Bake the Cake: Prepare and bake the chocolate cake in a 9×13-inch pan. Poke holes in the warm cake.
- Add Fillings: Pour sweetened condensed milk and caramel sauce over the cake, then sprinkle with crushed Butterfinger bars.
- Top with Whipped Cream: Cool the cake, spread whipped topping over it, and finish with more crushed Butterfingers.
- Chill and Serve: Refrigerate the cake for at least 2 hours before serving.
Notes
- For added crunch, consider adding chopped peanuts or a drizzle of chocolate sauce.
- Leftovers can be stored in the fridge for up to 4 days.
Nutrition
- Serving Size: 1 slice
- Calories: 420
- Sugar: 39g
- Sodium: 320mg
- Fat: 20g
- Saturated Fat: 8g
- Unsaturated Fat: 11g
- Trans Fat: 0g
- Carbohydrates: 58g
- Fiber: 1g
- Protein: 5g
- Cholesterol: 45mg


