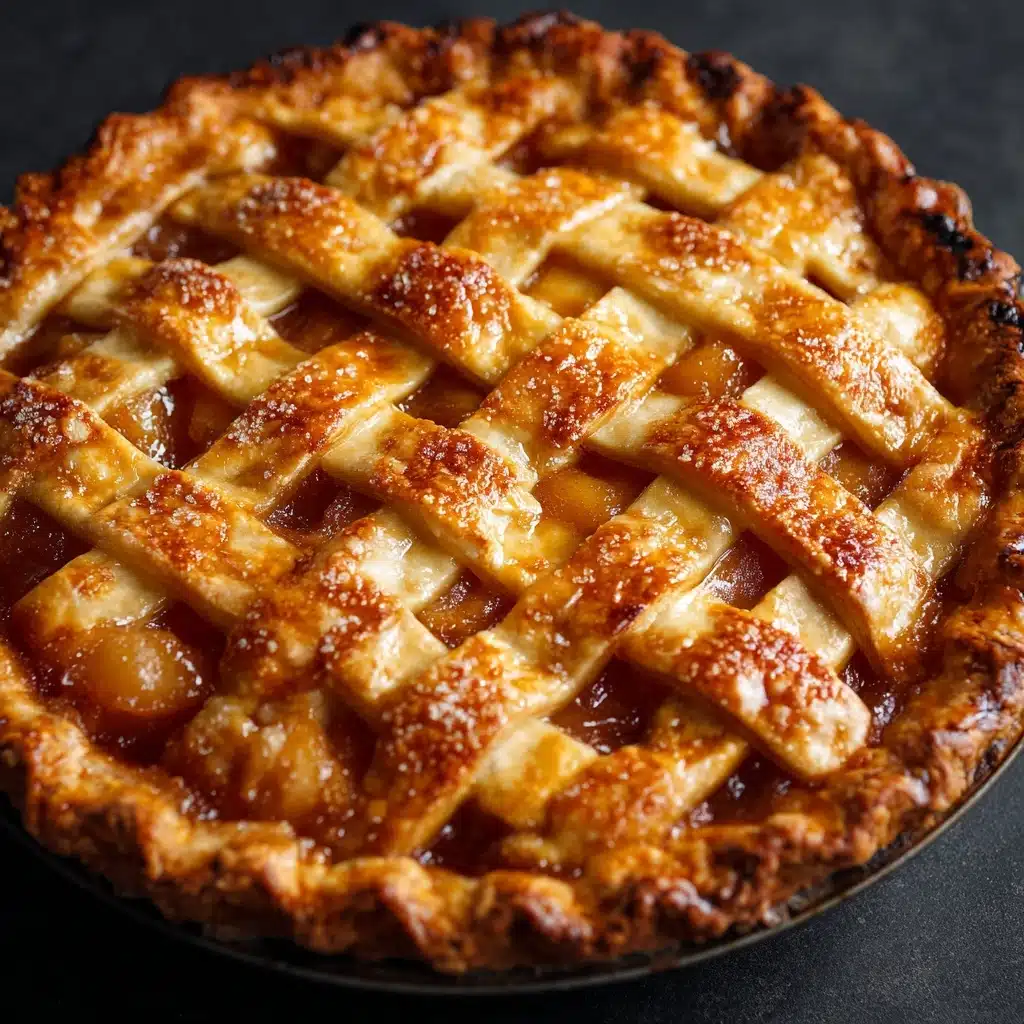
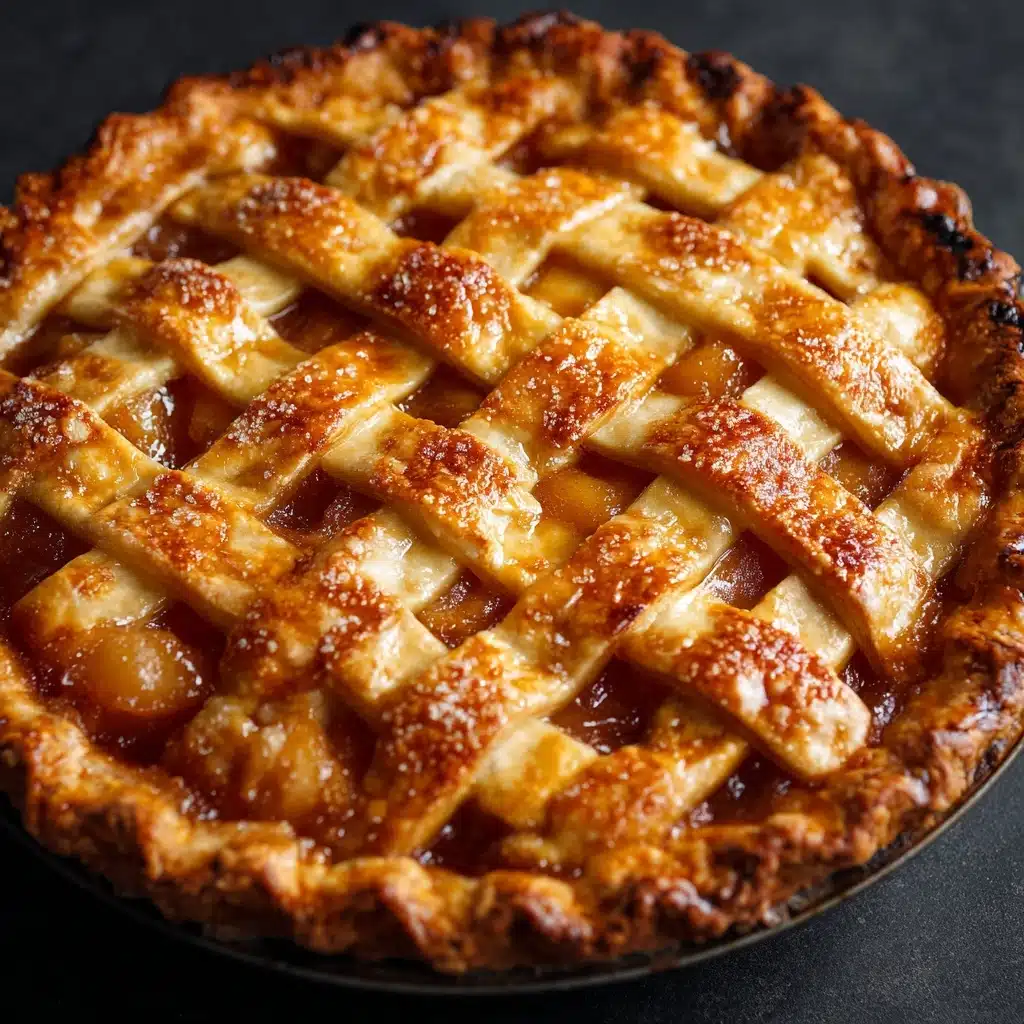
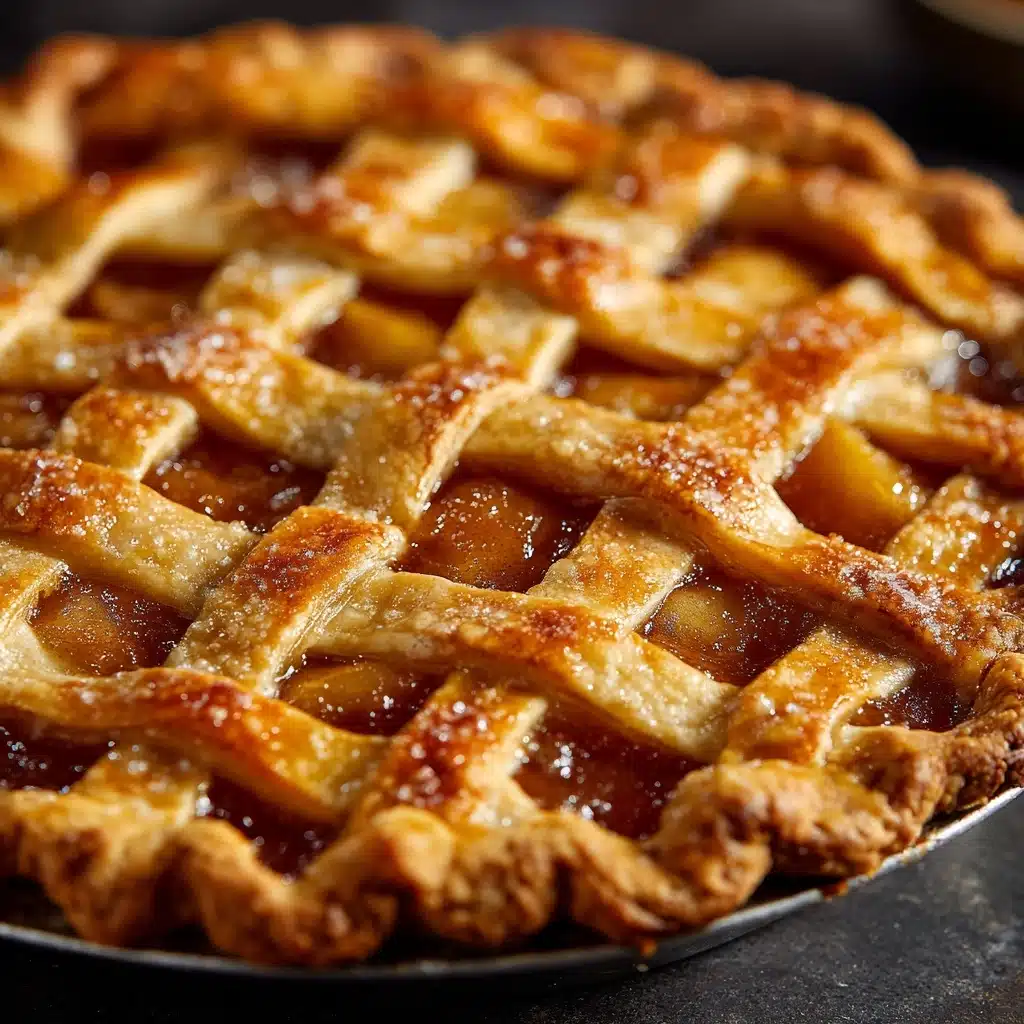
There’s an undeniable magic in a truly homemade Butter Pie Crust — that shattering flakiness, rich buttery aroma, and golden edges that cradle every sweet or savory filling like a loving hug. Over the years, perfecting this baking classic has been one of my proudest kitchen achievements. Whether you’re filling it with summer fruit or a silky-smooth custard, this recipe delivers the kind of crust that makes people pause mid-bite and ask, “Did you really make this from scratch?” Grab your mixing bowl and join me for a foolproof, flavor-packed Butter Pie Crust adventure you’ll want to revisit again and again!
Ingredients You’ll Need
This Butter Pie Crust recipe relies on just a handful of familiar ingredients, but each one has a special job to do. Simple, yes, but together they create a crust with irresistible taste, melt-in-your-mouth texture, and that gorgeous golden color every pie lover hopes for.
- All-purpose flour: Provides the structure and foundation for your crust, making it tender yet sturdy enough to hold any filling you throw at it.
- Salt: A pinch of salt sharpens all the flavors and keeps the buttery richness from becoming overwhelming.
- Granulated sugar: Adds a subtle sweetness and helps the crust brown beautifully in the oven.
- Unsalted butter (very cold, cubed): The star of the show! Cold butter creates glorious pockets that puff into layers of flaky goodness as your crust bakes.
- Ice water: Keeps the dough cold and brings everything together without melting the butter, which is the secret to flakiness.
How to Make Butter Pie Crust
Step 1: Mix Your Dry Ingredients
Start by whisking together the flour, salt, and sugar in a large mixing bowl. This simple step ensures that every bite of your Butter Pie Crust is perfectly seasoned — no pockets of salt or uneven sweetness. Just a few quick turns with your whisk and your dry ingredients become a uniform canvas, ready and waiting for butter.
Step 2: Cut in the Butter
Add your cold, cubed butter to the flour mixture. This is where the magic really happens! Using a pastry cutter or your fingertips, gently work the butter into the flour until you see coarse crumbs with some pea-sized pieces remaining. Those little butter nuggets are pure gold — as they melt in the oven, they create the irresistible flakiness every Butter Pie Crust aspires to.
Step 3: Incorporate Ice Water
Grab your ice water and drizzle in 6 tablespoons, one at a time, stirring gently with a fork after each addition. The dough should start coming together, but don’t rush it — you want to add just enough water so the dough holds together when pressed, but not so much that it becomes sticky. Add an extra spoonful or two of water only as needed. This step keeps the magic alive, balancing moisture so your Butter Pie Crust is flaky, not dense.
Step 4: Divide and Chill
Gather your dough together, divide it into two equal portions, and shape each into a flat disk. Wrap them in plastic wrap and refrigerate for at least one hour (or up to two days). This chilling time helps the gluten relax (preventing a tough crust) and lets the butter firm up again, resulting in the most tender, flavorful Butter Pie Crust imaginable.
Step 5: Roll and Use as Needed
When you’re ready to bake, lightly flour your work surface and rolling pin. Roll out your chilled dough to the size and thickness needed for your recipe, whether it’s for a classic apple pie or a festive quiche. If at any point the dough feels too soft, pop it back in the fridge for a few minutes. When handled with care, every slice of this Butter Pie Crust will be bakery quality!
How to Serve Butter Pie Crust

Garnishes
Don’t underestimate the finishing touches! A light brush of egg wash gives your Butter Pie Crust a glossy, golden sheen after baking. For sweet pies, a sprinkle of coarse sugar adds sparkle and crunch. For savory pies, try a light dusting of flaky sea salt or freshly cracked pepper — it’s the kind of detail that gets noticed (and devoured) by appreciative eaters.
Side Dishes
If you’re serving a savory pie, think about classic pairings like a simple mixed green salad tossed in bright vinaigrette or steamed green beans with a squeeze of lemon. For dessert pies, a scoop of vanilla ice cream, dollop of whipped cream, or even a drizzle of caramel sauce alongside your slice never fails to impress. Your buttery, flaky creation deserves some worthy company on the plate!
Creative Ways to Present
Have fun with your Butter Pie Crust presentation! Consider using mini tart pans for individual servings, or weaving lattice strips for a show-stopping top crust. You can even press dough scraps into fun shapes with cookie cutters and place them decoratively on top. A beautifully crimped edge or rustic, freeform galette shows just how much love went into your pie, and is guaranteed to make guests smile before the first bite.
Make Ahead and Storage
Storing Leftovers
If you have any leftover Butter Pie Crust (either baked or unbaked dough), wrap it tightly in plastic wrap and store it in the refrigerator for up to 2 days. If you’ve already baked your pie, cover it well and refrigerate. The crust will stay tender and flaky, perfect for a next-day snack.
Freezing
One of my favorite Butter Pie Crust tricks is to double the recipe and freeze extra portions. Wrap each dough disk tightly in plastic, then in foil, and freeze for up to 3 months. When you want to use it, just thaw overnight in the fridge. You can also freeze shaped, unbaked pie shells right in their pans — ideal for last-minute pie inspiration!
Reheating
To revive a baked Butter Pie Crust, simply warm slices in a 300°F oven for about 10 minutes. This brings back a hint of that fresh-baked crispness and revives the buttery aromas. Avoid microwaving if possible, as that tends to soften the crust rather than keep it flaky and crisp.
FAQs
Why does the butter need to be so cold for Butter Pie Crust?
Cold butter is essential because it prevents the fat from blending completely into the flour, leaving small pockets that melt and puff up during baking. This is what creates all those flaky layers that make a properly made Butter Pie Crust so irresistible!
Can I use salted butter instead of unsalted?
You can use salted butter in a pinch, just reduce the added salt by half. I prefer unsalted butter for Butter Pie Crust because it allows you to control exactly how much salt goes in, ensuring the flavor is balanced every time.
How do I keep my crust from shrinking when baking?
Always chill your shaped pastry before baking, and avoid stretching the dough when you line the pan. For single-crust pies, consider docking the bottom with a fork and using pie weights or beans during blind baking. These simple steps help keep your Butter Pie Crust looking picture-perfect.
What’s the best way to transfer rolled dough to the pie pan?
After rolling out the dough, gently roll it around your rolling pin, then unroll it over your pie tin. This method keeps the dough from tearing or stretching, making for a smooth transfer and a perfect fit in your pan.
Can I make Butter Pie Crust gluten-free?
Absolutely! Swap the all-purpose flour for a high-quality 1:1 gluten-free flour blend. Keep an eye on the dough’s texture and add water just until it holds together — gluten-free dough is a bit more delicate, but still deliciously flaky with this method.
Final Thoughts
If you’ve made it this far, you’re more than ready for Butter Pie Crust greatness! The sensation of rolling out buttery dough and the pride of hearing every rave review is so rewarding. So why not give it a try? Once you taste the difference a homemade Butter Pie Crust brings, you just might make it your signature recipe.
PrintButter Pie Crust Recipe
Learn how to make a classic Butter Pie Crust that is tender, flaky, and perfect for all your pie-baking needs. This recipe yields enough for two pie crusts, providing a buttery, delicious base for your favorite sweet or savory fillings.
- Prep Time: 15 minutes
- Cook Time: 0 minutes
- Total Time: 1 hour 15 minutes
- Yield: 2 pie crusts (enough for one double-crust or two single-crust pies) 1x
- Category: Basics
- Method: No-Cook (with baking as part of other recipes)
- Cuisine: American
- Diet: Vegetarian
Ingredients
Dough:
- 2 1/2 cups all-purpose flour
- 1 teaspoon salt
- 1 teaspoon granulated sugar
- 1 cup (2 sticks) unsalted butter, very cold and cut into small cubes
- 6–8 tablespoons ice water
Instructions
- Mix Dry Ingredients: In a large mixing bowl, whisk together the flour, salt, and sugar.
- Add Butter: Add the cold butter cubes and work them into the flour until the mixture resembles coarse crumbs.
- Moisten Dough: Drizzle in ice water, one tablespoon at a time, until the dough holds together.
- Chill and Use: Divide the dough, refrigerate, then roll out for use in your pie recipe.
Notes
- Keep all ingredients cold for a flaky crust.
- Dough can be made ahead or frozen for convenience.
Nutrition
- Serving Size: 1/8 of a crust
- Calories: 170
- Sugar: 0g
- Sodium: 120mg
- Fat: 11g
- Saturated Fat: 7g
- Unsaturated Fat: 4g
- Trans Fat: 0g
- Carbohydrates: 15g
- Fiber: 1g
- Protein: 2g
- Cholesterol: 30mg


