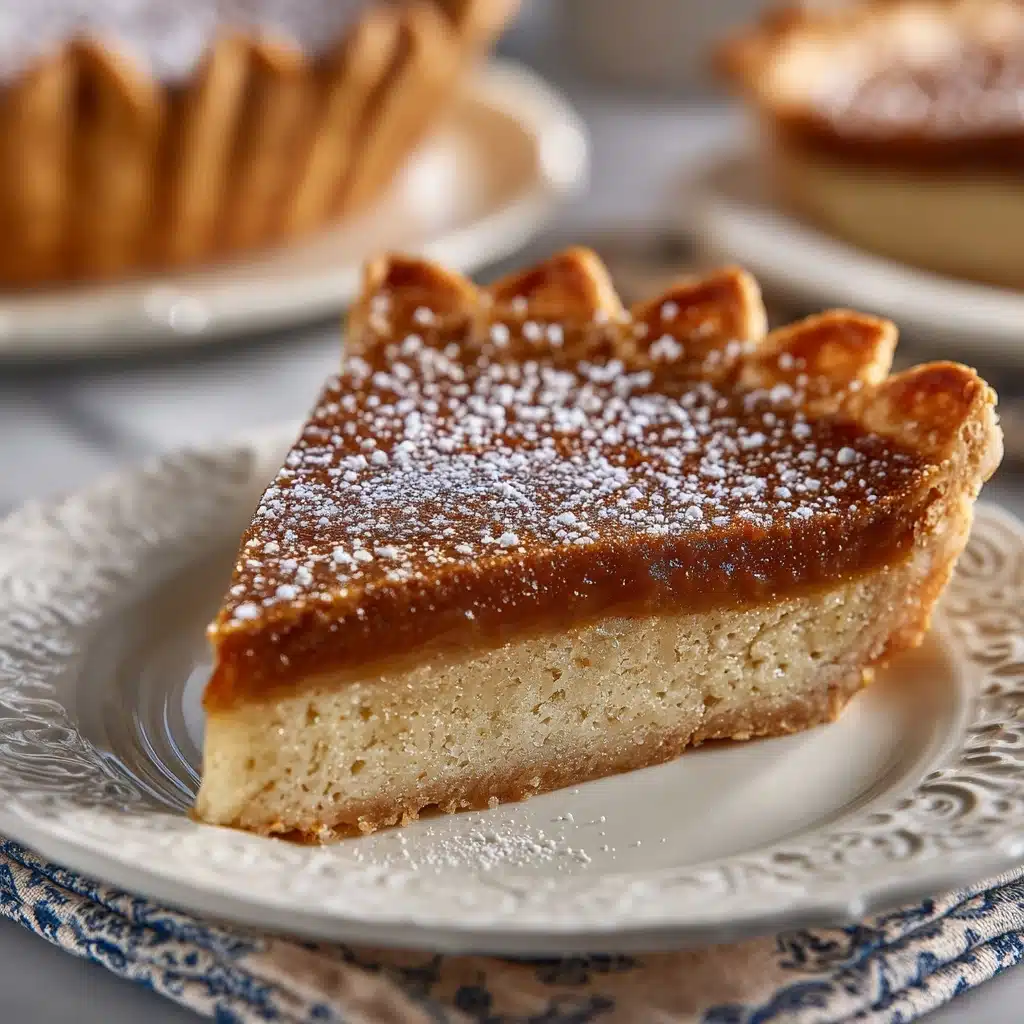
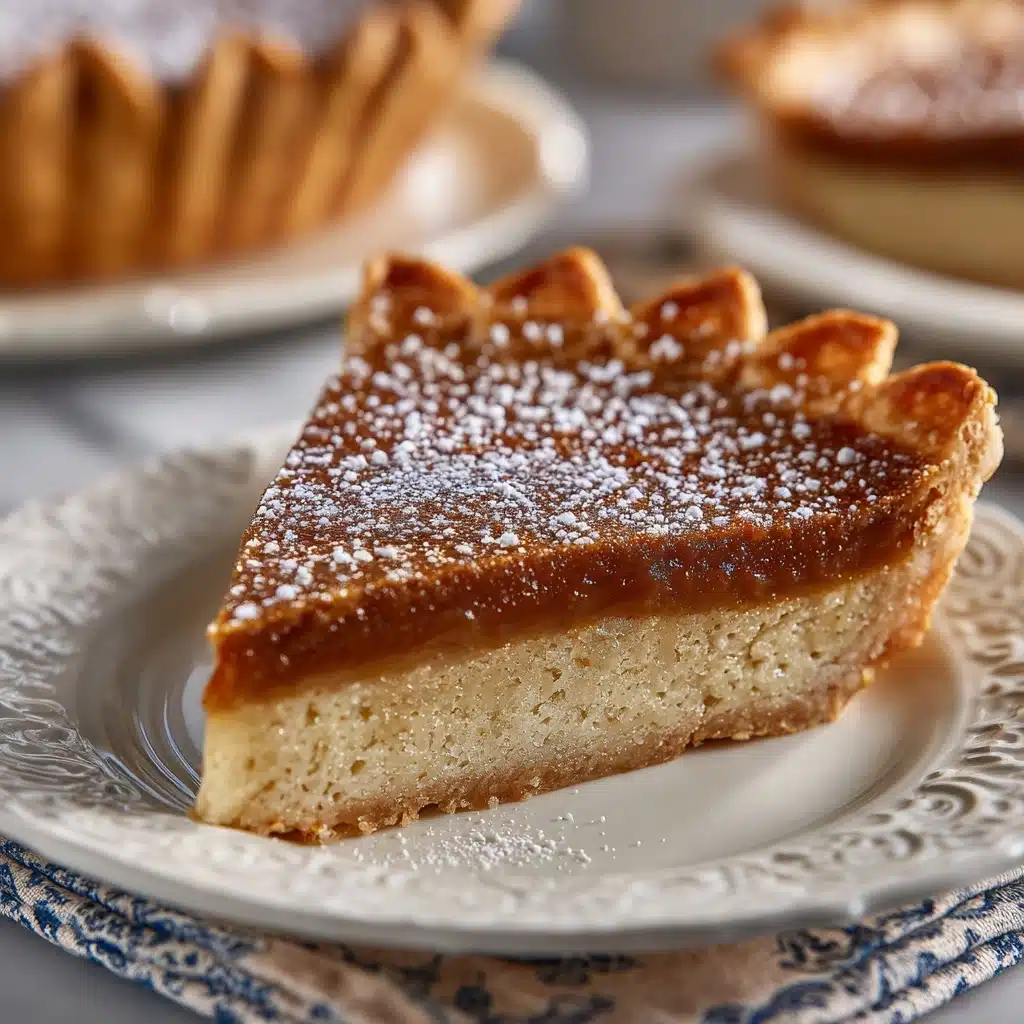
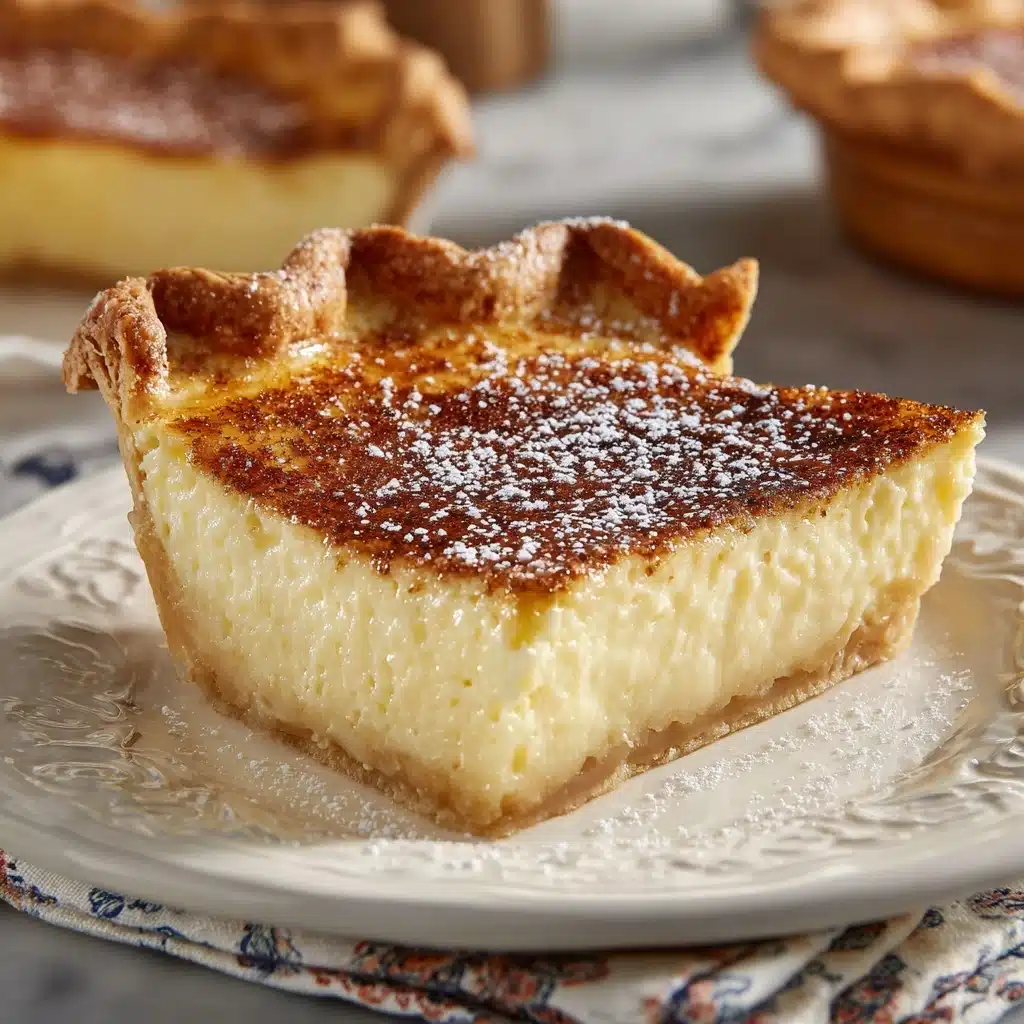
If you’re ready to fall head-over-heels for a new twist on a classic dessert, let me introduce you to Apple Butter Pie. Imagine all the cozy spices and deep apple flavor you love about apple butter, baked into a silky, custardy pie that’s as inviting as a warm hug. With a texture reminiscent of pumpkin pie but the unmistakable tang and richness of apples, this dessert has quickly become a must at every autumn gathering (and honestly, it’s just as irresistible year-round). Simple to whip up and even easier to devour, Apple Butter Pie is a showstopper that always leaves people asking for the recipe.
Ingredients You’ll Need
-
Pie Crust:
- 1 (9-inch) unbaked pie crust
Filling:
- 1 cup apple butter
- ¾ cup packed brown sugar
- 3 large eggs
- ½ cup evaporated milk
- 2 tablespoons all-purpose flour
- 1 teaspoon vanilla extract
- ½ teaspoon ground cinnamon
- ¼ teaspoon ground nutmeg
Optional Topping:
- Whipped cream for serving (optional)
How to Make Apple Butter Pie
Step 1: Prepare Your Pie Crust
Start by preheating your oven to 350°F (175°C) so it’s ready to go. Place your unbaked pie crust in a 9-inch pie dish, gently pressing it into the corners and giving those edges a nice crimp for a homemade touch. This base will hold all the luscious apple butter filling, so make sure it’s nestled in snugly.
Step 2: Mix the Filling
In a large mixing bowl, combine the apple butter, brown sugar, eggs, evaporated milk, flour, vanilla, cinnamon, and nutmeg. Whisk until everything is completely smooth and even—the result should be a glossy, beautifully spiced batter. Take a quick taste (if you dare!) to check your spice level and get excited for what’s ahead.
Step 3: Fill and Bake
Pour the filling into your prepared pie crust, using a spatula to smooth the top if needed. Next, place the pie in your hot oven and bake for 45–50 minutes. Check the pie around the 35-minute mark; if the crust edges are browning quickly, cover them lightly with foil for the last bit of baking. The pie is done when the center just sets and a toothpick inserted near the middle comes out clean.
Step 4: Cool Completely
Transfer your just-baked Apple Butter Pie to a wire rack and let it cool completely—this part is key for a custard-style pie. The cooling period helps the filling set perfectly and makes slicing neat and easy. Resist the urge to dive in early; the wait is worth it!
Step 5: Slice and Serve
Once fully cooled, slice your masterpiece and, if you like, finish each serving with a generous dollop of whipped cream. The pie can be served at room temperature or chilled, depending on your mood (and your patience). Either way, expect rave reviews.
How to Serve Apple Butter Pie

Garnishes
While Apple Butter Pie is wonderfully flavorful on its own, the right garnish can take it over the top. Classic whipped cream is always a winner, but a sprinkle of cinnamon or freshly grated nutmeg adds an extra aromatic punch. For a festive touch, a drizzle of caramel sauce or a few thin apple slices look stunning and give a hint to the flavors inside.
Side Dishes
This pie is rich and spiced, so pairing it with the right side can create a balanced dessert spread. Try it with a scoop of vanilla ice cream for cool contrast, or alongside fresh berries or sliced apples for a burst of brightness. Warm spiced cider or a mug of strong coffee makes this dessert feel like the coziest moment of your day.
Creative Ways to Present
Have fun with presentation! Serve petite slices on rustic wooden boards for a farmhouse vibe, or cut the pie into bite-sized bars for holiday dessert platters. If you’re hosting brunch, Apple Butter Pie plays nicely with pancakes and crispy bacon, creating a unique and memorable twist to breakfast gatherings.
Make Ahead and Storage
Storing Leftovers
If you’re lucky enough to have slices left, store any leftover Apple Butter Pie tightly covered in the refrigerator. It will stay fresh and lovely for up to four days, making it an easy treat to enjoy throughout the week—if it lasts that long!
Freezing
This pie freezes well, too. Simply wrap individual slices tightly in plastic wrap and place them in a freezer bag or airtight container. When you’re ready for a slice, thaw it overnight in the fridge—just bring it to room temperature or warm it slightly before enjoying.
Reheating
To bring your Apple Butter Pie back to that just-baked warmth, pop a slice in the microwave for 15–20 seconds or gently reheat it in a low oven. If reheating multiple slices, arrange them on a baking sheet, cover with foil, and heat at 300°F until warmed through.
FAQs
Can I use homemade apple butter for this pie?
Absolutely! Homemade apple butter is fantastic here and can make your Apple Butter Pie even more special. Just be sure it’s thick and well-spiced for the best consistency and flavor.
What type Dessert
A classic flaky pie crust (either homemade or store-bought) is perfect for this recipe, but feel free to experiment with a graham cracker or shortbread crust if you like a twist.
How do I know when my Apple Butter Pie is done baking?
You’ll know it’s ready when the center is just set and a toothpick comes out clean. The filling will puff slightly in the oven and settle as it cools—resist overbaking for the silkiest texture.
Can I make this pie a day ahead?
Yes, Apple Butter Pie is actually better once it’s chilled and the flavors have had time to meld. Bake it the day before, cool completely, and refrigerate until you’re ready to serve.
Is this pie similar to pumpkin pie?
It is! The texture is very much like pumpkin pie, but with a richer apple taste and a spiced, fruity kick that truly sets it apart. If you love pumpkin pie, Apple Butter Pie might just become your new obsession.
Final Thoughts
If you’re looking for a dessert that practically radiates comfort and charm, give Apple Butter Pie a try. It’s everything we adore about fall flavors wrapped up in a tender crust—and it’s so easy, you might just add it to your recipe rotation all year long. Happy baking, and I hope it becomes a favorite at your table too!
PrintApple Butter Pie Recipe
Indulge in the rich, spiced flavor of this Apple Butter Pie, a delightful twist on the classic pumpkin pie. Perfect for fall gatherings or holiday feasts, this easy-to-make dessert will impress your guests with its delicious taste.
- Prep Time: 10 minutes
- Cook Time: 50 minutes
- Total Time: 1 hour
- Yield: 8 servings 1x
- Category: Dessert
- Method: Baking
- Cuisine: American
- Diet: Vegetarian
Ingredients
Pie Crust:
- 1 (9-inch) unbaked pie crust
Filling:
- 1 cup apple butter
- 3/4 cup packed brown sugar
- 3 large eggs
- 1/2 cup evaporated milk
- 2 tablespoons all-purpose flour
- 1 teaspoon vanilla extract
- 1/2 teaspoon ground cinnamon
- 1/4 teaspoon ground nutmeg
Optional Topping:
- Whipped cream for serving (optional)
Instructions
- Preheat the oven: Preheat the oven to 350°F.
- Prepare the crust: Place the unbaked pie crust in a 9-inch pie dish and crimp the edges.
- Mix the filling: In a large bowl, whisk together apple butter, brown sugar, eggs, evaporated milk, flour, vanilla extract, cinnamon, and nutmeg until smooth.
- Fill the crust: Pour the filling into the prepared crust.
- Bake: Bake for 45–50 minutes until the center is set and a toothpick inserted near the middle comes out clean. Cover edges with foil if crust browns too quickly.
- Cool and serve: Allow the pie to cool completely on a wire rack before slicing. Serve at room temperature or chilled with whipped cream.
Notes
- This pie has a texture similar to pumpkin pie but with a rich apple butter flavor.
- Store leftovers in the fridge for up to 4 days.
Nutrition
- Serving Size: 1 slice
- Calories: 310
- Sugar: 29g
- Sodium: 190mg
- Fat: 14g
- Saturated Fat: 6g
- Unsaturated Fat: 7g
- Trans Fat: 0g
- Carbohydrates: 43g
- Fiber: 1g
- Protein: 4g
- Cholesterol: 80mg


