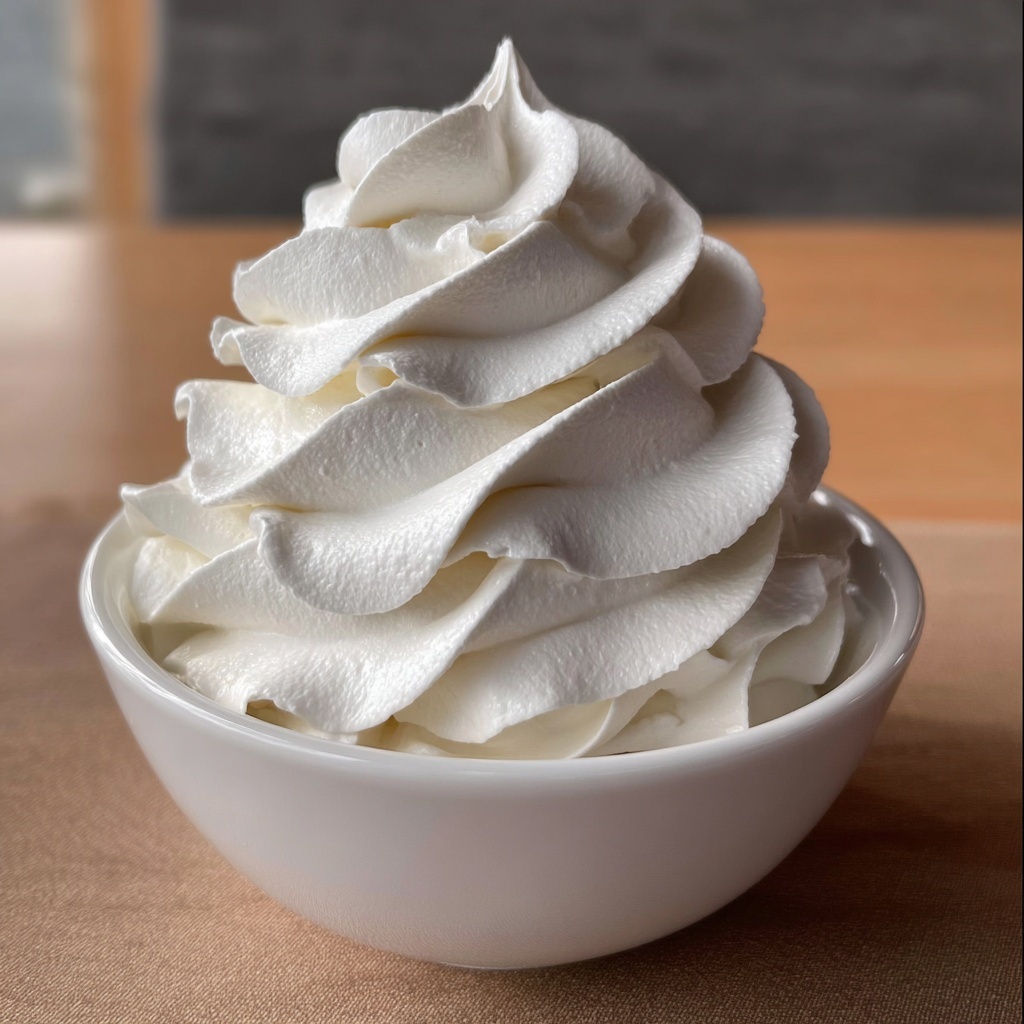
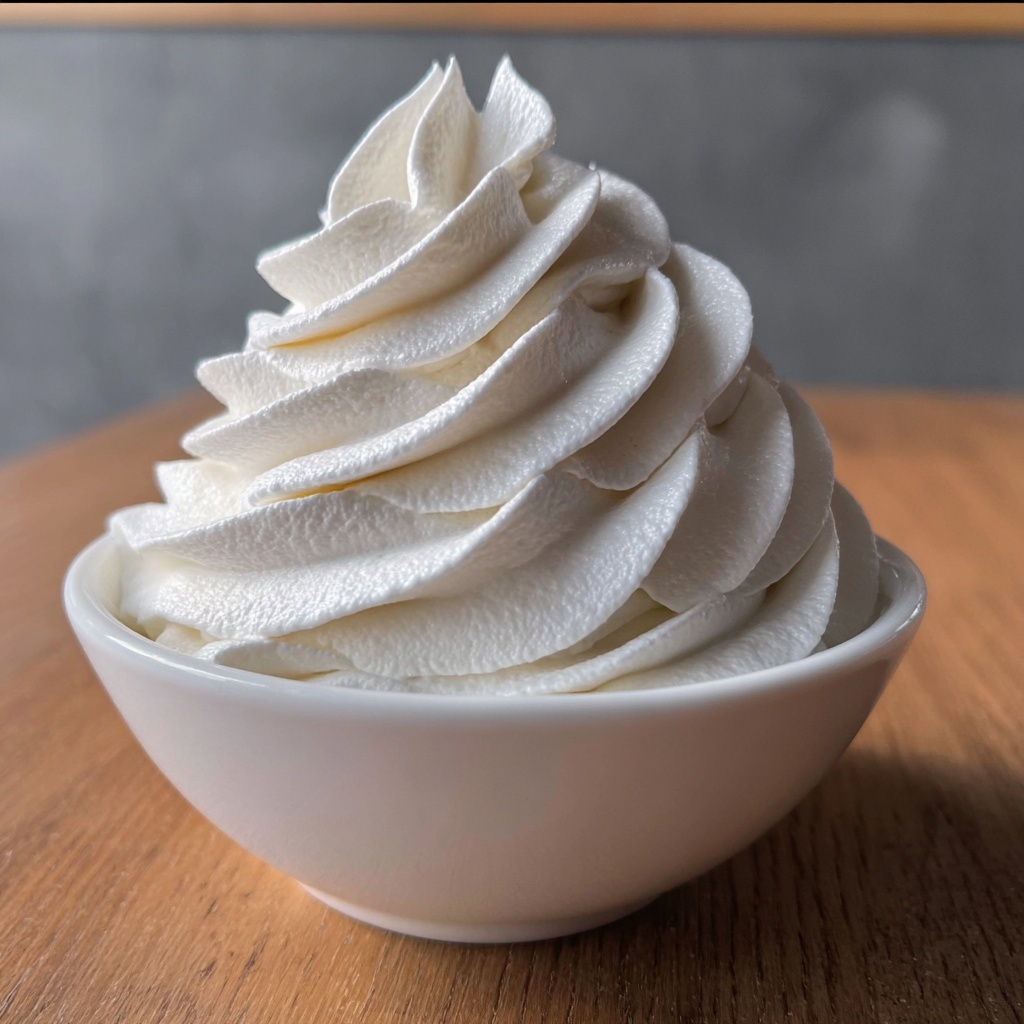
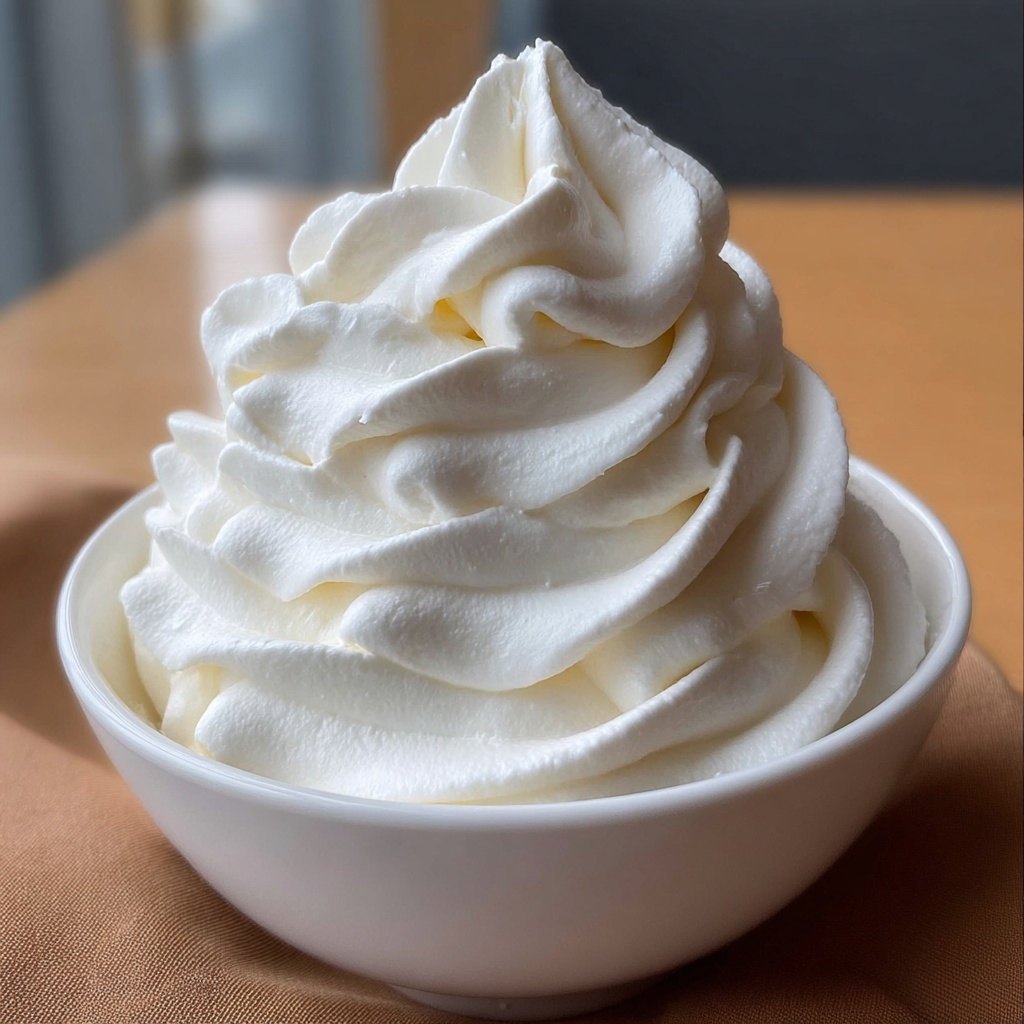
Nothing captures the cozy charm of classic desserts quite like a cloud of perfectly fluffy, smooth, and luscious topping. That’s why I am so excited to share this Stabilized Whipped Cream: 5 Steps to Perfect Nostalgic Topping Recipe with you. It’s a delightful way to create whipped cream that holds its shape longer, tastes heavenly, and whisks you right back to joyful moments with every bite. Whether you’re topping a pie, layering a trifle, or simply craving a rich dollop on fresh fruit, this recipe is your new best friend in the kitchen.
Ingredients You’ll Need
This recipe is wonderfully simple, relying on just a few essential ingredients that come together beautifully to create that irresistible texture and flavor we all adore. Each ingredient plays a key role, from the cream’s silkiness to the subtle sweetness and the crucial gelatin magic that stabilizes it all.
- Heavy cream: The creamy base that whips into soft, airy peaks with just the right richness and body.
- Powdered sugar: Adds a smooth sweetness without any graininess, perfect for a delicate flavor balance.
- Vanilla extract: Brings a warm, familiar aroma and depth of flavor that turns simple cream into a nostalgic treat.
- Gelatin: The secret ingredient that ensures your whipped cream stays beautifully firm and stable over time.
- Cold water: Used to bloom the gelatin so it dissolves perfectly without lumps or clumps.
How to Make Stabilized Whipped Cream: 5 Steps to Perfect Nostalgic Topping Recipe
Step 1: Bloom the Gelatin
Begin by sprinkling gelatin over cold water in a small bowl and letting it sit undisturbed for about 5 minutes. This process, known as blooming, is crucial because it allows the gelatin granules to absorb water and soften, ensuring a smooth texture when melted.
Step 2: Dissolve the Gelatin
Next, gently heat the gelatin mixture in the microwave until completely dissolved and clear. Be attentive here; overheating can affect the gelatin’s ability to stabilize your whipped cream, so short bursts with stirring in between work wonders.
Step 3: Combine the Cream Ingredients
In a mixing bowl, pour in the heavy cream, powdered sugar, and vanilla extract. These ingredients lay the foundation for your whipped cream’s flavor and sweetness, so make sure your cream is cold for best whipping results.
Step 4: Whip to Soft Peaks
Using an electric mixer, whip the cream mixture just until soft peaks form. This means when you lift the beaters, the cream gently folds over rather than standing stiff. It’s a delicate balance that gives the whipped texture a lovely fluffiness at this stage while preparing it to take on the gelatin.
Step 5: Incorporate the Gelatin
Slowly drizzle in the warm gelatin mixture while continuing to beat the cream until stiff peaks appear. This is where the magic happens — the gelatin binds everything together, creating that perfect stable structure that won’t melt or weep but will still feel dreamy and creamy.
How to Serve Stabilized Whipped Cream: 5 Steps to Perfect Nostalgic Topping Recipe
Garnishes
This stabilized whipped cream shines when topped with classics like fresh berries, a sprinkle of cocoa, or shaved chocolate curls. Adding a few mint leaves or crushed nuts can also elevate the texture and introduce vibrant color to your presentation.
Side Dishes
Imagine dollops of this creamy topping alongside warm apple pie, rich chocolate mousse, or a bowl of fresh fruit salad. It complements everything beautifully, adding a luscious contrast that brings desserts to life.
Creative Ways to Present
For a playful twist, pipe your stabilized whipped cream into elegant rosettes or stars using a decorative nozzle. You can layer it in parfait glasses with granola and fruit for a charming breakfast or create decadent sundaes topped with nuts, sauces, and sprinkles.
Make Ahead and Storage
Storing Leftovers
One of the best features of this Stabilized Whipped Cream: 5 Steps to Perfect Nostalgic Topping Recipe is its ability to hold up nicely in the refrigerator. Simply cover it tightly and use within 2-3 days for optimal freshness and texture.
Freezing
If you want to save it for longer, freezing is possible but with a slight caveat: frozen whipped cream can sometimes lose its fluffiness. To freeze, spoon dollops onto a baking sheet lined with parchment paper, freeze until solid, then transfer to an airtight container. Thaw gently in the fridge before use.
Reheating
Since whipped cream is best served cold, reheating isn’t recommended. However, if your cream softens too much upon thawing, a quick gentle rewhip with an electric mixer can help revive some of its volume and structure.
FAQs
Why use gelatin in whipped cream?
Gelatin stabilizes the whipped cream by creating a light gel network, which holds the air bubbles in place longer, preventing the cream from collapsing or weeping.
Can I substitute gelatin with other stabilizers?
Yes, alternatives like agar-agar or commercial whipped cream stabilizers exist, but gelatin is traditional and tends to provide the best texture and taste in this nostalgic recipe.
Does stabilized whipped cream taste different from regular whipped cream?
When made properly, stabilized whipped cream tastes just as creamy and delicious, with the added bonus of a firmer texture that holds up well over time.
Can I flavor this whipped cream other than with vanilla?
Absolutely! You can experiment with almond extract, citrus zest, cocoa powder, or coffee to create whipped cream variations suited to your dessert’s mood.
How long does stabilized whipped cream last?
Stored in the fridge, it generally remains fresh and stable for up to 3 days, making it perfect for preparing ahead of your entertaining plans.
Final Thoughts
Now that you’ve discovered the joy and simplicity behind the Stabilized Whipped Cream: 5 Steps to Perfect Nostalgic Topping Recipe, I encourage you to bring a little timeless magic into your kitchen. The stability, flavor, and nostalgic feel this topping adds to any dessert will truly become one of your favorite tricks. Give it a try, and watch your desserts blossom with creamy, dreamy delight that’s as fun to make as it is to enjoy!
Print
Stabilized Whipped Cream: 5 Steps to Perfect Nostalgic Topping Recipe
- Prep Time: 7 minutes
- Cook Time: 5 minutes
- Total Time: 12 minutes
- Yield: 2 servings
- Category: Dessert Topping
- Method: Stovetop
- Cuisine: American
- Diet: Low Fat
Description
This recipe guides you through making stabilized whipped cream that retains its fluffy texture for longer periods compared to regular whipped cream. By incorporating gelatin, the whipped cream stays firm and smooth, making it perfect for decorating cakes, cupcakes, or serving as a nostalgic topping on desserts.
Ingredients
Whipped Cream Base
- 1 cup heavy cream
- 2 tablespoons powdered sugar
- 1 teaspoon vanilla extract
Stabilizer
- 1 teaspoon gelatin
- 2 tablespoons cold water
Instructions
- Bloom the gelatin: In a small bowl, sprinkle 1 teaspoon of gelatin over 2 tablespoons of cold water and let it sit for 5 minutes to absorb the water and soften.
- Dissolve the gelatin: Heat the gelatin mixture in the microwave for about 10-15 seconds until it is fully dissolved, making sure it is liquid but not hot.
- Combine cream ingredients: In a mixing bowl, pour 1 cup of heavy cream, add 2 tablespoons of powdered sugar, and 1 teaspoon of vanilla extract. This mixture will form the base of the stabilized whipped cream.
- Whip to soft peaks: Using an electric mixer, beat the cream mixture until it just reaches soft peak stage, where the peaks slightly hold their shape but are still soft and pliable.
- Add gelatin and whip to stiff peaks: Slowly pour the dissolved gelatin into the cream mixture while continuing to beat. Continue whipping until the mixture holds stiff peaks, meaning the peaks stand firmly and do not collapse.
- Use or store: Use the stabilized whipped cream immediately as a topping or decoration. Alternatively, store it in the refrigerator for later use where it will maintain its structure longer than regular whipped cream.
Notes
- Ensure the gelatin is fully dissolved to avoid lumps in the whipped cream.
- Use chilled heavy cream to achieve better whipping results.
- Do not overheat the gelatin; warm it just enough to dissolve.
- This stabilized whipped cream can last several hours at room temperature and several days in the refrigerator without losing texture.


