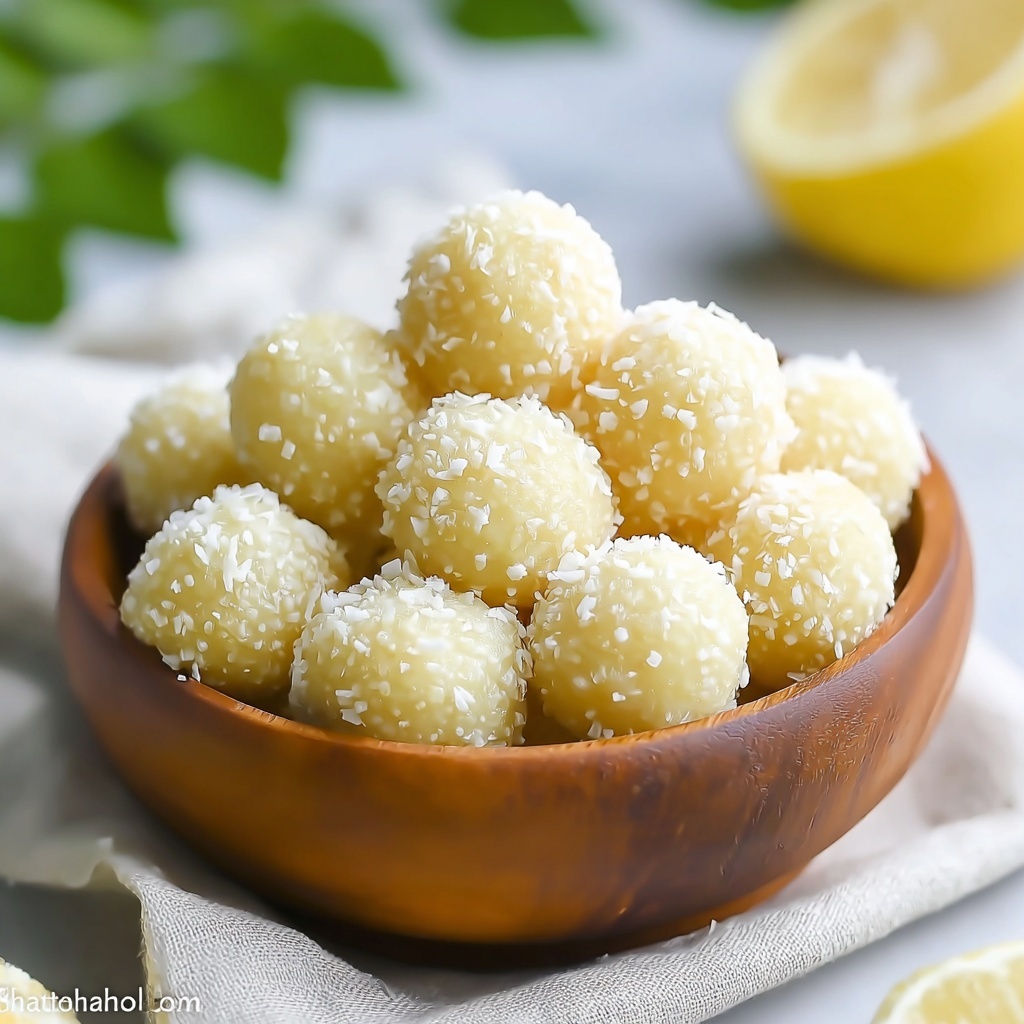
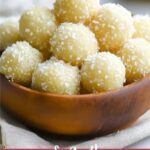
There is something truly special about the Irresistible Yema Balls – Decadent Filipino Treats You’ll Love Recipe. These delightful bite-sized sweets bring together rich condensed milk, creamy egg yolks, and a tender buttery base that transforms into golden, melt-in-your-mouth treasures. Whether you grew up savoring these or are discovering them for the first time, these yema balls embody a perfect balance of sweetness and nostalgia that will have you reaching for more every time.
Ingredients You’ll Need
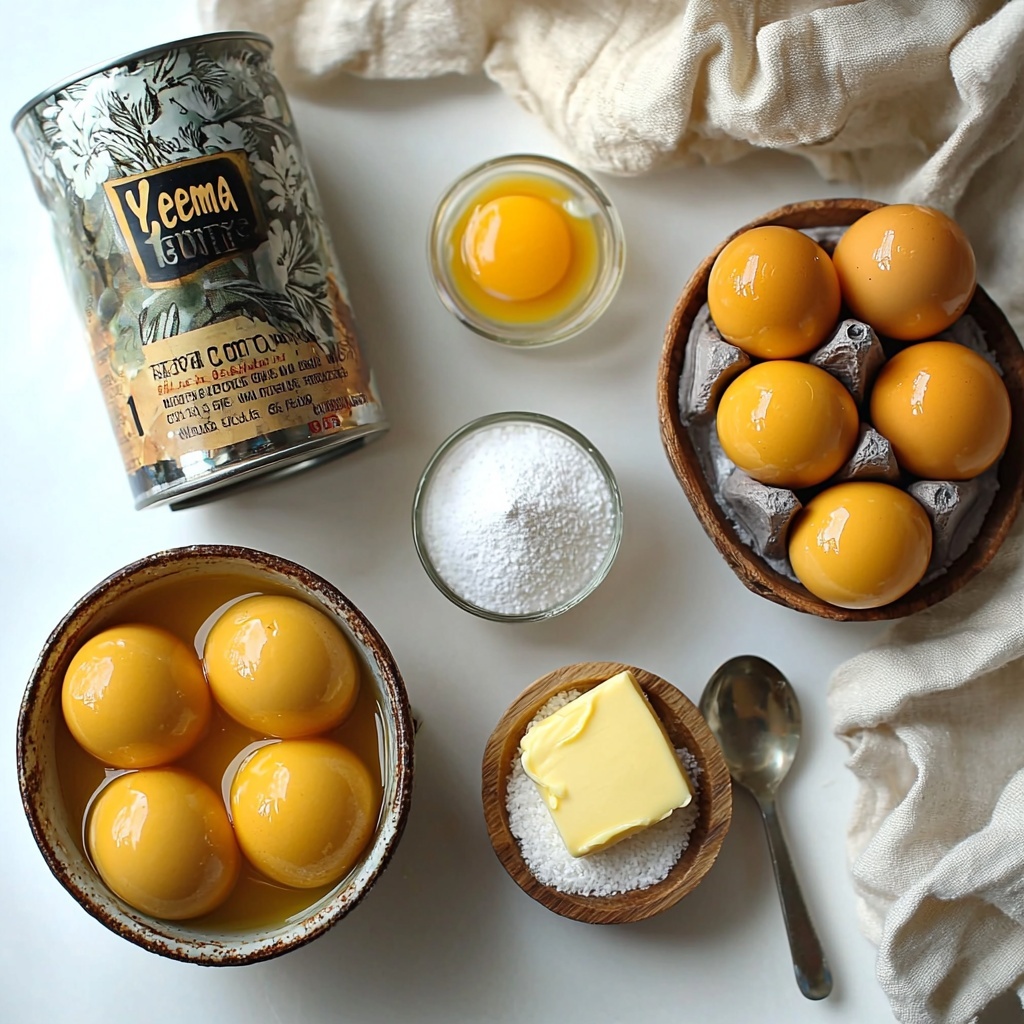
Gathering the right ingredients is a breeze for this recipe, and each one plays an important role in building the creamy, luscious texture and signature sweetness that make these yema balls unforgettable.
- Condensed milk: The star of the show, lending rich sweetness and creaminess that’s absolutely essential.
- Egg yolks: These help bind everything together, giving the treats their smooth, custard-like consistency.
- Butter: Adds a velvety richness and smooth mouthfeel, perfect for that decadent finish.
- Powdered milk: Enhances the milky flavor and helps achieve the perfect density and texture.
- Granulated sugar: Provides a crunchy sweet coating that contrasts beautifully with the soft interior; can be swapped with desiccated coconut for a unique twist.
How to Make Irresistible Yema Balls – Decadent Filipino Treats You’ll Love Recipe
Step 1: Combine Key Ingredients
Start by gently mixing the condensed milk, egg yolks, and butter in a saucepan set to low heat. Stir carefully and consistently to blend these luscious components, ensuring the mixture becomes smooth and velvety without curdling.
Step 2: Cook Until Thickened
Keep the heat low and stir without pause for about 10 to 15 minutes. You’ll notice the mixture gradually thickening and pulling away from the edges of the pan, turning into a gorgeous golden hue—a sure sign it’s developing that signature richness.
Step 3: Cool Before Handling
Remove the pan from heat and let your yema mixture cool slightly. This step is crucial to make sure you can comfortably roll the mixture without it sticking too much to your hands.
Step 4: Shape the Yema Balls
Once cooled enough to handle, scoop out portions of the mixture using a spoon, then roll them between your palms into smooth, uniform balls. This part is fun and lets you personalize the size to your liking.
Step 5: Coat with Sugar
Roll each yema ball generously in granulated sugar, allowing a crunchy sweetness to coat their soft interiors. If you prefer a tropical flair, try rolling them in desiccated coconut for a delightful change in texture and flavor.
Step 6: Let Cool Completely and Store
Allow the coated yema balls to cool and firm up completely. Once ready, transfer them into an airtight container to keep fresh and enjoy over the next several days.
How to Serve Irresistible Yema Balls – Decadent Filipino Treats You’ll Love Recipe
Garnishes
Add a sprinkle of crushed toasted nuts or a dusting of cinnamon on top of your yema balls for an extra touch of warmth and texture that elevates this already indulgent treat.
Side Dishes
Serve these yema balls alongside a cup of strong coffee or a fragrant tea for a delightful snack. Their sweetness balances perfectly with the robust flavors of your beverage of choice, making moments of indulgence even sweeter.
Creative Ways to Present
Arrange the yema balls on decorative paper cups or a vibrant platter for parties or gatherings. You can even thread smaller yema balls onto skewers with fresh fruit pieces for a playful dessert kabob that everyone will love.
Make Ahead and Storage
Storing Leftovers
Keep your yema balls fresh by storing them in an airtight container at room temperature for up to 3 days. This way, they maintain their perfect soft yet slightly firm texture.
Freezing
You can freeze yema balls by placing them in a single layer on a baking sheet until solid, then transferring them to a sealed freezer bag. Freeze for up to a month. Thaw in the fridge overnight before enjoying to preserve their delicious texture.
Reheating
For the softest experience, allow frozen yema balls to thaw fully at room temperature or warm them gently in the microwave for a few seconds. Avoid overheating to keep the balls from melting.
FAQs
Can I make yema balls dairy-free?
Absolutely! Substitute dairy milk and butter with vegan alternatives like coconut condensed milk and plant-based butter to create dairy-free yema balls that still taste divine.
Why do my yema balls sometimes turn grainy?
Graininess usually happens when the mixture is cooked on too high heat or stirred unevenly. Keep the heat low and stir constantly for a creamy, smooth finish every time.
How long do yema balls last?
Stored properly at room temperature in an airtight container, yema balls last about 3 days. Refrigeration can extend freshness slightly but may alter texture.
Can I use something other than granulated sugar for coating?
Yes! Desiccated coconut or finely chopped nuts are excellent alternatives that add texture and a unique flavor twist to the traditional sweet coating.
Is powdered milk necessary in the recipe?
Powdered milk enhances the richness and texture of yema balls, but you can adjust the quantity or omit it if needed. Just note it may slightly affect the final consistency.
Final Thoughts
Making Irresistible Yema Balls – Decadent Filipino Treats You’ll Love Recipe brings a wonderful sense of joy and nostalgia to your kitchen. Whether for family gatherings, festive celebrations, or a sweet personal indulgence, these yema balls shine as a simple but delightful Filipino treat. Give this recipe a try and experience the magic of every rich, creamy bite—you’re going to love it as much as I do!
Print
Irresistible Yema Balls – Decadent Filipino Treats You’ll Love Recipe
- Prep Time: 10 minutes
- Cook Time: 15 minutes
- Total Time: 40 minutes
- Yield: 12 servings
- Category: Dessert
- Method: Stovetop
- Cuisine: Filipino
Description
Yema Balls are a beloved Filipino confection made from condensed milk, egg yolks, butter, and powdered milk. These sweet, creamy treats are cooked stovetop until thick and golden, then shaped into bite-sized balls and rolled in sugar for a delightful crunchy exterior. Perfect as a decadent snack or a charming dessert, these yema balls offer a melt-in-your-mouth experience with a rich caramel-like flavor.
Ingredients
Yema Ball Mixture
- 1 can condensed milk (approximately 14 oz; opt for dairy-free if needed)
- 5 large egg yolks
- 2 tablespoons butter (vegan butter as substitute)
- 1 cup powdered milk
Coating
- 1 cup granulated sugar (or desiccated coconut for alternative texture)
Instructions
- Combine Ingredients: In a saucepan, mix together the condensed milk, egg yolks, and butter over low heat. Stir gently and continuously to ensure the ingredients blend smoothly without curdling.
- Cook Mixture: Continue stirring gently on low heat for 10-15 minutes until the mixture thickens and starts to pull away from the sides of the pan. It should develop a rich golden color indicating it is cooked through.
- Cool Mixture: Remove the saucepan from heat and allow the mixture to cool slightly until it is safe to handle but still malleable.
- Shape Balls: Using a spoon, scoop out portions of the cooled mixture, then roll each portion into smooth, round balls using your hands.
- Coat Balls: Roll each formed ball generously in granulated sugar, coating them thoroughly to create a sweet, crunchy exterior.
- Set and Store: Let the yema balls cool completely. Once cooled, transfer them to an airtight container for storage. Store at room temperature or refrigerate if preferred.
Notes
- Use dairy-free condensed milk and vegan butter to make this recipe dairy-free.
- For a different texture, roll the balls in desiccated coconut instead of sugar.
- Continuous stirring on low heat is crucial to prevent curdling and to achieve the correct thickness.
- Allow the mixture to cool properly before shaping to avoid sticky hands and easier handling.
- Store yema balls in an airtight container and consume within a week for best freshness.

