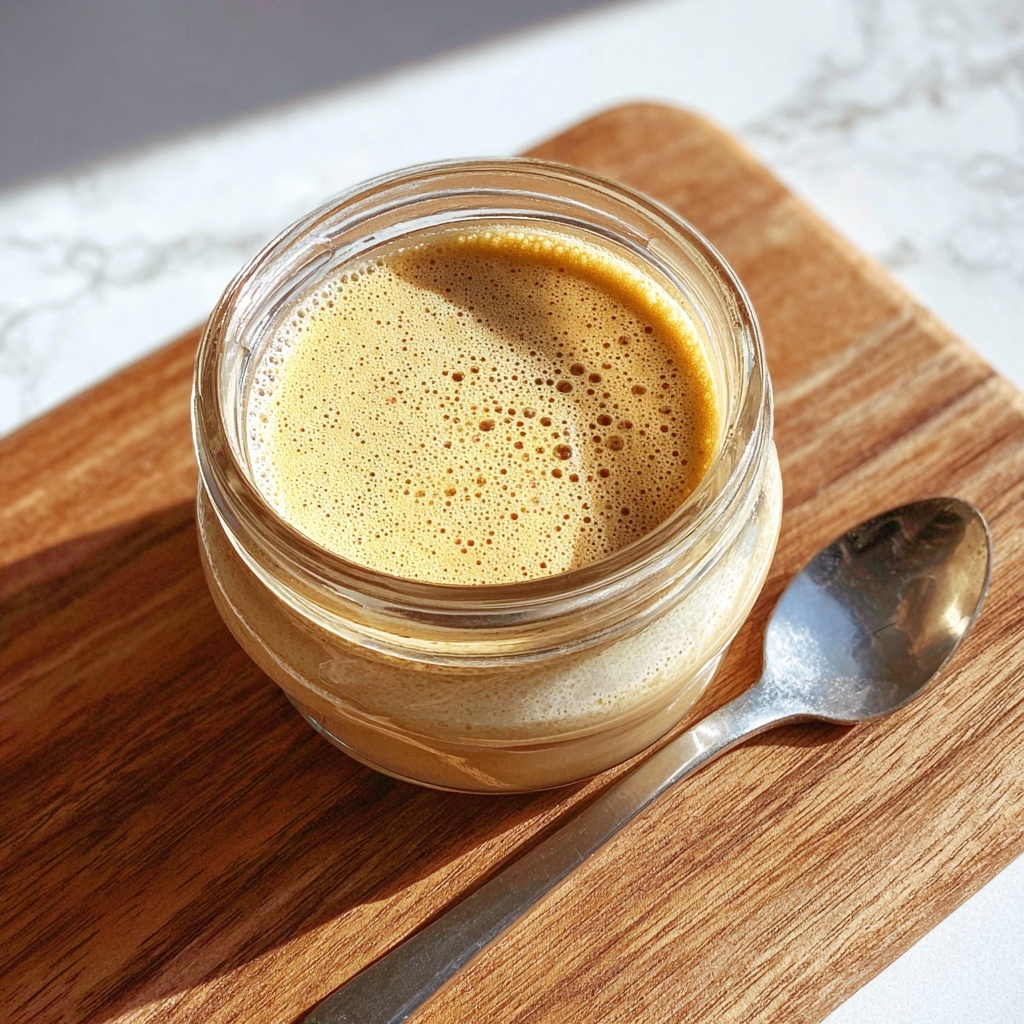
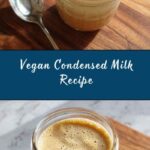
If you’ve ever thought that condensed milk was off-limits for a plant-based lifestyle, think again! This Vegan Condensed Milk Recipe is a delightful, dairy-free alternative that brings all the creamy, sweet goodness of traditional condensed milk without any animal products. It’s incredibly simple to make, bursting with flavor, and perfect for elevating your desserts, coffee, or even drizzling over fresh fruit. Trust me, once you try this recipe, you’ll wonder how you ever lived without it!
Ingredients You’ll Need
Getting the ingredients right is essential for nailing the texture and flavor of this Vegan Condensed Milk Recipe. Each ingredient plays a crucial role, from the creamy coconut milk base to the natural sweetness of maple syrup.
- 1 cup coconut milk: Provides a rich, creamy texture that mimics traditional condensed milk perfectly.
- 1/3 cup maple syrup: Gives just the right amount of natural sweetness while adding a subtle depth of flavor.
- 2 tablespoons cornstarch: Acts as a natural thickening agent to achieve that luscious, syrupy consistency.
- 1 teaspoon vanilla extract: Adds a fragrant, comforting note that rounds out the flavor beautifully.
- Water (for slurry): Helps dissolve the cornstarch smoothly into the mixture to prevent lumps.
How to Make Vegan Condensed Milk Recipe
Step 1: Combine Coconut Milk and Maple Syrup
Start by pouring the coconut milk and maple syrup into a saucepan over medium heat. This mixture forms the silky, sweet base of your vegan condensed milk, so stirring occasionally helps meld the flavors together nicely.
Step 2: Prepare the Cornstarch Slurry
While warming the base, mix your cornstarch with a small amount of water in a separate bowl. This slurry ensures the cornstarch dissolves evenly into the mixture without clumping, which is key for a smooth final product.
Step 3: Incorporate the Slurry and Thicken
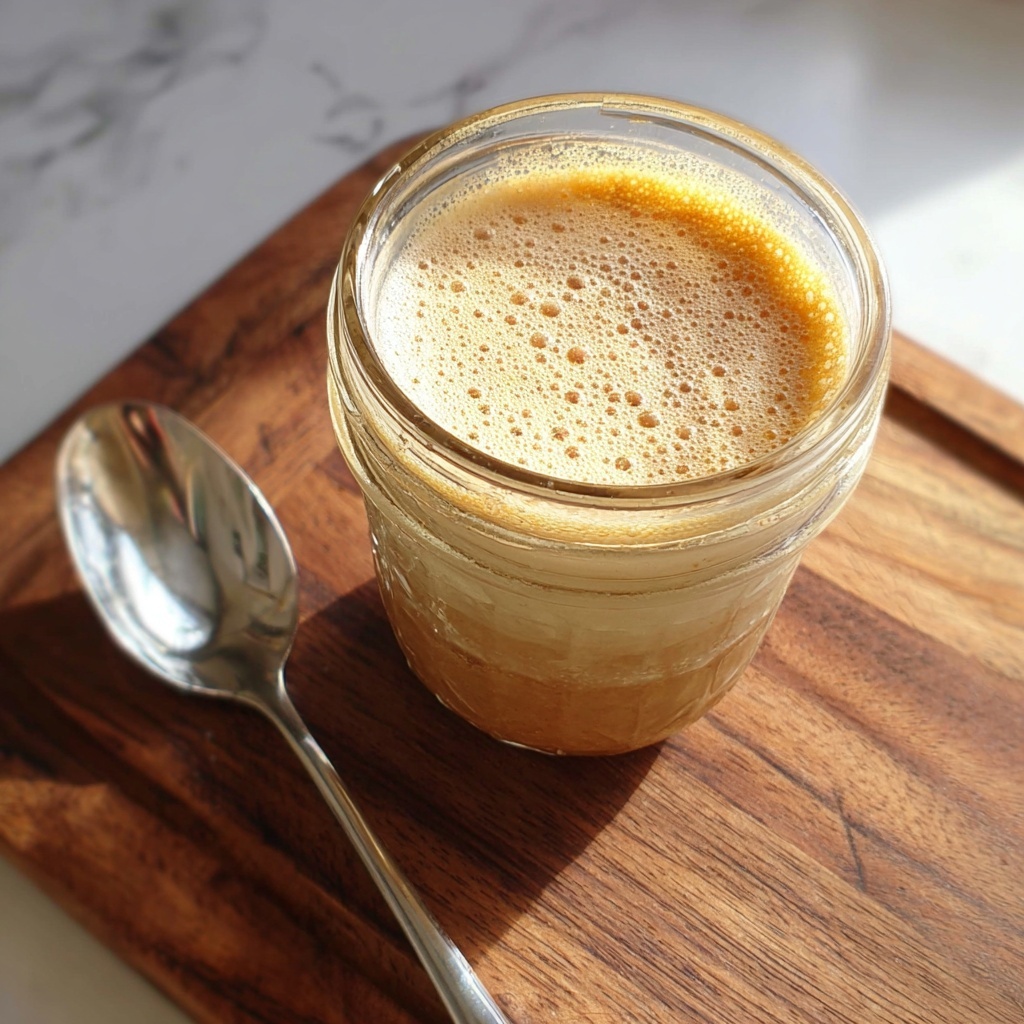
Gradually add the cornstarch slurry into the warm coconut milk and maple syrup. Keep stirring constantly to blend everything uniformly. Within 5 to 10 minutes, you’ll see the mixture thicken into that perfect condensed milk consistency—rich, glossy, and creamy.
Step 4: Add Vanilla Extract and Cool
Once thickened, remove the saucepan from heat and stir in the vanilla extract. This little finishing touch takes your Vegan Condensed Milk Recipe to the next level, infusing it with warm, inviting aroma. Allow it to cool completely before using to let it set beautifully.
How to Serve Vegan Condensed Milk Recipe

Garnishes
This vegan condensed milk works wonders as a drizzle over fresh berries, sliced bananas, or vegan ice cream. You can even sprinkle a dash of cinnamon or nutmeg on top for a cozy flair that complements the vanilla notes.
Side Dishes
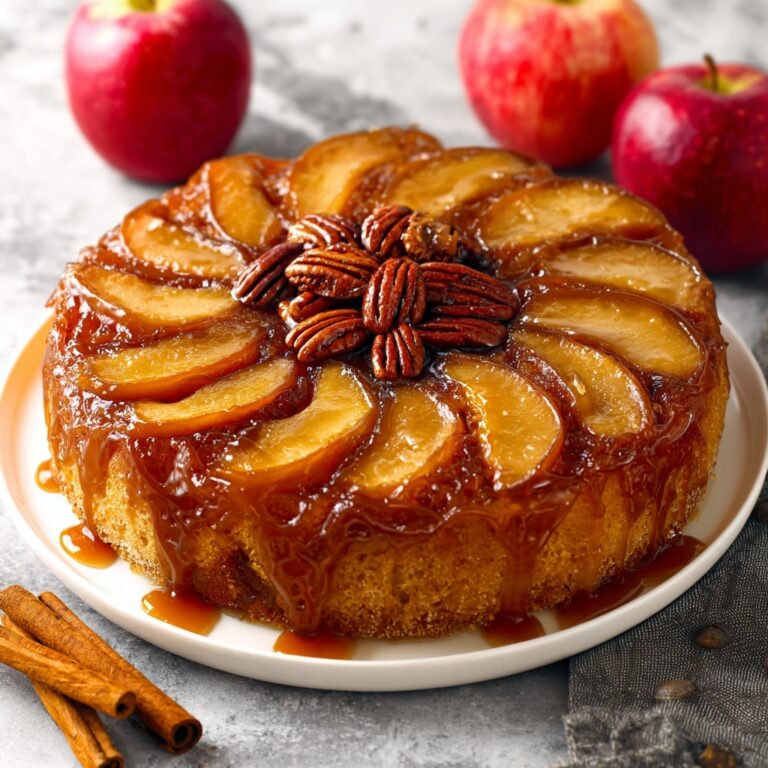
Pair this luscious condiment with your favorite vegan baked goods like cinnamon rolls, banana bread, or coffee cake. It’s also divine stirred into your morning coffee, chai latte, or vegan hot chocolate for a sweetened, creamy boost.
Creative Ways to Present
For a fun twist, use the vegan condensed milk as a filling for layered cakes, a topping for pancakes and waffles, or blend it into smoothies for extra richness. The possibilities are endless and so delicious!
Make Ahead and Storage
Storing Leftovers
Keep any leftover vegan condensed milk in an airtight container in the refrigerator. It will stay fresh for up to one week and can be whipped out whenever you crave a sweet, creamy addition.
Freezing
If you want to save it longer, freezing is an option! Pour the condensed milk into an ice cube tray or a freezer-safe container, freeze it, then thaw as needed. Just give it a good stir after thawing, as the texture can shift slightly.
Reheating
To reheat, gently warm the vegan condensed milk in a small saucepan over low heat. Stir frequently to restore its smooth texture without burning or separating. This makes it perfect for using in warm drinks or recipes at any time.
FAQs
Can I use almond milk instead of coconut milk for this recipe?
Almond milk is thinner and less creamy compared to coconut milk, so the texture may be less rich. If you prefer almond milk, consider using a thicker variety or adding a bit more cornstarch for better thickness.
Is maple syrup the only sweetener I can use?
Maple syrup provides a unique flavor that pairs wonderfully here, but you can experiment with agave nectar or brown rice syrup. Just keep in mind that the taste and sweetness level might vary slightly.
How long does homemade vegan condensed milk last?
Stored in the refrigerator in a sealed container, it lasts about one week. Always check for any signs of spoilage before use, especially if stored longer.
Can I make this recipe sugar-free?
To keep it sugar-free, you’d need to substitute the sweetener with a low-calorie option like stevia or monk fruit sweetener. However, this might alter the texture and sweetness balance, so adjust gradually and taste as you go.
Will this recipe work for baking?
Absolutely! This Vegan Condensed Milk Recipe behaves similarly to traditional condensed milk in most baked goods. It provides moisture and sweetness, making it a great ingredient for cookies, cakes, and bars.
Final Thoughts
This Vegan Condensed Milk Recipe is a game-changer for anyone looking to add creamy sweetness to their plant-based kitchen. Simple to make, endlessly versatile, and utterly delicious, it’s one of those recipes that quickly becomes a staple. Give it a try today—you’ll fall in love with the ease and flavor it brings to your cooking and baking adventures!
Print
Vegan Condensed Milk Recipe
- Prep Time: 5 minutes
- Cook Time: 15 minutes
- Total Time: 20 minutes
- Yield: 1 cup (serves 1, can be stored and used as needed)
- Category: Condiment/Sweetener
- Method: Stovetop
- Cuisine: Vegan/American
- Diet: Vegan
Description
This vegan condensed milk recipe offers a rich, creamy, and naturally sweetened alternative to traditional condensed milk. Made with coconut milk, maple syrup, and cornstarch, it thickens beautifully on the stovetop and is flavored with vanilla extract. Perfect for vegan baking, desserts, and coffee sweetening, it combines simplicity and deliciousness in just 20 minutes.
Ingredients
Ingredients
- 1 cup coconut milk
- 1/3 cup maple syrup
- 2 tablespoons cornstarch
- 1 teaspoon vanilla extract
- 2–3 tablespoons water (for cornstarch slurry)
Instructions
- Combine coconut milk and maple syrup: In a medium saucepan, pour 1 cup of coconut milk and 1/3 cup of maple syrup. Place the pan over medium heat and stir gently to combine the liquids.
- Prepare cornstarch slurry: In a small bowl, mix 2 tablespoons of cornstarch with about 2 to 3 tablespoons of water until a smooth slurry forms, ensuring there are no lumps.
- Add slurry to saucepan: Slowly pour the cornstarch slurry into the saucepan with the coconut milk mixture, stirring continuously to prevent clumping.
- Cook until thickened: Continue to cook the mixture over medium heat, stirring constantly, for about 5 to 10 minutes or until the liquid thickens to a consistency similar to traditional condensed milk.
- Add vanilla extract: Remove the saucepan from heat and stir in 1 teaspoon of vanilla extract to infuse the mixture with warm, sweet flavor.
- Cool before use: Allow the vegan condensed milk to cool down to room temperature. The cooling process will help it thicken further, making it perfect for use in recipes or as a sweetener.
Notes
- Use full-fat coconut milk for the creamiest texture and best flavor.
- You can substitute maple syrup with agave nectar or brown rice syrup for different sweetness profiles.
- Ensure constant stirring while cooking to prevent the mixture from burning or sticking to the pan.
- If the mixture is too thick after cooling, gently whisk in a little water to reach desired consistency.
- Store any leftover vegan condensed milk in an airtight container in the refrigerator for up to one week.
