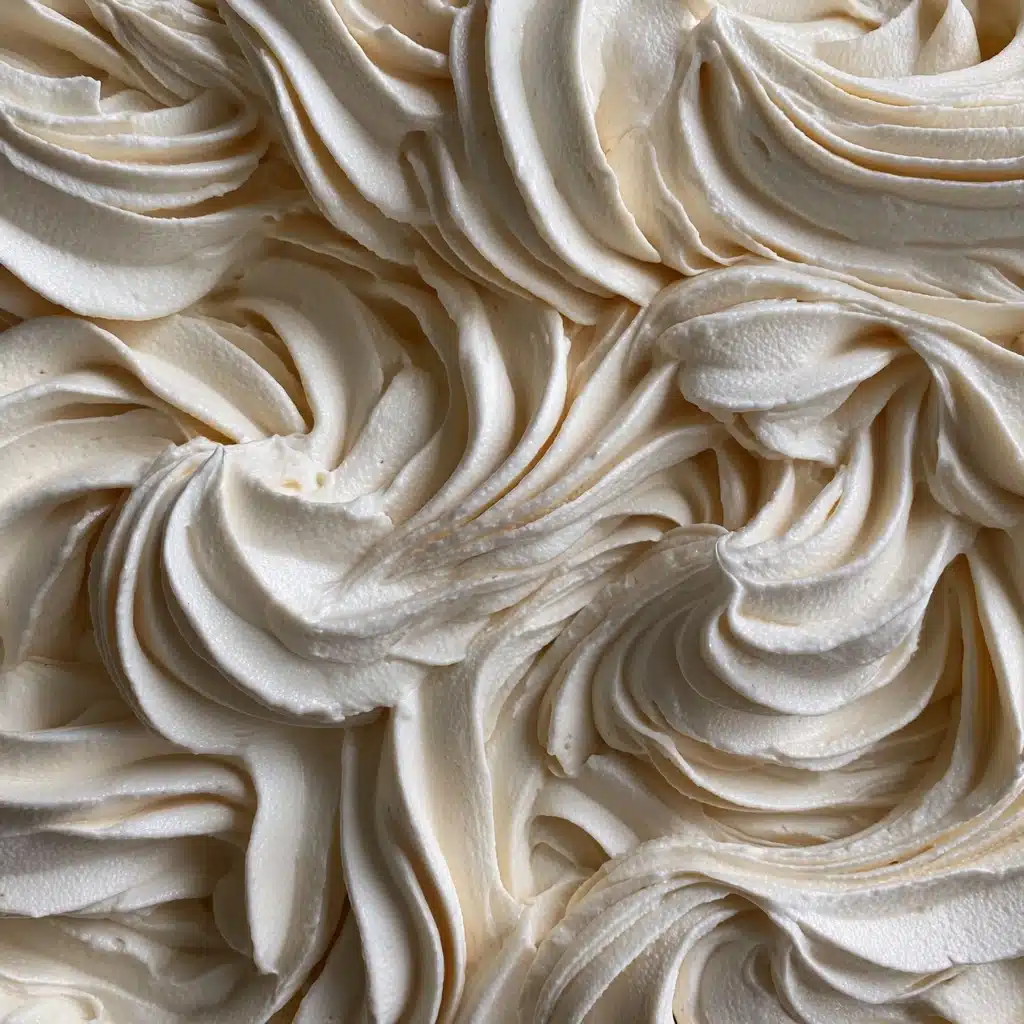
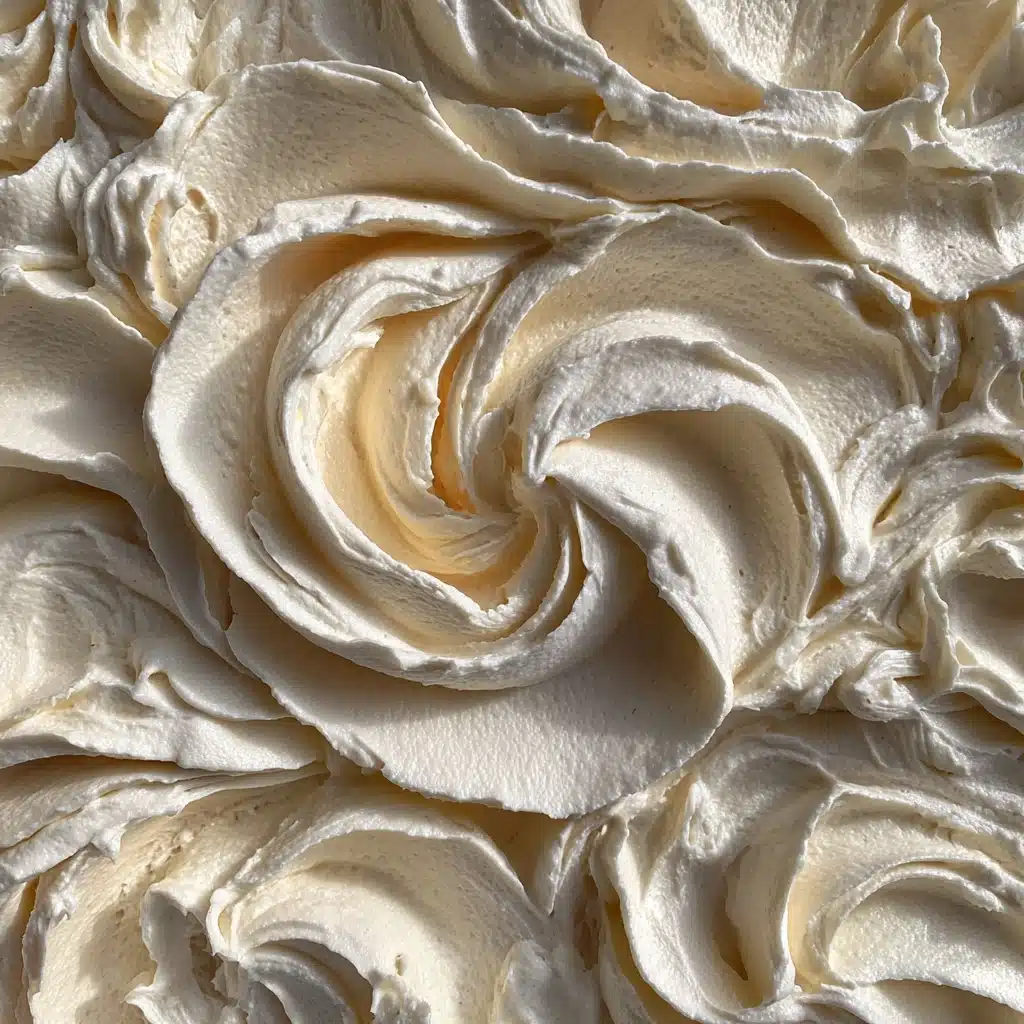
If there’s one treat that defines pure comfort and creamy nostalgia, it’s Classic Vanilla Ice Cream. This dreamy dessert is a celebration of all that’s simple yet sumptuous, with a silky custard base swirling with the warmth of real vanilla. Whether churned up for summer picnics or served alongside a holiday pie, this recipe delivers everything you crave in a scoop: rich texture, subtle sweetness, and that signature old-fashioned vanilla flavor. It’s the best excuse to dust off your ice cream maker and treat yourself and your loved ones to a classic that truly never goes out of style.
Ingredients You’ll Need
Classic Vanilla Ice Cream comes together with only a handful of ingredients, but each one plays a starring role in creating that luscious, scoopable magic. The quality of your cream, milk, eggs, and vanilla will shine through in every bite!
- Heavy Cream (2 cups): This is the foundation of the ice cream’s richness, lending that signature velvety body and luxurious mouthfeel.
- Whole Milk (1 cup): Balances the creaminess, making sure the ice cream isn’t too dense but still delightfully smooth.
- Granulated Sugar (¾ cup): Sweetens the custard just enough and helps the ice cream stay soft and scoopable.
- Pure Vanilla Extract (1 tablespoon): The soul of Classic Vanilla Ice Cream; opt for pure extract or try steeping a vanilla bean for a richer, more aromatic flavor.
- Pinch of Salt: Just a hint brings out all the flavors and keeps the sweetness from overwhelming the palate.
- Large Egg Yolks (5): These give the ice cream its signature custard base—a trick for that unbeatable silkiness and depth.
How to Make Classic Vanilla Ice Cream
Step 1: Warm the Dairy and Sugar
In a medium saucepan set over medium heat, combine your heavy cream, whole milk, half of the granulated sugar, and a pinch of salt. Gently stir the mixture every couple of minutes as it heats. You’re aiming for steaming (just before a simmer), which lets the cream and milk meld with the sugar for that irresistibly smooth Classic Vanilla Ice Cream foundation. Avoid bringing it to a full boil to keep the cream’s delicate flavor intact.
Step 2: Whisk the Egg Yolks and Remaining Sugar
While your cream mixture is warming up, whisk together the 5 egg yolks and the rest of the sugar in a separate bowl. You want the mixture to become pale and slightly thickened – about 1 to 2 minutes of steady whisking does the trick! This step builds the creamy, custardy body that makes homemade ice cream so special.
Step 3: Temper the Eggs
To prevent scrambling those luscious yolks, slowly drizzle about ½ cup of the hot dairy mixture into the whisked eggs, stirring constantly. This “tempering” step gradually brings the eggs up to temperature so they blend seamlessly into the custard. Take your time—it’s worth it for that dreamy Classic Vanilla Ice Cream texture.
Step 4: Thicken the Custard
Now, pour your tempered egg mixture back into the saucepan with the remaining cream and milk, whisking gently as you go. Keep the heat at medium-low and stir constantly with a wooden spoon or heatproof spatula. In about 5 to 7 minutes, your custard will thicken just enough to coat the back of a spoon. Don’t let it boil; gentle, low heat is key to the perfect silky result.
Step 5: Add the Vanilla and Strain
Once thickened, remove the custard from the heat and stir in your pure vanilla extract (or steeped vanilla bean, if you went that route). Pour the mixture through a fine-mesh strainer into a clean bowl to catch any stray bits and guarantee a smooth, even finish. Let your future Classic Vanilla Ice Cream cool to room temperature—patience pays off!
Step 6: Chill Thoroughly
Cover the bowl and refrigerate your custard for at least 4 hours, or overnight if you can. Chilling helps develop the flavor and ensures your mixture is cold enough to churn up into the creamiest Classic Vanilla Ice Cream imaginable.
Step 7: Churn and Freeze
Ready for the magic? Pour the chilled mixture into your ice cream maker and churn according to the manufacturer’s instructions. In about 15 to 20 minutes, you’ll have a thick, luscious ice cream ready to scoop and finish in the freezer. Transfer your ice cream to a lidded container and freeze for at least 2 hours to firm it up to proper scooping consistency.
How to Serve Classic Vanilla Ice Cream

Garnishes
Dress up your Classic Vanilla Ice Cream with a flurry of beautiful toppings: think fresh berries, toasted nuts, chocolate shavings, a drizzle of warm caramel, or even a few edible flowers for a fancy touch. The creaminess of vanilla welcomes just about any topping you want to sprinkle on!
Side Dishes
Pair your Classic Vanilla Ice Cream with homey baked treats like brownies, peach cobbler, or still-warm apple pie. For summer, serve it alongside grilled stone fruit, or sandwich a scoop between crisp chocolate chip cookies. Each pairing highlights a different side of its mellow, soothing flavor.
Creative Ways to Present
Get playful with presentation by stuffing scoops into waffle cones, shaping small balls for an elegant dessert trio, or pressing the ice cream between cookies for homemade sandwiches. Try serving individual portions in glass jars layered with berries or sauces for a beautiful parfait, or build a sundae bar for a fun family activity.
Make Ahead and Storage
Storing Leftovers
Keep any leftover Classic Vanilla Ice Cream in an airtight container in your freezer. Press a piece of parchment or plastic wrap directly on the surface before sealing to help prevent icy crystals from forming. It’s best enjoyed within two weeks for peak freshness and flavor.
Freezing
Once churned, give your ice cream at least 2 hours in the freezer to reach a scoopable texture. If it becomes too hard after several days, let it sit at room temperature for 5-10 minutes before serving—it’ll return to creamy perfection in no time. For longer storage, use a well-sealed, shallow container.
Reheating
While you certainly won’t need to “reheat” Classic Vanilla Ice Cream, letting it rest on the counter for a few minutes before scooping helps soften it up just right. For an extra-special touch, gently microwave a serving alongside a slice of hot fudge brownie or pie for warm-and-cold dessert bliss!
FAQs
Can I make Classic Vanilla Ice Cream without an ice cream maker?
Yes, you can! After chilling your custard base, pour it into a shallow dish and freeze. Every 30 minutes, stir vigorously to break up ice crystals until it’s smooth and creamy. While not quite as fluffy as churned, it’s delicious and totally satisfying.
What’s the secret to super-creamy homemade ice cream?
The richness comes from the balance of cream, milk, and egg yolks in this Classic Vanilla Ice Cream recipe. Properly tempering the eggs, not overheating the custard, and chilling the base thoroughly before churning are all essential steps for dreamy, scoopable results.
How can I infuse even more vanilla flavor?
To amp up the classic vanilla notes, split a vanilla bean, scrape out the seeds, and steep both the seeds and pod in your heating cream mixture. Let it steep for 20 minutes before removing the pod and proceeding with the recipe for an ultra-aromatic twist.
Can I add mix-ins to this recipe?
Absolutely! Fold in mini chocolate chips, roasted nuts, crushed cookies, or swirls of fruit puree just as the ice cream finishes churning. Get creative—this Classic Vanilla Ice Cream makes the perfect canvas for custom flavors.
How long will homemade Classic Vanilla Ice Cream keep in the freezer?
For best flavor and texture, enjoy your ice cream within 2 weeks. After that, it can still be eaten but may start to develop ice crystals or lose a bit of its fresh, creamy taste. Store it tightly covered for maximum quality.
Final Thoughts
If you’ve never made Classic Vanilla Ice Cream from scratch, you’re in for a genuine treat. Every step brings you closer to a dessert that’s somehow both nostalgic and luxurious, delicious on its own or playing a supporting role to your favorite sweets. So grab those ingredients and get churning—you’ll be amazed at just how easy and rewarding homemade ice cream can be!
PrintClassic Vanilla Ice Cream Recipe
Indulge in the creamy goodness of this Classic Vanilla Ice Cream recipe. Perfectly sweet with a hint of vanilla in every bite, this homemade treat is a sure crowd-pleaser.
- Prep Time: 20 minutes
- Cook Time: 10 minutes
- Total Time: 6 hours
- Yield: 1 quart (about 8 servings) 1x
- Category: Dessert
- Method: Churned
- Cuisine: American
- Diet: Vegetarian
Ingredients
For the Ice Cream:
- 2 cups heavy cream
- 1 cup whole milk
- 3/4 cup granulated sugar
- 1 tablespoon pure vanilla extract
- pinch of salt
- 5 large egg yolks
Instructions
- Prepare the Base: In a medium saucepan, heat cream, milk, half the sugar, and salt until steaming.
- Whisk the Yolks: In a bowl, whisk yolks with sugar until thickened.
- Combine Mixtures: Slowly mix hot cream into yolks, then cook until slightly thickened.
- Add Vanilla: Stir in vanilla, strain, and chill.
- Churn: Churn in an ice cream maker, then freeze before serving.
Notes
- For a richer flavor, steep a split vanilla bean in the cream mixture.
- This base is customizable with various mix-ins like chocolate chips or nuts.
Nutrition
- Serving Size: ½ cup
- Calories: 270
- Sugar: 21g
- Sodium: 40mg
- Fat: 20g
- Saturated Fat: 12g
- Unsaturated Fat: 7g
- Trans Fat: 0g
- Carbohydrates: 22g
- Fiber: 0g
- Protein: 4g
- Cholesterol: 160mg


