
There is something truly magical about creating your own dumplings, especially when you can make them gluten free without sacrificing any of that delightful texture or taste. The Gluten Free Dumpling Wrappers: 5 Simple Steps to Delight Recipe is a game-changer for anyone looking to enjoy homemade dumplings with confidence and ease. With just a handful of simple ingredients and a straightforward approach, you’ll be able to craft tender, pliable wrappers perfect for steaming, boiling, or pan-frying your favorite fillings. Whether you’re new to gluten free cooking or a seasoned kitchen adventurer, this recipe is guaranteed to become a beloved staple in your culinary repertoire.
Ingredients You’ll Need
Every ingredient in this recipe is small in number but huge in impact, carefully chosen to give your gluten free dumpling wrappers the perfect balance of softness and elasticity. Each one plays a vital role in texture and flavor, ensuring your dumplings don’t just hold together—they shine.
- 1 cup gluten free flour: The foundation of your wrappers, providing structure and the classic dumpling mouthfeel without gluten.
- 1/2 cup water: Hydrates the flour and activates the dough’s softness, allowing for easy rolling.
- 1/4 tsp salt: Enhances flavor subtly, so your wrappers complement any filling without overpowering.
- 1 tbsp oil: Adds tenderness and improves dough elasticity, making the wrappers easier to handle.
How to Make Gluten Free Dumpling Wrappers: 5 Simple Steps to Delight Recipe
Step 1: Mix the Dry Ingredients
Start by combining your gluten free flour and salt in a large mixing bowl. Mixing the dry ingredients thoroughly ensures even seasoning and prepares the flour to absorb the water efficiently. This initial step is crucial, as a well-mixed base avoids any dense spots or uneven texture in your final wrappers.
Step 2: Gradually Add Water and Stir
Slowly pour the water into your flour mixture while stirring continuously. The gradual addition allows the flour to absorb the liquid evenly, preventing lumps. You’ll begin to notice the dough coming together, sticky at first but becoming more cohesive as you go.
Step 3: Knead the Dough Until Smooth
Transfer your dough to a clean surface and knead it for several minutes. This step is surprisingly satisfying—the somber flour transforms under your hands into a smooth, elastic ball. Kneading develops structure and helps achieve that ideal pliability, which is often challenging in gluten free doughs.
Step 4: Divide Into Small Dough Balls
Break your dough ball into smaller, uniform pieces—think the size of a walnut or slightly smaller. These little balls will become your individual dumpling wrappers. Keeping them consistent in size is key for rolling evenly thin circles that cook evenly.
Step 5: Roll Each Ball Thinly Into Circles
Take each small dough ball and roll it out on a lightly floured surface until it forms a thin, round circle. The thinner, the better, as this ensures gentle wrapping and a tender bite once cooked. Don’t worry if they aren’t perfect circles; rustic is charming here!
How to Serve Gluten Free Dumpling Wrappers: 5 Simple Steps to Delight Recipe
Garnishes
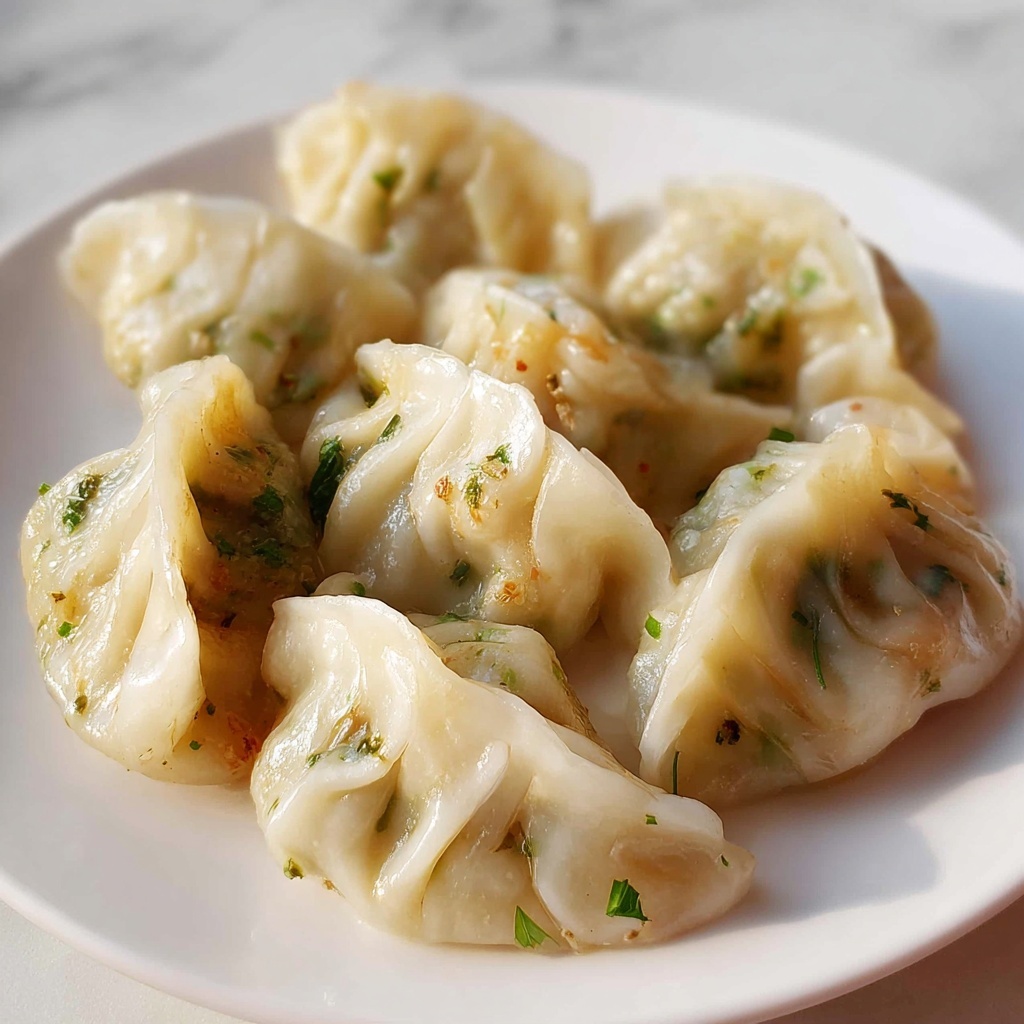
After assembling your dumplings with your favorite fillings, consider sprinkling fresh herbs such as chopped scallions, cilantro, or toasted sesame seeds on top. A drizzle of chili oil or a splash of soy sauce can elevate presentation and flavor, making your gluten free dumplings look as good as they taste.
Side Dishes
Gluten free dumplings pair beautifully with crisp cucumber salad, steamed bok choy, or a light miso soup. These sides complement the dumplings’ warm, chewy character with fresh, crunchy, and savory contrast, rounding out your meal perfectly.
Creative Ways to Present
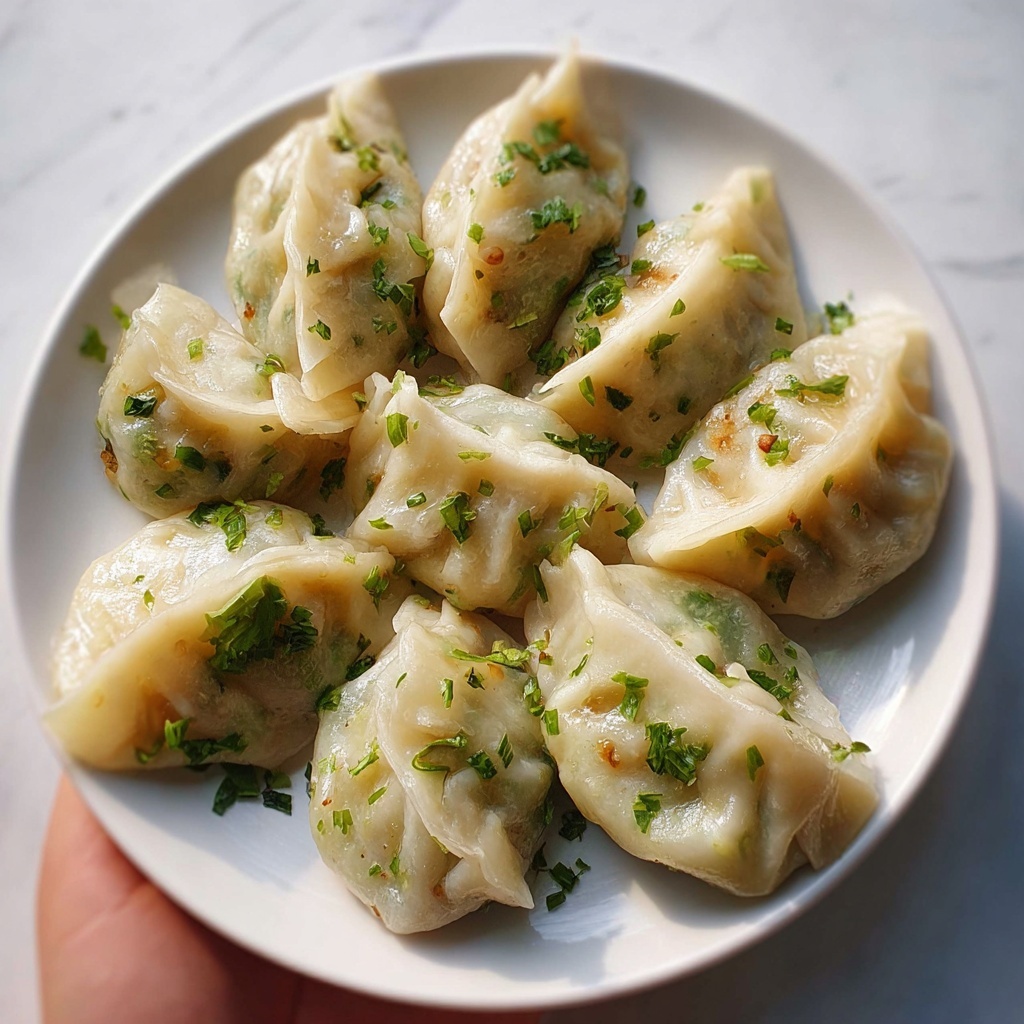
Try arranging your dumplings in a bamboo steamer basket layered with parchment paper for authentic charm, or on a decorative platter lined with colorful lettuce leaves. You can also skewer them for fun party appetizers or serve alongside dipping sauces in small bowls for a communal feast vibe.
Make Ahead and Storage
Storing Leftovers
If you have leftover gluten free dumpling wrappers or prepared dumplings, store them in an airtight container in the refrigerator. They will stay fresh for about 2 days, making it easy to enjoy homemade dumplings on a busy schedule.
Freezing
To freeze, place individual uncooked dumplings on a tray lined with parchment and pop them in the freezer. Once frozen solid, transfer them to a freezer-safe bag or container. This makes a great ready-to-cook stash that holds well for up to 1 month without affecting quality.
Reheating
Reheat refrigerated or frozen dumplings by steaming or pan-frying. Steaming keeps them soft and tender, while pan-frying adds a delicious crispness to one side—both methods breathe new life and warmth into your gluten free dumplings.
FAQs
Can I use other types of gluten free flour?
Absolutely! While this recipe works beautifully with a standard gluten free all-purpose flour, you can experiment with blends that contain rice flour, tapioca, or sorghum for different textures. Just keep note of the dough’s feel, as some flours may require slight water adjustments.
Is oil necessary in the dough?
The oil helps keep the dough soft and less sticky, making it easier to handle and roll out. Though you could skip it, your wrappers might become drier and harder to work with, so including it is highly recommended for best results.
What fillings work best with these wrappers?
You’re only limited by your imagination here! Classic pork and cabbage, shrimp and chive, or vegan mixes with mushrooms and tofu all pair wonderfully. The gentle flavor of these gluten free wrappers complements nearly every filling choice.
Can I freeze the dough before shaping?
Yes, you can freeze the dough wrapped tightly in plastic wrap. When you’re ready to use it, thaw completely in the refrigerator and knead briefly before dividing and rolling. This makes prep ahead even more convenient!
Do these wrappers taste different from traditional ones?
Though gluten free wrappers may lack some of the chewiness gluten offers, this recipe achieves a wonderfully tender, soft texture you’ll love. They serve as an excellent alternative without compromising flavor or functionality.
Final Thoughts
There is a real joy in mastering the Gluten Free Dumpling Wrappers: 5 Simple Steps to Delight Recipe. It opens the door to endless delicious possibilities while keeping things simple, accessible, and absolutely satisfying. So grab your bowl, roll up your sleeves, and dive into the comforting world of gluten free dumplings—you won’t regret it!
Print
Gluten Free Dumpling Wrappers: 5 Simple Steps to Delight Recipe
- Prep Time: 10 minutes
- Cook Time: 15 minutes
- Total Time: 25 minutes
- Yield: 12 dumpling wrappers
- Category: Appetizer
- Method: Stovetop
- Cuisine: Asian
- Diet: Gluten Free
Description
This recipe guides you through making simple, gluten-free dumpling wrappers in just five easy steps. Using basic ingredients like gluten-free flour, water, salt, and oil, you can create versatile dumpling skins perfect for steaming or cooking with your favorite fillings. Ideal for those seeking gluten-free options without sacrificing taste or texture.
Ingredients
Dumpling Wrapper Ingredients
- 1 cup gluten free flour
- 1/2 cup water
- 1/4 teaspoon salt
- 1 tablespoon oil
Instructions
- Mix Dry Ingredients: In a bowl, combine the gluten free flour and salt thoroughly, ensuring the salt is evenly distributed.
- Add Water Gradually: Slowly pour the water into the flour mixture while stirring continuously until a dough begins to take shape.
- Knead the Dough: Turn the dough out onto a clean surface and knead it for several minutes until it becomes smooth and elastic.
- Divide Dough: Portion the dough into small equal-sized balls, preparing them for rolling.
- Roll Out Wrappers: Using a rolling pin, flatten each dough ball into thin circles, suitable for filling with your preferred dumpling fillings.
- Fill and Seal: Place your chosen filling onto a wrapper and fold it over, sealing the edges securely to prevent leakage during cooking.
- Cook the Dumplings: Steam or cook the assembled dumplings according to your preference until fully cooked and tender.
Notes
- You can substitute water with warm water to help soften the dough faster.
- If the dough feels too sticky, sprinkle a small amount of gluten free flour while kneading.
- Roll wrappers as thin as possible without tearing for best texture.
- Store unused dough wrapped tightly in the refrigerator for up to 2 days.
- Gluten free flour blends can vary; choose one suitable for baking or dumplings for best results.
- Filling options can include vegetables, meat, seafood, or tofu, tailored to dietary preferences.
