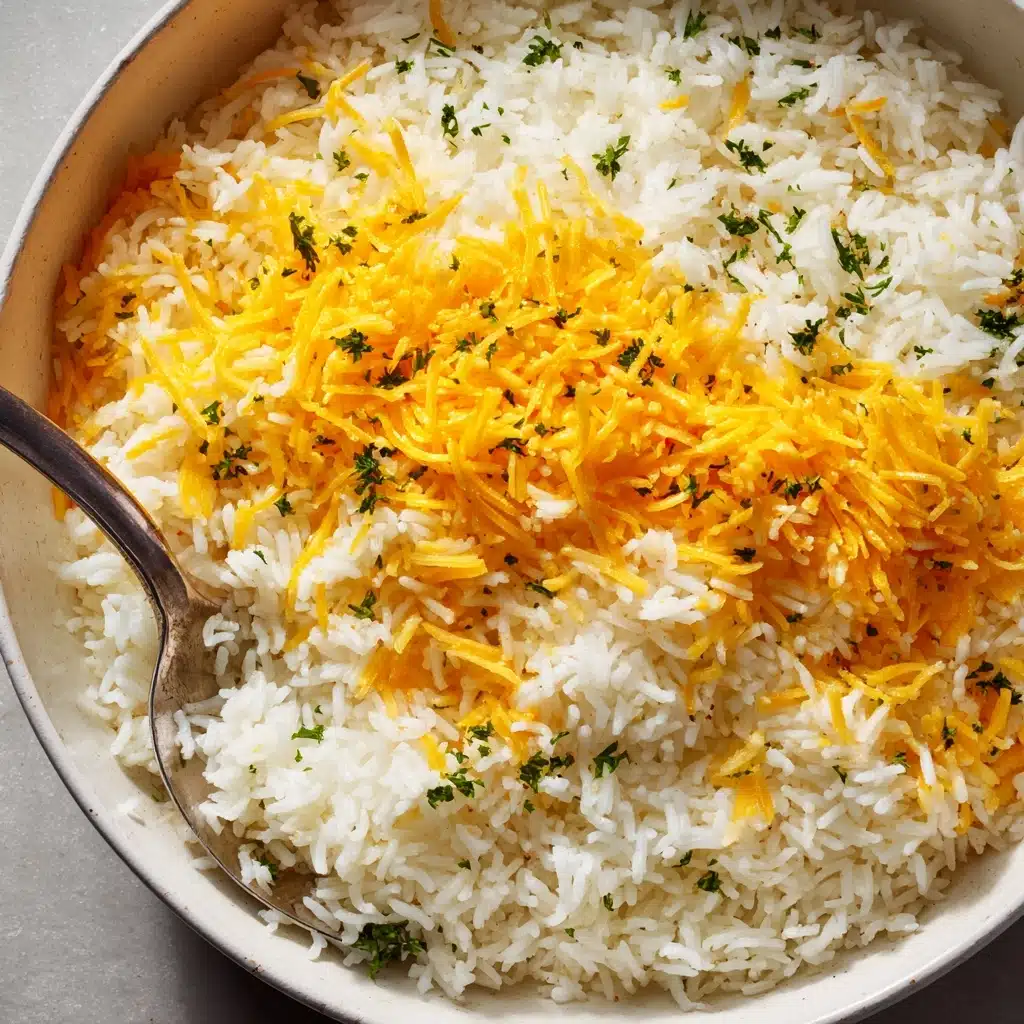
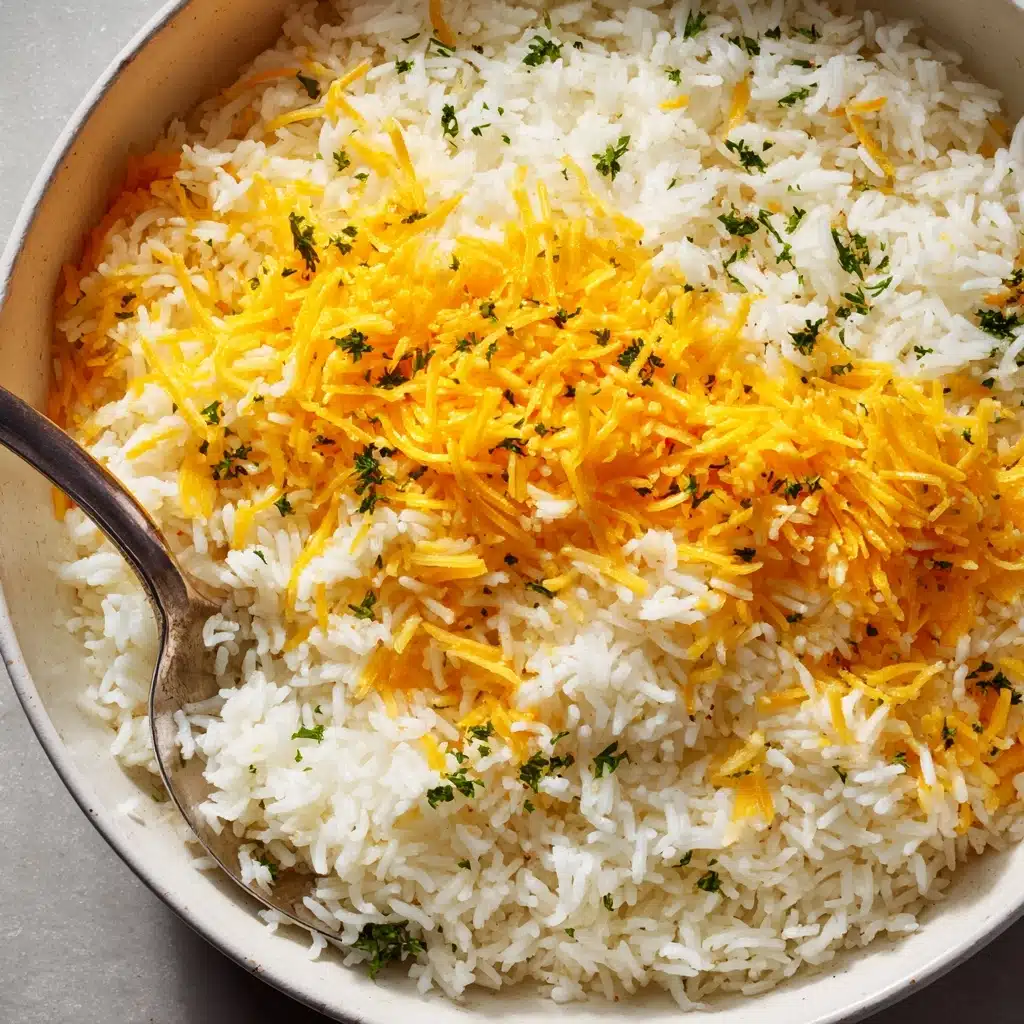
If you’ve never made Cheesy Rice before, prepare to meet your new weeknight hero! This creamy, melty, ultra-satisfying side dish delivers comfort by the spoonful. You only need a handful of pantry staples, a saucepan, and about 15 minutes. Whether you’re looking for a simple family side, a cozy midnight snack, or the perfect way to jazz up leftover rice, Cheesy Rice rises to the occasion every time with rich cheddar flavor and a dreamy, velvety texture.
Ingredients You’ll Need
Putting together Cheesy Rice couldn’t be easier. Each ingredient pulls its weight, offering layers of flavor and an irresistible creamy finish. Here’s what you’ll need and exactly how these basics work together:
- Cooked rice: The backbone of this dish; use white or brown to suit your taste—freshly cooked or leftover both work!
- Butter: Gives the rice a lush, rich base and helps the cheese melt beautifully.
- Milk: Adds creaminess, loosening up the mixture so your Cheesy Rice is silky, never dense.
- Shredded cheddar cheese: The star of the show! Sharp, melty, golden—pick your favorite cheddar for bold flavor.
- Garlic powder: Subtle, savory warmth that compliments the cheese without overpowering it.
- Onion powder: Adds depth and balances the richness, giving each bite that special something.
- Salt and black pepper: Essential for bringing out every nuance—and for a gentle kick of heat from the pepper.
- Chopped parsley (optional): Sprinkled on top, it adds a pop of freshness and color.
How to Make Cheesy Rice
Step 1: Melt the Butter and Add Seasonings
Start by placing a medium saucepan over medium heat and drop in the butter. Once it’s sizzling and melted, stir in the milk, garlic powder, and onion powder. The aroma will tell you immediately: something delicious is on its way! This step lays the foundation and infuses every grain of rice with flavor.
Step 2: Warm the Rice
Next, add the cooked rice straight into the pan. Use a spoon or spatula to break up any clumps if you’re starting with leftovers. Let the rice heat up, stirring occasionally so everything combines evenly. After 3 to 4 minutes, most of the milk will have been absorbed, and the rice should be hot and steamy.
Step 3: Make It Cheesy!
Now comes the moment we’ve all been waiting for: sprinkle the shredded cheddar cheese right into the rice mixture. Reduce the heat to low to keep the cheese from separating, and stir gently and patiently until it melts into a velvety, creamy blanket. Season to taste with salt and black pepper, adjusting as needed.
Step 4: Add Final Touches
Once your Cheesy Rice is irresistibly creamy and bubbling, it’s ready to serve. If you want to make things extra special, finish it off with a sprinkle of freshly chopped parsley for brightness and eye-catching color.
How to Serve Cheesy Rice

Garnishes
Top your Cheesy Rice with chopped parsley for a lovely herbal note and striking color contrast. For even more flavor, try sliced green onions, crispy bacon bits, or a sprinkle of extra cheddar. The right garnish makes this comforting side truly shine.
Side Dishes
Cheesy Rice is incredibly versatile, so let it cozy up next to anything from roasted chicken or seared steak to vegetable stir fry or grilled fish. It’s a sure-fire hit with barbecue, works wonders in lunch bowls, and is perfect with anything saucy—it loves to soak flavors up.
Creative Ways to Present
Serve it family-style in a big, colorful bowl or scoop it into ramekins for individual portions topped with cheese and broiled till bubbly. Stuff Cheesy Rice into bell peppers or hollowed-out tomatoes for a fun twist, or use it as the base of a comforting casserole layered with veggies and extra cheese.
Make Ahead and Storage
Storing Leftovers
Let any leftover Cheesy Rice cool to room temperature before transferring it to an airtight container. Stored this way in the fridge, it will keep its creamy texture and flavor for up to three days, making it a top pick for meal prepping or packing into lunches.
Freezing
While you can freeze Cheesy Rice, the texture may change slightly once thawed. If you’d like to freeze it, make sure the rice is sealed tightly to prevent freezer burn. Reheat gently and don’t be afraid to add a splash of milk to restore its original creaminess.
Reheating
When it’s time to reheat, a quick zap in the microwave does the trick—just stir in a little extra milk to revive the creamy consistency. You can also warm Cheesy Rice on the stovetop over low heat, stirring well, until steamy and smooth again.
FAQs
Can I use different types of cheese in Cheesy Rice?
Absolutely! While cheddar is classic for this recipe, you can mix things up with Monterey Jack, mozzarella, or even a combination of cheeses for a unique flavor profile. Just make sure the cheese melts smoothly for that iconic creaminess.
Is it possible to make Cheesy Rice dairy-free?
Yes, it’s easy to make a dairy-free version. Swap in your favorite plant-based butter, non-dairy milk, and a vegan cheese that melts nicely. Keep an eye on seasoning, as you might need a touch more salt to round out dairy-free cheese flavors.
What’s the best rice to use for Cheesy Rice?
Both white and brown rice work well here. Long grain, short grain, or even jasmine or basmati for a fragrant twist. Freshly cooked rice has the best texture, but reheated leftovers are totally welcome in this dish too!
Can I add vegetables or proteins to Cheesy Rice?
Definitely! Stir in cooked peas, broccoli florets, chopped spinach, or even diced ham or bacon for a complete meal. Cheesy Rice is a great way to use up fridge odds-and-ends or sneak in extra veggies for picky eaters.
How do I keep Cheesy Rice from becoming clumpy or dry?
The key is adding enough milk and melting the cheese on low heat. Don’t rush this step! Stir gently and frequently, adding splashes of milk as needed to keep everything loose and luscious. Serve immediately for the best texture.
Final Thoughts
If you’re craving something delicious, dependable, and downright comforting, Cheesy Rice hits the spot every single time. With just a few staples and hardly any effort, you’ll have a side dish everyone at the table loves. Give it a whirl—once you try homemade Cheesy Rice, it’s bound to become a staple on your dinner menu!
PrintCheesy Rice Recipe
This Cheesy Rice recipe is a creamy and comforting side dish that is quick and easy to make. Perfect for busy weeknights or as a delicious addition to any meal.
- Prep Time: 5 minutes
- Cook Time: 10 minutes
- Total Time: 15 minutes
- Yield: 4 servings 1x
- Category: Side Dish
- Method: Stovetop
- Cuisine: American
- Diet: Vegetarian, Gluten-Free
Ingredients
Main Ingredients:
- 2 cups cooked white or brown rice
- 1 tablespoon butter
- 1/2 cup milk
- 1 cup shredded cheddar cheese
Seasonings:
- 1/4 teaspoon garlic powder
- 1/4 teaspoon onion powder
- Salt and black pepper to taste
Garnish:
- Chopped parsley for garnish (optional)
Instructions
- Melt Butter: In a medium saucepan over medium heat, melt the butter.
- Add Cheese: Reduce heat to low and stir in the shredded cheddar cheese until fully melted and creamy. Season with salt and black pepper to taste.
- Serve: Serve warm, garnished with chopped parsley if desired.
Stir in the milk, garlic powder, and onion powder, then add the cooked rice. Cook, stirring frequently, until heated through and milk is mostly absorbed, about 3–4 minutes.
Notes
- Use freshly cooked rice or reheat leftovers before adding to the cheese mixture for best texture.
- Try adding cooked vegetables, bacon, or chopped green onions for extra flavor.
Nutrition
- Serving Size: ½ cup
- Calories: 220
- Sugar: 2g
- Sodium: 240mg
- Fat: 11g
- Saturated Fat: 6g
- Unsaturated Fat: 4g
- Trans Fat: 0g
- Carbohydrates: 22g
- Fiber: 1g
- Protein: 8g
- Cholesterol: 30mg


