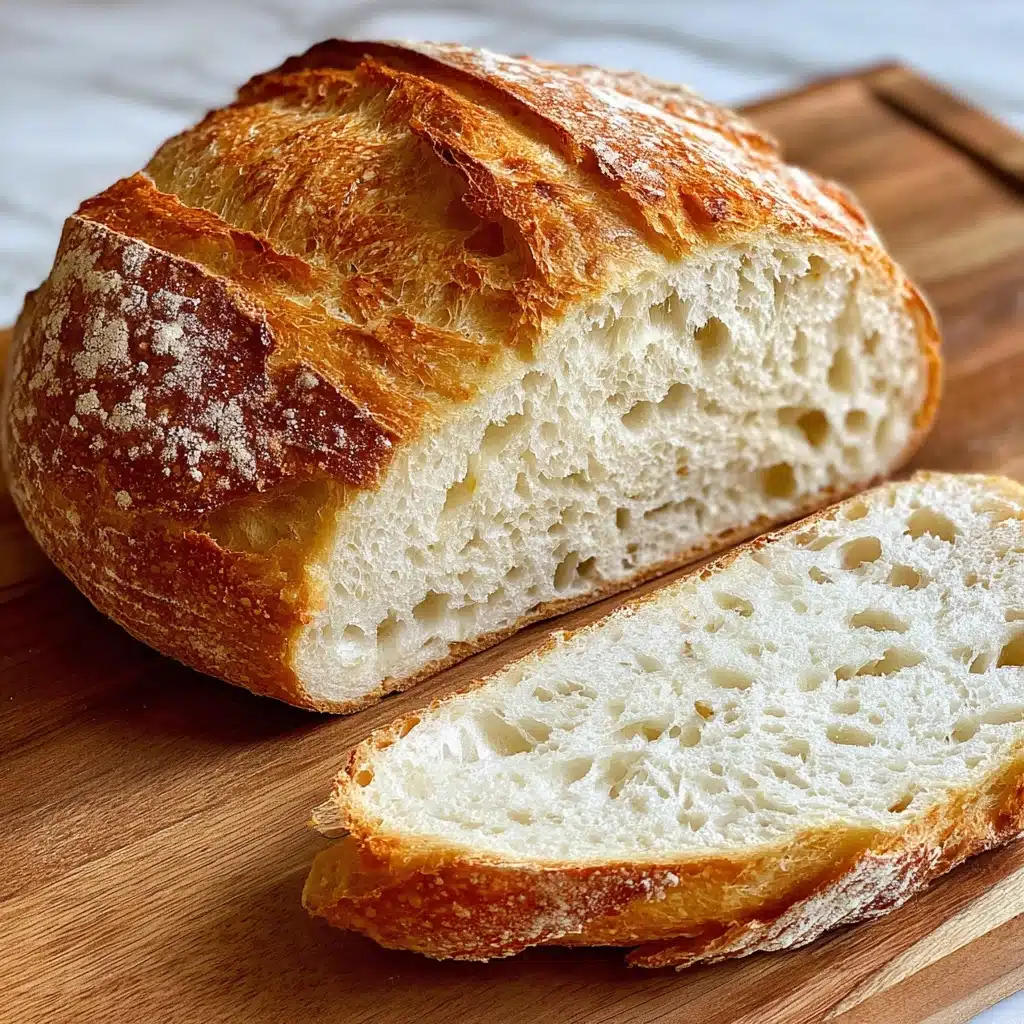
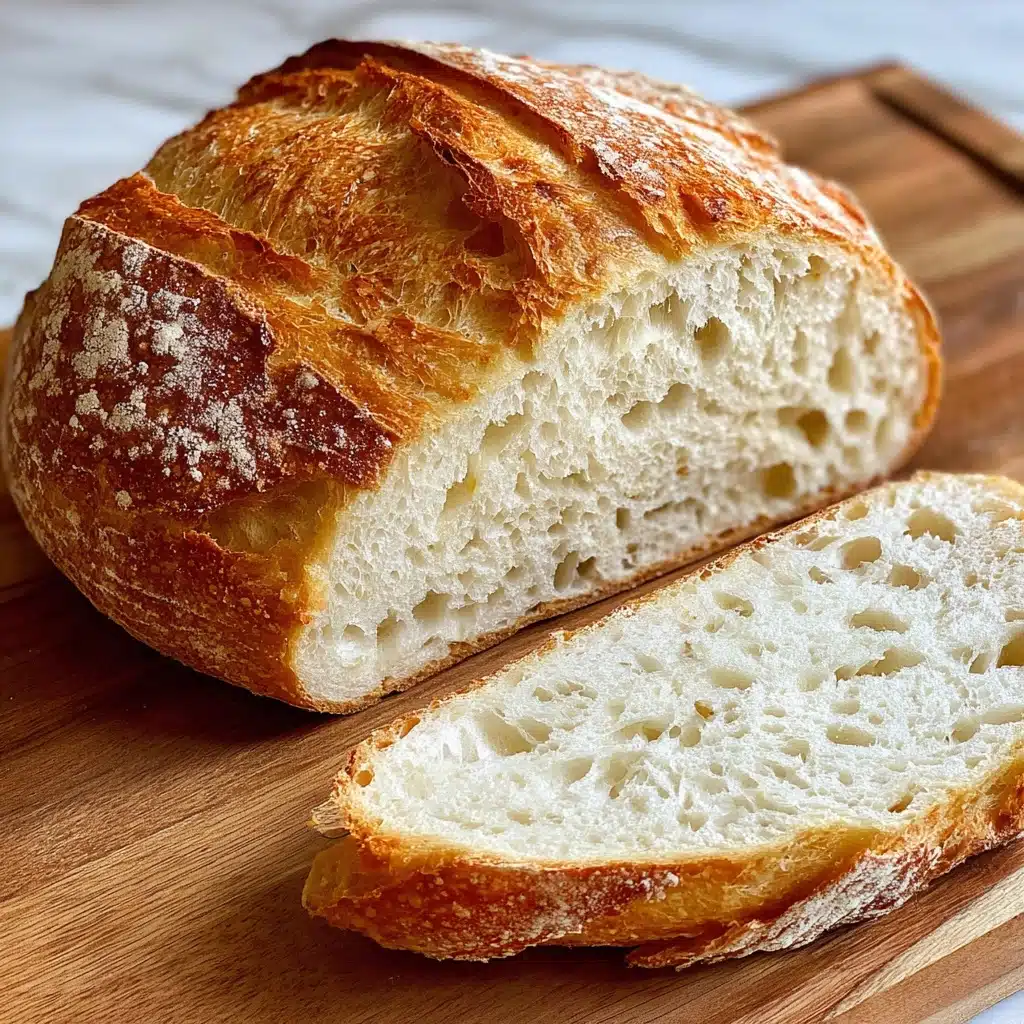
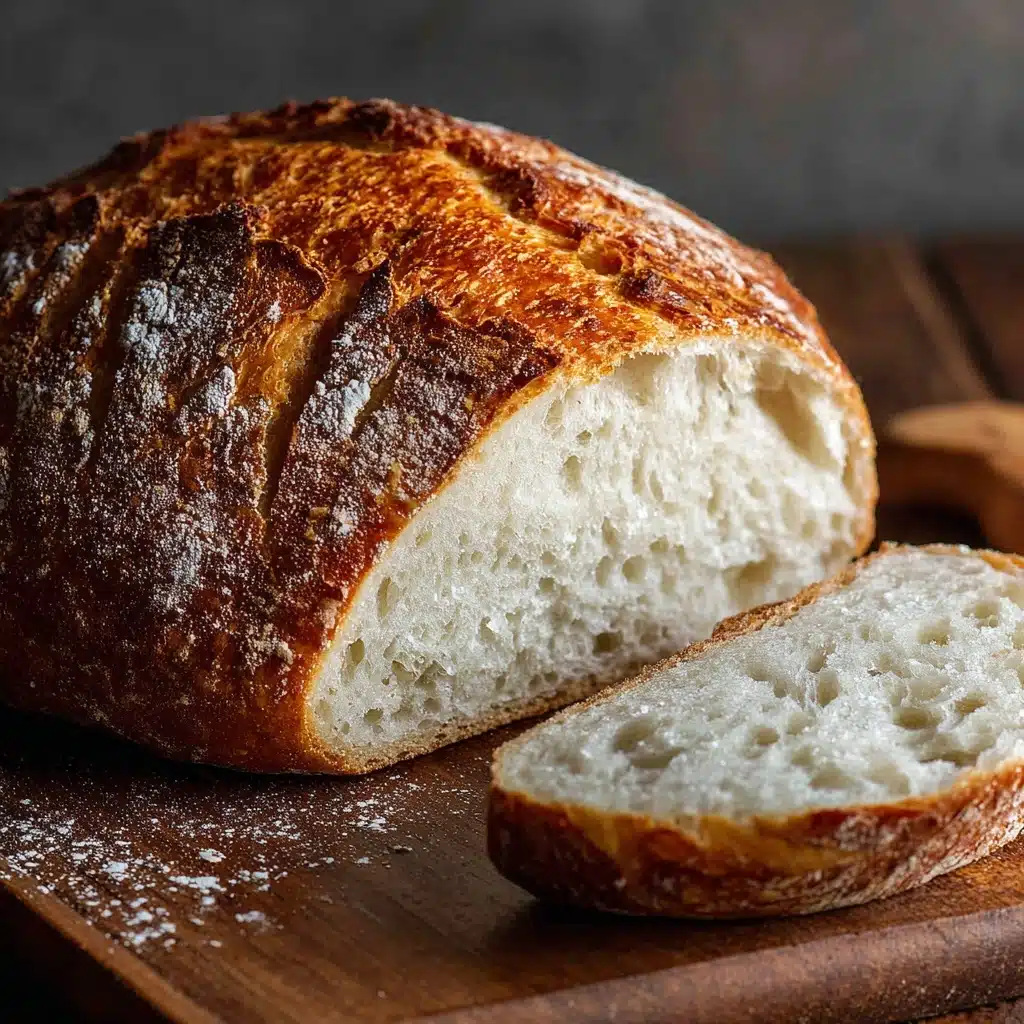
Nothing compares to the aroma of freshly baked Homemade Bread wafting through your kitchen—warm, comforting, and downright irresistible. Whether you’re just starting out on your bread-baking journey or looking to perfect a timeless classic, this simple loaf delivers every time. You’ll discover just how easy breadmaking can be, and you’ll be rewarded with a loaf that boasts a golden crust, tender crumb, and a flavor that’s leagues ahead of anything store-bought. Let’s dive into the joy of crafting Homemade Bread that will quickly become a cherished staple in your home.
Ingredients You’ll Need
You don’t need a mile-long list of fancy components to create memorable Homemade Bread—just a handful of pantry basics that work magic together. Each ingredient plays a role in building the texture, flavor, and gorgeous appearance of your finished loaf.
- All-purpose flour: The foundation of the bread, providing the structure and that satisfying chewiness in every slice.
- Active dry yeast: This tiny powerhouse ensures your bread rises beautifully, yielding a soft and airy middle.
- Salt: Don’t skip it! It enhances flavor and keeps your bread from tasting flat or bland.
- Sugar: A small dose feeds the yeast, jumpstarting fermentation and adding a gentle sweetness.
- Warm water: The right temperature (about 110°F/43°C) wakes up your yeast and helps dissolve the sugar—think cozy bath, not scalding hot tub!
- Olive oil or melted butter: Adds richness and a touch of moisture, giving your bread a softer texture and lovely color.
How to Make Homemade Bread
Step 1: Activate the Yeast
Begin by pouring the warm water into a large mixing bowl, then sprinkle in the sugar and yeast. Give it a gentle stir and let the mixture rest for 5–10 minutes. You’ll know it’s ready when it’s foamy and smells pleasantly yeasty—this step is the secret handshake for perfect Homemade Bread, ensuring your loaf is light and fluffy rather than dense.
Step 2: Mix in the Remaining Ingredients
Once your yeast is active, stir in the salt and olive oil (or melted butter). With that done, gradually add the flour, mixing with a wooden spoon or dough whisk until the dough comes together into a sticky mass. Don’t rush—adding the flour bit by bit makes for a smoother dough and a more even crumb in your finished Homemade Bread.
Step 3: Knead the Dough
Flour your counter and turn out the dough, sprinkling a little more flour on top to keep things from sticking. Knead with the heel of your hands for about 8 to 10 minutes, folding and turning until you have a smooth, elastic dough. This part is a soothing, hands-on process and makes all the difference—your bread will thank you with an irresistibly chewy bite!
Step 4: First Rise
Place your dough into a lightly greased bowl, cover it with a clean towel or plastic wrap, and leave it to rise in a warm spot. After 1 to 1 1/2 hours, the dough should be puffed up and doubled in size, practically begging to become Homemade Bread.
Step 5: Shape the Loaf
Punch down the risen dough gently to release excess air. Shape it into a loaf by rolling or patting it into a rectangle, then tucking the edges underneath. Nestle it into a greased 9×5-inch loaf pan, cover again, and let it rise for another 30-45 minutes. This final rise guarantees a soft, even crumb from end to end.
Step 6: Bake to Golden Perfection
Preheat your oven to 375°F (190°C). Bake your loaf for 30-35 minutes until it turns golden brown on top and sounds hollow when tapped. For an extra-special finish, brush the top with a touch of melted butter as soon as it comes out of the oven. Let it cool in the pan for 10 minutes, then move it to a wire rack and allow it to cool completely before slicing into your masterpiece.
How to Serve Homemade Bread

Garnishes
Once your fresh bread has cooled, you can dress it up with simple touches, like a brush of melted butter for a glossy finish or a sprinkle of flaky sea salt for a subtle crunch. For a rustic look, add dried herbs such as rosemary or thyme on top before baking, creating a Homemade Bread that’s both visually stunning and fragrant.
Side Dishes
Homemade Bread brings out the best in a cozy soup or stew—think classic tomato soup, a hearty chili, or creamy potato leek. It also makes an ideal companion to breakfast scrambles, salad lunches, or classic cheese platters. The possibilities for pairing are as endless as your imagination.
Creative Ways to Present
For a show-stopping brunch, slice your Homemade Bread thick and use it for luscious French toast. Or, try cutting the loaf into cubes for homemade croutons tossed with olive oil and herbs. Hosting a dinner party? Serve warm slices in a breadbasket lined with a pretty towel for an inviting, homey touch no one can resist.
Make Ahead and Storage
Storing Leftovers
To keep your Homemade Bread at its best, allow it to cool completely, then wrap it tightly in plastic wrap, foil, or an airtight bread bag. Store at room temperature for up to 3 days. The crust will stay pleasantly crisp on day one, while the interior keeps its soft, moist texture.
Freezing
Homemade Bread freezes beautifully! Cool the loaf completely, then wrap tightly in plastic wrap followed by foil, or use a freezer-safe bag to avoid freezer burn. Label with the date and freeze for up to 3 months. Slice before freezing if you want to grab just what you need for future breakfasts or sandwiches.
Reheating
To enjoy that just-baked warmth, reheat slices in a toaster or warm the whole loaf in a 350°F (175°C) oven for 8-10 minutes. Wrapped in foil, your bread will stay moist and taste freshly baked each time you serve it.
FAQs
Can I use instant yeast instead of active dry yeast?
Absolutely! Instant yeast can be swapped one-for-one with active dry yeast in this Homemade Bread recipe. Just add it directly to the flour and skip the proofing step—your bread will still rise beautifully.
What if I don’t have a loaf pan?
No pan? No problem! Shape your dough into a round or oval, place it on a parchment-lined baking sheet, and bake as instructed. The bread will have a freestyle rustic appearance but all the same delicious flavor and texture.
How can I add more flavor to my Homemade Bread?
Experiment with add-ins like chopped fresh herbs, shredded cheese, roasted garlic, or seeds stirred into the dough before shaping. A sprinkle of oats, sesame, or poppy seeds on top can also elevate both flavor and appearance.
Can I make this bread with whole wheat flour?
Absolutely! You can substitute up to half of the all-purpose flour with whole wheat flour for a heartier loaf. Just note it may be a bit denser, so you might want to increase the rising time slightly for best results.
Why did my bread turn out dense and heavy?
Dense bread often means the yeast wasn’t fully activated or the dough didn’t rise long enough. Be sure your yeast is bubbling before mixing, and give each rise ample time—a little patience guarantees soft, fluffy Homemade Bread every time.
Final Thoughts
Baking Homemade Bread is one of life’s greatest kitchen joys—it fills your home with cozy aromas and your table with something truly special. Once you taste the difference, you’ll understand why this simple loaf is close to my heart. Give it a try, invite someone you love to share a slice, and start your own Homemade Bread tradition!
PrintHomemade Bread Recipe
Learn how to make a delicious homemade bread with this easy-to-follow recipe. This basic bread recipe yields a soft and fluffy loaf perfect for sandwiches or to enjoy on its own.
- Prep Time: 20 minutes
- Cook Time: 35 minutes
- Total Time: 2 hours 30 minutes
- Yield: 1 loaf (about 12 slices) 1x
- Category: Bread
- Method: Baking
- Cuisine: American
- Diet: Vegetarian
Ingredients
Dough:
- 4 cups all-purpose flour (plus more for kneading)
- 2 1/4 teaspoons active dry yeast (1 packet)
- 1 1/2 teaspoons salt
- 2 tablespoons sugar
- 1 1/2 cups warm water (110°F/43°C)
- 2 tablespoons olive oil or melted butter
Instructions
- Prepare the Dough: In a large bowl, combine warm water, sugar, and yeast. Let sit until frothy. Stir in salt and oil. Gradually add flour and mix until a sticky dough forms.
- Knead the Dough: Transfer the dough to a floured surface and knead for 8–10 minutes until smooth and elastic, adding flour as needed.
- Rise and Shape: Place the dough in a greased bowl, cover, and let rise until doubled. Punch down the dough, shape into a loaf, and place in a loaf pan.
- Final Rise and Bake: Let the dough rise again until puffy. Preheat the oven, then bake the bread until golden brown and hollow-sounding when tapped.
- Cool and Enjoy: Cool the bread in the pan before transferring to a wire rack to slice and serve.
Notes
- You can substitute half of the all-purpose flour with whole wheat flour for added fiber and flavor.
- Brush the top with melted butter after baking for a softer crust.
Nutrition
- Serving Size: 1 slice
- Calories: 140
- Sugar: 2g
- Sodium: 220mg
- Fat: 3g
- Saturated Fat: 0.5g
- Unsaturated Fat: 2.5g
- Trans Fat: 0g
- Carbohydrates: 25g
- Fiber: 1g
- Protein: 4g
- Cholesterol: 0mg


