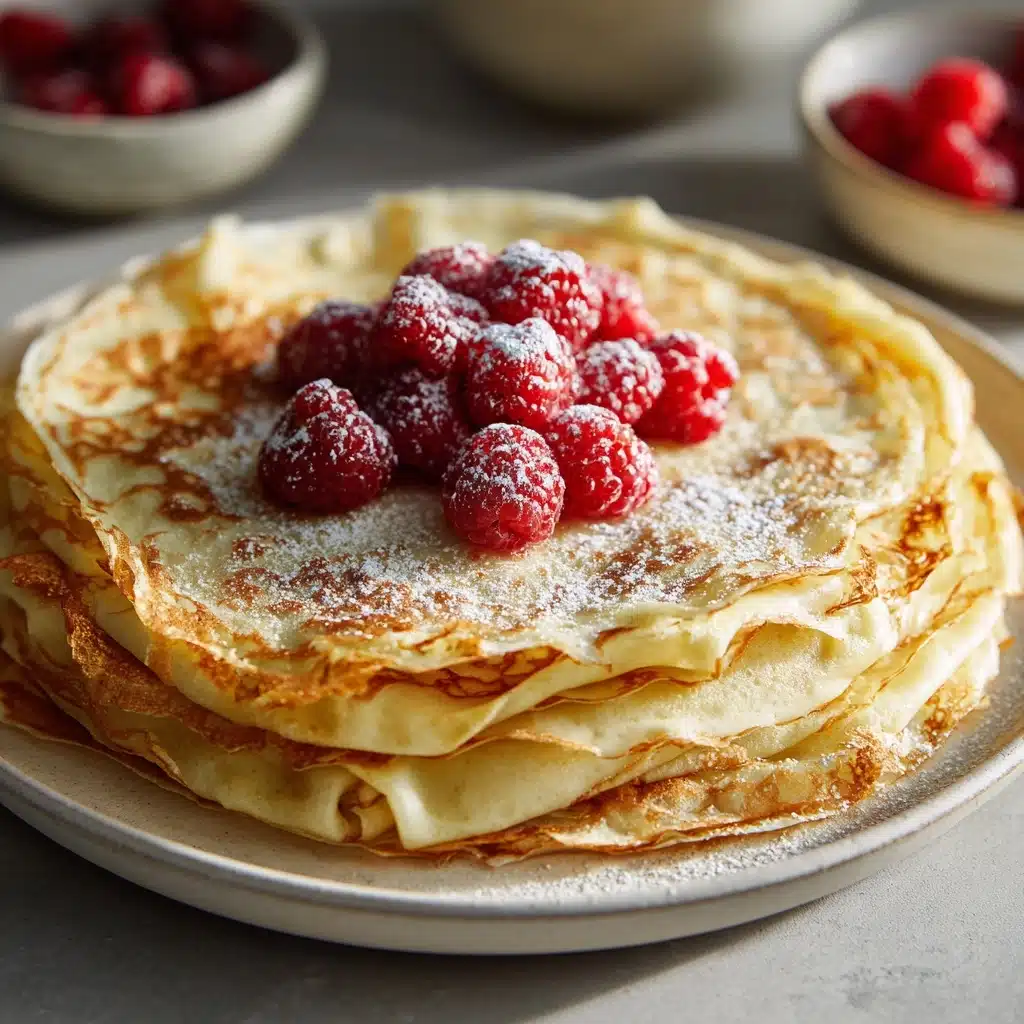
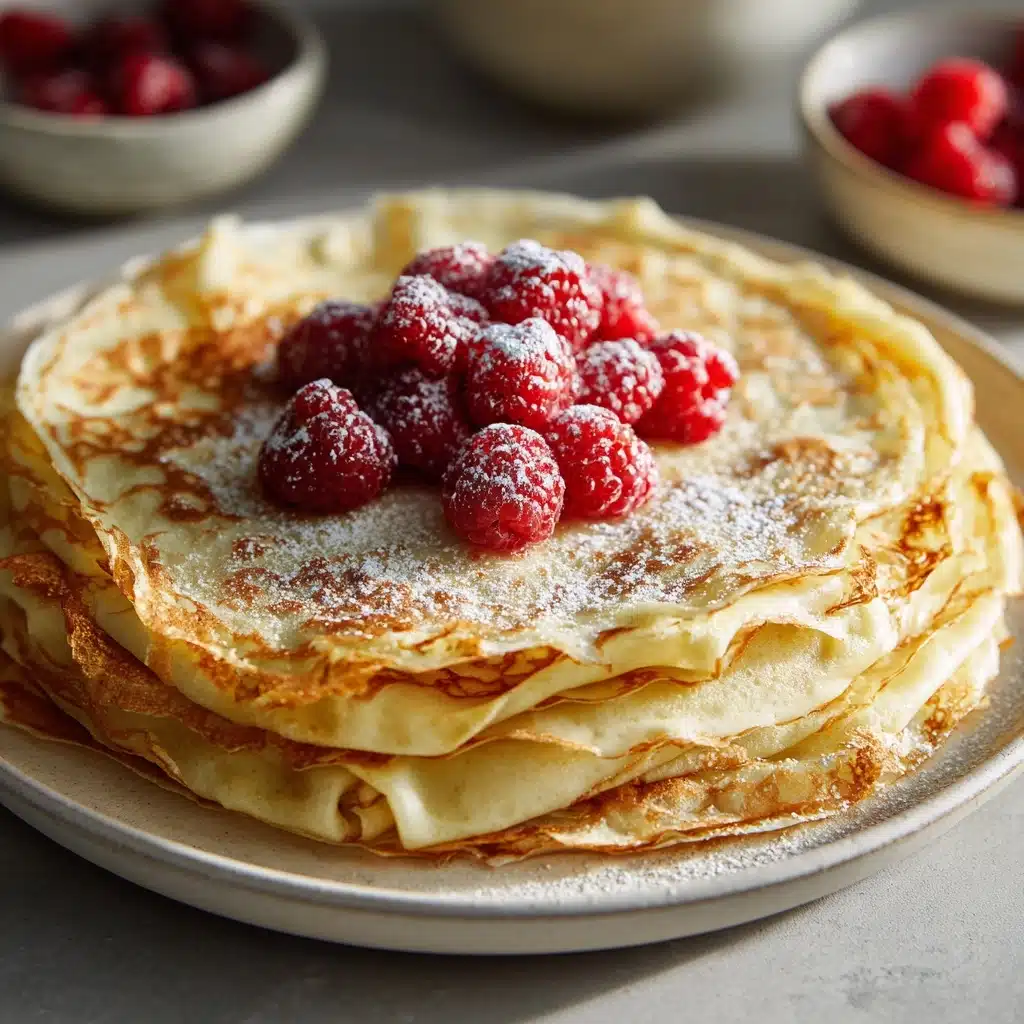
If you’re looking to indulge in the quintessential comfort food from Eastern Europe, Russian Crepes Blini are the answer! These delicate, paper-thin pancakes are an absolute joy to prepare and savor, promising a texture somewhere between a classic French crêpe and a pillowy-soft pancake. Whether you fold them around jam for breakfast or crown them with caviar for a special appetizer, Russian Crepes Blini have earned their place as a beloved staple, adding pure delight to any occasion.
Ingredients You’ll Need
One of the best things about Russian Crepes Blini is that they truly let simple, everyday ingredients shine. Each component plays a vital role in creating perfect blini—it’s about balance, from lightness and richness to just the right hint of sweetness.
- All-purpose flour: The foundation of the batter, giving blini their tender yet sturdy structure.
- Granulated sugar: Adds the tiniest pop of sweetness; you can leave this out for savory blini.
- Salt: Essential for flavor—don’t skip it, as it helps all the other tastes shine.
- Large eggs: These bind everything together and give the blini their signature richness.
- Whole milk: Offers creaminess and moisture, keeping your blini soft and supple.
- Water: Lightens up the batter so the crepes turn out beautifully thin and lacy.
- Unsalted butter, melted (plus more for cooking): Adds unbeatable flavor and creates those crispy, golden edges.
- Vanilla extract (optional): A touch for sweet blini—feel free to skip if you prefer a more neutral base.
How to Make Russian Crepes Blini
Step 1: Mix Your Dry Ingredients
Start by whisking together your flour, granulated sugar, and salt in a large mixing bowl. This blends the dry elements evenly, ensuring there are no salty or sweet pockets in your final batch. The even distribution makes a big difference in both taste and texture, setting the stage for smooth, luscious Russian Crepes Blini.
Step 2: Combine Wet Ingredients
In a separate bowl, beat your eggs thoroughly, then add the milk, water, and vanilla extract (if you’re using it). Whisk until it’s completely smooth—this liquid mixture is the secret to silky, pourable batter that’s a breeze to work with.
Step 3: Bring It All Together
Slowly pour the wet mixture into the dry ingredients, whisking constantly to prevent lumps. Take your time here; a smooth batter is the key to delicate, flawless blini. Once combined, you’ll notice the batter is quite thin—just what you want for Russian Crepes Blini.
Step 4: Add Melted Butter
Gently stir in the melted butter. This not only adds depth of flavor but also keeps each blin from sticking as it cooks. The batter will look glossy and luscious at this point—resist the urge to skip this step!
Step 5: Rest the Batter
Let your batter rest for 20 to 30 minutes at room temperature. This simple pause allows the flour to fully hydrate, giving your blini that irresistible tender bite. Resting the batter is a little chef’s secret for achieving professional-quality Russian Crepes Blini at home.
Step 6: Cook Each Blin
Heat a nonstick skillet or crepe pan over medium heat and brush with a bit of melted butter. Pour about 1/4 cup of batter into the pan, immediately swirling to coat the bottom. Cook for 1 to 2 minutes, until the edges start to lift and the bottom is lightly golden. Flip and cook the second side for 30 to 60 seconds. Each blin should be supple, soft, and ever so lightly crisp at the edges.
Step 7: Repeat and Serve
Continue with the remaining batter, brushing the pan with more butter as needed. Layer your finished blini on a plate, covered with a clean kitchen towel to keep them warm and steamy. Now, it’s time for the best part—serving up your Russian Crepes Blini with traditional or creative toppings!
How to Serve Russian Crepes Blini

Garnishes
Traditional Russian Crepes Blini practically beg for a generous dollop of sour cream, a spoonful of fruity jam, or a drizzle of honey. If you’re feeling indulgent, a little mound of caviar or a ribbon of smoked salmon elevates them to pure luxury. Don’t forget fresh herbs or a sprinkle of powdered sugar for an extra flourish!
Side Dishes
While Russian Crepes Blini can steal the spotlight all on their own, they pair beautifully with a crisp cucumber salad, roasted potatoes, or even a simple bowl of borscht. For brunch, serve alongside eggs or a platter of assorted cheeses and cured meats for a truly festive spread.
Creative Ways to Present
For gatherings and parties, arrange your blini in neat stacks with small bowls of different fillings and toppings—think a “blini bar” so everyone can build their own. Roll or fold each blin around sweet or savory ingredients, secure with a chive, and serve as bite-sized appetizers. Russian Crepes Blini are as versatile as your imagination!
Make Ahead and Storage
Storing Leftovers
Leftover Russian Crepes Blini can be a lifesaver for quick snacks or next-day breakfasts. Let them cool to room temperature, then stack with sheets of parchment or wax paper between each blin to prevent sticking. Wrap tightly and store in the refrigerator for up to three days.
Freezing
Blini are freezer-friendly! To freeze, layer cooled Russian Crepes Blini with parchment paper, transfer to a zip-top bag or airtight container, and freeze for up to two months. Thaw overnight in the refrigerator or gently at room temp before reheating.
Reheating
To bring your Russian Crepes Blini back to life, warm them in a lightly buttered skillet over medium-low heat for 30 seconds per side, or stack and cover them in foil, then bake in a 300°F oven until just heated through. Either method ensures they’ll taste freshly made.
FAQs
Can I make Russian Crepes Blini gluten-free?
Absolutely! Swap the all-purpose flour for a gluten-free all-purpose blend, making sure to choose one that doesn’t include any added leaveners. Your blini might be a touch more delicate, but they’ll still turn out scrumptious.
What’s the difference between blini and regular crepes?
Russian Crepes Blini are typically a little smaller and slightly thicker than French-style crepes, sometimes enriched with yeast or buckwheat flour for earthiness. They also shine with both sweet and savory toppings—unlike classic dessert crêpes.
Do I have to rest the batter?
Resting isn’t just a suggestion—it really does make a difference in tenderness and flavor. If you’re short on time, 10 minutes is better than none, but 20 to 30 minutes gives the best results.
Can I make savory blini?
Absolutely! For savory Russian Crepes Blini, just omit the sugar and vanilla extract in the batter. Fill your blini with mushrooms, caviar, herbed cheeses, or smoked fish for classic Russian-inspired appetizers.
What’s the best pan for making blini?
A small nonstick skillet or a dedicated crepe pan works wonders—just be sure it’s well-heated and lightly greased. This keeps your Russian Crepes Blini from sticking and ensures those beautiful, even golden spots.
Final Thoughts
There’s something magical about making—and eating—Russian Crepes Blini. Whether you’re after a comforting breakfast or a show-stopping appetizer, these tender, golden crepes are guaranteed to impress. Enjoy every bite, and don’t be surprised if making Russian Crepes Blini becomes a cherished kitchen tradition in your home!
PrintRussian Crepes Blini Recipe
Learn how to make delicious Russian crepes, known as Blini, with this easy-to-follow recipe. These thin pancakes are perfect for breakfast or as an appetizer, and can be enjoyed both sweet or savory. Serve them warm with your favorite toppings!
- Prep Time: 10 minutes (plus 20 minutes rest)
- Cook Time: 20 minutes
- Total Time: 30 minutes
- Yield: 10–12 blini 1x
- Category: Breakfast, Appetizer
- Method: Stovetop
- Cuisine: Russian
- Diet: Vegetarian
Ingredients
Dry Ingredients:
- 1 cup all-purpose flour
- 1 tablespoon granulated sugar
- 1/4 teaspoon salt
Wet Ingredients:
- 3 large eggs
- 1 1/4 cups whole milk
- 1/4 cup water
- 2 tablespoons unsalted butter, melted (plus more for cooking)
- 1/2 teaspoon vanilla extract (optional)
Instructions
- Mix Dry Ingredients: In a large mixing bowl, combine flour, sugar, and salt.
- Prepare Wet Mixture: In another bowl, beat eggs, then mix in milk, water, and vanilla extract.
- Combine Mixtures: Gradually add wet mixture to dry ingredients, whisking until smooth. Stir in melted butter.
- Rest Batter: Allow batter to rest for 20–30 minutes.
- Cook Blini: Heat skillet, pour batter, cook until edges lift and flip to cook the other side. Repeat with remaining batter.
- Serve: Enjoy warm with desired toppings.
Notes
- For savory blini, omit the sugar and vanilla.
- These can be made ahead and reheated gently.
Nutrition
- Serving Size: 1 blin
- Calories: 90
- Sugar: 1g
- Sodium: 60mg
- Fat: 4g
- Saturated Fat: 2g
- Unsaturated Fat: 2g
- Trans Fat: 0g
- Carbohydrates: 9g
- Fiber: 0g
- Protein: 3g
- Cholesterol: 55mg


