If you’ve ever dreamed of pulling crusty, flavorful artisan bread from your own oven, it all starts here: with a homemade sourdough starter. This lively, bubbly mixture captures wild yeast from your kitchen and transforms simple flour and water into the soul of incredible bread. Making a sourdough starter from scratch might sound mysterious, but it’s actually a simple, rewarding ritual—one that’s as satisfying as the loaves you’ll make with it!
Ingredients You’ll Need
-
Day 1:
- 1/2 cup whole wheat flour
- 1/2 cup water (filtered or dechlorinated, room temperature)
Day 2:
- 1/2 cup unbleached all-purpose flour
- 1/2 cup water
Days 3–6:
- 1/2 cup all-purpose flour
- 1/2 cup water
Additional:
- Water for feedings
How to Make Sourdough Starter
Step 1: Mix the Base (Day 1)
Start your adventure with a clean glass jar or container. Combine 1/2 cup of whole wheat flour with 1/2 cup of room-temperature filtered water. Stir well until there’s no sign of dry flour—aim for a thick, paste-like texture. Loosely cover your jar with a lid or a breathable cloth (a rubber band keeps things secure) and set it somewhere cozy in your kitchen, ideally around 70°F. Now, the magic begins as wild yeast and bacteria settle in!
Step 2: The First Feeding (Day 2)
After 24 hours, check for signs of life—bubbles or a faint aroma are exciting, but don’t worry if you don’t see much yet. Discard half the mixture to keep your sourdough starter from growing out of control. Add 1/2 cup unbleached all-purpose flour and 1/2 cup filtered water, mix thoroughly, and cover again. This keeps the culture energized and makes room for fresh flour to nourish your budding starter.
Step 3: Build Flavor and Strength (Days 3–6)
Over the next several days, repeat the feeding process every 24 hours: discard half the mixture, then add 1/2 cup all-purpose flour and 1/2 cup water each time. By now, you should see more bubbling action and you’ll notice the aroma developing into something pleasantly tangy. If you want to supercharge growth, consider feeding your sourdough starter twice a day starting around day 4—it gives the culture an extra boost!
Step 4: Ready to Use (Day 7)
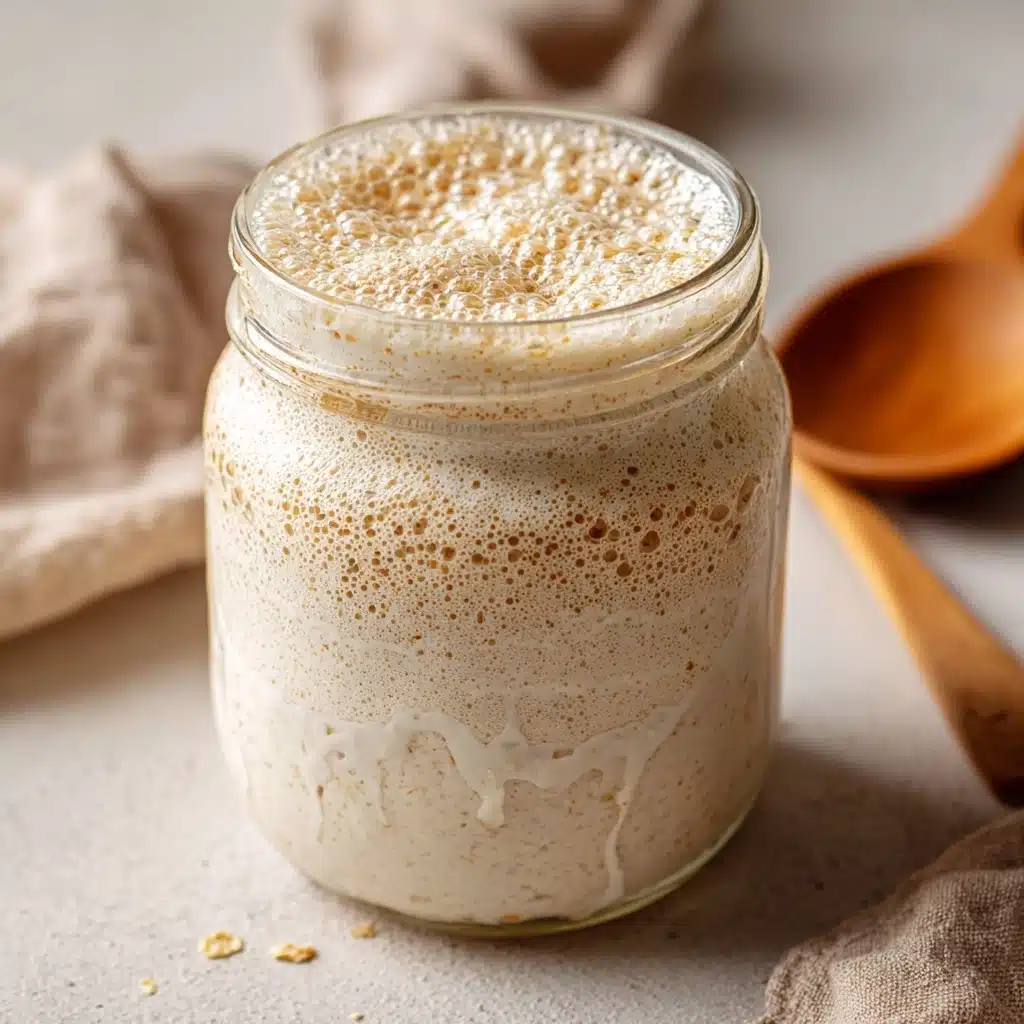
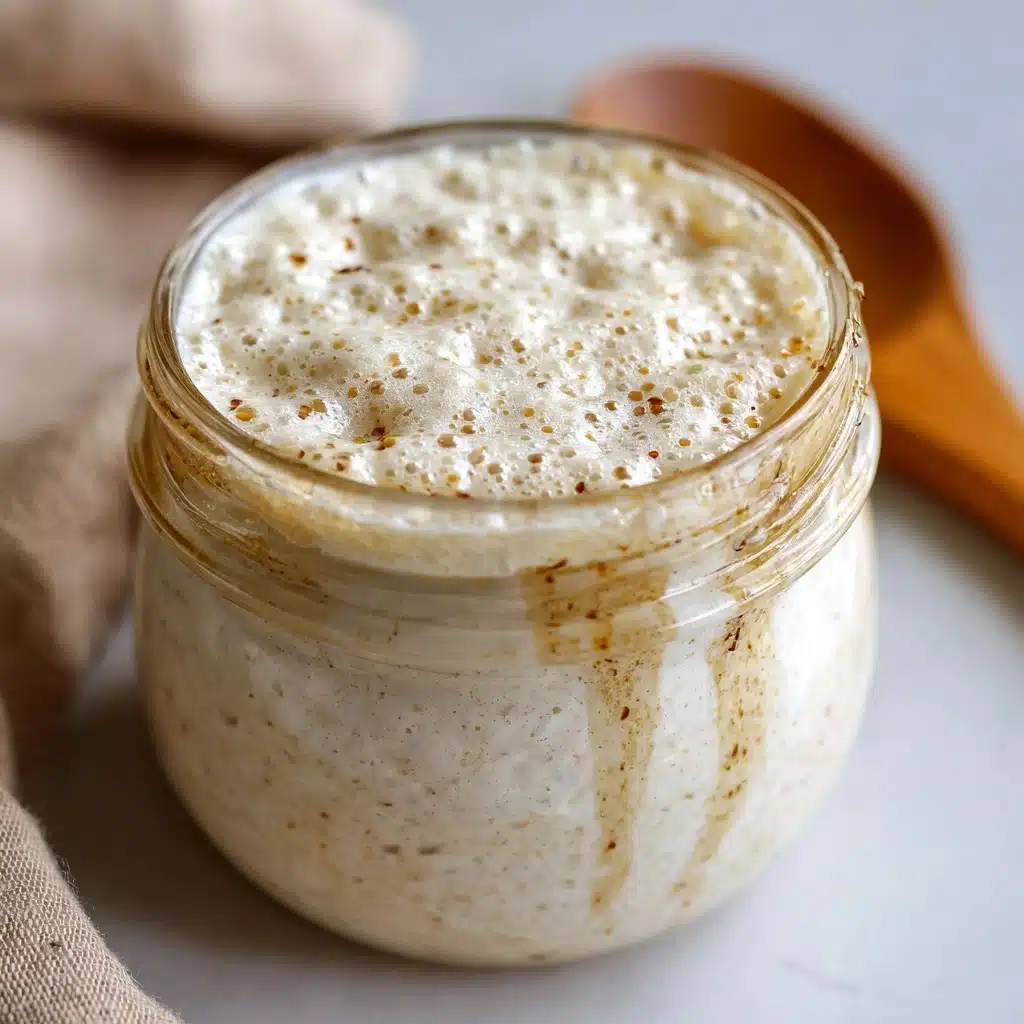
On day 7, your sourdough starter should be lively: look for lots of bubbles, a gentle sour fragrance, and the ability to double in size within 4–6 hours of feeding. This is the moment you’ve been waiting for! If your starter ticks these boxes, it’s ready to power loaves, pancakes, waffles … anything your sourdough-loving heart desires.
How to Serve Sourdough Starter
Garnishes
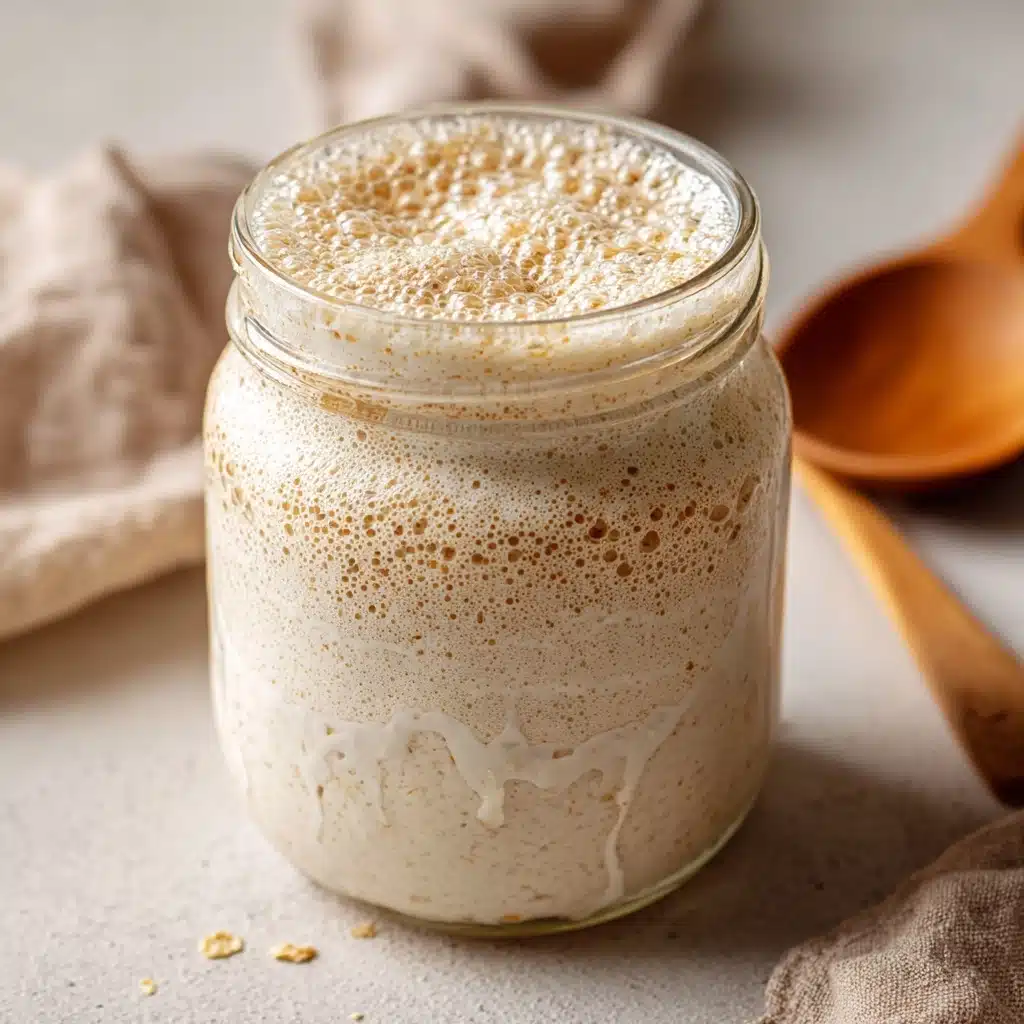
While you wouldn’t eat the sourdough starter by itself, a fresh, active starter is gorgeous in a jar—its bubbly structure and subtle cream color look fantastic on the counter. For a little flair, try sprinkling a pinch of flour on the surface after stirring, or wrap your jar with a bright kitchen towel as a cheerful accent anytime you share your starter with a friend.
Side Dishes
Sourdough starter is the launching point for so many kitchen adventures. Use it to craft rustic sourdough loaves, tangy English muffins, chewy pizza crusts, or classic pancakes. Each of these dishes lets the personality of your starter shine, adding complexity and a whisper of natural fermentation to your meal.
Creative Ways to Present
A beautifully bubbling sourdough starter makes a unique, heartfelt homemade gift. Pour some into a small jar, add a handwritten note with feeding instructions, and wrap with ribbon—a perfect present for fellow bakers. Or, showcase your starter on your countertop, alongside your bake of the week, to spark conversation when guests visit.
Make Ahead and Storage
Storing Leftovers
Once your sourdough starter is active, store it in the refrigerator if you aren’t baking every day. The cold slows fermentation, meaning you’ll only need to refresh (or “feed”) it about once a week. Always use a clean utensil to prevent contamination and keep your starter thriving batch after batch.
Freezing
Did you know you can freeze sourdough starter for long-term storage? Simply spread a thin layer of active starter on parchment paper and let it dry completely. Break the flakes into pieces and tuck into a freezer-safe bag. When you’re ready to bake again, rehydrate with water and resume daily feedings to bring it back to life!
Reheating
While you don’t “reheat” sourdough starter the way you would leftovers, you can wake it up from chilly fridge storage. Bring it to room temperature, give it a good feeding, and let it get bubbly and active again before baking. A hungry starter revives beautifully with a little patience and fresh flour.
FAQs
What if I see pink or orange streaks in my starter?
That’s a clear sign your sourdough starter has been contaminated by unwanted bacteria. Discard it and start fresh—safety first! Healthy starters should only smell pleasantly sour and appear creamy or lightly off-white.
How do I know when my sourdough starter is ready to bake with?
Once your starter doubles in volume within 4 to 6 hours of a feeding, and develops a light, tangy aroma, it’s strong enough for baking. The “float test” is another trick: drop a spoonful in water—if it floats, you’re ready to start baking!
Can I use different types of flour to feed my starter?
Absolutely! Rye, whole wheat, and spelt all add personality and nutrients to your sourdough starter, but unbleached all-purpose flour is the most fuss-free for regular feedings. Feel free to experiment once it’s established.
How do I maintain my starter if I miss a day or two of feeding?
Don’t worry! Just resume regular feedings as soon as you can. If the starter has a layer of liquid on top (called “hooch”), pour it off, then feed as usual. Your sourdough starter is resilient and usually bounces right back.
Why does my starter smell really strong or odd?
A healthy starter should smell pleasantly tangy. Occasionally, especially in the first few days, it might have stronger aromas—think cheese, apples, or even paint. As long as there’s no mold, just keep feeding it; the scent will mellow out as the good bacteria and wild yeasts take hold.
Final Thoughts
There’s no better feeling than nurturing a living sourdough starter and using it to bake your own bread from scratch. Give this process a try and discover the joys of wild fermentation for yourself—it’s easier than you think and incredibly rewarding. Here’s to a happy, bubbly kitchen and many loaves to come!
PrintSourdough Starter Recipe
Learn how to create your own sourdough starter from scratch with just a few simple ingredients and patience. This natural yeast starter will give your homemade bread a delicious flavor and texture.
- Prep Time: 10 minutes per day
- Cook Time: 0 minutes
- Total Time: 7 days
- Yield: 1 sourdough starter (about 1 cup active starter) 1x
- Category: Base Recipe
- Method: Fermentation
- Cuisine: Traditional
- Diet: Vegan
Ingredients
Day 1:
- 1/2 cup whole wheat flour
- 1/2 cup water (filtered or dechlorinated, room temperature)
Day 2:
- 1/2 cup unbleached all-purpose flour
- 1/2 cup water
Days 3–6:
- 1/2 cup all-purpose flour
- 1/2 cup water
Additional:
- Water for feedings
Instructions
- Day 1: In a clean glass jar, mix whole wheat flour and water until no dry flour remains. Cover and let sit for 24 hours.
- Day 2: Discard half of the mixture, add all-purpose flour and water, mix well, and cover.
- Days 3–6: Repeat feeding process every 24 hours.
- Day 7: Starter should double in size within 4–6 hours of feeding.
Notes
- For a stronger starter, feed it twice a day starting around day 4.
- Use non-chlorinated water and clean utensils to avoid contamination.
- Once active, store in the fridge and feed weekly unless using daily.
Nutrition
- Serving Size: 1 tablespoon
- Calories: 25
- Sugar: 0g
- Sodium: 0mg
- Fat: 0g
- Saturated Fat: 0g
- Unsaturated Fat: 0g
- Trans Fat: 0g
- Carbohydrates: 5g
- Fiber: 0g
- Protein: 1g
- Cholesterol: 0mg

