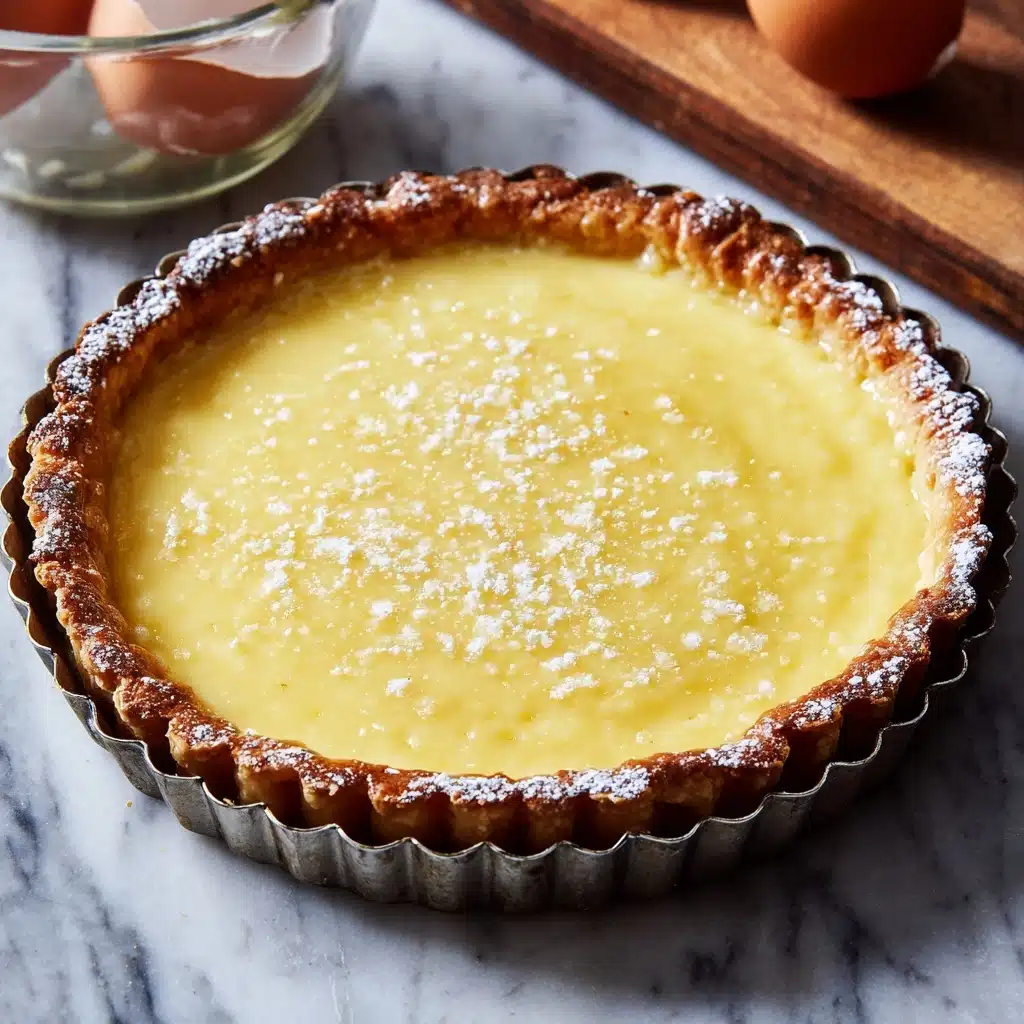
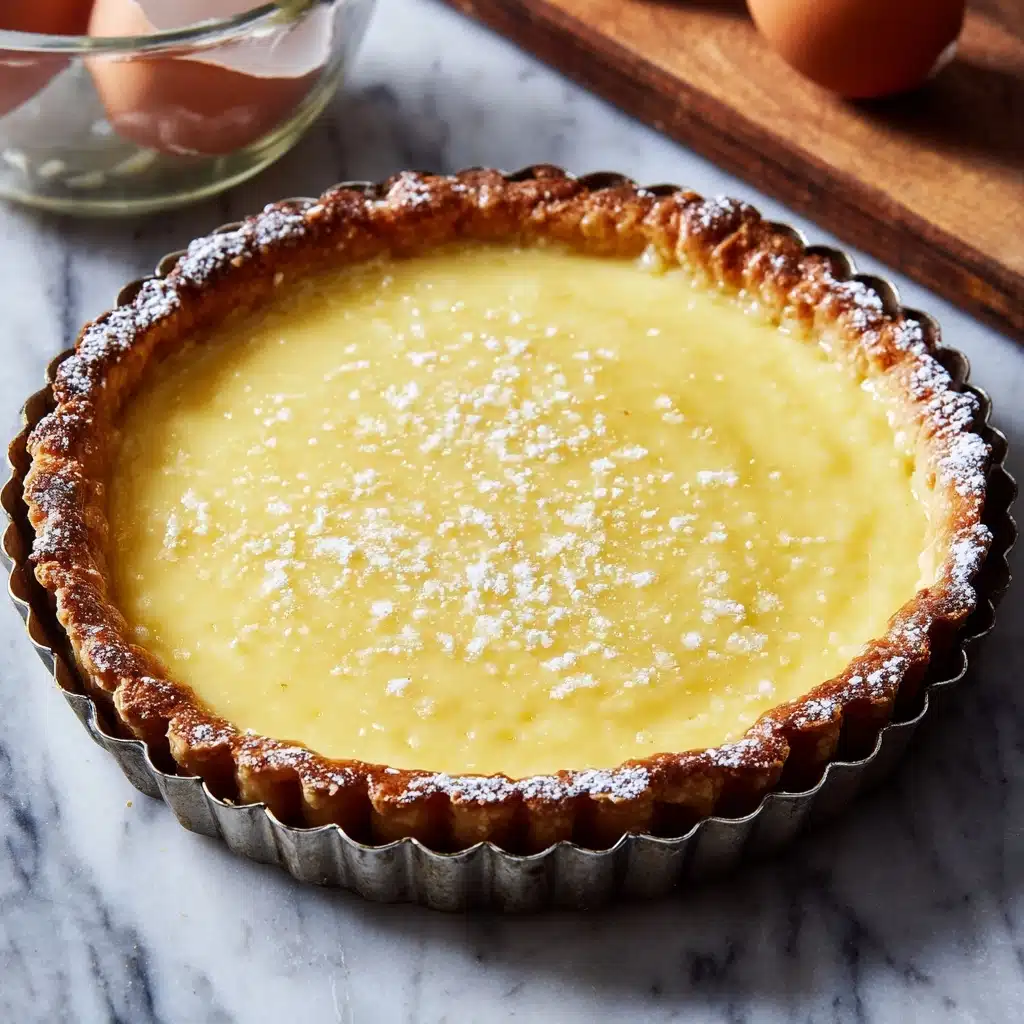
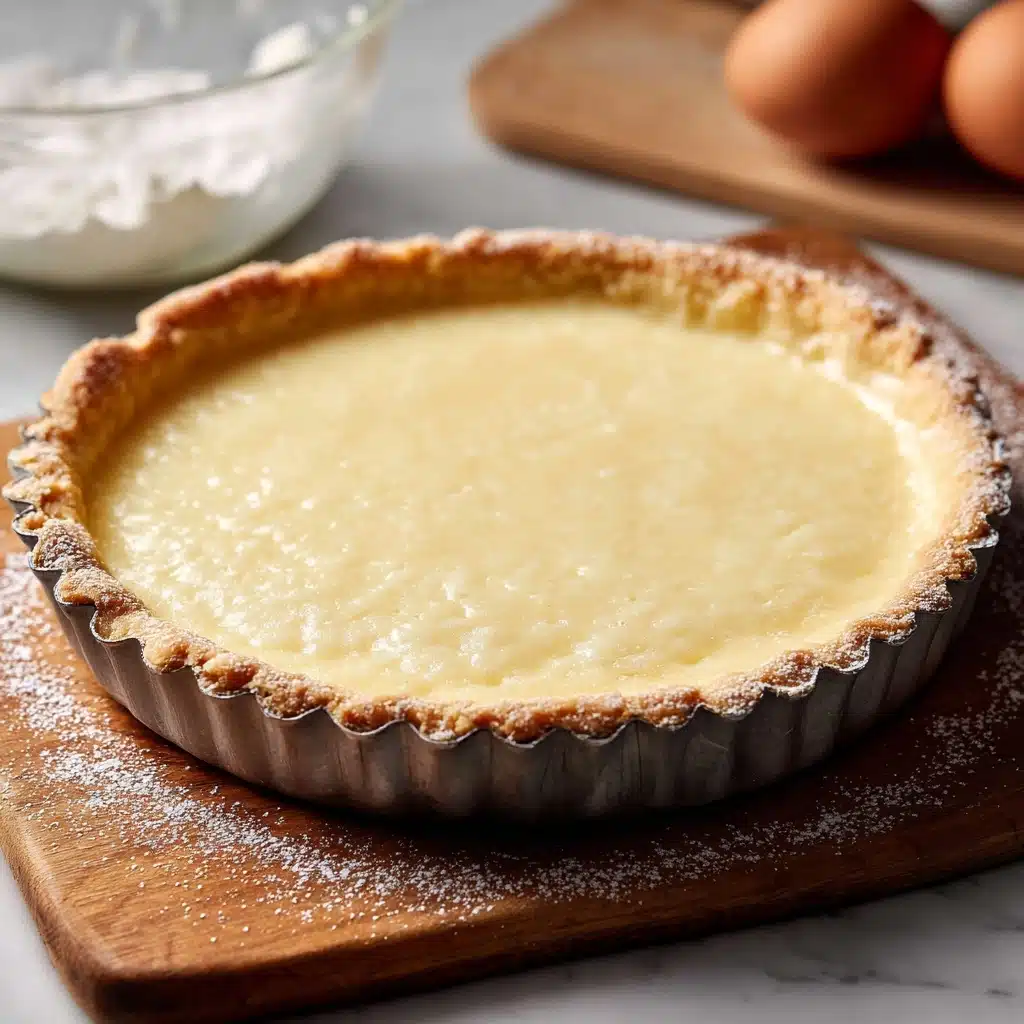
If you’ve ever wanted that flawless foundation for all your fancy tarts (and let’s face it, who hasn’t?), this Sweet Tart Crust is the unsung hero you’ll want in your recipe binder. It’s tender, rich, and sturdy enough to hold creamy lemon curd, silky ganache, or fresh fruit—basically anything your dessert dreams demand. This is my favorite foolproof method, yielding a buttery, melt-in-your-mouth texture every time. Whether you’re baking for a dinner party or just to treat yourself on a Tuesday, making your own Sweet Tart Crust feels like having a secret weapon in the kitchen.
Ingredients You’ll Need
Each ingredient for Sweet Tart Crust is not just a box to check—it plays a starring role in getting that lovely texture and iconic flavor. Let’s see what makes this crust so irresistible and easy to master, even for busy weeknights or ambitious weekend baking projects.
- All-purpose flour (1 ¼ cups): The backbone of your tart shell, giving it that perfect tender-yet-crisp bite we all crave.
- Powdered sugar (½ cup): This creates a subtle sweetness and helps deliver a melt-in-the-mouth finish.
- Salt (¼ teaspoon): Just a pinch wakes up all the flavors and keeps the crust from tasting flat.
- Unsalted butter, cold and cubed (½ cup): Cold butter is the secret for flakiness—don’t be tempted to let it soften!
- Egg yolk (1 large): Adds rich color and helps bind everything together for a sturdy, sliceable crust.
- Ice water (1–2 tablespoons, as needed): A little chill helps everything hold, preventing stickiness and tough dough. Add just enough for the dough to come together.
How to Make Sweet Tart Crust
Step 1: Combine Dry Ingredients
Start by adding the flour, powdered sugar, and salt into your food processor. Give it a few pulses to ensure everything is well mixed—this means your Sweet Tart Crust will bake up evenly flavored throughout, and every bite will taste like you meant it to be special.
Step 2: Cut in the Butter
Toss in the cold, cubed butter and pulse in quick bursts. Don’t overdo it—you want the mixture to look like coarse sand, with some pea-sized bits of butter remaining. This is essential for that signature tender flake of a perfect Sweet Tart Crust. If you’re making a chocolate version, now’s the time to swap in cocoa powder for two tablespoons of flour!
Step 3: Incorporate the Egg Yolk
Add the egg yolk into the food processor and pulse just until everything starts to look hydrated. The yolk brings a beautiful richness and helps create that cohesive structure you need for a sturdy tart shell.
Step 4: Add Ice Water Sparingly
With the machine running, drizzle in the ice water one tablespoon at a time. Pause as soon as the dough begins to clump together. Resist the urge to add extra water; too much will toughen your Sweet Tart Crust. You want just enough to hold the dough—when you pinch it, it should stick together.
Step 5: Knead & Chill the Dough
Turn the shaggy dough onto a lightly floured surface. Gently press and knead it just until it comes together into a disk. Wrap it tightly in plastic wrap and refrigerate for at least 30 minutes. Chilling restarts the butter and relaxes the gluten, ensuring your Sweet Tart Crust bakes up beautifully tender and holds its shape.
Step 6: Shape the Tart Crust
Roll out the chilled dough to fit your tart pan (typically 9-inch with a removable bottom is best). Press it into the pan, making sure to get the corners and edges snug. Trim any excess, then prick the base all over with a fork—this trick prevents puffing and keeps your Sweet Tart Crust flat and even.
Step 7: Chill and Bake
Pop the shaped crust into the fridge for another 15 minutes (don’t skip this step—it helps maintain a crisp bottom). Meanwhile, preheat your oven to 375°F (190°C). For best results, use pie weights or dried beans to blind bake, especially if your filling is very wet. Bake for 18–22 minutes or until the crust turns irresistibly golden and firm. Cool completely before filling with your favorite tart ingredients.
How to Serve Sweet Tart Crust

Garnishes
A Sweet Tart Crust is essentially a blank canvas for your most creative garnishes. Think powdered sugar clouds, glossy fresh fruit, chocolate curls, or even a sprinkle of flaky sea salt—there are no wrong answers here. A simple brush of warmed apricot jam can give your tart shell a gorgeous sheen and a subtle sweetness.
Side Dishes
When serving a dessert built on this crust, pair it with something simple that enhances its flavor without overshadowing. Try a scoop of vanilla bean ice cream or a dollop of crème fraîche alongside a fruit tart. Fresh berries or a drizzle of berry coulis can also make each slice of Sweet Tart Crust extra special, adding a pop of color and tang.
Creative Ways to Present
Change up the look by making mini tartlets with the Sweet Tart Crust for individual servings—perfect for parties or gifting. Love a rustic vibe? Dust tart edges with cocoa powder, or serve slices with edible flowers for an Instagram-worthy dessert plate. For a holiday twist, add citrus zest to the dough or swap the tart shell into unique shaped pans—let your imagination lead the way!
Make Ahead and Storage
Storing Leftovers
Once baked and cooled, your Sweet Tart Crust will keep its delightful texture in an airtight container at room temperature for up to two days. If you’ve added a wet filling already, store the filled tart covered in the fridge for up to three days—just know the crust may soften a bit over time.
Freezing
Sweet Tart Crust shines as a make-ahead wonder. Wrap the unbaked dough disk tightly in plastic and foil, then freeze for up to two months. You can also freeze a fully baked and cooled crust, well-wrapped, for up to three months. Thaw either in the fridge before rolling or filling.
Reheating
If you’d like to crisp up your Sweet Tart Crust after thawing or storing, simply pop it in a 300°F (150°C) oven for 5–10 minutes. It refreshes the flavors and texture, making day-old crust taste bakery-fresh again.
FAQs
Do I need a food processor to make Sweet Tart Crust?
No food processor? No problem! You can use a pastry blender or even your hands to cut the butter into the flour mixture. Just work quickly to keep the butter cold and achieve that same crumbly, delicious texture.
Can I substitute whole wheat flour for all-purpose?
Whole wheat flour adds a nutty flavor, but it will make the Sweet Tart Crust a bit denser. If you’d like to experiment, try replacing just a third of the all-purpose flour with whole wheat for a healthier twist that still keeps things light.
Why does my crust shrink during baking?
Shrinking usually means the dough wasn’t chilled enough or was overworked. Always be gentle when kneading and be sure to chill both before and after shaping the tart shell. This helps the gluten relax and reduces shrinkage in the oven.
Can I add flavors, like citrus zest or spices?
Absolutely! The Sweet Tart Crust is a blank canvas, so throw in some lemon or orange zest, a pinch of cinnamon, or even a bit of almond extract for flavor variations. Just add them along with the dry ingredients.
Do I have to blind bake if I’m filling with something baked, like frangipane?
If your filling will be baked inside the tart, you can skip the full blind bake, but do par-bake the crust for 8–10 minutes first. This keeps the bottom crisp and prevents sogginess, especially for custard or fruit fillings.
Final Thoughts
There’s something magical about filling your kitchen with the aroma of a buttery Sweet Tart Crust baking to golden perfection. Once you try this recipe, you’ll never look at store-bought crusts the same way again. Give it a go and let yourself experiment—with every new tart, you’ll find even more reasons to love this simple, versatile classic!
PrintSweet Tart Crust Recipe
Learn how to make a delicious Sweet Tart Crust that serves as the perfect base for any tart or pie. This buttery, shortcrust pastry is easy to prepare and results in a tender, flavorful crust that complements a variety of fillings.
- Prep Time: 15 minutes
- Cook Time: 20 minutes
- Total Time: 1 hour 5 minutes (including chilling)
- Yield: 1 tart crust (9-inch) 1x
- Category: Dessert
- Method: Baking
- Cuisine: French
- Diet: Vegetarian
Ingredients
Dough:
- 1 1/4 cups all-purpose flour
- 1/2 cup powdered sugar
- 1/4 teaspoon salt
- 1/2 cup unsalted butter (cold and cubed)
- 1 large egg yolk
- 1–2 tablespoons ice water (as needed)
Instructions
- Mix Dry Ingredients: In a food processor, pulse together the flour, powdered sugar, and salt.
- Add Butter: Add the cold, cubed butter and pulse until the mixture resembles coarse crumbs.
- Combine Wet Ingredients: Add the egg yolk and pulse until incorporated. Add ice water, one tablespoon at a time, pulsing just until the dough starts to come together.
- Shape and Chill: Turn the dough out onto a lightly floured surface and knead gently into a disk. Wrap in plastic wrap and refrigerate for at least 30 minutes.
- Prepare Crust: Roll out the chilled dough and press into a tart pan with a removable bottom. Trim any excess and prick the bottom with a fork. Chill the shaped crust for 15 minutes before baking.
- Bake: Preheat the oven to 375°F (190°C). Bake for 18–22 minutes or until lightly golden. Let cool completely before filling.
Notes
- For a chocolate version, substitute 2 tablespoons of flour with cocoa powder.
- Blind baking with pie weights helps prevent puffing if using a wet filling.
Nutrition
- Serving Size: 1 slice (1/8 of crust)
- Calories: 180
- Sugar: 5g
- Sodium: 80mg
- Fat: 11g
- Saturated Fat: 7g
- Unsaturated Fat: 4g
- Trans Fat: 0g
- Carbohydrates: 18g
- Fiber: 0g
- Protein: 2g
- Cholesterol: 45mg


