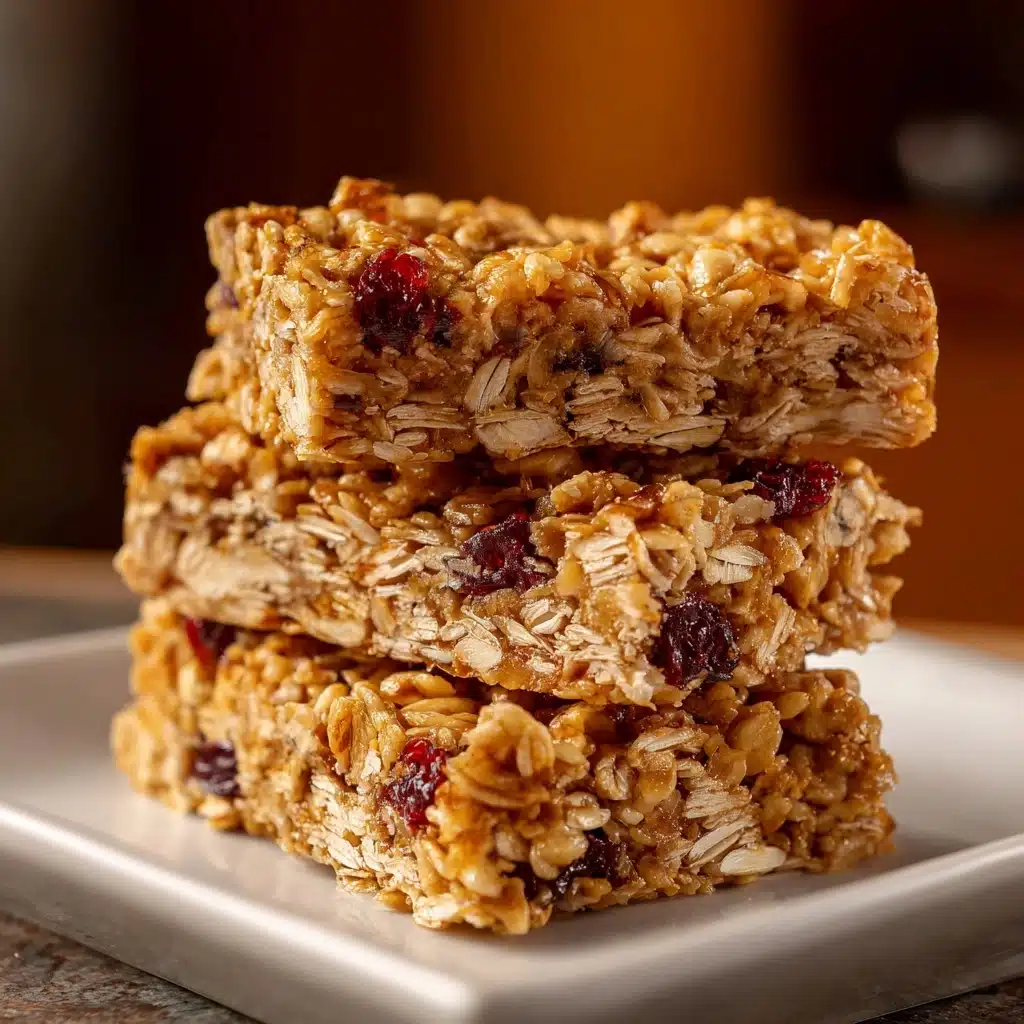
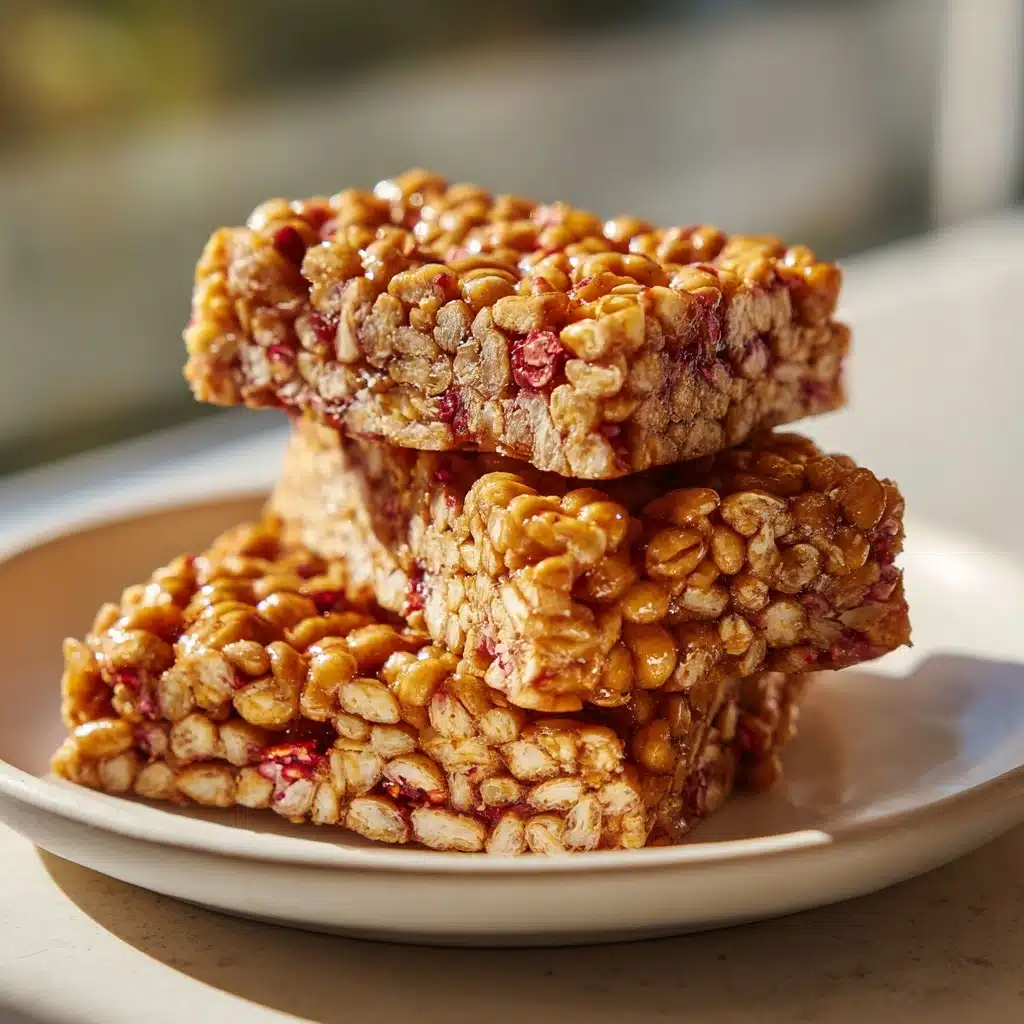
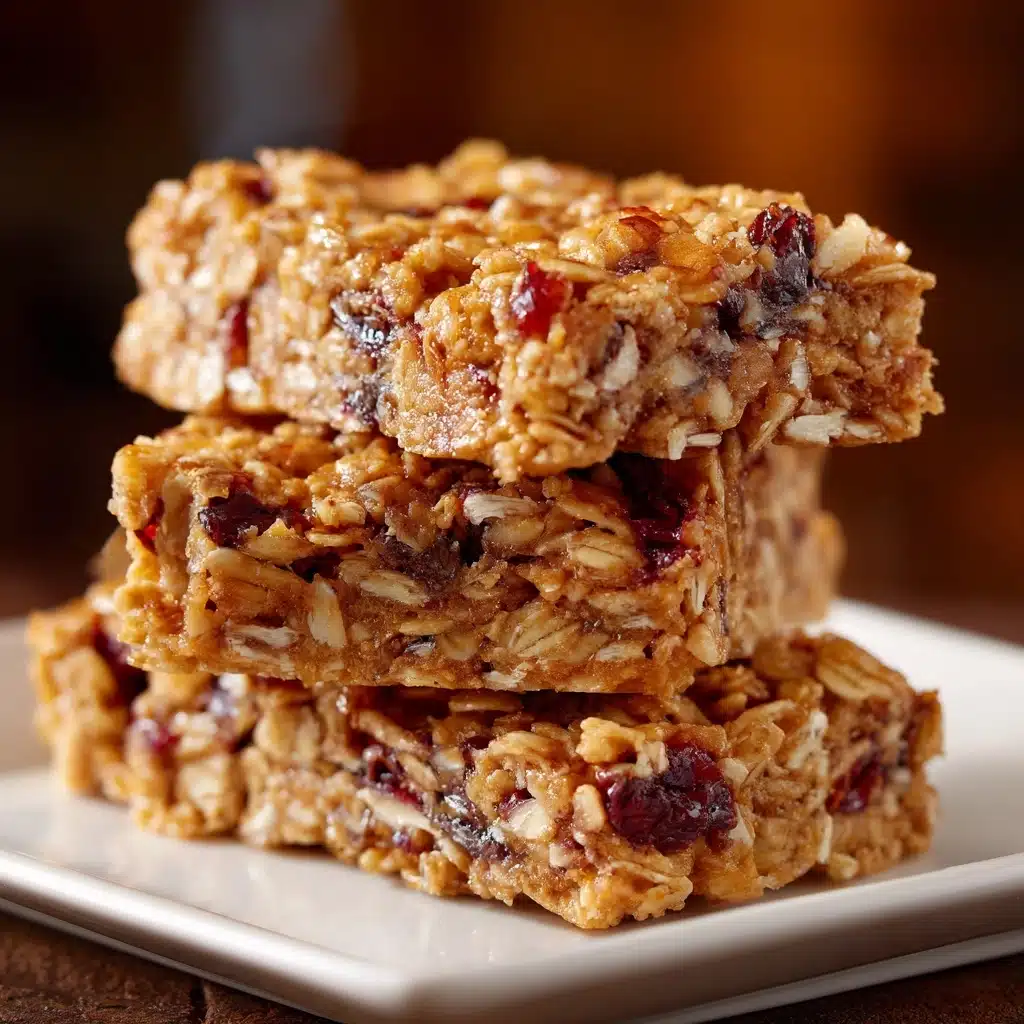
If ever there was a snack worthy of your weekly rotation, it’s these Cereal Bars. Imagine irresistibly chewy, sweet layers held together by creamy peanut butter and honey, with the perfect pops of crispy cereal and melty chocolate chips (if you dare). They’re quick to throw together, endlessly customizable, and just as good for grown-ups as they are for hungry kids. Whether you need fuel for a busy morning, a lunchbox hero, or a little after-dinner treat, these beloved bars have you covered!
Ingredients You’ll Need
Let’s talk ingredients! You only need a handful of pantry staples, and each one brings something to the party—be it crunchy texture, rich sweetness, or a silky finish. Here’s exactly what you’ll need to make your new favorite Cereal Bars:
- Crispy Rice Cereal (4 cups): The basic building block that gives your bars their airy, crisp texture—feel free to swap in any fun cereal you love!
- Honey or Maple Syrup (1/2 cup): Sweetens and helps everything stick together, plus adds a gorgeous amber color.
- Creamy Peanut Butter (1/2 cup): Lends a rich, nutty taste and keeps the bars wonderfully chewy.
- Brown Sugar (1/4 cup): Deepens the sweetness and helps achieve that perfect sticky finish that binds everything.
- Vanilla Extract (1 teaspoon): Adds a warm, cozy aroma that makes these bars irresistible.
- Pinch of Salt: Brings all the flavors into perfect harmony and enhances every bite.
- Mini Chocolate Chips or Dried Fruit (1/2 cup, optional): Stir in for extra sweetness, color, or chewy texture—customize to your heart’s content!
How to Make Cereal Bars
Step 1: Prep Your Pan
Line an 8×8-inch or 9×9-inch baking dish with parchment paper, making sure there’s overhang for easy removal. This will keep your bars from sticking to the pan and make cleanup a breeze. Don’t skip this step or you might be chiseling bars out of your dish later!
Step 2: Melt the Sticky Mixture
In a medium saucepan over medium heat, add the honey (or maple syrup), creamy peanut butter, and brown sugar. Stir constantly and watch how everything gently melts and comes together, forming a smooth, glossy mixture—this usually takes 3 to 4 minutes. Be careful not to overcook, as this can make the bars too hard.
Step 3: Add the Good Stuff
Remove the pan from the heat and immediately stir in the vanilla extract and a pinch of salt. These additions will dial up the flavor and balance the sweetness.
Step 4: Coat the Cereal
Pour your warm, sweet peanut butter mixture over the crispy rice cereal in a large mixing bowl. Work quickly to gently combine them, making sure every little piece of cereal is coated evenly—use a sturdy spatula and a light hand so the cereal stays crisp, not crushed.
Step 5: Stir in Chocolate Chips or Dried Fruit
Let the mixture cool for a couple of minutes, then sprinkle in the mini chocolate chips or dried fruit if using. Waiting helps prevent the chocolate from melting all the way, so you get those perfectly dotted bars.
Step 6: Press and Chill
Scrape the mixture into your lined pan and press down firmly with your spatula or the back of a measuring cup. Pack it well for best shape! Pop the pan into the refrigerator for at least 1 hour so everything sets up nice and firm.
Step 7: Slice and Enjoy
Once the mixture is cool and set, lift the parchment to remove from the pan. Use a sharp knife to cut into bars or squares. Now they’re ready to serve, snack, or share!
How to Serve Cereal Bars

Garnishes
While these Cereal Bars are fabulous on their own, a light sprinkle of flaky sea salt, a drizzle of melted chocolate, or an extra dusting of colorful sprinkles can give them an extra touch of fun or elegance depending on the occasion. Add garnishes just after pressing them in the pan for best adherence.
Side Dishes
Serve your Cereal Bars with fresh fruit, a cold glass of milk, or tangy yogurt to round out snack time. They play especially well with other grab-and-go treats at parties or on a snack board for family movie night.
Creative Ways to Present
For parties or gifting, wrap individual bars in parchment and tie with twine for a cute, rustic look. Or, cut the bars into fun shapes with cookie cutters for birthdays or seasonal celebrations—imagine heart-shaped cereal bars for Valentine’s Day or stars for the Fourth of July!
Make Ahead and Storage
Storing Leftovers
Keep your Cereal Bars in an airtight container at room temperature for up to 5 days. Layer parchment between bars to prevent sticking and maintain that perfect chewy texture. They’re just as good (if not better!) the next day.
Freezing
Yes, these bars freeze beautifully! Wrap each bar tightly in plastic wrap and store in a zip-top freezer bag. They’ll last up to 2 months this way. Thaw at room temperature for about 20 minutes before enjoying.
Reheating
For a gooier treat, you can set a Cereal Bar in the microwave for 8 to 10 seconds—just enough to bring out the melty magic if you used chocolate chips. Otherwise, they’re perfect cold or at room temp.
FAQs
Can I use a different type Snack
Absolutely! While crispy rice cereal is classic, try cornflakes, oat squares, or even a “healthy” cereal blend for a different flavor and crunch. Just make sure the pieces are bite-sized for easy mixing and eating.
Are these Cereal Bars gluten-free?
They can be! Just check that your chosen cereal is certified gluten-free. All the other ingredients are naturally gluten-free, so these bars are an easy, allergy-friendly choice.
Do I have to use peanut butter?
Nope! Almond butter, sunflower seed butter, or cashew butter all work well in place of peanut butter. This makes the bars safe for school or those with peanut allergies, and lets you play with different flavors.
Can I reduce the sugar in the recipe?
You can decrease the brown sugar a bit if you like things less sweet, or use pure maple syrup for a more natural touch. Just keep in mind, the sugar helps bind the bars, so too little may affect their structure.
Do Cereal Bars travel well for lunchboxes or trips?
Yes! In fact, they’re made for it. Wrap bars individually for quick grab-and-go energy, and they’ll stay chewy and fresh even after a day in a backpack or picnic basket.
Final Thoughts
Whether you’re meal-prepping or just looking for a fun kitchen project to do with kids, these Cereal Bars are a total crowd-pleaser. Give them a try and see how quickly they disappear—you might just discover a new household favorite!
PrintCereal Bars Recipe
These homemade Cereal Bars are a delightful no-bake treat that combines crispy rice cereal, creamy peanut butter, and sweet honey, with the option to add chocolate chips for extra indulgence. Perfect for a quick snack or as a lunchbox addition, these bars are simple to make and loved by both kids and adults alike.
- Prep Time: 10 minutes
- Cook Time: 5 minutes
- Total Time: 15 minutes (plus chilling)
- Yield: 12 bars 1x
- Category: Snack
- Method: No-Bake
- Cuisine: American
- Diet: Vegetarian
Ingredients
Main Ingredients:
- 4 cups crispy rice cereal
- 1/2 cup honey or maple syrup
- 1/2 cup creamy peanut butter
- 1/4 cup brown sugar
- 1 teaspoon vanilla extract
- pinch of salt
Optional Add-In:
- 1/2 cup mini chocolate chips or dried fruit
Instructions
- Prepare the Base: Line a baking dish with parchment paper. Heat honey, peanut butter, and brown sugar in a saucepan until smooth.
- Mix the Ingredients: Stir in vanilla and salt. Combine mixture with cereal in a bowl.
- Add Extras: Fold in chocolate chips or dried fruit, if desired.
- Set the Bars: Press mixture into the dish, chill in the fridge, then cut into bars.
Notes
- Experiment with different cereals and add-ins for variety.
- Consider incorporating nuts or seeds for added crunch and nutrition.
Nutrition
- Serving Size: 1 bar
- Calories: 180
- Sugar: 11g
- Sodium: 70mg
- Fat: 9g
- Saturated Fat: 2g
- Unsaturated Fat: 6g
- Trans Fat: 0g
- Carbohydrates: 23g
- Fiber: 1g
- Protein: 4g
- Cholesterol: 0mg


