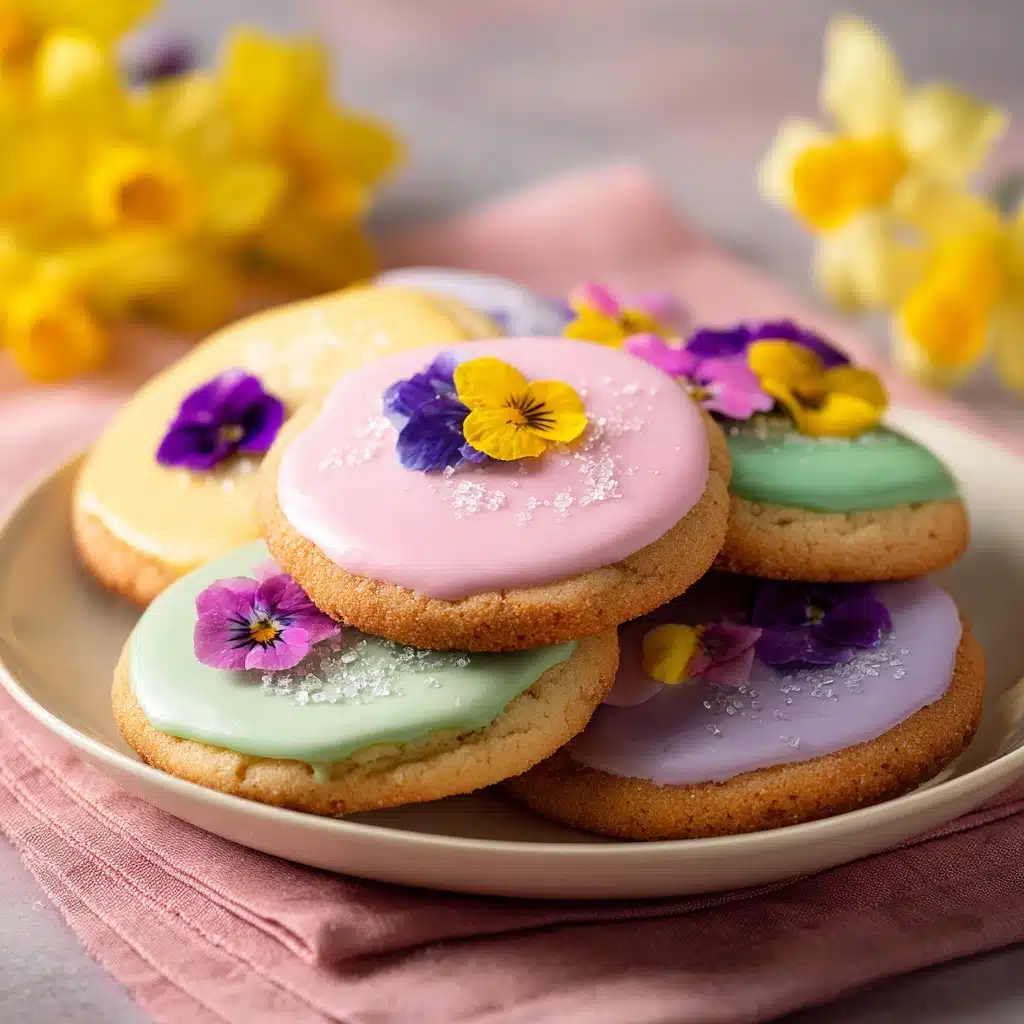
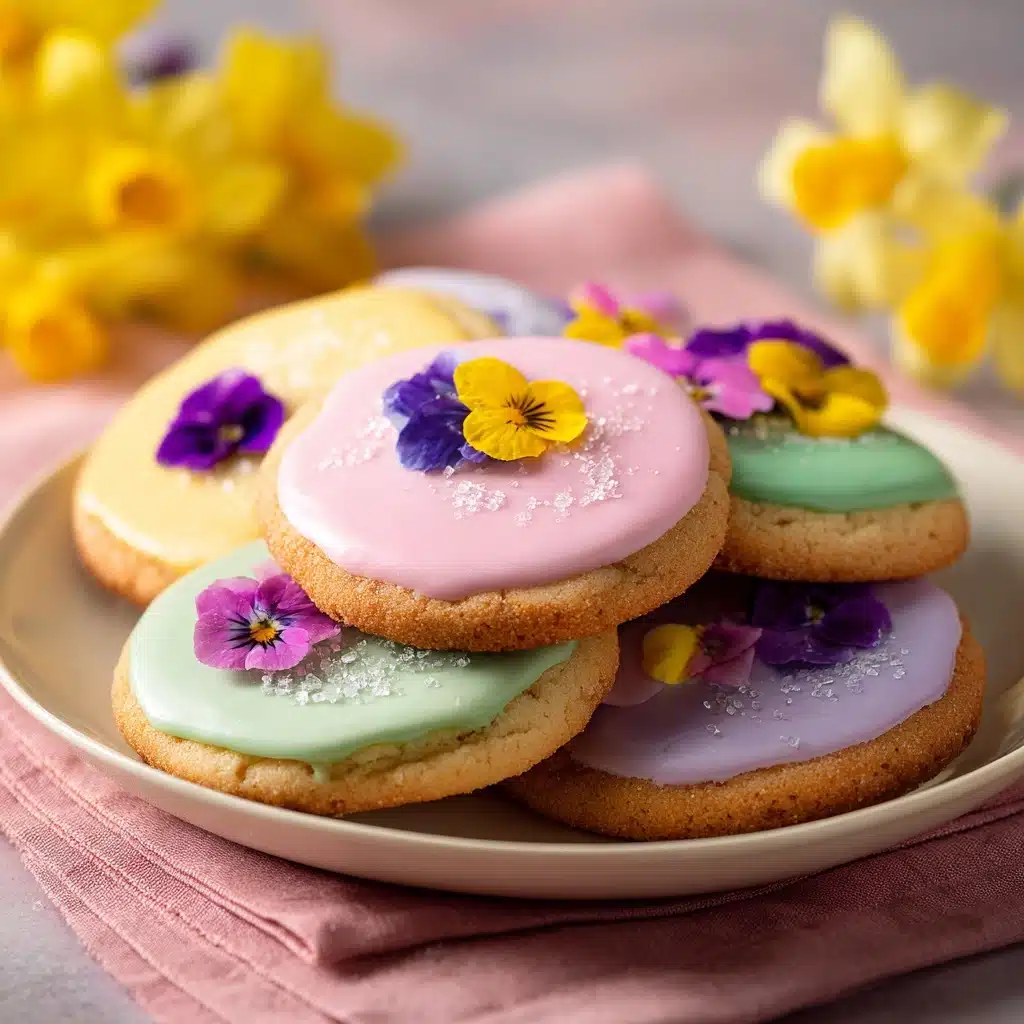
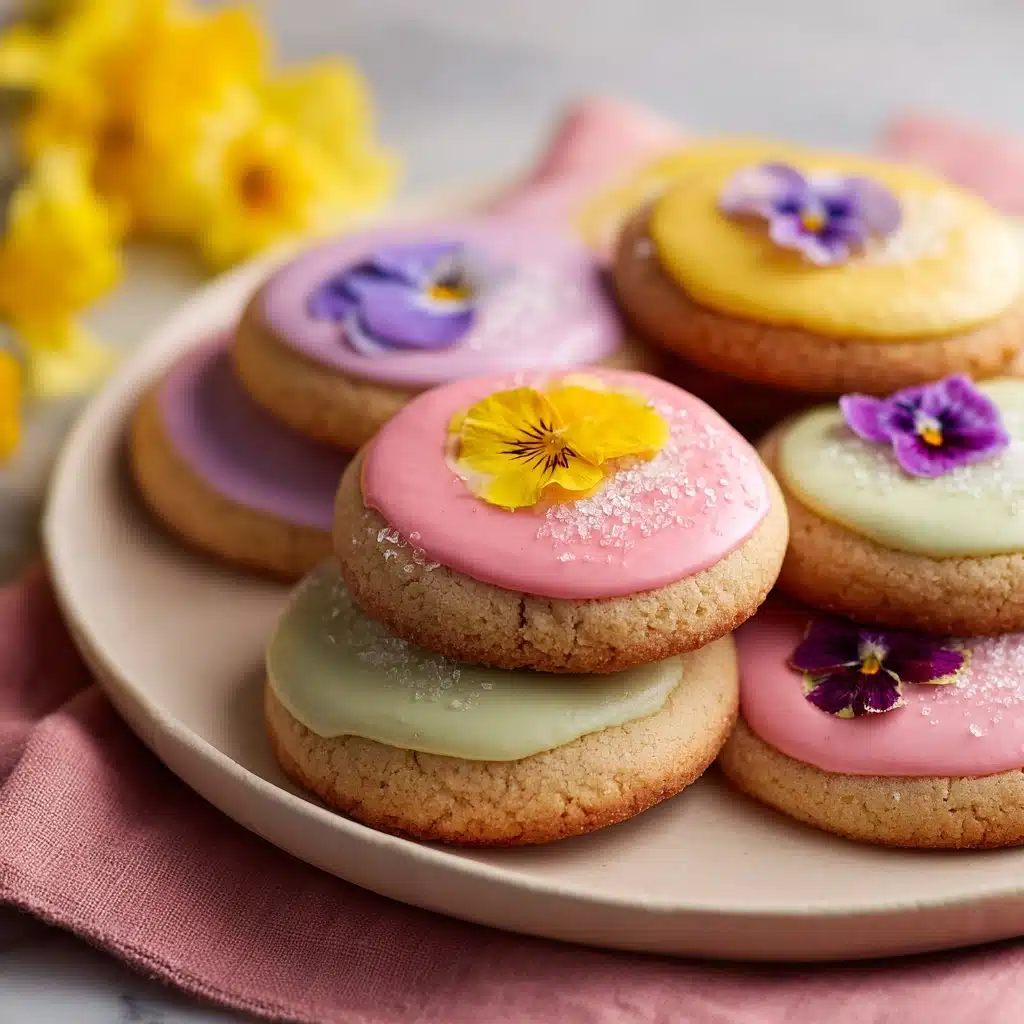
Spring Blossom Cookies are the sweet, colorful treat that turns any day into a celebration. Imagine soft, buttery cookies rolled in glittering pastel sanding sugar and topped with a melty chocolate kiss—all ready in just about half an hour. These cookies are an irresistible blend of whimsy and nostalgia, perfect for brightening up spring holidays, baby showers, or simply sharing with friends over coffee. With charming hues and classic flavors, Spring Blossom Cookies will steal the show at any gathering.
Ingredients You’ll Need
You’ll be surprised by how just a handful of pantry staples can create cookies this festive and delicious. Each ingredient has an important role, making every bite a burst of flavor, texture, and cheerful color. Here’s exactly what you need for perfect Spring Blossom Cookies every single time!
- Unsalted butter, softened (1/2 cup): The base of our cookie, giving a buttery richness and tender texture.
- Granulated sugar (1/2 cup): Brings sweetness and helps create that soft, chewy center.
- Light brown sugar, packed (1/2 cup): Adds depth of flavor and a hint of caramel warmth.
- Large egg (1): Binds everything together and gives the cookies their classic structure.
- Vanilla extract (1 teaspoon): Rounds out the flavors and adds a comforting aroma.
- All-purpose flour (1 3/4 cups): The backbone of the cookies, giving them shape and just the right crumb.
- Baking soda (1/2 teaspoon): Helps the cookies rise just enough and keeps them soft.
- Baking powder (1/2 teaspoon): Adds extra lift for a fluffier cookie.
- Salt (1/4 teaspoon): Balances the sweetness and enhances every flavor note.
- Pastel-colored sanding sugar (for rolling): The secret to that irresistible sparkle and a pop of cheerful color.
- Chocolate kisses or spring-colored chocolate drops (36, unwrapped): The crowning touch—a melty, chocolatey center that makes these cookies unforgettable.
How to Make Spring Blossom Cookies
Step 1: Prep the Oven and Baking Sheets
Start by preheating your oven to 350°F (175°C). Line two baking sheets with parchment paper—this prevents sticking and guarantees easy cleanup later. Having everything set up means you can move quickly when the dough comes together, ensuring your Spring Blossom Cookies bake up perfectly!
Step 2: Cream the Butter and Sugars
In a large bowl, use a hand or stand mixer to cream together the softened butter, granulated sugar, and brown sugar. Beat until the mixture is light, fluffy, and pale in color—about 2-3 minutes. This step is key to building the airy, tender texture we all love in these cookies.
Step 3: Add the Egg and Vanilla
Crack in the egg and pour in the vanilla extract. Beat again just until smoothly combined. The mixture should be glossy and slightly thick. This step layers in flavor and helps emulsify the fats for cookies that stay moist and soft.
Step 4: Mix the Dry Ingredients Separately
In a separate bowl, whisk together the all-purpose flour, baking soda, baking powder, and salt. Whisking not only combines them evenly, but it also helps break up any lumps, ensuring your Spring Blossom Cookies bake up with a delicate crumb.
Step 5: Combine Wet and Dry Ingredients
Gradually add the dry ingredients into the wet mixture, mixing just until everything is incorporated. Avoid over-mixing, which can make your cookies tough. You want a soft dough that holds together and is easy to roll.
Step 6: Shape and Roll in Sugar
Scoop out tablespoons of dough and roll into 1-inch balls with your hands. Next, roll each ball in pastel-colored sanding sugar for that gorgeous jewel-like finish. Place the coated dough balls on your prepared baking sheets, leaving about 2 inches between each for spreading.
Step 7: Bake to Perfection
Bake your Spring Blossom Cookies for 8–10 minutes. They should be set at the edges but still slightly puffy and soft in the center. Keep a close eye—overbaking takes away from their signature tender bite!
Step 8: Top with Chocolate and Cool
As soon as the cookies come out of the oven, gently press a chocolate kiss or spring-colored chocolate drop into the center of each. Let them cool on the baking sheet for 5 minutes before transferring to a wire rack to cool completely. The chocolate will melt slightly, holding its shape and giving each cookie that show-stopping look.
How to Serve Spring Blossom Cookies

Garnishes
For a truly special touch, consider sprinkling your Spring Blossom Cookies with a little extra pastel sanding sugar right after pressing in the chocolate. A dusting of edible glitter or even tiny flower-shaped sprinkles can make them look straight from a bakery window.
Side Dishes
Pair your cookies with a cool glass of milk, a cup of fragrant herbal tea, or a creamy latte for an afternoon pick-me-up. For spring brunches, serve alongside fresh berries or a lemony fruit salad to echo the brightness of the season.
Creative Ways to Present
Arrange Spring Blossom Cookies on a tiered cake stand for a festive centerpiece, or bundle them in clear cellophane bags tied with pastel ribbon as cheerful favors. They also make a delightful addition to a spring dessert board filled with macarons, candied nuts, and dipped strawberries.
Make Ahead and Storage
Storing Leftovers
Store any leftover Spring Blossom Cookies in an airtight container at room temperature, where they’ll stay soft and fresh for up to 4 days. Stack with parchment between layers to keep them looking their best and prevent the chocolates from smudging.
Freezing
These cookies freeze like a dream! Place completely cooled Spring Blossom Cookies in a single layer on a baking sheet to freeze until firm, then transfer to a freezer-safe bag or container. They’ll keep for up to 2 months. Just let them come to room temperature before serving.
Reheating
To revive that just-baked softness, warm cookies in a 300°F oven for 3-4 minutes, or a quick 10-second zap in the microwave. The edges will crisp up slightly and the chocolate returns to its melty glory.
FAQs
Can I make the dough ahead of time?
Absolutely! You can prepare the cookie dough up to 2 days in advance. Simply store it tightly wrapped in the fridge. Let it soften at room temperature for 15-20 minutes before rolling and baking Spring Blossom Cookies.
What other types of chocolate can I use?
Feel free to experiment! Spring Blossom Cookies are just as delicious with white chocolate kisses, caramel-filled chocolates, or pastel M&M’s pressed into the center. Pick a chocolate that complements your color scheme or favorite flavors.
Do I have to use pastel sanding sugar?
While the pastel sanding sugar truly brings out the “blossom” vibe, you can substitute regular colored sugar or even finely crushed freeze-dried berries for a natural tint. The cookies will still look festive and taste amazing.
How do I keep the chocolate from melting too much on hot days?
If you’re baking Spring Blossom Cookies when it’s warm, chill your baking sheets for 10 minutes before adding the kisses. It helps the chocolate hold its shape. You can also pop the cookies, post-chocolate, into the fridge for a few minutes to set faster.
Are Spring Blossom Cookies suitable for gifting?
Definitely! Their colors and neat size make them the perfect gift for spring celebrations or as a sweet gesture for friends and neighbors. Layer the cookies in a decorative tin with parchment between layers for a stunning (and delicious) presentation.
Final Thoughts
These Spring Blossom Cookies are pure happiness in every bite—soft, sparkly, and irresistibly topped with chocolate. They’re the kind of treat that always earns requests for the recipe, so be ready to share! Give them a try and bring a burst of color and cheer into your kitchen this season.
PrintSpring Blossom Cookies Recipe
These delightful Spring Blossom Cookies are perfect for Easter or any springtime celebration. Soft and buttery sugar cookies are rolled in colorful sanding sugar and topped with a chocolate kiss, creating a beautiful and delicious treat.
- Prep Time: 15 minutes
- Cook Time: 10 minutes
- Total Time: 25 minutes
- Yield: 36 cookies 1x
- Category: Dessert
- Method: Baking
- Cuisine: American
- Diet: Vegetarian
Ingredients
Cookie Dough:
- 1/2 cup unsalted butter, softened
- 1/2 cup granulated sugar
- 1/2 cup light brown sugar, packed
- 1 large egg
- 1 teaspoon vanilla extract
- 1 3/4 cups all-purpose flour
- 1/2 teaspoon baking soda
- 1/2 teaspoon baking powder
- 1/4 teaspoon salt
Decoration:
- Pastel-colored sanding sugar (for rolling)
- 36 chocolate kisses or spring-colored chocolate drops (unwrapped)
Instructions
- Preheat the oven: Preheat the oven to 350°F (175°C) and line two baking sheets with parchment paper.
- Prepare the cookie dough: In a large bowl, cream butter, granulated sugar, and brown sugar until light and fluffy. Add the egg and vanilla extract, mix well. In a separate bowl, whisk flour, baking soda, baking powder, and salt. Gradually add dry ingredients to wet mixture, mix until combined.
- Shape and bake: Roll dough into 1-inch balls, coat each ball in sanding sugar, place on baking sheets. Bake for 8–10 minutes until edges are set and centers are puffy.
- Add chocolate kisses: Remove from oven, press a chocolate kiss into the center of each cookie. Cool on the pan for 5 minutes, then transfer to a wire rack to cool completely.
Notes
- Use different sanding sugar colors for various occasions.
- Unwrap chocolate kisses ahead of time for easier assembly.
Nutrition
- Serving Size: 1 cookie
- Calories: 120
- Sugar: 10g
- Sodium: 65mg
- Fat: 6g
- Saturated Fat: 3.5g
- Unsaturated Fat: 2g
- Trans Fat: 0g
- Carbohydrates: 14g
- Fiber: 0g
- Protein: 1g
- Cholesterol: 15mg


