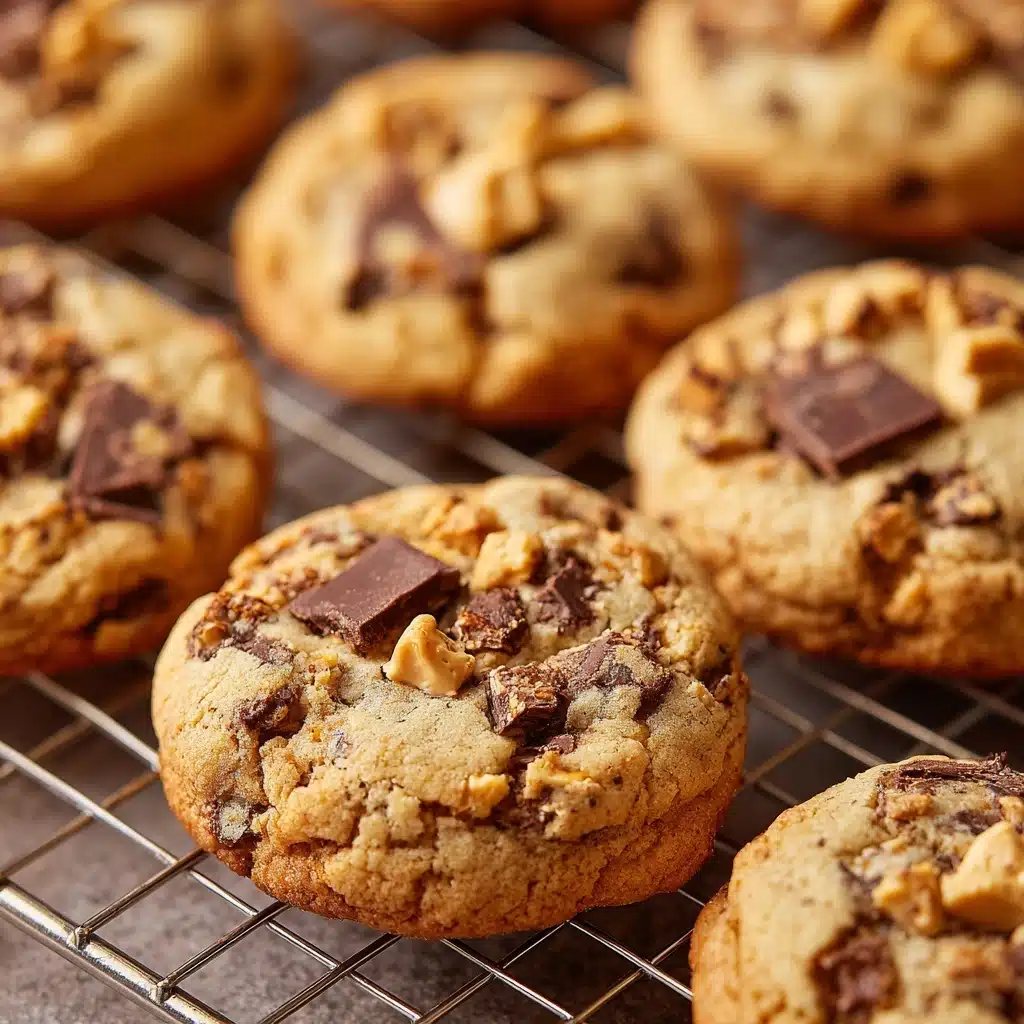
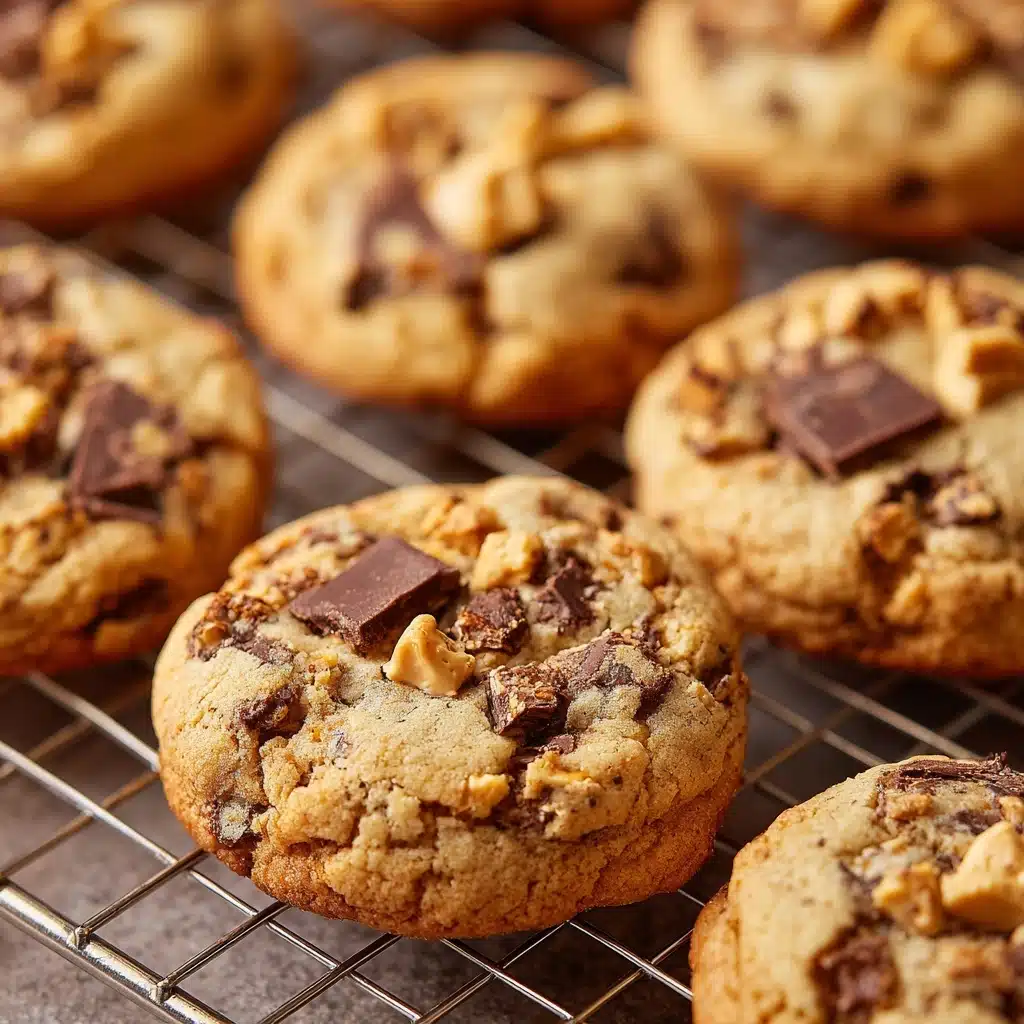
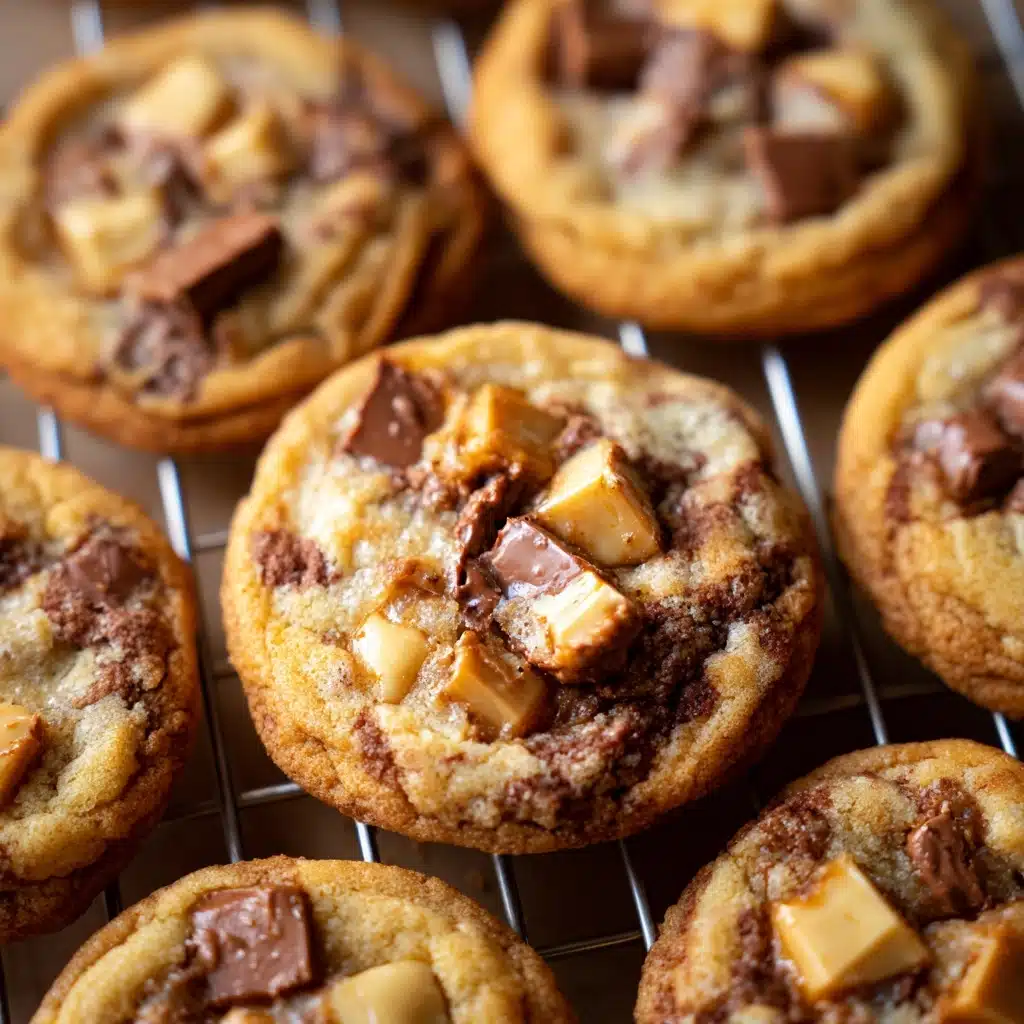
Imagine sinking your teeth into a cookie that’s chewy, peanut buttery, and then—surprise!—bursting with those crunchy, caramelized Butterfinger bits in every single bite. That’s exactly what you get with Peanut Butter Butterfinger Cookies, the perfect treat for anyone who adores classic cookies with a candy-laden twist. Sweet, salty, and loaded with nostalgic candy bar crunch, these cookies never last long in my kitchen. Let me show you how easy it is to make this crowd-pleasing dessert that marries the richness of peanut butter cookies with the joy of Butterfinger in every munch.
Ingredients You’ll Need
The best part about Peanut Butter Butterfinger Cookies is how simple the ingredient list is, yet every item truly makes a difference! From the creamy peanut butter for that unforgettable base, to chopped Butterfinger bars for pure excitement, these familiar staples create magic together.
- Creamy peanut butter: Provides a rich, nutty depth and chewy texture that no cookie lover can resist.
- Unsalted butter (softened): Lends a luscious, melt-in-your-mouth base; using unsalted allows you to control the saltiness perfectly.
- Granulated sugar: Adds classic sweetness and a tiny hint of crispness around the edges.
- Brown sugar (packed): Helps achieve that signature chewy bite and deepens the flavor with molasses undertones.
- Large egg: Binds everything together and creates a tender, puffy cookie.
- Vanilla extract: Enhances all the flavors and rounds out the sweetness beautifully.
- All-purpose flour: The perfect structure-builder; just enough to keep these cookies soft, never dry.
- Baking soda: Works behind the scenes to lend lightness and a hint of lift for the ideal texture.
- Salt: Balances all the sweetness and ties the flavors together.
- Chopped Butterfinger candy bars: The star addition—crispy, caramelized, peanut-buttery clusters that guarantee a wow factor in every bite.
How to Make Peanut Butter Butterfinger Cookies
Step 1: Preheat and Prep Your Baking Sheets
Start by preheating your oven to 350°F (175°C). While the oven heats, line two baking sheets with parchment paper. This little step prevents sticking and helps your cookies bake evenly, making cleanup a total breeze.
Step 2: Cream the Peanut Butter, Butter, and Sugars
In a large mixing bowl, combine the creamy peanut butter, softened unsalted butter, granulated sugar, and brown sugar. Using a hand mixer or stand mixer on medium speed, beat everything until smooth, fluffy, and beautifully creamy—about 2 minutes. This is where your cookies get their rich, tender base.
Step 3: Add the Egg and Vanilla Extract
Crack in the egg and pour in the vanilla extract. Beat again until the mixture turns silky and the ingredients are fully incorporated. Both the egg and vanilla work together to lift the cookie’s flavor profile and create that signature soft, chewy crumb.
Step 4: Mix the Dry Ingredients Separately
In a separate bowl, whisk together the all-purpose flour, baking soda, and salt. Combining them first ensures the baking soda and salt are evenly distributed, so you don’t end up with pockets of salt or flat cookies. This simple step makes all the difference in the final texture.
Step 5: Combine Wet and Dry Ingredients
Gradually add the dry ingredients to the peanut butter mixture, mixing on low speed or stirring by hand until just combined. Resist the urge to over-mix! A gentle hand now means softer, fluffier cookies later.
Step 6: Fold in the Butterfinger Pieces
Now for the fun part—gently fold in the chopped Butterfinger candy bars. You’ll want every bite bursting with those crunchy, chocolatey, peanut-buttery morsels. For an irresistible touch, save a little extra Butterfinger to press on top of each dough ball before baking.
Step 7: Scoop and Bake
Using a tablespoon or cookie scoop, drop heaping portions of dough onto your prepared baking sheets, leaving about 2 inches between each mound for spreading. Pop them in the oven and bake for 10 to 12 minutes until the edges are lightly golden and the centers are just set. Don’t worry if they look slightly underdone—they’ll continue to firm up on the baking sheet.
Step 8: Cool and Enjoy
Let the cookies cool right on the baking sheets for 5 minutes, then transfer them to a wire rack to cool completely. This helps them stay thick, chewy, and keeps those Butterfinger bits nice and crisp.
How to Serve Peanut Butter Butterfinger Cookies

Garnishes
Elevate each cookie with a few extra Butterfinger chunks pressed on top before baking, or a delicate dusting of powdered sugar right after they’ve cooled. For an ultra-decadent finish, drizzle with melted chocolate and let it set for a few minutes for bakery-style flair.
Side Dishes
Peanut Butter Butterfinger Cookies are fantastic with an ice-cold glass of milk, a frothy coffee, or even a scoop of vanilla ice cream on the side. They also make a wonderful treat on a dessert platter next to brownies, fudge, or fresh berries for a colorful, crowd-pleasing display.
Creative Ways to Present
Stack the cookies in glass jars tied with ribbon as edible gifts, or arrange them in a cookie tin for family get-togethers. For parties, turn these cookies into mini ice cream sandwiches—simply pair two with a creamy scoop of ice cream in between for an unbeatable summer treat.
Make Ahead and Storage
Storing Leftovers
Store any leftover Peanut Butter Butterfinger Cookies in an airtight container at room temperature. They’ll stay soft and chewy for up to 5 days—just keep them away from direct sunlight or heat, which can melt those luscious Butterfinger bits and make them sticky.
Freezing
These cookies are freezer-friendly! Simply place fully cooled cookies in a single layer in a freezer-safe bag or container, separating layers with wax or parchment paper. They retain incredible flavor and texture for up to 2 months, making them perfect for make-ahead treats or sneaky late-night cravings.
Reheating
For that just-baked goodness, pop a frozen or room-temp Peanut Butter Butterfinger Cookie into the microwave for 10 seconds. The Butterfinger will turn extra gooey, and your kitchen will fill with that glorious fresh-baked aroma all over again. No one ever has to know they weren’t made today!
FAQs
Can I use crunchy peanut butter instead of creamy?
Absolutely! If you like even more crunch, swapping in crunchy peanut butter gives these cookies an extra nutty bite. Just note that the overall texture may be a touch more rustic, but the flavor will still be delicious.
How finely should I chop the Butterfinger bars?
Aim for pieces about the size of chocolate chips—big enough for a good crunch, but small enough to distribute throughout the dough. If the pieces are too large, the cookies might not hold together as well.
Can I make the dough ahead of time?
Definitely! Prepare the dough, scoop it onto a baking sheet, and chill it covered in the refrigerator for up to 24 hours. When you’re ready to bake, just let the dough rest at room temp for 10–15 minutes, then pop them in the oven.
What if I don’t have Butterfinger candy bars?
No problem—these cookies will still be incredible without them, or you can substitute with any other crunchy, nutty candy bars you love. Heath bars, Reese’s Pieces, or toffee bits make tasty alternatives.
How do I keep the cookies from getting too hard?
The key is not to over-bake! Pull the Peanut Butter Butterfinger Cookies out when the centers still look slightly underdone. Cooling them on the baking sheet for a few minutes before transferring to a rack keeps them soft and chewy.
Final Thoughts
Trust me—once you try these Peanut Butter Butterfinger Cookies, you’ll find yourself making them for every occasion, or simply for a sweet pick-me-up anytime. They’re easy, crowd-pleasing, and brimming with nostalgic, candy-studded fun. Go ahead and whip up a batch; chances are you’ll be watching them disappear before your eyes!
PrintPeanut Butter Butterfinger Cookies Recipe
Indulge in the perfect marriage of peanut butter and Butterfinger candy bars with these delightful Peanut Butter Butterfinger Cookies. These sweet treats are a must-try for any cookie lover!
- Prep Time: 15 minutes
- Cook Time: 12 minutes
- Total Time: 27 minutes
- Yield: 24 cookies 1x
- Category: Dessert
- Method: Baking
- Cuisine: American
- Diet: Vegetarian
Ingredients
For the cookies:
- 1 cup creamy peanut butter
- 1/2 cup unsalted butter, softened
- 1/2 cup granulated sugar
- 1/2 cup brown sugar, packed
- 1 large egg
- 1 teaspoon vanilla extract
- 1 1/4 cups all-purpose flour
- 1/2 teaspoon baking soda
- 1/4 teaspoon salt
- 1 cup chopped Butterfinger candy bars
Instructions
- Preheat the oven: Preheat the oven to 350°F (175°C) and line two baking sheets with parchment paper.
- Mix wet ingredients: In a large bowl, beat together the peanut butter, softened butter, granulated sugar, and brown sugar until smooth and creamy. Add the egg and vanilla extract, and beat until well combined.
- Combine dry ingredients: In a separate bowl, whisk together the flour, baking soda, and salt. Gradually add the dry ingredients to the wet mixture, mixing until just combined.
- Add Butterfinger: Fold in the chopped Butterfinger candy bars.
- Bake: Scoop heaping tablespoons of dough onto the prepared baking sheets. Bake for 10–12 minutes until the edges are golden and centers are set.
- Cool: Allow the cookies to cool on the baking sheets for 5 minutes before transferring to a wire rack to cool completely.
Notes
- For extra crunch, press a few Butterfinger pieces on top of each dough ball before baking.
- These cookies freeze well for up to 2 months.
Nutrition
- Serving Size: 1 cookie
- Calories: 180
- Sugar: 14g
- Sodium: 105mg
- Fat: 10g
- Saturated Fat: 4g
- Unsaturated Fat: 5g
- Trans Fat: 0g
- Carbohydrates: 20g
- Fiber: 1g
- Protein: 3g
- Cholesterol: 15mg


