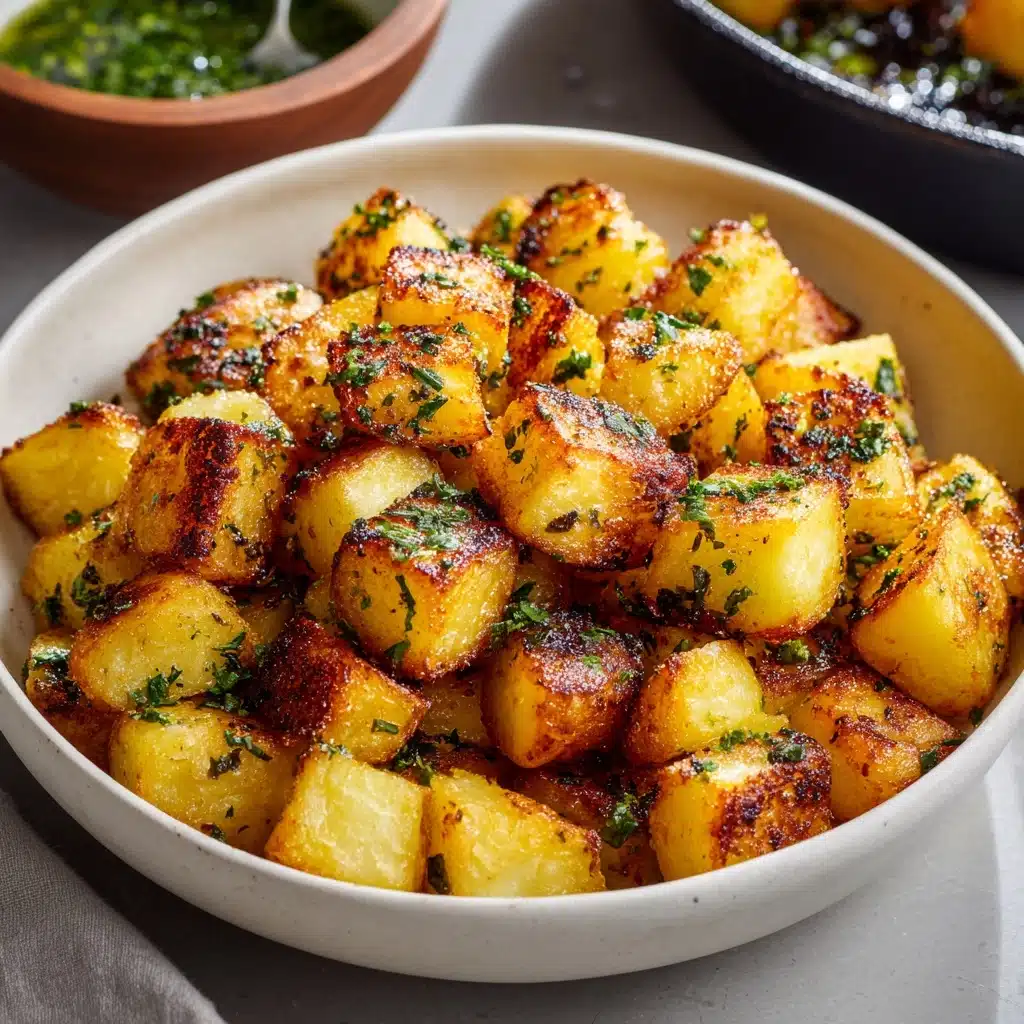
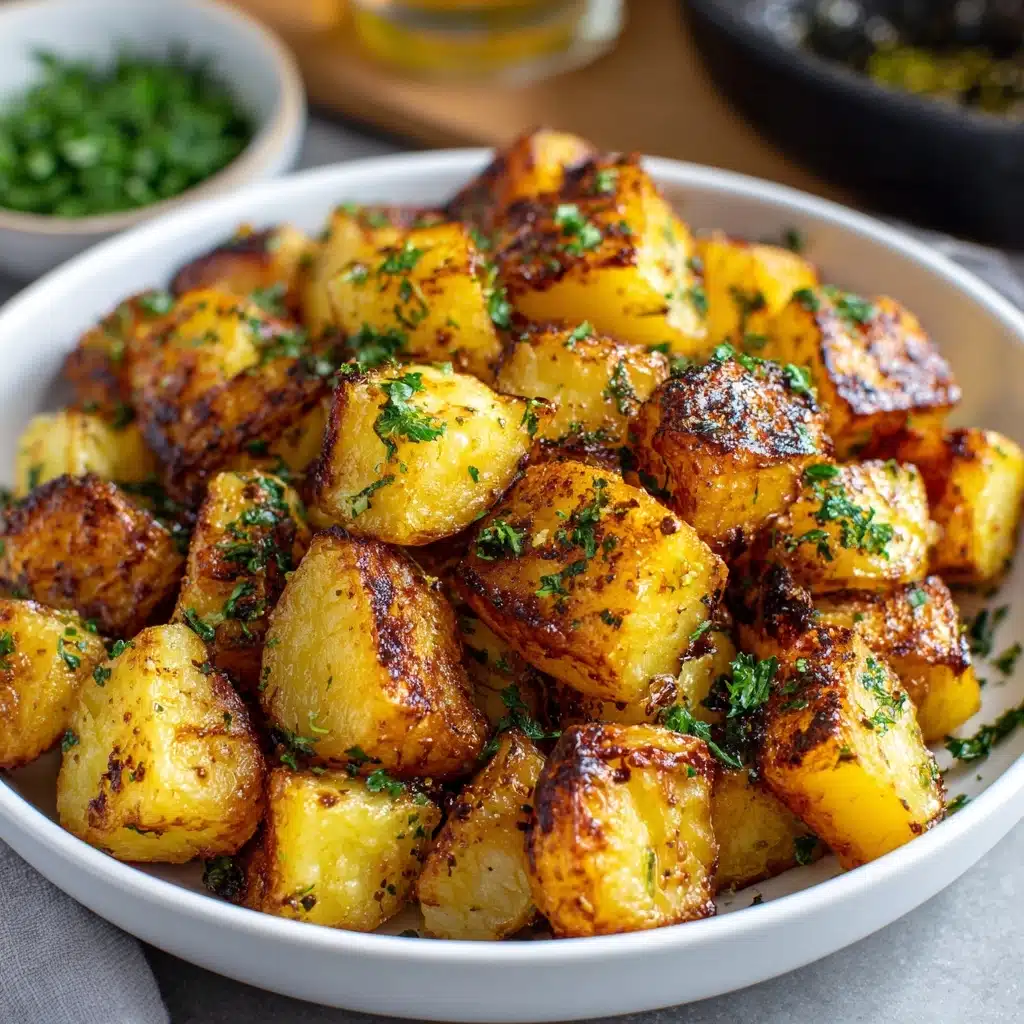
If you’re searching for an irresistible, crowd-pleasing snack that blends comfort food vibes with a vibrant burst of flavor, these Delicious Garlic Potato Pops will steal the show. Warm, crispy, and absolutely loaded with cheesy garlic goodness, they make the perfect bite-sized treat for parties, cozy gatherings, or just a fun snack to enjoy any day of the week. Every pop offers a creamy, savory filling inside a golden crust, making it impossible to eat just one. Trust me—these little potato wonders will quickly become a favorite at your table!
Ingredients You’ll Need
One of the best things about Delicious Garlic Potato Pops is just how simple—yet essential—the ingredients are. Every component brings something unique to the table, whether that’s flavor, texture, or a splash of color, so don’t skip a thing!
- Mashed potatoes (2 cups, well-seasoned and cooled): The creamy foundation for each pop, cooled so they’re easy to handle and shape.
- Shredded cheddar cheese (1/2 cup): Melts beautifully into the center for a gooey, comforting chew.
- Grated Parmesan cheese (1/4 cup): Adds a salty, nutty punch you’ll taste in every bite.
- Garlic, minced (2 cloves): Essential for that bold, savory flavor that sets these pops apart.
- Fresh parsley, chopped (2 tablespoons): Lends color and a fresh, herby lift to balance out each pop.
- Salt (1/2 teaspoon): Enhances all the flavors; taste your potatoes before adding to adjust if needed.
- Black pepper (1/4 teaspoon): Adds just the right amount of background warmth.
- All-purpose flour (1/2 cup): Helps give each pop a secure outer coating before frying.
- Large eggs, beaten (2): The glue that binds the breadcrumbs to the pops and creates crispiness.
- Panko breadcrumbs (1 cup): For a crunchy, irresistible crust you can actually hear when you bite in!
- Vegetable oil for frying: Use a neutral oil with a high smoke point for best results.
How to Make Delicious Garlic Potato Pops
Step 1: Mix the Potato Filling
Start by grabbing a large mixing bowl and add your mashed potatoes, cheddar cheese, Parmesan, minced garlic, chopped parsley, salt, and black pepper. Use a sturdy spoon or spatula to mix everything together until it’s completely smooth and uniform. The goal is to have all those cheesy and garlicky bits distributed evenly, promising big flavor in every bite of your Delicious Garlic Potato Pops. Make sure the mashed potatoes are cooled; this helps the mixture stay firm.
Step 2: Shape the Pops
With slightly damp hands (this keeps things from sticking), scoop out tablespoon-sized portions of your potato mixture. Roll each one into a ball and set them on a parchment-lined baking sheet. Not only is this part fun, but it’s a great way to involve friends or little helpers! Once you’ve shaped all your pops, pop (pun intended!) the baking sheet into the freezer for 15 to 20 minutes to let them firm up. This chilling step keeps them from falling apart during the next steps.
Step 3: Coat the Potato Pops
Now, prepare three shallow bowls: one with the flour, one with the beaten eggs, and one with the panko breadcrumbs. Take each chilled potato ball and give it the triple-coating treatment: first, a gentle roll in flour, then a dip in egg, and finally, a tumble in the breadcrumbs. Press the breadcrumbs on lightly to make sure a generous, even crust forms. This crunchy coat is the secret to that addictive crunch you’ll love in Delicious Garlic Potato Pops!
Step 4: Fry to Perfection
Fill a deep skillet or saucepan with about 2 inches of vegetable oil, then heat it to 350°F. Carefully add the coated potato pops in small batches—don’t overcrowd the pan! Fry them for 3 to 4 minutes, turning occasionally until they turn a gorgeous golden brown. Use a slotted spoon to scoop them out and drain on paper towels. The aroma at this stage will have everyone circling the kitchen.
Step 5: Serve and Enjoy!
Arrange your fresh, crispy Delicious Garlic Potato Pops on a platter and serve them warm. Pair with your favorite dipping sauce—ranch, spicy aioli, or even classic sour cream all taste fabulous. Watch them disappear in minutes!
How to Serve Delicious Garlic Potato Pops

Garnishes
Dress up your Delicious Garlic Potato Pops with a sprinkle of chopped fresh parsley for color, a little extra Parmesan for saltiness, or even a tiny dusting of smoked paprika. For something extra-special, add finely sliced green onions or a flick of crumbled cooked bacon (if you aren’t staying vegetarian). These little touches take the presentation to the next level and highlight all the vibrant flavors inside each pop.
Side Dishes
Pair these pops with a crisp green salad, roasted veggies, or a classic coleslaw to balance out their decadence. They also make a dreamy addition to game day spreads or appetizer platters, sitting comfortably alongside sliders, chips, and salsa. For the ultimate comfort meal, serve them with a bowl of tomato soup for dunking!
Creative Ways to Present
If you’re hosting a party or want to wow your guests, skewer the Delicious Garlic Potato Pops on toothpicks, or arrange them in mini cupcake liners for easy, mess-free serving. You can even put a trio of dipping sauces in small bowls so everyone can try their favorite combo. For a fun twist, create a “pop bar” with various toppings and let guests build their own bite-sized delights.
Make Ahead and Storage
Storing Leftovers
Leftover Delicious Garlic Potato Pops keep well in an airtight container in the fridge for up to three days. Let them cool completely before sealing up so you maintain their crispy exterior as much as possible. They’re almost as delightful reheated the next day!
Freezing
To freeze, arrange the cooled (uncooked or cooked) pops in a single layer on a baking sheet, then pop them in the freezer until solid. Transfer to a freezer-safe bag or container and store for up to two months. When that craving hits, you’ll be just a few minutes away from a homemade treat!
Reheating
For best texture, reheat your pops in an oven or toaster oven at 375°F. Arrange them on a wire rack or baking sheet and warm for about 8 to 10 minutes, until crisp and heated through. Avoid microwaving if you love a crunchy coating, as it can soften the texture.
FAQs
Can I use instant mashed potatoes for this recipe?
Absolutely! If time is tight or you have leftovers, instant mashed potatoes work well—just make sure they’re thick and not too runny so the pops hold their shape. Taste and season well, since pre-packaged versions can be bland.
Is it possible to bake instead of fry Delicious Garlic Potato Pops?
You sure can! Place the coated potato pops on a parchment-lined baking sheet, spray them lightly with cooking oil, and bake at 425°F for 15-18 minutes or until golden and crispy. Frying gives the ultimate crunch, but baking is a great lighter alternative.
Can I make these ahead for parties?
Yes! Shape and coat the pops a day ahead, freeze them on a tray, and store them in the fridge or freezer. Fry or bake just before serving for maximum crispiness. They’re also easy to transport, making them perfect for potlucks.
Do Delicious Garlic Potato Pops work with gluten-free flour and breadcrumbs?
Definitely! Swap in your favorite gluten-free flour and panko-style breadcrumbs. The results are just as crunchy and delicious, so everyone can join the snacking fun.
What are the best dipping sauces to serve with these?
Classic ranch, sour cream, or a spicy Sriracha aioli all taste fantastic. You can even mix up some herbed yogurt dip or honey mustard for a flavor twist. The pops are so versatile, they match up with almost anything you love to dip!
Final Thoughts
Once you try these Delicious Garlic Potato Pops, you’ll understand why they have a way of disappearing fast! They’re fun to make, irresistible to eat, and guaranteed to become a new favorite whether you’re serving a big crowd or treating yourself. Go ahead—give them a try, and let each cheesy, garlicky bite put a smile on your face!
PrintDelicious Garlic Potato Pops Recipe
These Delicious Garlic Potato Pops are crispy on the outside, creamy on the inside, and bursting with cheesy garlic flavor. Perfect for parties or as a fun snack, these fried mashed potato balls are sure to be a hit!
- Prep Time: 20 minutes (plus chilling time)
- Cook Time: 15 minutes
- Total Time: 35 minutes (plus chilling time)
- Yield: 20–24 potato pops 1x
- Category: Appetizer
- Method: Frying
- Cuisine: American
- Diet: Vegetarian
Ingredients
Mashed Potato Mixture:
- 2 cups mashed potatoes (well-seasoned and cooled)
- 1/2 cup shredded cheddar cheese
- 1/4 cup grated Parmesan cheese
- 2 cloves garlic, minced
- 2 tablespoons chopped fresh parsley
- 1/2 teaspoon salt
- 1/4 teaspoon black pepper
Coating:
- 1/2 cup all-purpose flour
- 2 large eggs, beaten
- 1 cup panko breadcrumbs
- Vegetable oil for frying
Instructions
- Prepare the Potato Mixture: In a large bowl, combine the mashed potatoes, cheddar cheese, Parmesan, minced garlic, parsley, salt, and pepper. Mix well until fully incorporated.
- Shape the Potato Pops: Scoop out tablespoon-sized portions and roll into balls. Place on a baking sheet and freeze for 15–20 minutes to firm up.
- Coat the Potato Balls: Prepare three shallow bowls: one with flour, one with beaten eggs, and one with panko breadcrumbs. Roll each chilled potato ball in flour, then dip in egg, and finally coat in panko, pressing gently to adhere.
- Fry the Potato Pops: In a deep skillet or saucepan, heat about 2 inches of vegetable oil to 350°F. Fry the potato pops in batches, turning occasionally, until golden brown and crispy—about 3–4 minutes.
- Serve: Remove with a slotted spoon and drain on paper towels. Serve warm with your favorite dipping sauce.
Notes
- These are great with sour cream, ranch, or spicy aioli.
- You can add chopped cooked bacon or green onions to the potato mixture for extra flavor.
Nutrition
- Serving Size: 3 pops
- Calories: 180
- Sugar: 1g
- Sodium: 240mg
- Fat: 10g
- Saturated Fat: 3g
- Unsaturated Fat: 6g
- Trans Fat: 0g
- Carbohydrates: 17g
- Fiber: 1g
- Protein: 5g
- Cholesterol: 35mg


